Sourdough Culture How-To

backgroundflipped2.jpg

If you are anything like me, bread baking can be a little intimidating and making your own sourdough may seem like a daunting task. For all of you hesitant bread makers, I come bearing great news- it is not as hard as you think! I'm going to give you a step-by-step for making your own sourdough culture and you will be on your way to enjoying warm, homemade loaves in no time!

First, let's talk about what makes a sourdough. A sourdough starter is a natural starter made using wild yeast. Yeast are attracted to the flour/water mixture and they feed on the starches in the flour as they break down into sugars. As you are developing your culture, the wild yeast learn to live with and balance the friendly bacteria (lactic and acetic acid) that are also developing. The yeast and bacteria provide your finished bread with leavening and flavor. 

Starting your culture is a little labor intensive, but you will be reaping the benefits for years to come. It takes about 10 days for your culture to develop and then you can store it in your refrigerator and use it as needed…as long as you feed it every once in a while, it will pretty much last forever!

BarnSour10.jpg

 Starting your sourdough: 

Day 1: 136 grams of rye flour, 170 grams of warm water (100 degrees), and 1 teaspoon of honey. Cover loosely with plastic or a loose lid and let sit on your counter at room temperature. 

12 Hours Later (Day 2): Mix half of your culture (throw the rest away, I know it seems wasteful but it will keep your culture from becoming too acidic) with 34 grams of rye flour, 34 grams of unbleached white flour, and 85 grams of water (at 90 degrees). Cover and place on the counter at room temperature. 

Day 3, 4, and 5: Feed your culture twice a day, once in the morning and once at night. Mix together half of your culture (pour the rest out), 85 grams of unbleached white flour, 85 grams of water, and place on the counter at room temperature. 

Day 6-10: Feed your culture once a day (every 24 hours). Mix together 100 grams of your culture, 100 grams of unbleached white flour, and 100 grams of water. 

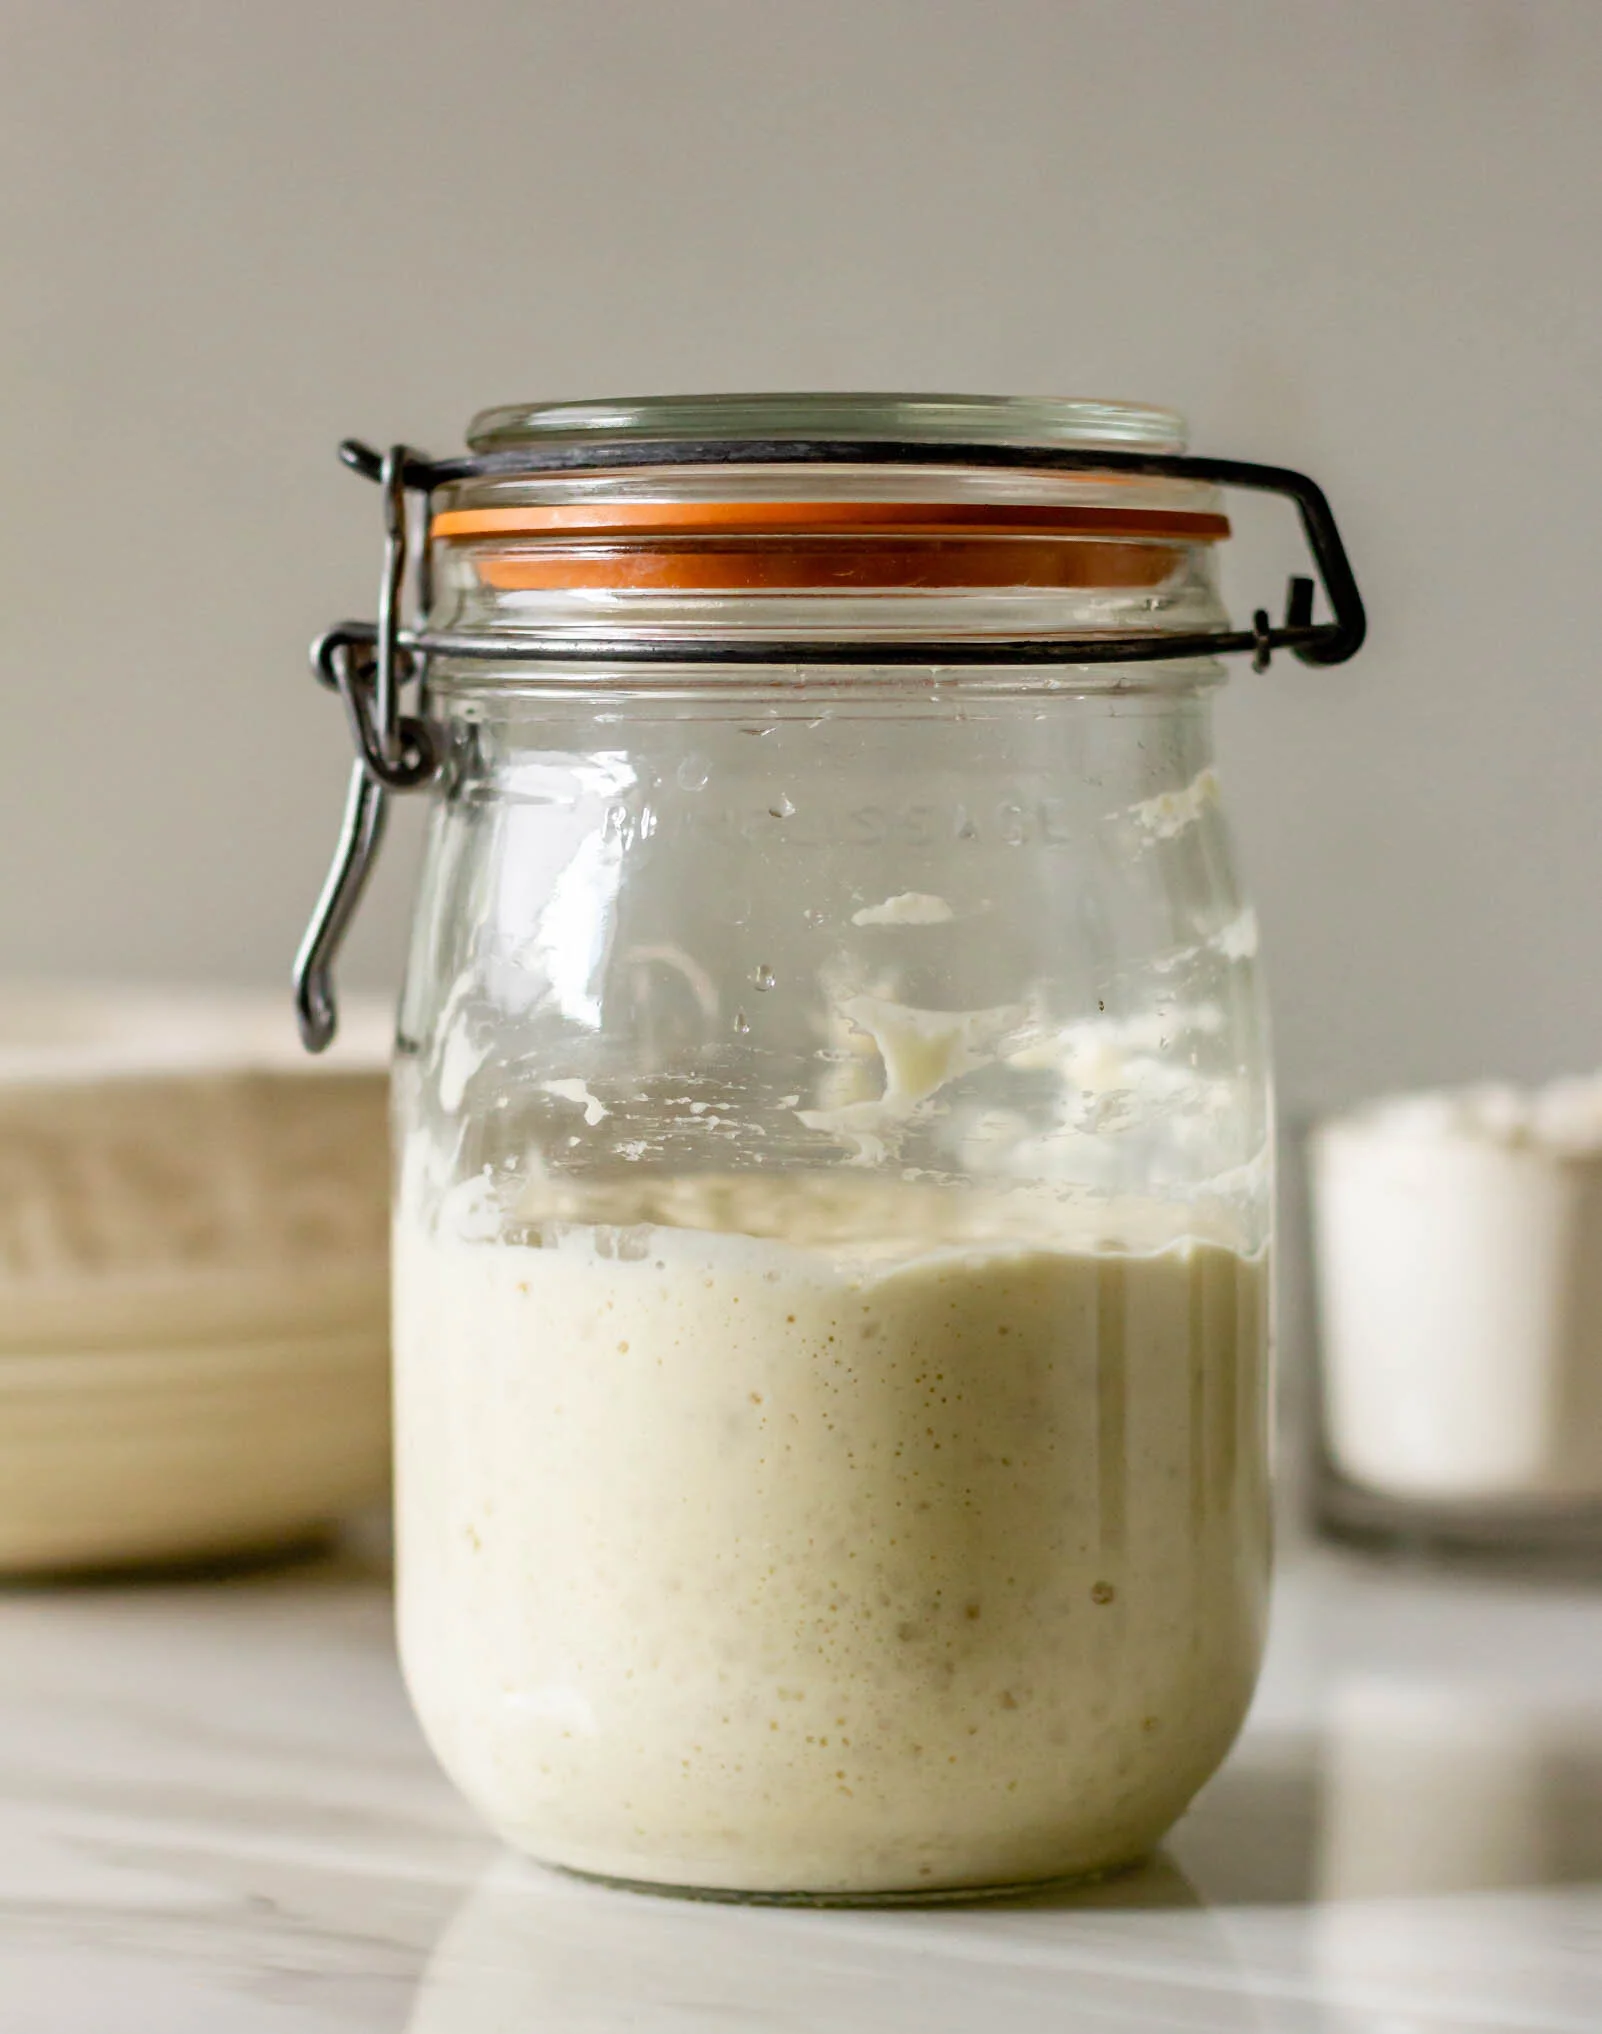
After day 10, your culture is ready to be used! Congratulations! You did it! You can continue to feed it daily or you can close your jar and put your culture in the refrigerator until you are ready to use it again. When you are ready to use it, take your culture out of the refrigerator and let it come to room temperature before feeding it. Feed your culture at least once a day until you decide to put it back in the refrigerator. 

BarnSour7.jpg


bubblesabove2.jpg

Sourdough Culture: 

Day 1

136 grams of rye flour

170 grams of 100 degree water

1 tsp of honey

*Cover loosely and set on counter at room temperature*


12 hours later (Day 2)

Half of culture

34 grams of rye flour

34 grams of unbleached white flour

85 grams of warm water

*Cover loosely and set on counter at room temperature*


Day 3, 4, and 5: 

(Feed every 12 hours, twice a day)

Half of culture

85 grams of unbleached white flour

85 grams of water

*Cover loosely and set on counter at room temperature*


Day 6-10: 

(Once a day feedings, every 24 hours)

100 grams of culture

100 grams of unbleached white flour

100 grams of water

*Cover loosely and set on counter at room temperature*


After day 10, you can use your sourdough! If you don't want to use it right away, simply seal the jar and place it in your refrigerator. When you are ready to bake with it, take it out of your fridge a few days before you want to bake. Let it come to room temperature, then feed it once or twice daily following the 100 g water/flour/culture method.


Classic French Baguettes

I am certain that there is nothing better than a freshly baked baguette. Last year, I had the opportunity to spend 10 days in the south of France, leisurely strolling through markets, sipping wine, and snacking on cheese. I was living my best life and loving every moment. One of the (many) things that the French do right is bread. In the town where we stayed, there were boulangeries lining every cobblestone street, each producing an endless supply of fresh, perfectly made baguettes. I discovered that in those little shops, bread making is an art form and I wanted to learn it. 

Fast forward to today, I am currently in pastry school where I am learning the art of bread making. These classic French baguette are time consuming, but not extremely labor intensive. The process is all about technique, knowing what to look for in your dough and how to handle it in a way that will produce perfect baguettes. 

Baguettes, like most artisan breads, begin with a preferment that is started the night before. A preferment is really simple to throw together and it brings depth of flavor and extra leavening to your final product. Right before bed, just stir together flour, water and a pinch of yeast, cover it and let it hang out on your counter while you sleep. 

In the morning, use your preferment and mix up your dough. You can mix baguettes in a standing mixer, but I would recommend doing it by hand at least your first few times in order to get the feel of what consistency and level of gluten development you are looking for. Because artisan breads have a much higher water content than most traditional breads, French bakers use a different kneading technique. After you turn your dough onto a floured surface, you use your hands to pick it up from the top, so that your dough starts to droop down (like you are holding a little puppy). Then slap the bottom of the dough onto your work surface and stretch the top over, in order to fill the inside with air and smooth the top. (Here is a link to a video of someone actually demonstrating this technique: https://www.youtube.com/watch?v=cbBO4XyL3iM ). You are going to knead your dough until the gluten develops and the top is smooth. (This took me about 5-7 minutes of kneading). 

When your dough is kneaded, place it back in the bowl, cover and let it bench. Do not grease the bowl! Classic baguettes only include flour, water, salt, and yeast, and nothing else! The dough will bench for a total of 3 hours and you will fold it twice during that time, once after 1 hour and once after 2 hours. To fold the dough: Gently turn your dough onto a floured surface. Grab the sides of the dough and stretch horizontally. Fold the sides into the center in thirds. Rotate 90 degrees and repeat. Then put the dough back in the bowl. 

After 3 hours, you will divide and shape the dough and get it ready for baking. It is important to preheat your oven completely before baking. Many artisan bakers achieve that beautiful, golden brown crust by using a steam oven. However, I live in a little duplex and do not have the luxury of owning a full steam oven. I put my cast iron skillet on the bottom rack of the oven while the oven preheated. Then, when I put my bread in the oven, I poured water into the cast iron and immediately shut the door. It may not be as crispy as bread made with a fancy oven, but it does the trick for a home baker. :)

I know that this is a super long post filled with a lot of tedious steps, but I promise you that the result is worth it! Spend a Saturday trying out the baguette making process and I don't think that you will be disappointed!


Classic French Baguettes

Preferment:

4 oz water

4 oz bread flour

Pinch of yeast

Dough: 

All of the preferment

1 tsp active dry yeast

9 oz lukewarm water

14 3/4 oz unbleached bread flour

1 1/2 teaspoons salt


Procedure:

1. Dissolve yeast in 4 oz of water and let sit for about 5 minutes, until yeast begins to hydrate.

2. Add the rest of the water to preferment to loosen from container. Pour into large bowl and mix a little to break up preferment. Add salt, mix and then add yeast mixture and mix. Add flour 1 cup at a time, mixing in between until dough forms. (Dough will be very wet and sticky)

3. Knead dough (*see above for artisan technique*) until gluten has developed and dough is smooth. 

4. Place in an ungreased bowl and allow to proof for 1 hour. 

5. Fold dough: stretch dough horizontally and fold into thirds. Turn dough 90 degrees and repeat one more time. 

6. Place dough back in bowl and allow to rise for another hour. 

7. Repeat folding process and put dough back in bowl. Allow to rise for a final hour. 

8. Turn dough out onto a floured surface. Handling dough very gently, divide into three equal portions. Round into balls, cover with a towel, and allow to bench rest for 15-20 minutes. 

9. To shape into baguettes: press dough into small horizontal oval, fold the top down and press into a smile shape. Turn the dough so that smile is at the bottom and repeat. Fold dough in half and seal around the outside (dough will be in a caterpillar/half moon shape). Roll into baguette length. 

10. Flour a dish towel or sheet, place shaped baguettes inside, and allow to rise again until 3/4 proofed. 

11. Preheat oven to 450 degrees with a cast iron on the bottom rack. When you put bread in, pour water into the cast iron and close the oven door quickly. Turn oven down to 425 degrees and bake for 18-22 minutes.