Classic Croissants

As you grow up, it’s interesting to discover where your characteristics come from. There are some parts of my personality that I can pinpoint to either my mom or dad, and some that are solely mine, but a large amount of my personality traits run to my Aunt Karen. (Fun fact: both my mom and dad have sisters named Karen, so we’ve always just used the terms “mommy’s aunt Karen” or “daddy’s aunt Karen” to distinguish between the two.) Daddy’s Aunt Karen and I not only share a birthday, but we also share a passion for serving for populations on the outskirts of society, a love for really good food, and a knack for great wine. Two years ago, for our joint birthday celebration, my aunt and I spent 10 days in Aix-en-Provence, a small city in Southern France, where I continued to fall more deeply in love with laminated doughs.

I could spend hours and hours reminiscing about the cobblestone streets and remembering the smells and sounds of the daily market, but today I am trying to stay focused on pastries. Croissants specifically. Croissants have always been my favorite pastry, partly because of their flavor, but mostly because of their craftsmanship. Layers and layers of butter are expertly folded into the dough, creating thousands of sheets, swirling through the inside and giving way to a flaky exterior, that shatters under the weight of any pressure. They are a beautiful work of art. Each morning during our time in Aix, someone in our group would rise earlier than the rest of the house, head down to a boulangerie just as the sun was coming up and bring back assorted breads and pastries for breakfast. (And is this not the perfect morning??) Every morning, no matter who went on the breakfast bread run, there was a pain-au-chocolat tucked in amongst the buns, specifically for me.

For me, as a someone who really loves to be successful at everything the very first time I do it, croissants are a reminder to slow down. Like any good artist, practice and repetition are key to creating a masterpiece and croissant making is no exception. As I continue to practice, my hands will learn the motions and the feel of the dough, my layers will get flakier and my crumb more even. Until then, making croissants at home brings me back to a little town in the South of France and reminds to slow down and enjoy each and every part of the journey.

*Some Notes: 1) Because they use bread flour, which has a higher protein level, these croissants are a little more bread-like than others. They are still light and flaky, but they are also able to hold up if you want to split them open and use them to make breakfast sandwiches throughout the week. 2) I put the measurements are in both grams/ounces and cups for ease of use, but I highly recommend you use grams/ounces when making any sort of bread. You can get a cheap-o kitchen scale on amazon and it will quickly become your best friend.

Classic Croissants

Yield: 12 large croissants 

Ingredients: 

for the dough (detrempe): 

5 1/4 cups (690g) bread flour

1 1/4 cup (310g) whole milk

2 eggs

1/3 cup (81g) sugar

2 tsp (13g) salt

2 1/2 tsp (9g) instant yeast

1 tbsp (19g) unsalted butter 

for the butter block: 

3 sticks (330g) unsalted butter, room temp

1 tbsp (9g) flour 

Procedure:

To make the butter block:

  1. In a stand mixer fitted with the paddle attachment, beat butter for 30 seconds. Add flour and mix until butter and flour are completely incorporated.

  2. Fold a piece of 13x18 parchment paper in half, crease and open it up on the table. Place the butter so that it lines up with the crease and fold the remaining three sides of the parchment to create a 6x8 envelope around the butter. 

  3. Roll the butter out towards the edges so that the butter completely fills the envelope. Freeze until solid. 

Making the dough: 

  1. Scale ingredients and bring butter to room temperature. Make sure milk and eggs are at 60 ℉ and hydrate yeast in milk.

  2. Place all ingredients in the bowl of a stand mixer and mix on low speed with a dough hook. When all ingredients are mixed together with gluten development (about 2-4 minutes), increase speed to medium and mix for another 30 seconds. 

  3. Remove dough from mixer and allow to proof at room temperature for 2 hours. 

  4. Loosely shape dough into a rectangle and place on a plastic lined half sheet pan (I used a 12x17 sheet pan). Cover with plastic and refrigerate overnight. (Or proof for 1 1/2 hours and freeze for 30 minutes)

  5. Transfer the dough to the freezer and freeze for 30 minutes. Soften the butter block until it achieves a pliable consistency. 

Laminating the dough:

  1. Roll dough into a 13x9 rectangle. Place butter block in the center of the dough with short ends touching the long edges of the dough. Fold the two edges of the dough in so that they meet in the center and press the seam together with your hands. 

  2. Working on a lightly floured surface, roll the dough lengthwise until it is about 1/2 in thick. Fold dough in a letter fold (trifold). Place in refrigerator for 1 hour.

  3. On a floured surface, place dough in front of you with the short end closest to the edge of the table and roll the dough lengthwise to 1/2 inch. Complete another set of letter folds. (2 folds each time, you should now have folded the dough 4 times.)

  4. Rest dough in freezer for another hour. Roll out and fold again. 

  5. Wrap dough in plastic wrap and rest in freezer for 1 hour. Refrigerate overnight.

Dividing: 

  1. Remove dough from refrigerator. Roll the dough to an 18x11 rectangle. Dough may need to rest for 10 minutes in the freezer in between passes. 

  2. Using a pastry wheel, trim the edges. Use a ruler to mark dough at 3 inch intervals along both long sides of the dough. Lightly join the marks with one long mark. 

  3. Mark the center of each section with a notch on the top and bottom of the dough. 

  4. Use the pastry wheel and ruler to cut a straight line from each base mark to the corners of the strip opposite it at the top. 

Shaping/proofing/baking: 

  1. Place a triangle of dough in front of you with the top pointing out. Starting with the base of the triangle, roll up the dough completely. 

  2. Place croissants seam side down on a parchment lined sheet pan. Cover with plastic wrap and let proof at room temperature for 2-2 1/2 hours. 

  3. Preheat oven to 400 ℉ about 30 minutes before baking. 

  4. Brush the croissants with egg wash and bake for 15-20 minutes, until deep brown and cooked through. 

Sample Production Schedule:

Day 1 (10:30 AM)- Make butter block; Make detrempe (proof for 1 1/2 hours, freeze for 30 minutes)

12:30 PM- Roll out dough and complete first fold, refrigerate for 1 hour

1:30 PM- Roll out dough and complete second fold, refrigerate for 1 hour

2:30 PM- Roll out dough and complete third fold, wrap tightly in plastic wrap and chill overnight.

Day 2 (AM): Roll out, cut and shape dough

Proof for 2 1/2 hours, until size increases by 50%; brush with egg wash and bake at 400 ℉ until deeply golden.

Classic Sourdough


BarnSour8.jpg

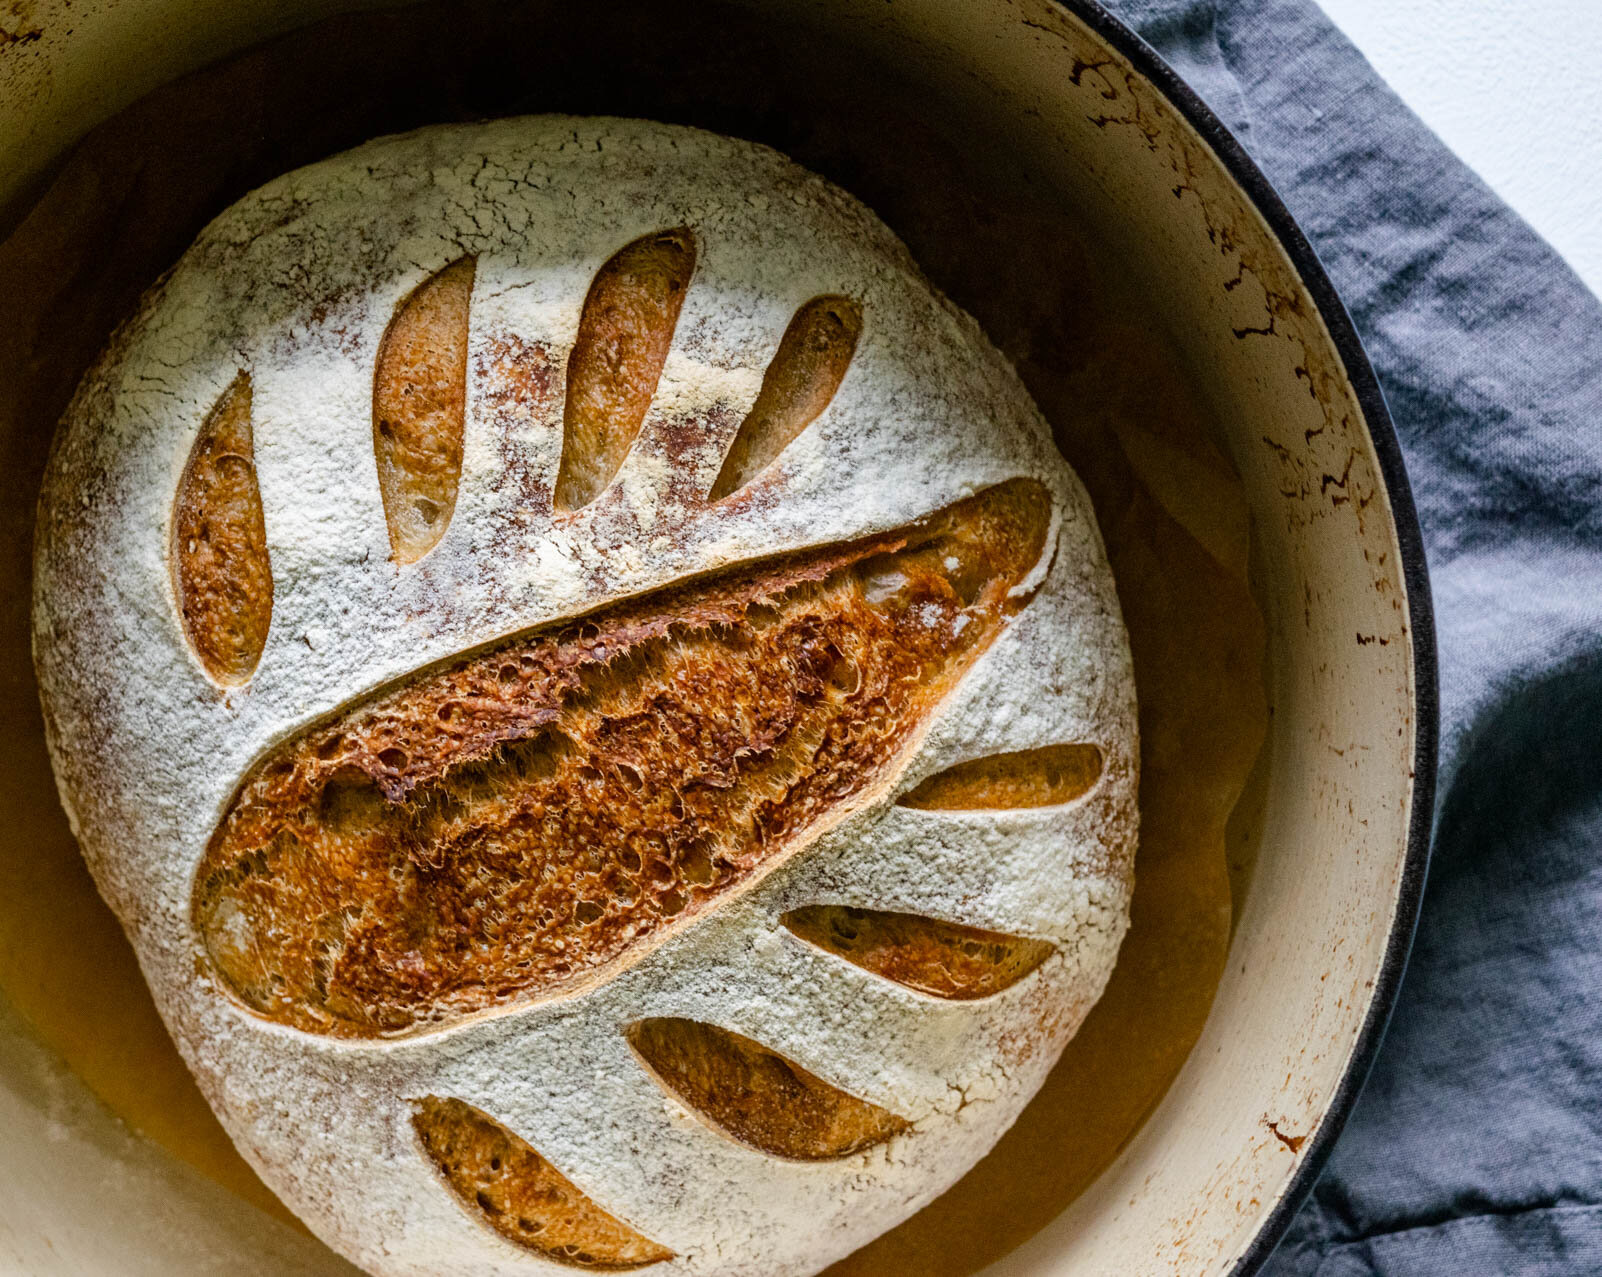
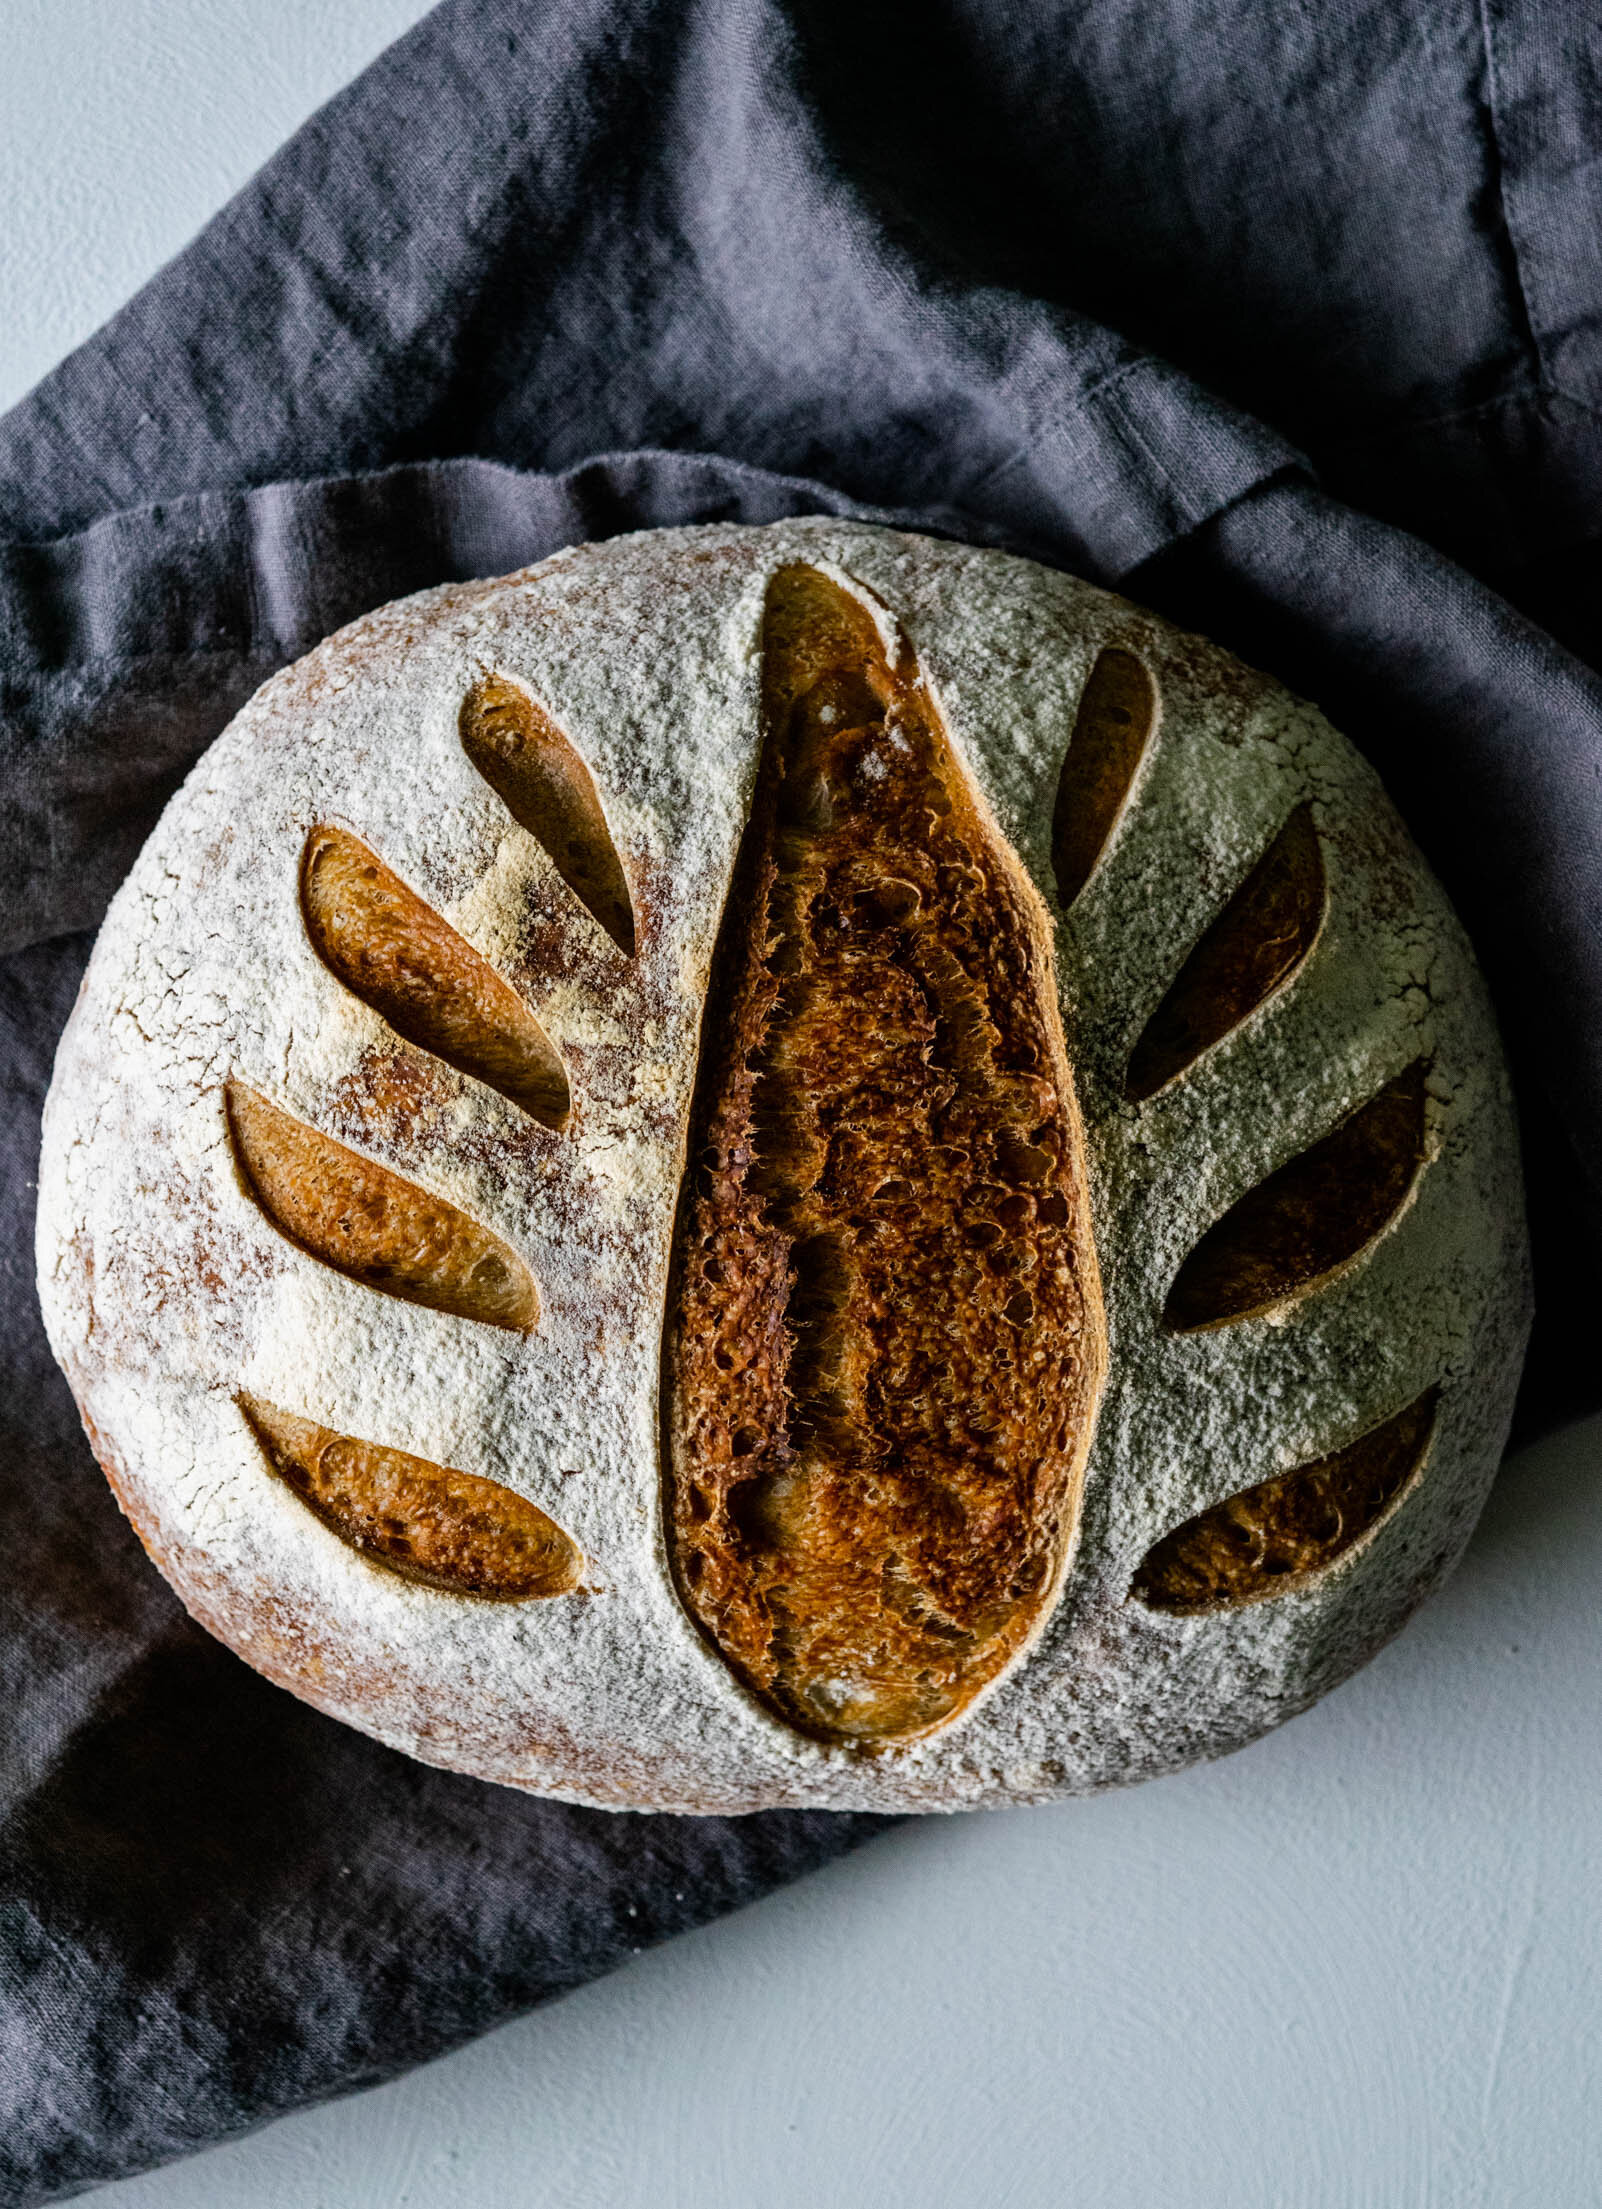
I think that 2019 should be the year of bread. Over the last year or so, I’ve been wading into the homemade artisan bread pool and this year I’m diving in head first. (Two of my actual 2019 goals are “regular bread making” and “make more croissants” so obviously, I have a great handle on my priorities.)

We are starting off with this classic artisan sourdough, which is a naturally fermented bread. This means that the leavening (and sourdough flavor) come from naturally occurring yeast, not active dry or instant yeast you can get at the store and also means that you will be working from a sourdough culture or starter. If you don’t yet have your own little starter, jump on over to my Sourdough Culture How To for a full rundown on how to start your own. (Mine is named Pierre and he is now an integral part of our family).

I’ve been tweaking and testing this process to try and get it right so that even the most novice bread bakers will have success and I’ve learned most of my gluten handling skills from Chad Robertson’s Tartine Bread and Tara Jensen’s Baker Hands. Bread making is a special process because although it is very precise and measurement-reliant, it is also a very tactile and intuitive process. It was a little difficult to write this process out because the more you bake, the more you rely on the feel and look of the dough. Over the next few weeks, I will be working on creating an Instagram story that follows my bread process to help out in the visual department. Making your own bread is not a quick and easy adventure, but I promise that when you bite into your first craggy piece, it will all be worth it and you will be running back to your kitchen to do it all again.

BarnSour6.jpg

Recipe updated 3/14/20: Since posting my original sourdough recipe, I’ve continued to play with the ratios and flours used. I also spent part of my summer at the restaurant baking loaves of sourdough everyday for the resort and my sourdough skills have improved greatly. This recipe will probably always be evolving as I discover new flours and play with hydration ratios, but this updated recipe has been honed and perfected and is my regular, everyday sourdough.

Classic Sourdough Bread 

Yield: 2 loaves

Ingredients: 

For the leaven: 

100 grams starter

200 grams water 

200 grams bread flour


For the bread: 

620 grams bread flour

60 grams whole wheat flour

24 grams kosher salt

2 grams active dry yeast

500 grams water, 75-80°F

270 grams leaven (see above recipe)


Procedure: 

The night before baking, make the leaven: 

  1. In a large plastic bowl, stir together 100 grams of your starter, 200 grams of water, and 200 grams of bread flour. Cover (I like to use plastic wrap and a rubber band) and let set on the counter overnight. 

To make the bread: 

  1. In a large bowl, mix together leaven, warm (75-80 degree) water, and yeast and stir gently. The leaven will begin to break up leaving you with a cloudy water. 

  2. Add the bread flour and whole wheat flour and stir to combine, until there are no more streaks of flour and you have a rough dough. Cover the bowl with a dish towel and let rest for 30 minutes. (This period is called autolyse and it allows the flour to absorb the water before the addition of the salt, which is hygroscopic and will soak up the water immediately.)

  3. After your autolyse, add the salt. I like to sprinkle the salt over the dough and pinch it in distribute. Using your fingers and a bowl scraper, work the salt into the dough. You will feel the dough tighten a bit and develop tension as the salt mixes in.

  4. At this point, you can transfer the dough to a large clear proofing container, if you have one, or to a clean bowl. Cover the bowl with the dish towel and place in a warm area of your kitchen. This is the bulk fermentation period. The dough will proof for about 3 hours, during which the yeast will begin creating rise and gas bubbles. We won’t knead the dough, but it will undergo a series of folds which help strengthen the gluten development. When folding, take care not to crush all of the little gas bubbles forming in the bread- we want to keep those! 

  5. Proof the dough on the counter for three hours, turning every 30 minutes. To complete a turn/fold: grab the bottom of the on side of the dough and stretch it up and over to the other side of the rest of the dough. Turn the dough 90 degrees and repeat until you have folded all four sides of the dough. This is considered one turn. Cover and continue to proof, repeating the turn every 30 minutes (for a total of 5 times). 

  6. After 3 hours, the dough should have noticeable bubbles and should have slightly puffed and increased in size. Turn the dough out onto a well-floured work surface and divide it into two pieces. Dust the top of one dough piece with flour and fold the cut side onto the dough. Use your floured hands and a bench scraper to shape the dough piece into a round. By the end of shaping, your dough should have a taught, smooth outer surface. Repeat with the other dough piece, cover bowl with the dish towel and let rest for 20-30 minutes. 

  7. After this resting period, you will form the final shape of the dough and transfer it to proofing baskets to complete its final rise. To shape the dough, use your bench knife to flip your round over on the surface, so that your smooth side is down. This will be the outer crust of your bread. Gently pat the dough into a rough rectangle shape. Grasp the bottom lip of the dough and fold it up, about 2/3 of the way, like you are folding a letter. Press the edge into the dough. Grasp the right side of the dough, stretch it out and over so that it crosses to the left side. Repeat this with the left side. You should have an envelope looking dough shape now. Grab the top side of the dough, stretch it out slightly and fold it over the entire package like you are closing an envelope. Take hold of the dough nearest to you and flip the entire package up and over (away from you) so that all of the seams are on the bottom. Let rest while you repeat this with the other dough piece. 

  8. Dust your proofing baskets with a good amount of flour* and transfer your dough to the baskets, so that the smooth side is facing down and the seams are upright. Cover with a dish towel.

  9. At this point, you have two options for final proofing. You can either proof both loaves traditionally, on a warm countertop for about 3 hours, or you can wrap the loaves and transfer them to the fridge to cold proof for 8-12 hours. 

To bake the loaves: 

  1. When you are ready to bake the loaves, place a large Dutch oven with a lid in your oven and preheat to 500 degrees. You want the Dutch oven to be very hot when you add your bread to it.  

  2. When your oven and pot are preheated, carefully remove the Dutch oven. Flip your dough out of the basket onto a piece of parchment paper. Quickly, use a knife or a lame to score the top of your dough and then grab the sides of the parchment paper and carefully lower it into the Dutch oven. Place the lid back on the Dutch oven and bake for 20 minutes, covered. 

  3. After 20 minutes, carefully remove the lid from the Dutch oven and lower the oven temperature to 450 degrees and bake for another 15-20 minutes. The bread is done with the top crust is deeply browned and the bottom has a hollow-side when you tap it. 

  4. Before repeating with the other loaf, let the Dutch oven preheat again in the hot oven. 


Butternut Squash Muffins with Pecan Thyme Streusel

My favorite part of fall is squash. I would argue it’s the most versatile of the autumn produce and I love that it can be used in sweet or savory dishes all season long! Also, if you remember from my previous ranting, I think that pumpkin is overrated and gets a little too much attention during the cooler months. This year, I set out to create a spiced squash muffin, reminiscent of pumpkin bread, that can be enjoyed all season long.

These muffins, like most muffins, are made used the “blending method” of mixing. The blending method is when you mix together wet and dry ingredients separately and then combine them gently, stirring just enough that everything is all mixed and there are no flour streaks left in your batter. The goal of the blending method is to create as little gluten structure as possible, which leaves you with a soft, crumbly end product- perfect for muffins and quick breads. Most often, liquid fats like oil or melted butter are used when implementing the blending method because no creaming or beating of the fat is needed. In this recipe, the squash and olive oil work together as our fat to create a super moist, slightly savory muffin. I also really love pairing herbs and spices with dessert to give complexity and to cut through all the sweetness a cake or muffin might have. The thyme pecan streusel does just that and in my opinion, its the best part of the muffin.

Trader Joe’s carries canned butternut squash, just like canned pumpkin, all year round (!!!) and that’s what I used in these. If you can’t find canned butternut squash, you can definitely roast a fresh butternut squash and scoop out the flesh, but I would blend (or smash) it really well so that it is completely smooth when adding it to the batter. You can also always sub the butternut squash for canned pumpkin if that’s how you’re feeling.

These little guys freeze beautifully and are perfect for early morning breakfasts or on the go snacks and would be great as an easy and festive make-ahead Thanksgiving breakfast.

Recipe: Butternut Squash Muffins with Pecan Thyme Streusel 

Yield: 16 muffins

Ingredients: 

For the muffins: 

2 1/2 cups all purpose flour

1 T cinnamon

2 tsp salt

1 tsp baking powder

1/2 tsp baking soda

1 tsp nutmeg

1/4 tsp cloves

1/2 tsp cardamom

1/2 tsp ground ginger

2 eggs

1 15 oz butternut squash (TJ)

1 1/2 cups + 1 T sugar

1/4 cup brown sugar

1 cup olive oil

For the streusel: 

1/4 cup oats, toasted 

1/4 cup pepitas, toasted and chopped

1/4 cup pecans, toasted and chopped

1/2 tsp cinnamon

3 T flour

2 T sugar

1 T brown sugar

1/4 tsp salt

1 tsp fresh thyme, finely chopped

1/2 stick of butter, soft


Procedure:

  1. Toast oats and nuts in a 375 degree oven until fragrant (about 5-7 minutes) and set aside to cool. Grease, or line with muffin liners, and lower the oven temperature to 325 degrees. 

  2. In a medium bowl, combine flour, cinnamon, salt, baking powder, baking soda, nutmeg, cloves, cardamom, and ground ginger. Set aside. 

  3. In another bowl, whisk together squash, eggs, and sugar until smooth. Slowly stream in olive oil, whisking continually. Sprinkle dry ingredients into the wet ingredients and fold in gently. 

  4. To make the streusel: Mix together dry ingredients and nuts. Use a spoon or your hands to mix in the butter until everything is combined.

  5. Scoop muffin batter into cups filling them 2/3 of the way full. Sprinkle about 1 T of streusel on the tops of each muffin. 

  6. Bake for 20-25 minutes until the muffins spring back when touched or a skewer comes out clean.