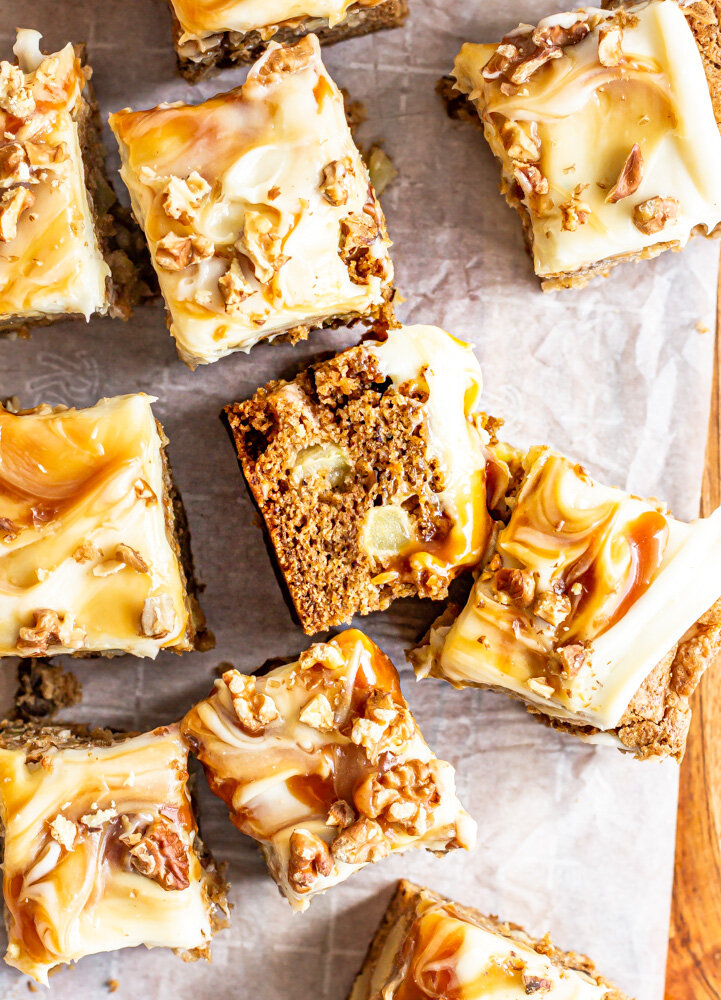
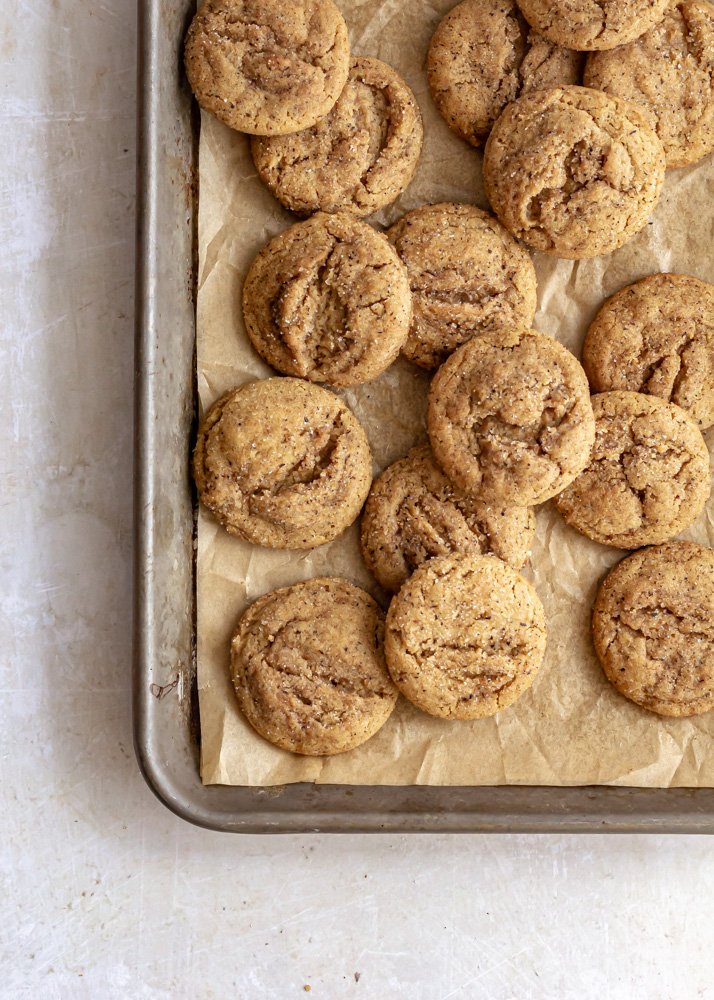
Pear and Cardamom Snack Cake
/A comfy, cozy buttermilk snack cake spiced with fragrant cardamom and studded with fresh pears. This simple cake is topped with a cardamom crumble and a caramel glaze.
Its snack cake season, everyone. The time of year where you’re looking for simple, seasonal bakes that you can share with friends and family at holiday parties, potlucks, or gatherings. And because I love a good snack cake, I have quite a few lined up to share with you over the next few months.
This pear and cardamom snack cake is a perfect fall treat. The batter features warm browned butter and floral cardamom and is filled with juicy seasonal pears. Plus, there’s a cardamom crumble on top and a warm caramel glaze that takes this cake to the next level. Let’s jump in!

simple snack cake
For me, for a cake to be considered snack-able, it needs to follow a few rules. First, it’s a single-layer, one pan situation. No baking multiple pans of batter or torte-ing layers allowed. Ideally, it’s a blending method cake—meaning wet ingredients are whisked into dry ingredients and liquid fat is incorporated. This means no mixers or lots of dishes for clean-up.
I also love seasonal snack cakes, with ultra-simple bases that hold up whatever seasonal fruit I have on hand. Adaptability is key.
how to make a pear cardamom snack cake:
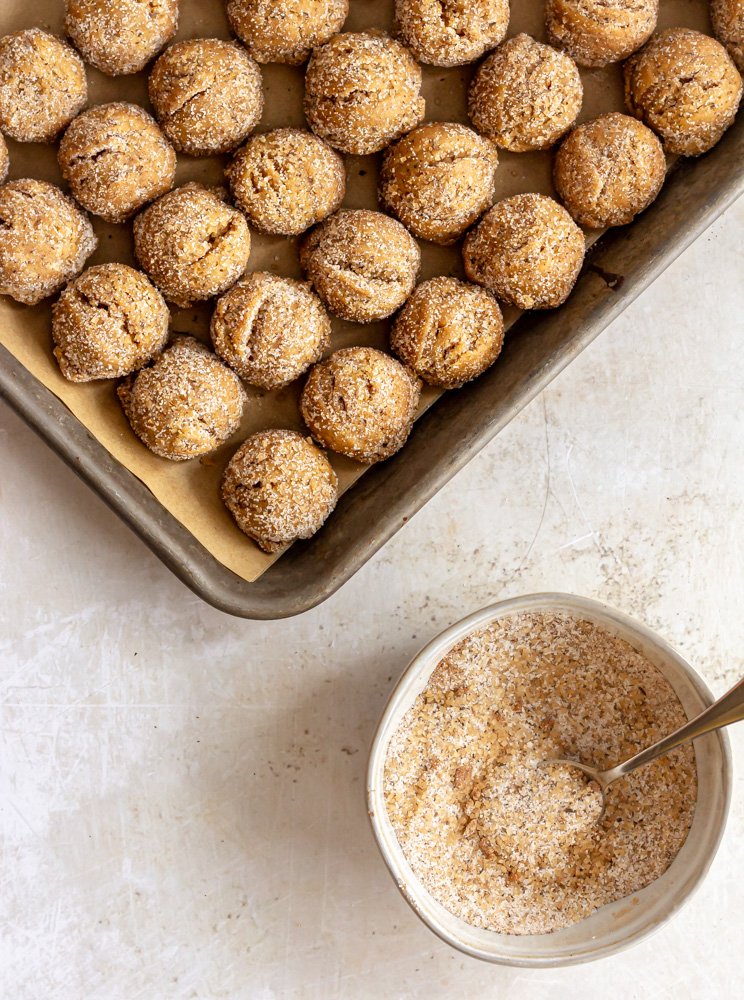
To make this recipe, we start with the crumble. Flour, oats, and spices are mixed together with softened butter just to bind everything together and form craggy clumps. This gets chilled while you make the cake so it’s easier to crumble.
To make the cake, we start by browning butter with a few smashed cardamom pods until it’s nutty and fragrant. I like to get whole cardamom pods at my local Middle Eastern grocery store or World Market, but if you can’t find them, feel free to omit them.
While the butter is cooling, all of our dry ingredients get whisked together, followed by the wet ingredients. Then the wet ingredients are added to the dry ingredients to form a batter and finally, the browned butter is whisked in.
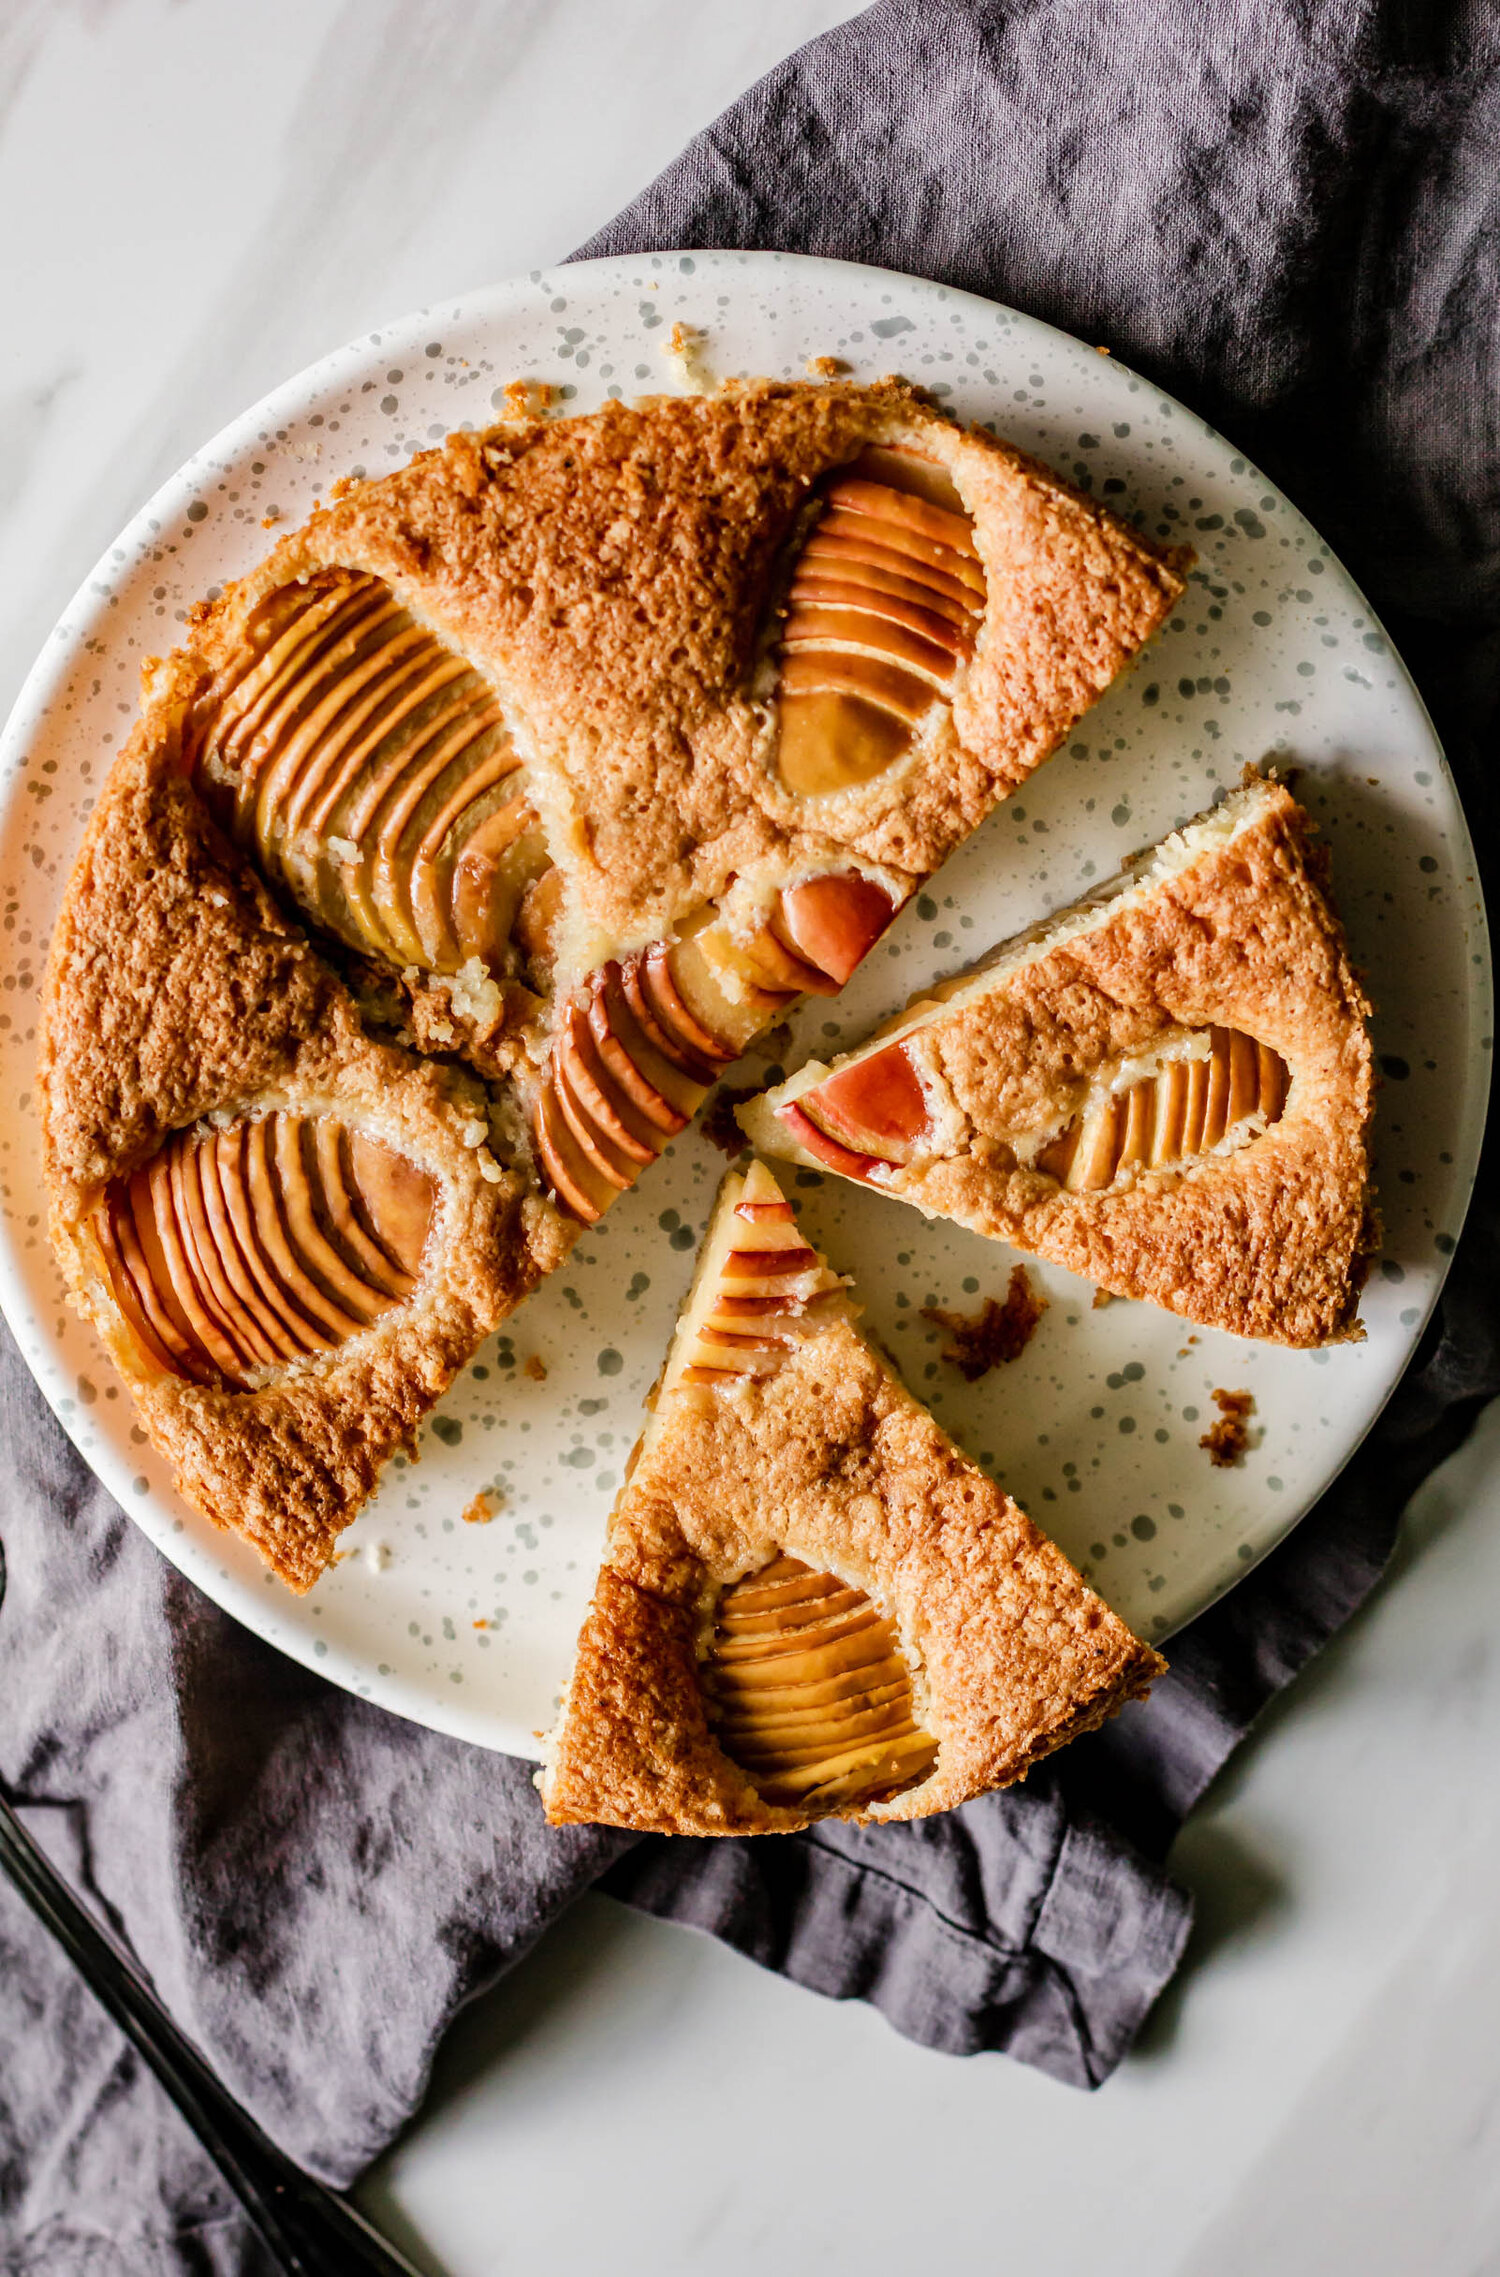
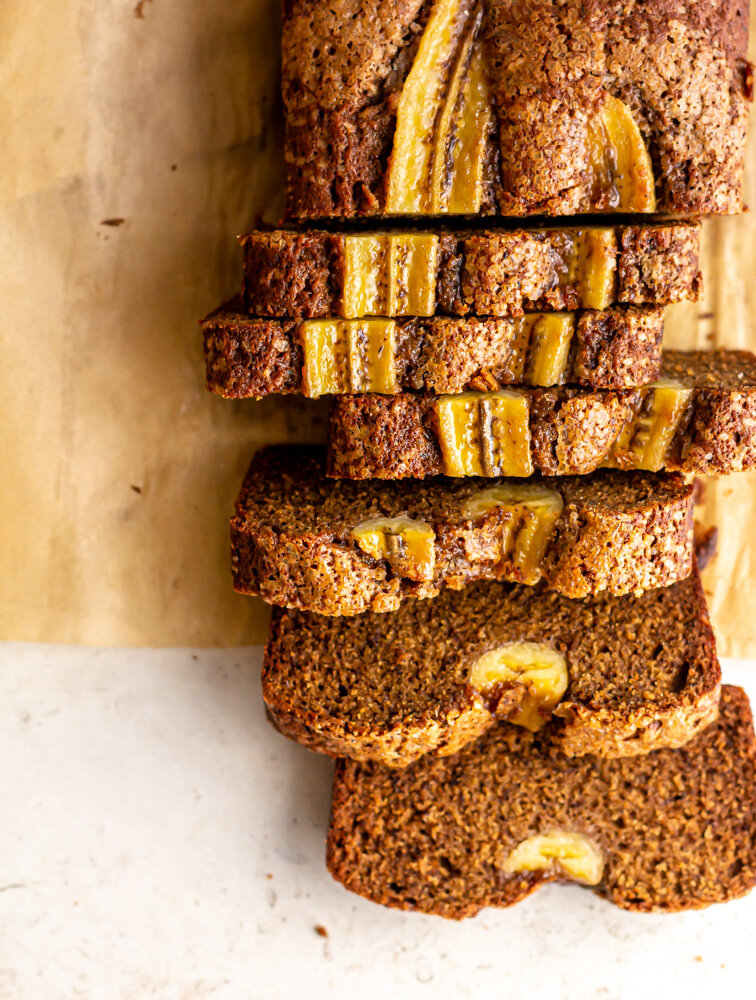
For this recipe, I used two large pears. I started by cutting the pears in half so that I had four pieces. I diced three of the halves into small chunks and then thinly sliced the last half and set it aside for topping.
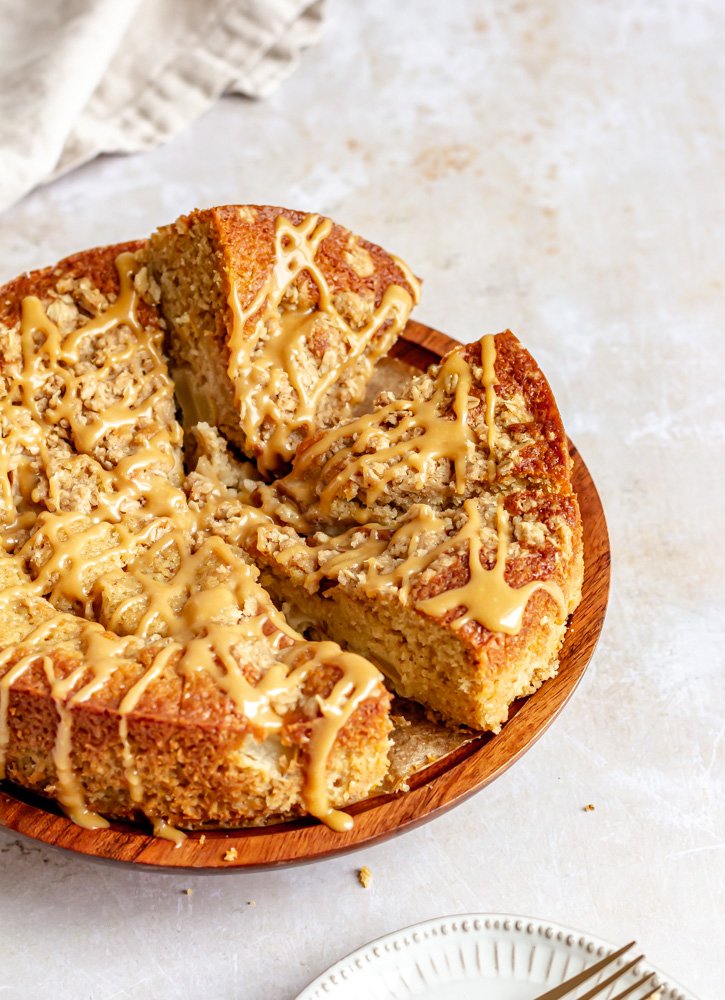
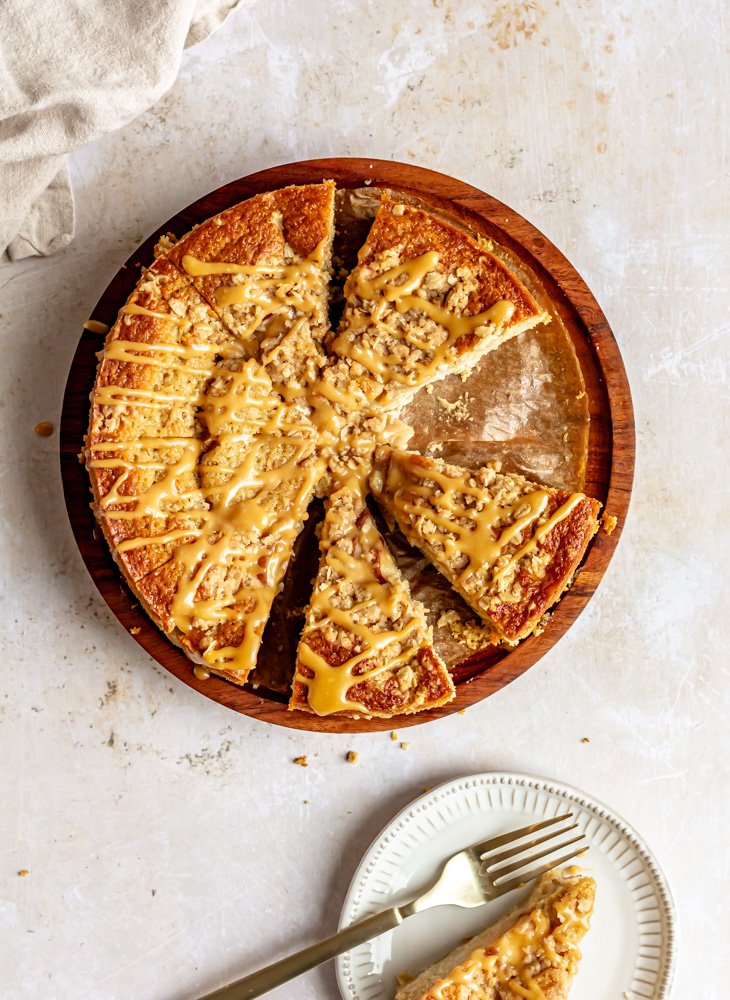
The diced pears are folded into the batter and then the batter is transferred to a 9” cake pan (I like deep springform pans for this recipe), before it’s topped with the reserved pear slices (for aesthetic purposes) and the chilled cardamom crumble.
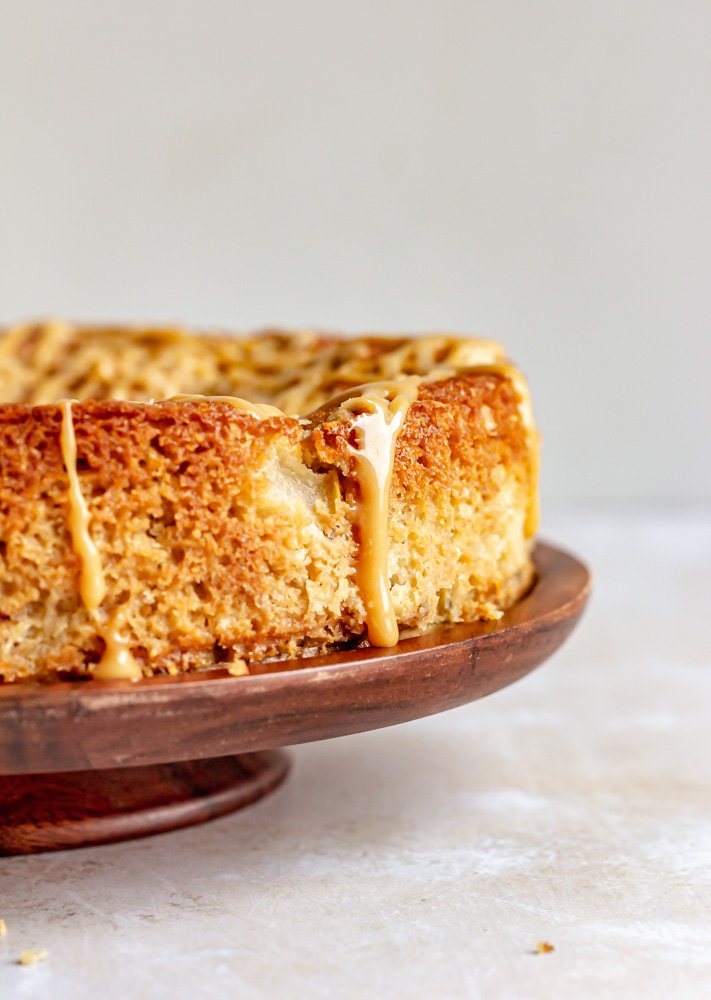
The cake is baked—it will need a longer bake due to the high moisture content, and then warm caramel glaze is drizzled over the top.


Pear and Cardamom Snack Cake
Ingredients
- 1/4 cup (32 g) all purpose flour
- 1/3 cup (30 g) rolled oats
- 1/4 cup (50 g) brown sugar
- 1/4 tsp ground cinnamon
- 1/2 tsp ground cardamom
- 1/4 tsp kosher salt
- 1/4 cup (56 g) unsalted butter, softened
- 1/2 cup (113 g) unsalted butter
- 2 cardamom pods, smashed
- 2 cups (240 g) all-purpose flour
- 1/2 cup granulated sugar
- 1/2 cup brown sugar
- 1 1/2 tsp baking powder
- 1/2 tsp baking soda
- 1 1/2 tsp ground cardamom
- 3/4 tsp salt
- 1 cup (227 g) buttermilk
- 1 1/2 tsp vanilla extract
- 2 large eggs
- 2 pears (375 g), 3/4 diced, 1/4 thinly sliced
- 1/4 cup (30 g) sifted confectioner's sugar
- 1/4 cup warm caramel, homemade or store-bought
Instructions
- Combine all ingredients in the bowl of a stand mixer fitted with the paddle attachment. Beat on medium speed for 2-3 minutes, until all of the butter has been worked in and mixture forms large clumps. Transfer to a bowl and chill while you make the cake.
- Place butter and smashed cardamom pods in a small saucepan set over medium heat. Cook, swirling occasionally, for 6-7 minutes or until the butter becomes foamy and fragrant and little brown flecks begin to form on the bottom of the pan. Transfer the butter to a bowl to cool and discard the cardamom seeds.
- Line the bottom of a 9" springform pan with parchment paper and set aside. Preheat the oven to 350° F.
- In a large bowl, whisk together the flour, sugar, brown sugar, baking powder, baking soda, ground cardamom, and salt. Set aside.
- In another bowl or a large measuring cup, whisk together eggs, buttermilk, and vanilla until smooth.
- Add the wet ingredients to the dry ingredients and whisk until batter is smooth and no flour clumps remain. Whisk in the cooled browned butter until thick and homogenized.
- Gently fold the diced pears into the batter until dispersed. Pour the batter into the prepared cake pan and arrange the sliced pears on the top. Generously sprinkle the crumble topping over the cake.
- Bake for 50-60 minutes, until cake is deeply browned and a skewer or knife inserted into the center comes out clean. Let cool in the pan.
- While the cake is cooling, whisk together the confectioner's sugar and warm caramel to form a smooth, drizzle-able glaze.
- Invert the cooled cake onto a serving platter and drizzle with the caramel glaze.
Notes
You can use store-bought or homemade caramel for this recipe, but you may need to slightly adjust the amount added depending on the thickness of your caramel. You can find the homemade caramel recipe that I used for this recipe here.