Caramel Brownie Ice Cream

Last week, our local weatherman said that temperatures would be in the 50s and 60s overnight on Saturday. This was not true. I stepped outside at 6:15 on Saturday morning to catch a gust of that crisp, fall air that I have been longing for since August and I was massively let down. Sure, there was a little breeze in the air and the temperature was slightly cooler than it has been, but by 9 am, we were back to the 80s and I was thinking about ice cream and rose. So in case you also live in a climate that refuses to embrace fall weather, here is a break from your regularly scheduled Instagram feed of stews and pumpkins.

This ice cream is more of a template than a full recipe and you should definitely experiment and make it fit your mood. Earlier this year, I read about this churn-free ice cream base that only called for two ingredients and I admit, I was hesitant. When finally decided to give it a whirl, I was upset that I hadn’t tried it sooner. Think of all the ice cream I could have been making! Fold a can of sweetened condensed milk into cream whipped to medium peaks and viola! Add whatever mix-ins you want, freeze overnight, and the next morning, you can eat ice cream for breakfast. All around, a great situation to be in.

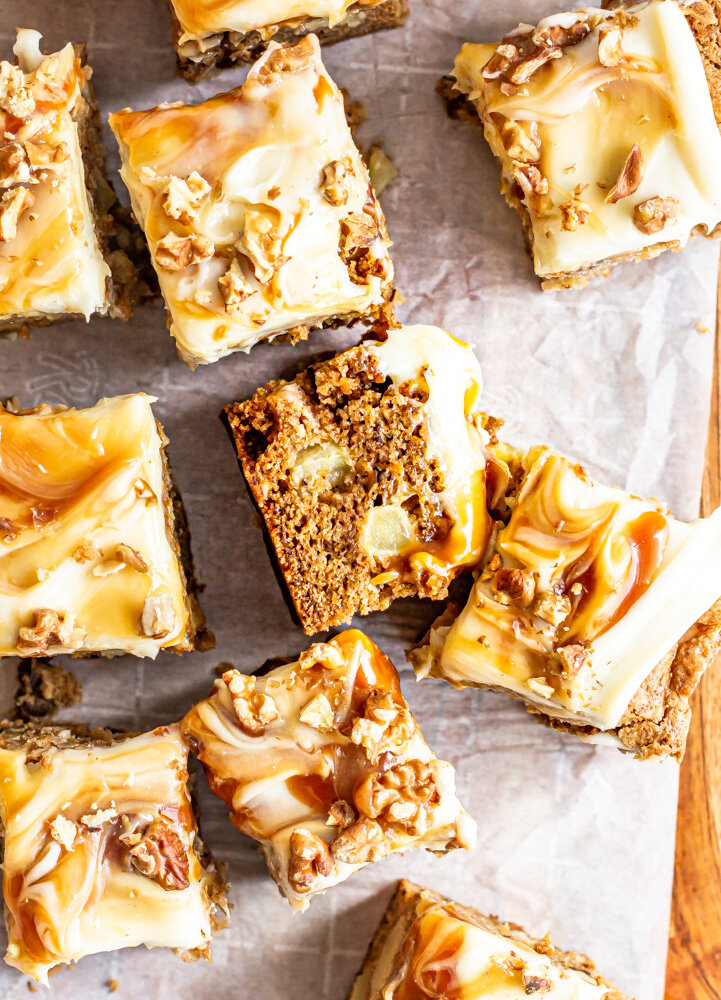
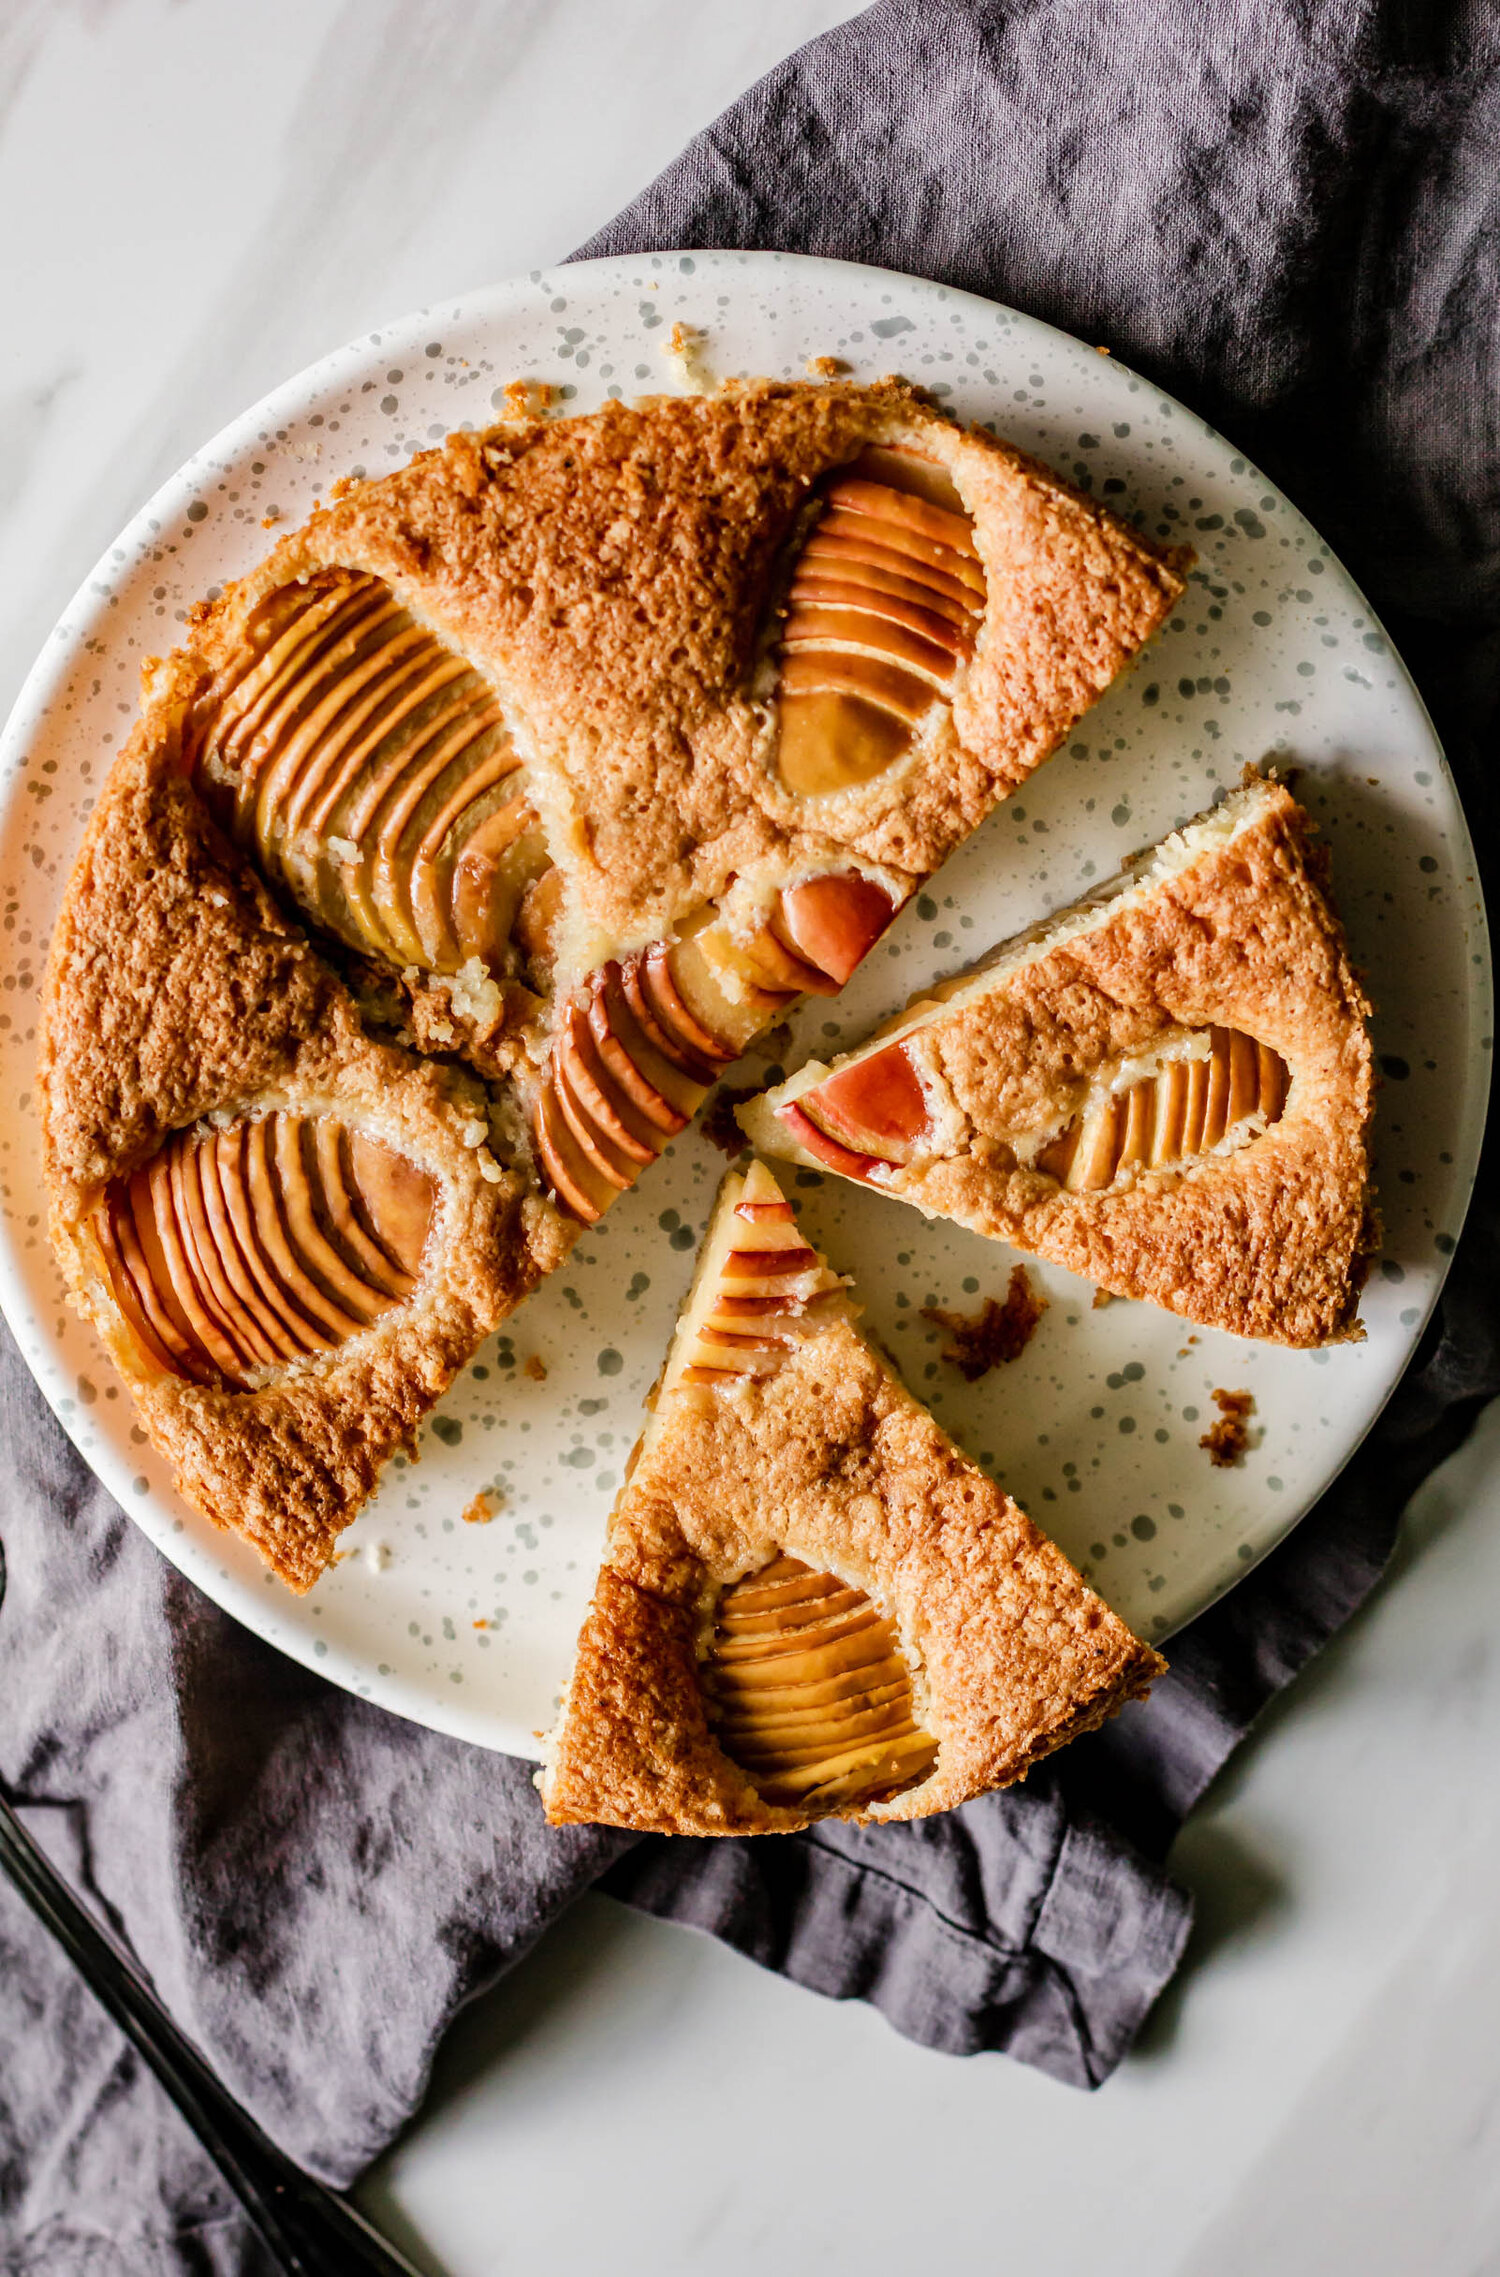
I had a few leftover brownies hanging out in my refrigerator from a previous order and a little Tupperware of butter caramel from last week’s apple cake that I decided to swirl into my ice cream. I included the recipes for those things at the bottom, but feel free to use your favorite brownie or some crumbled Oreos, or any cookie-like treat you have laying around your house. And even if you are fortunate enough to be experiencing flannel-shirt and pumpkin patch weather, remember that it’s never too cold for ice cream.

Caramel Brownie Ice Cream 

Ingredients:

For the ice cream: 

2 cups heavy cream

1 (14 oz) can sweetened condensed milk 

1/4-1/2 cup butter caramel

For the vegan brownies: 

1 cup flour 

6 T cocoa powder

1 tsp salt

11 oz dairy free chocolate, chunked into pieces

1 cup coconut oil

1 tsp ground espresso

1 cup sugar

1 cup brown sugar

6 T water 

5 flax eggs (5 T ground ground flaxseed mixed with 1 cup hot water)

Procedure:

To make the brownies: 

1. Preheat oven to 350 degrees, grease a 9x13” pan and line with parchment paper. 
2. In a medium bowl, toss together flour, cocoa powder and salt and set aside. Stir together flaxseed hot water and place in refrigerator to set up while you prepare the rest of the brownies. 

3. Combine sugar, brown sugar, and water in a medium saucepan and set over medium heat. Cook, stirring occasionally, until sugars are beginning to dissolve and you have a thick syrup. Meanwhile, place chocolate, coconut oil, and espresso powder in a large bowl. When your syrup is ready, carefully pour it over the chocolate mixture and allow to set for 2-3 minutes. Whisk everything together until combined and let come to almost room temperature. 

4. Whisk cooled flax eggs into chocolate mixture and then sprinkle dry ingredients over the top. Fold in dry ingredients until no streaks remain. 

5. Pour mixture into prepared pan and bake about 30-35 minutes, or until a toothpick comes out clean. Let cool completely before cutting. 


To make the ice cream: 

  1. Cut about a 1/4 of the brownies into 1/2” cubes. Place on a sheet pan and freeze while you prepare the rest of the ice cream. 

  2. If the caramel is cold, reheat it in the microwave in 30-second intervals until loosened. Let cool slightly (it should be room temperature when ready to use). 

  3. In the bowl of a mixing fitted with the whip attachment, whip cream to soft peaks. 

  4. Place the sweetened condensed milk in a separate bowl. Fold the whipped cream into the sweetened condensed milk until just combined. Sprinkle in the brownie chunks (reserve a few for the top) and fold them in. (You can use as much or as little brownie as you want!)

To assemble the ice cream: 

1. Line a loaf pan with plastic wrap. Pour half of the ice cream mixture into the loaf pan. Spoon half of the caramel over the top of the ice cream and swirl with a knife. Pour the rest of the ice cream into the loaf pan and spoon the rest of the caramel on top. Swirl with a knife and sprinkle the last of the brownie pieces over the top. Wrap the whole pan in plastic wrap and freeze overnight. 


Fall Apple Cake with Cream Cheese Frosting and Salted Caramel

Inspired by my mom's famous apple bundt and Yotam Ottolenghi's apple and olive oil cake, this simple fall apple cake is the perfect September recipe. A dense, apple-studded cake, filled with warming spices, topped with a classic cream cheese frosting and swirled with salted caramel.

fall apple cake-14.jpg

RECIPE AND PHOTOS UPDATED SEPTEMBER 2021

I have a lot of very strong opinions about fall desserts. I love pulling on my boots, walking through crunchy leaves, and spices that warm you from the inside out, but —and I know that this might not be a popular opinion— pumpkin desserts are way overhyped. During the month of August, I drove past a local bakery marquee proudly proclaiming “Pumpkin is here!” In the month of August. In Florida. In 90 degree weather. Now, I am not a monster and I think pumpkins have their place in the fall dessert world, but I think that we miss a lot of wonderful seasonal produce in our mad-rush for everything pumpkin.

Late August and early September give us some of the year’s best tomatoes, end of season berries are begging to be stuffed into buttery little pie crusts, and it is prime apple season. This cake is here to help you take advantage of the apple bounty and ease you into fall at a leisurely pace. It was inspired by a spiced apple cake that my mom has been making for as long as I can remember and a really lovely apple olive oil cake created by Yotam Ottelenghi. Using olive oil gives the cake a moist, tender crumb while the egg whites provide a little extra structure and height. A slice of this is with a cup of coffee is a perfect start to your semi-fall morning and I promise, there will still be plenty of time for all that pumpkin.

caramel -7.jpg

how to make homemade salted caramel

A batch of homemade salted caramel in your fridge is the secret weapon of fall baking that you didn’t know you needed. It’s perfect for swirling into cream cheese frosting on this cake, drizzling over ice cream or dolloping into brownies and it’s actually quite simple to make.

Making homemade caramel can be a bit daunting the first few times you do it though, so I created a helpful little video to provide some guidance on your journey. For this recipe, we used the dry caramel process which simply means that there is no water added to the sugar when cooking. We cook the sugar in a skillet with a larger surface area and let it caramelize on its own, agitating it as little as possible to help prevent that pesky crystallization. Then, we whisk in heavy cream, cook it a bit more until it reaches that deep amber color we all know and love, and then whisk in butter and salt. It’s truly as simple as that and it’s the gift that keeps on giving.

a few tips for making perfect caramel

  • Because caramel cooks so quickly, I like to get all of my tools and equipment ready beforehand. For this recipe, you'll need: a large skillet, a wooden spoon, a whisk, a cork or hotpad, bowls for your butter, sugar, and cream, and a clean bowl for your caramel to cool in.

  • When cooking sugar, remember that agitation = crystallization, which is what we are trying to prevent. Stirring your sugar as little as possible before it has dissolved is key to smooth caramel.

  • Out of fear of burning the caramel, many people don't cook their caramels long enough. I had a professor in pastry school who likened the process to adding cream to your coffee. When cooking the sugar, remember that you'll be adding cream which will lighten the color a bit. Cook your sugar until it is just one shade darker than you want your final product and then add the cream. I like my finished caramel to be a deep amber color (which you can see in the photos above).

  • Cleaning all of your sticky, sugar-laden dishes can be a pain! For easy clean up, fill your skillet with water and plop your sticky tools inside. Bring the water to a boil and then pour it out and wash your dishes. All of the caramel should come right off with the hot water.

fall apple cake-20.jpg
Fall Apple Cake
Yield
one 9x13" cake
Author
Anna Ramiz
Prep time
20 Min
Cook time
50 Min
Total time
1 H & 10 M

Fall Apple Cake

Inspired by my mom's famous apple bundt and Yotam Ottolenghi's apple and olive oil cake, this simple fall apple cake is the perfect September recipe. A dense, apple-studded cake, filled with warming spices, topped with a classic cream cheese frosting and swirled with salted caramel.

Ingredients

for the cake
  • 1 cup (200g) olive oil
  • 4-5 medium apples, peeled and cubed (about 600 g or 5 cups)
  • 1 3/4 cup (350g) sugar
  • 2 eggs
  • 2 egg whites
  • 2 1/2 cups (300 g) all purpose flour
  • 3/4 cup (75 g) spelt flour
  • 2 tsp ground cinnamon
  • 1/2 tsp ground all spice
  • 1/2 tsp grated nutmeg
  • 1/2 tsp ground cloves
  • 1 tsp ground cardamom
  • 1/2 tsp kosher salt
  • 1 tsp baking powder
  • 1 tsp baking soda
  • 1/2 cups (150g) chopped walnuts, toasted
for the frosting
  • 8 oz cream cheese, at room temperature
  • 4 oz butter, at room temperature
  • 1 1/2-2 cups (170g-227g) powdered sugar, sifted
  • 1 tsp vanilla
  • 1/2 tsp salt
for the salted caramel
  • 4 1/2 tbsp (65 g) butter
  • 3/4 cup plus 1 tbsp (160 g) sugar
  • 7 tbsp (100g) heavy cream
  • Pinch of salt

Instructions

to make the cake
  1. Preheat the oven to 350 degrees grease a 9x13 baking pan and line with parchment paper.
  2. Sift together flour, cinnamon, all spice, nutmeg, cloves, salt, baking powder, and baking soda. Add chopped apples and toss to coat with flour, set aside.
  3. In the bowl of a stand mixer, using the paddle attachment, beat whole eggs, sugar, vanilla, and olive oil on medium speed for about 7 minutes, until the mixture is light in color and has almost doubled in size. Remove the bowl from the mixer and use a rubber spatula to scrape the bottom and sides of the bowl.
  4. Use a rubber spatula to gradually fold in dry ingredients and apples, followed by the toasted walnuts, until combined and no flour remains. The mixture will be very thick, but that’s okay because it will bake up beautifully with apples in every bite.
  5. Place the egg whites in a separate, clean bowl and whip until soft peaks form when you lift the whisk from the bowl. Gently fold the egg whites into the cake batter.
  6. Pour the batter into the prepared pan and bake for 50-60 minutes, or until a cake tester comes out clean and the edges of the cake start to pull away from the sides of the pan. Depending on how consistent your oven heats, baking time may very. Start checking your cake at 45 minutes and check every 5 minutes after until done.
  7. Cool cake completely before frosting.
to make the frosting
  1. In the bowl of a mixer fitted with the paddle attachment, cream together butter and cream cheese.
  2. Add powdered sugar, vanilla, and salt and beat until smooth and fluffy.
to make the caramel
  1. Set a large skillet over medium heat. Add half of the sugar in a single layer on the bottom of the skillet. Cook, without stirring, until the sugar begins to brown and liquify in the center of the pan. At this point, you can use a wooden spoon to gently scoot some of the sugar from the outer edges towards the center.
  2. When about 50% of sugar has liquified, you can add the remaining half of the granulated sugar, again in an even layer over the skillet.
  3. Continue cooking, stirring as little as possible, until all of the sugar has dissolved and the caramel is a deep amber color.
  4. Remove the caramel from the heat and carefully whisk in the heavy cream. This will bubble angrily, but that's okay! Return the skillet to the heat and cook for one more minute, until the caramel is smooth and has a deep brown color.
  5. Remove the caramel from the heat again and whisk in the butter, a few cubes at a time. When all of the butter is added, sprinkle in a big pinch of flaky salt and let cool. Store in a sealed jar in the fridge for up to two weeks.
to assemble
  1. Remove cooled cake from pan and place on a work surface.
  2. Use an offset spatula to smooth frosting over the top of the cake. (The best part of making your own cake is that you can use as little or as much frosting as you want!)
  3. To feather the caramel: place some of the caramel in to a piping bag and cut a small hole at the tip. Make horizontal lines across the cake, dragging your caramel drizzle all the way off the side of the cake before coming back across the other way. Continue your horizontal lines, evenly spaced, all the way down the length of the cake. Use the tip of a small paring knife, to drag vertical lines, alternating up and down, over the cake.
  4. To swirl it into the frosting: dollop caramel over the top of your frosting and use an offset spatula or the back of a spoon to swirl it into the frosted in a tie-dye fashion.

Notes:

  • My mom's original apple cake is baked in a bundt pan, but unfortunately, I don't have one! If you'd like to make this in bundt pan, it should work just fine--just be aware that baking times may differ. Start checking for doneness around the 40 minute mark, just to be safe.
  • When choosing what kind of apple to use, go with what you like. Everyone always says that you're supposed to bake with Granny Smiths but I don't like them so I don't. A mix of different types of apples would work really well in this recipe too!
  • If you don't have spelt flour, you can use a full 375 g of all purpose flour or you can substitute whole wheat flour or rye flour in its place.


Did you make this recipe?
Tag @gatheredatmytable on instagram and hashtag it #gatheredatmytable

Mediterranean Month: Homemade Pitas

I have always liked the idea of pita, it’s bread with a convenient little pocket that you get to stuff with anything your heart can imagine, but in actuality, for a long time pita was never even made the top 10 of my favorite styles of bread. This is because grocery store pita is, in my opinion, simply disappointing. I have purchased that pack of on-sale pita from the deli rack many times, full of excitement and with a list of well-meaning intentions a mile long that vanish as soon as I get home and untwist the little wire holding the bag closed.  Grocery store pita bread is dry. Desert-island dry. And when you try to pry open that much anticipated little pocket, the bread tears and breaks leaving you with no pocket to fill and flimsy shards of pita to contend with.

These pitas are not at all like those grocery store-style pitas. They are soft and fluffy, moist and chewy and there are no flimsy pita shards that fall off when you try to open them. They also keep well for a few days, freeze excellently, and are not very labor intensive or difficult to make. The key to making a good pita is giving it enough resting time for the gluten to get used to its new size, so that it has the ability to puff up when you bake it. To make these pitas, you just mix together your dough and then give it an hour to an hour and a half to proof and double in size. Then, you punch it down, divide your dough into equal pieces, and shape those pieces into little pita spheres. Let them rest about ten minutes before you roll them into their final pita shape. After you have your final discs, it is super important to let them rest about 30 minutes (covered with plastic wrap because we do not want them drying out) before baking them off. The pitas bake in batches of 4, depending on the size of your cookie sheet and oven, and only take about 7-9 minutes to bake. 

A little effort goes a long way here and once you try your hand at home-made pitas, you’ll never be able to go back to those grocery store “pitas” again. 

Homemade Pita Bread

Yield: 8 pitas

Ingredients: 

1 cup water

2 tsp active dry yeast

Pinch of sugar 

2 1/2-3 cups of flour, plus more for dusting 

2 tsp salt 

1 tbsp olive oil 

Procedure: 

  1. Heat water to 110-115 degrees, add the sugar and yeast and then set aside to let yeast hydrate. After about 2 minutes, you can stir the yeast into the water and then let it sit for another 3-4 minutes, until it starts to create a foam at the top of the water. 

  2. In the bowl of a stand mixer, toss together 2 1/2 cups of flour and salt. Add the olive oil and yeast mixer and mix on medium-speed with a dough hook until everything is combined. Increase the speed to medium and continue to mix for 5-7 minutes until the dough pulls away from the sides of the bowl. Add the last 1/2 cup of flour in tablespoon increments if the dough seems wet —you may not use all of the flour. You are looking for a smooth, slightly tacky dough with full gluten development. 

  3. Place the dough in a greased bowl, cover and let proof for 1-1/2 hours, until doubled in size. 

  4. When dough has proofed, turn out onto a well-floured work surface. Divide the dough into 8 equal pieces and shape each piece into a smooth ball. *It is important to keep your dough balls covered with a piece of plastic wrap as you roll so that they don’t develop a skin because of air exposure.* Let your dough balls rest, covered, for about 10 minutes. 

  5. While the dough rests, prepare a large cookie sheet by dusting it with flour. 

  6. After they have rested, begin rolling each dough ball into a circle 6-7 inches wide, turning and moving the dough as you roll. If the dough starts to stick, add a little more flour to your rolling pin our work surface. As you roll out each circle, place it on the floured cookie sheet and cover with plastic wrap. 

  7. When all of the dough has been rolled out, let your dough circles rest, covered with plastic wrap, for 30 minutes. 

  8. While the dough is resting, place a cookie sheet, upside in your oven and preheat your oven (and the pan) to 450 degrees. 

  9. When the dough is rested and the oven and pan are preheated, carefully and quickly place 4 pitas (or however many you can fit) on the bottom side of your hot pan. Close the oven door quickly and bake pitas for 5-8 minutes, until they have puffed and are beginning to lightly brown on the bottoms. 

  10. Transfer baked pitas to a plate or towel to cool and repeat baking process with the final 4 pitas. 

  11. Let pitas cool before eating. Serve with hummus, tzatziki, stuff with falafel, or just eat them plain! 


Note: Pitas are a temperamental bunch and no matter how many times I have made them, some pitas will puff and some will not. Allowing your pitas that 30 minute resting period will increase your puff likelihood so that is an important step! Don’t fret though, because even if your pita doesn’t puff, you should still be able to split open the pockets and it will still taste delicious.