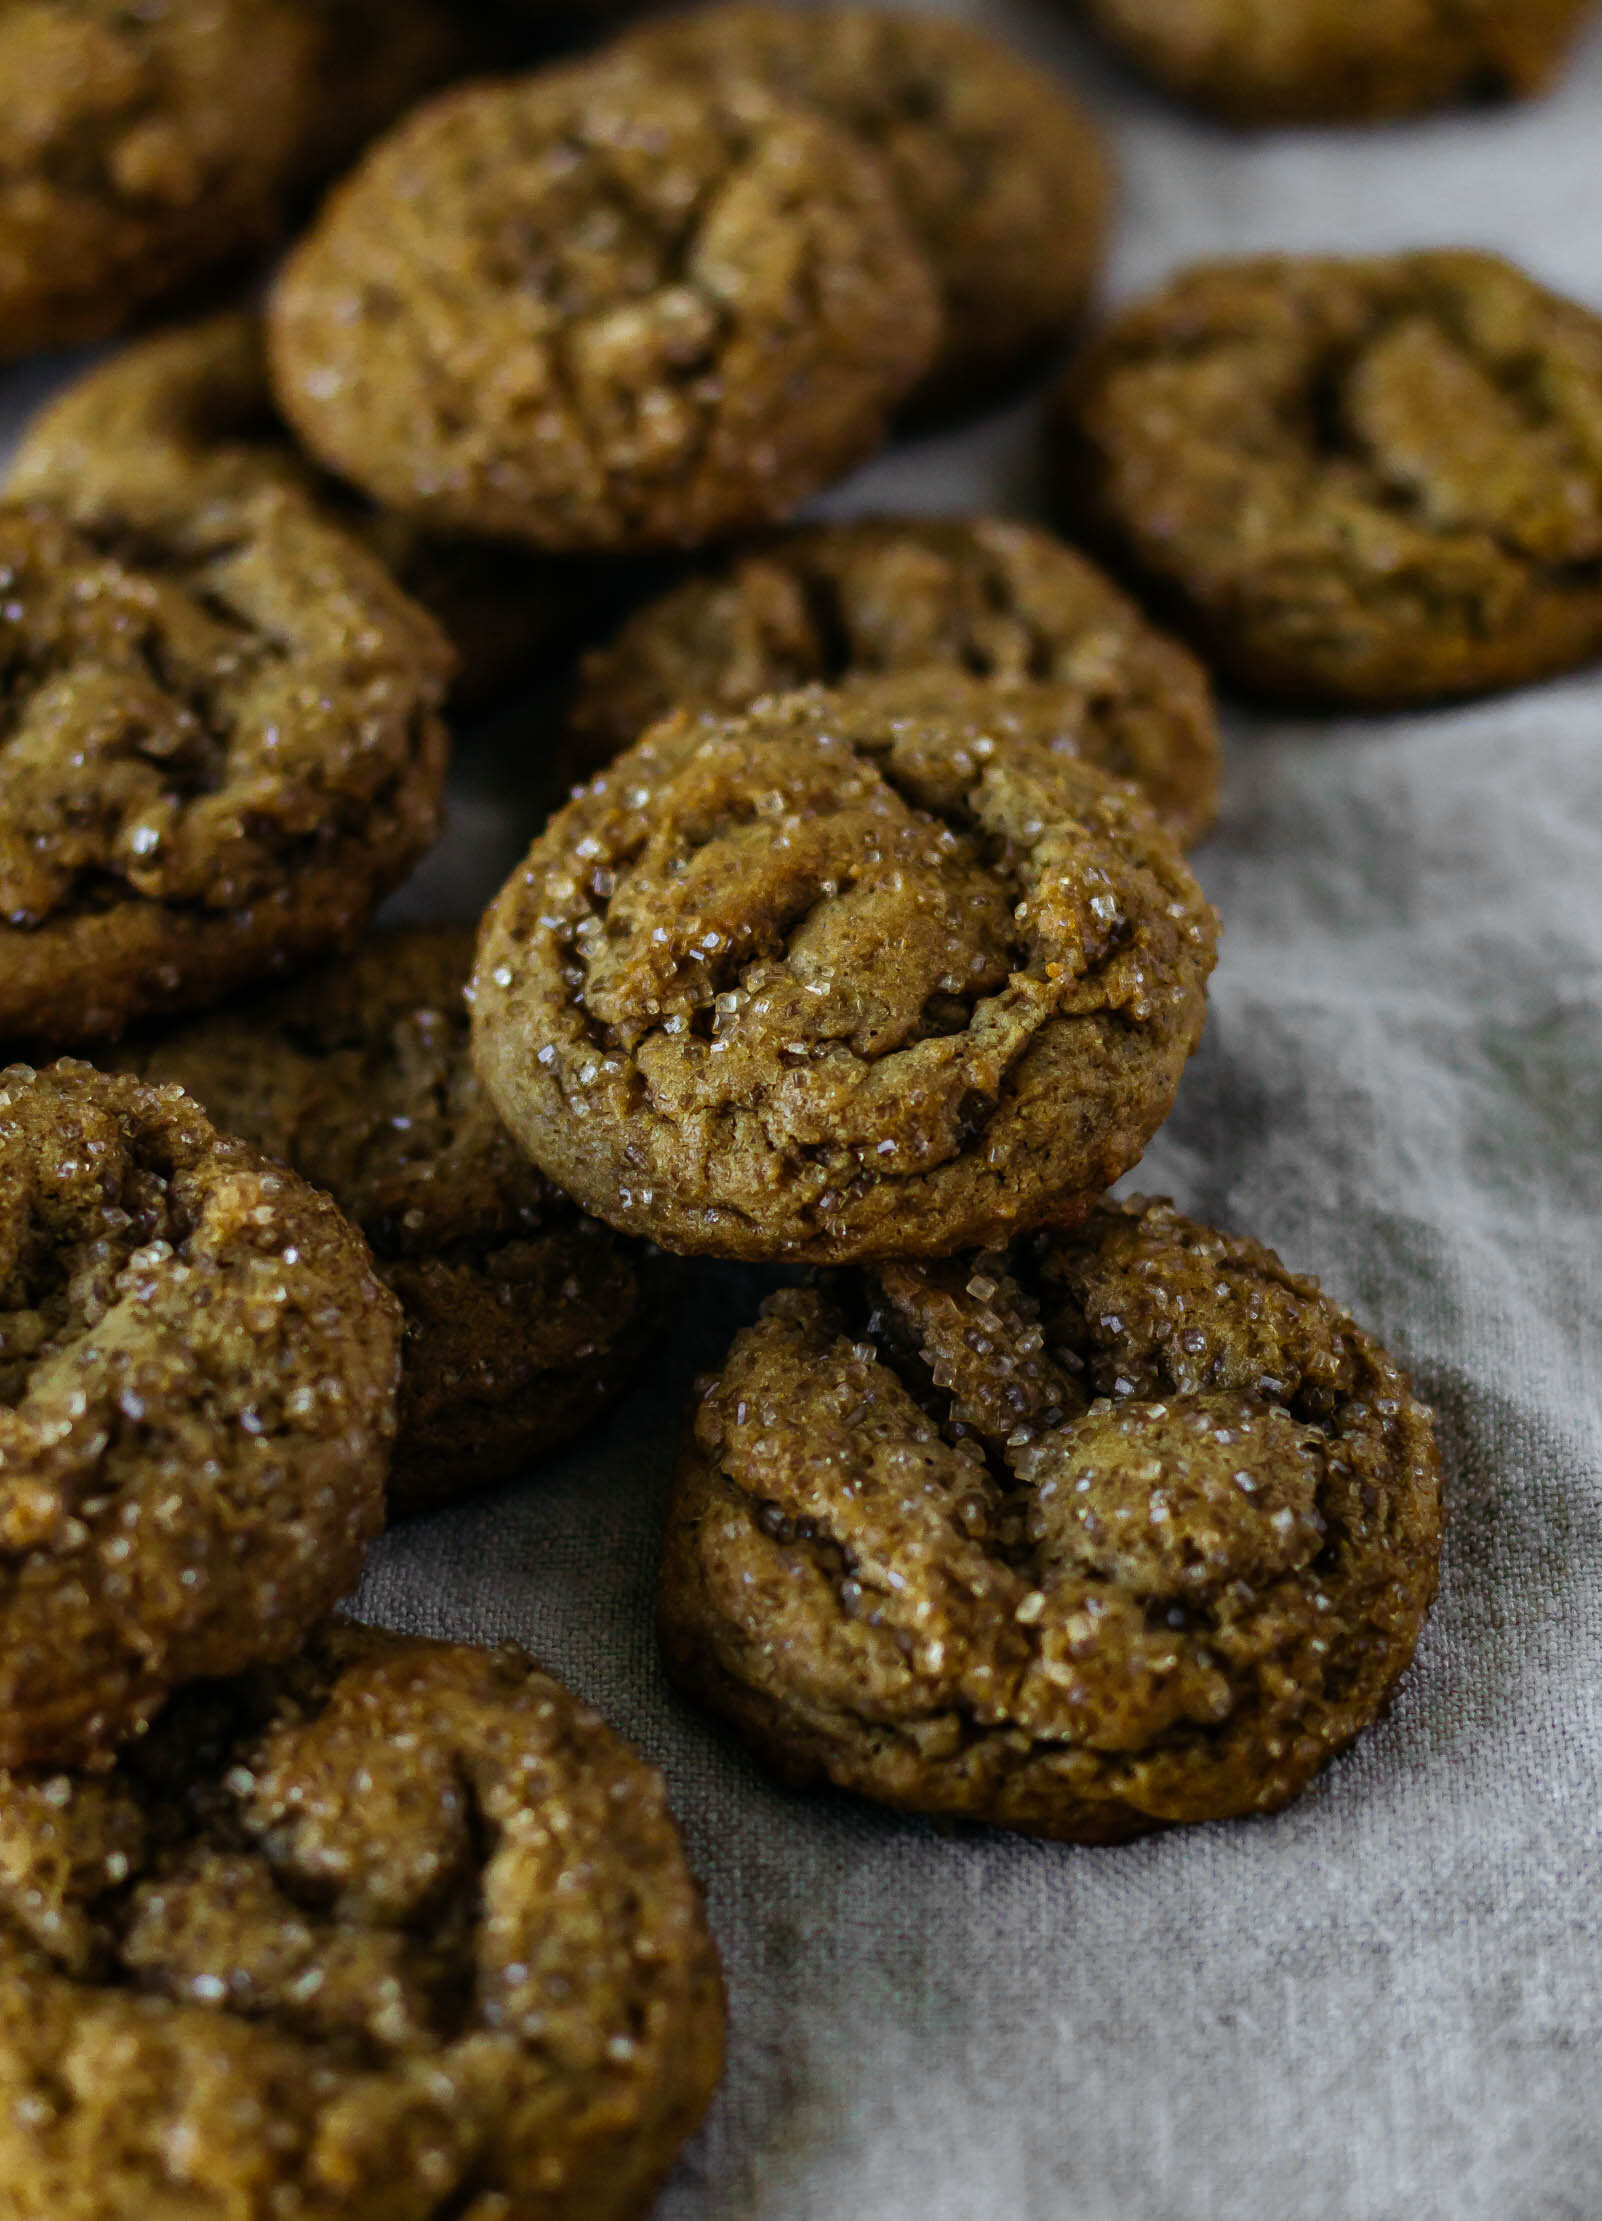
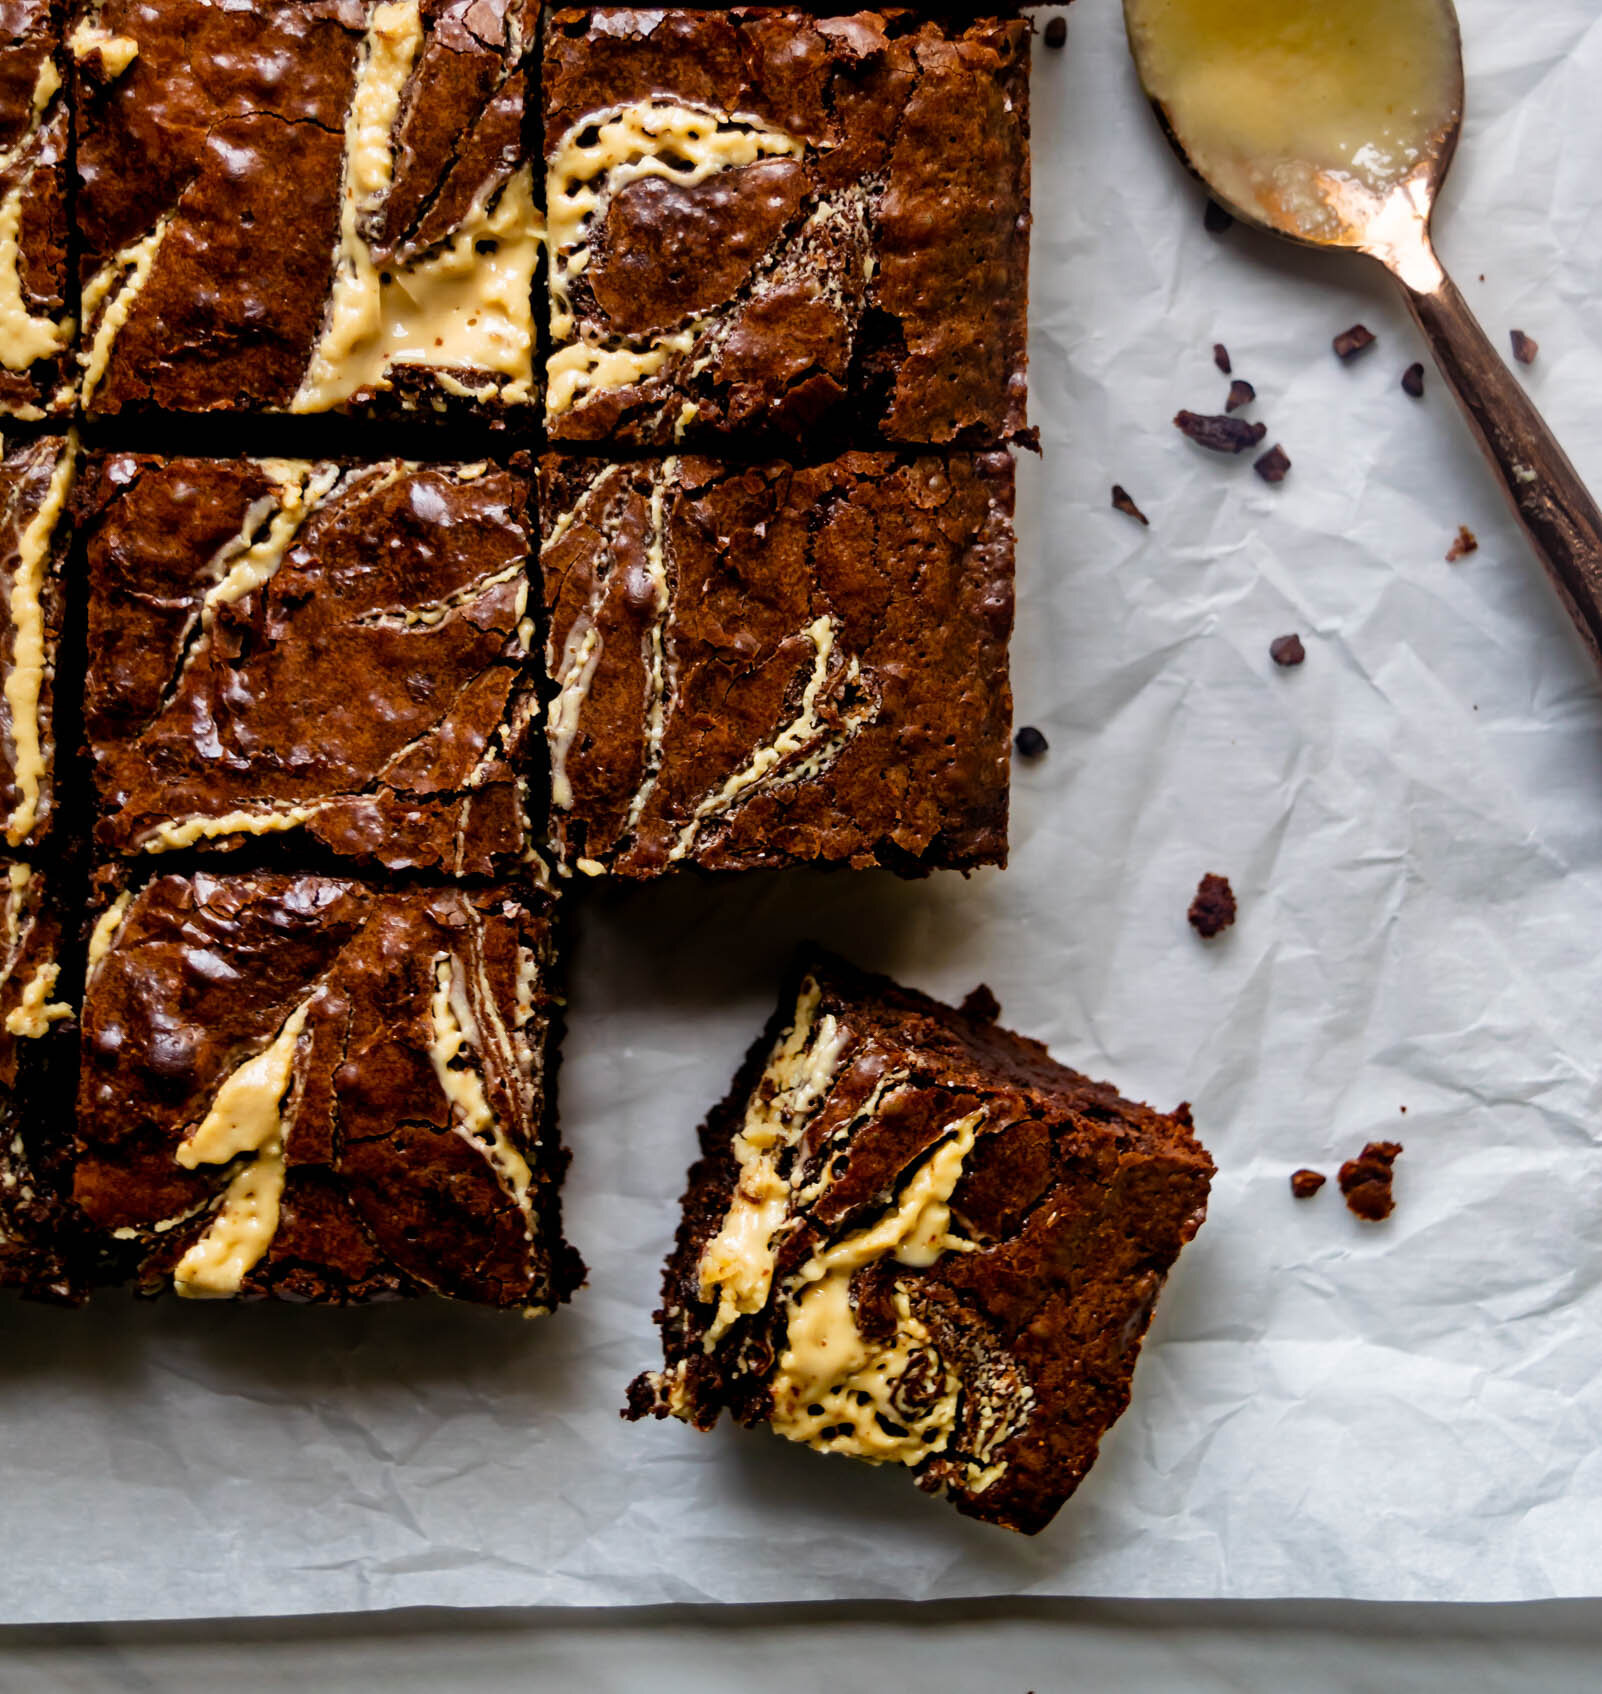
Espresso Tahini Brownies
/My favorite fudgy brownie recipe. A thick, chewy chocolate espresso brownie, swirled with nutty tahini because there is nothing better than a good, homemade brownie.

Today, we’re getting a little controversial. I know that what I am about to say is not the overall opinion of the masses and I also know that I am getting ready to step into what could be a very heated discussion. Nonetheless, I press on. I am one of those people who never read Harry Potter…until now. Though I was a voracious childhood reader back when the first book was released, my mom wasn’t a big fan and I had little to no interest in fantasy literature so it just wasn’t on my radar. I am smack in the middle of the Harry Potter generation and as I got older, everyone I knew had read ALL of the books, seen ALL of the movies, knew ALL of the backstories, plot twists, etc, etc, and so I just kept quiet about the fact that I never read them. Sometime last year, my husband and one of our friends decided that I was still missing out so we started watching the movies. I made it through one and a half. So now, my book club (which by the way is comprised of my best friends from high school and devout Potter fans) have decided to remedy my situation by reading through the series month by month. For me, it’s been a slow month. It’s not that I don’t enjoy the story or see the draw, I just feel like I missed the boat back in elementary school and have been doing okay without Harry Potter in my life. I will, however, promise to keep an open mind and will report back as we move through the series.
Though it may not be my cup of butter beer (I think that is an appropriate HP reference), I get it. There are some books that draw you in again and again. Books with dog-eared pages and crinkled covers, in which you discover something new every time you pick it up. In my overstuffed shelf of cookbooks, I have one like that. Sweet by Yotam Ottolenghi and Helen Goh is the HP of my cookbook collection. All 363 pages are pure gold and I am drawn to something new each time I flip through. Their approach to dessert challenges me to use new ingredients and introduces me to slightly unorthodox, but always delicious flavors, but Ottolenghi’s writing walks me through each step in such a way that makes me feel like he is in my kitchen with me, folding egg whites into chocolate and chatting about yoghurt. These espresso tahini brownies are my riff on the ones from Sweet. These are my favorite way to make brownies and I now I continually find myself trying to swirl tahini into any baked good I can.
how to make espresso tahini brownies
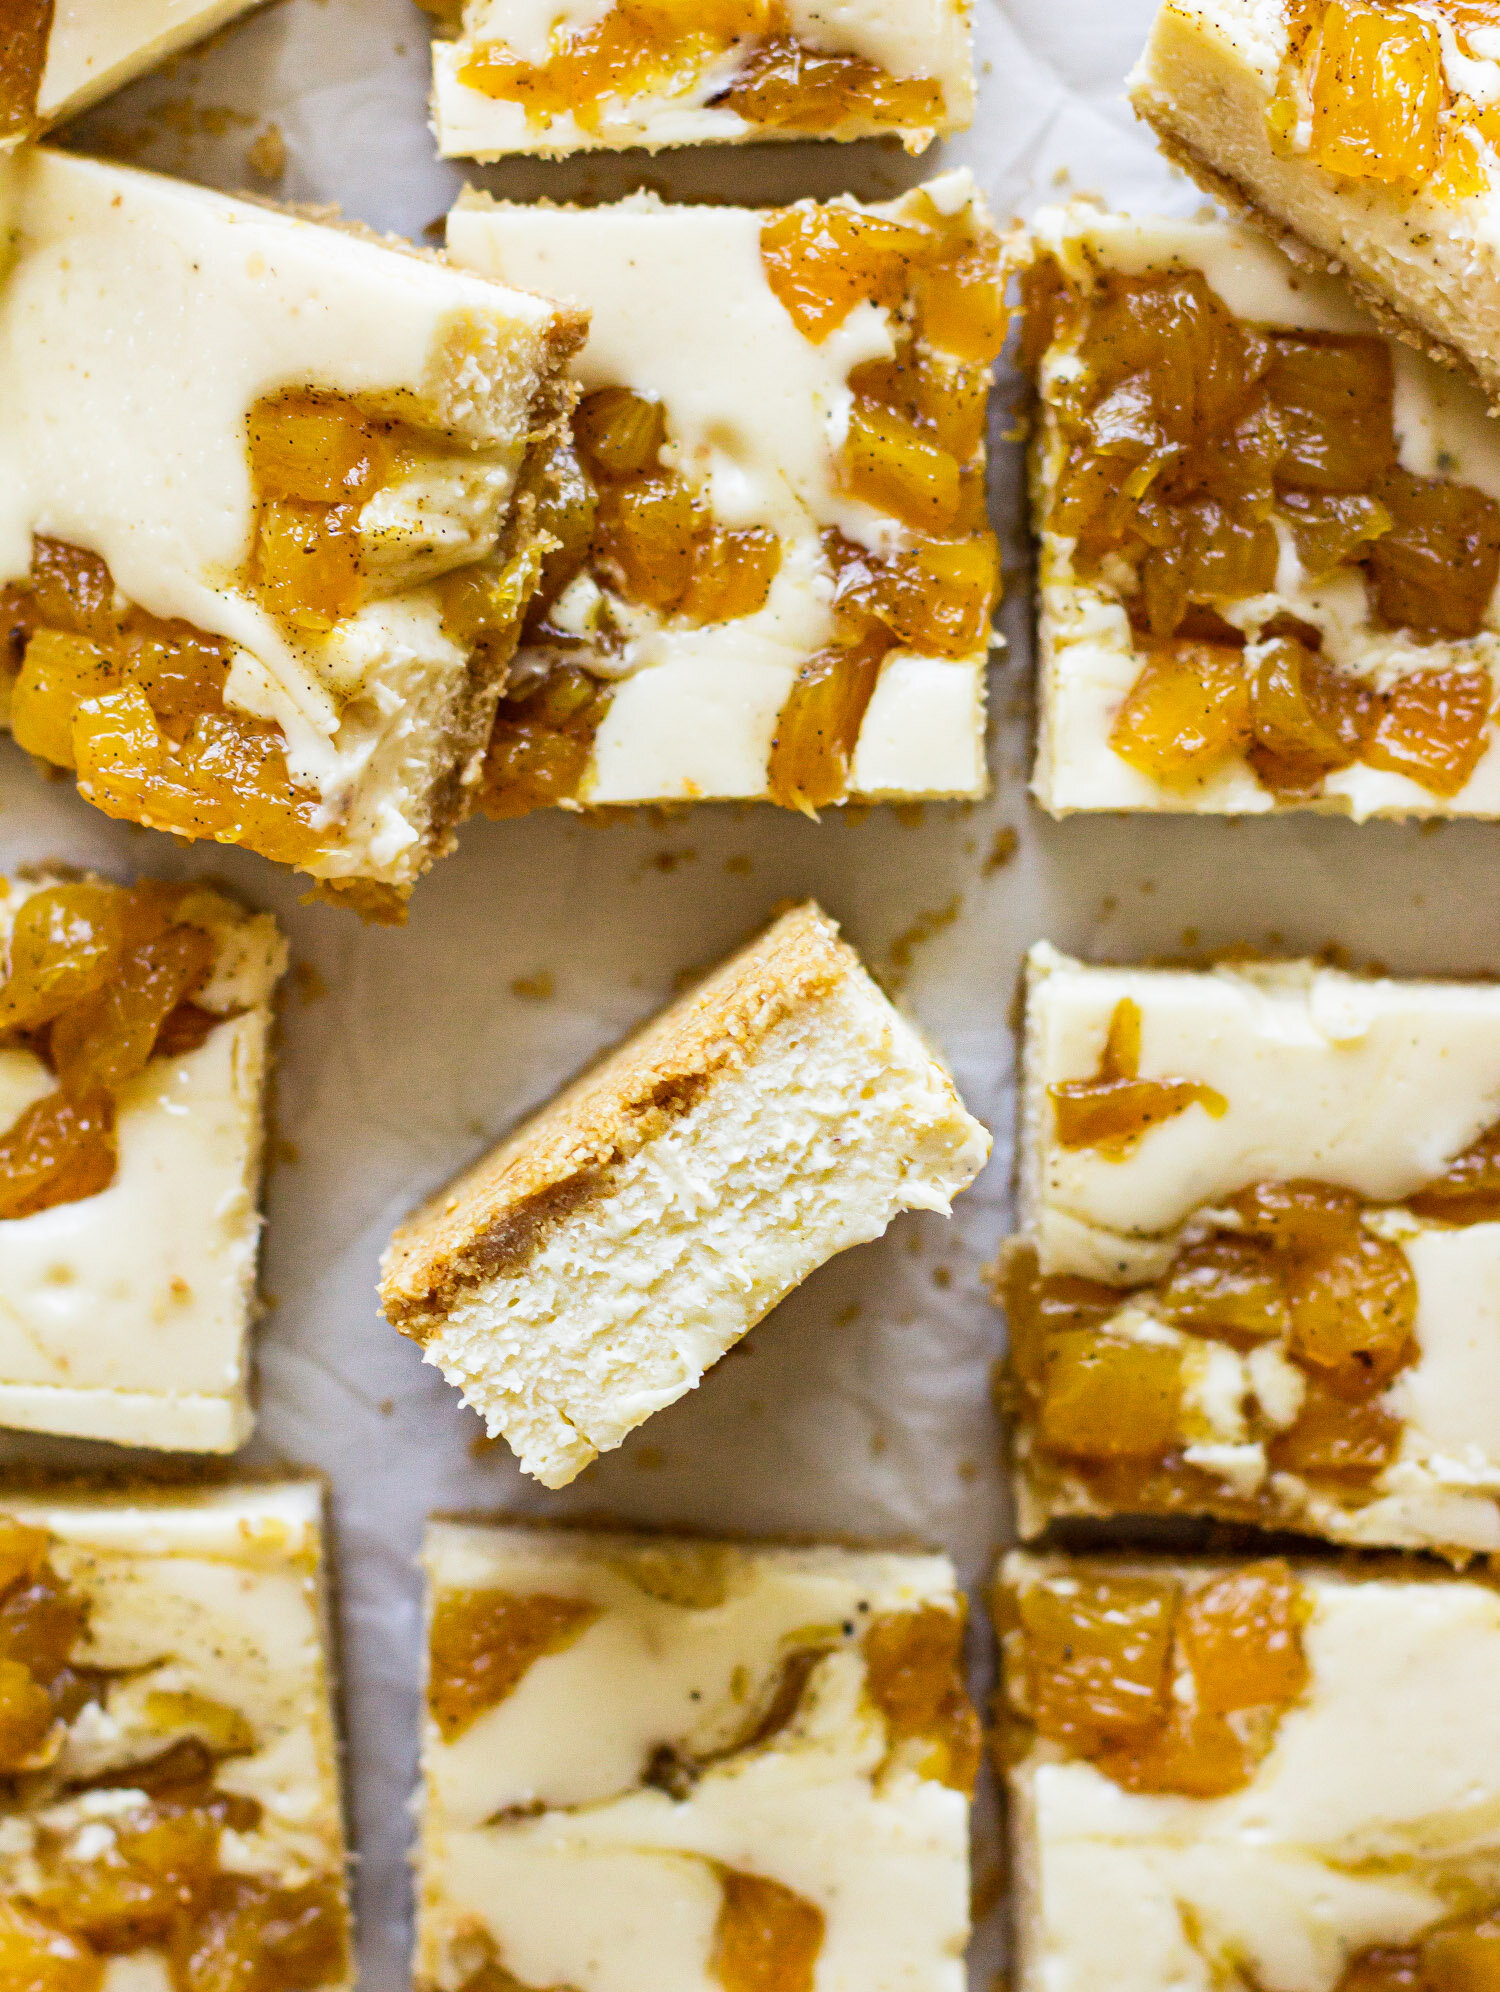
I am a big fan of thick, fudgy brownies, which means I tend to incorporate a lot of eggs and not a lot of flour in my brownie recipes. For this one, we start with a base of melted dark chocolate, butter, and espresso powder. Sugar and brown sugar are whisked into the warm chocolate, followed by the eggs until everything is smooth and homogenized. A bit of flour and some dark cocoa powder is folded in until just incorporated and then the batter is swirled with dollops of tahini before baking.

Espresso Tahini Brownies
Ingredients
- 1 cup all purpose flour
- 1 tsp salt
- 6 Tbsp dutch process cocoa powder
- 11 oz dark chocolate, chopped
- 1 cup (2 sticks) butter, cubed
- 2 tsp ground espresso
- 1 cup sugar
- 1 cup brown sugar
- 5 eggs
- 2 tsp vanilla extract
- 1/4 cup tahini
Instructions
- Grease a 9x13 pan and line with parchment paper. Preheat oven to 350 degrees.
- Place chocolate, butter, and espresso in a large, heat proof bowl. In a separate bowl, sift together flour, cocoa powder, and salt. Set aside.
- In a medium saucepan, heat sugar, brown sugar and 6 T water (or coffee). Cook over medium heat until syrupy and simmering at the edges. The sugars should be mostly dissolved. Immediately pour the syrup over the chocolate/butter mixture and gently shake the bowl to make sure everything is coated. Let sit for 3-4 minutes. Whisk until everything is combined and smooth.
- Add 2 eggs to the chocolate mixture and whisk until combined. Whisk in the remaining 3 eggs and vanilla extract. Sprinkle dry ingredients over the top of the chocolate mixture and use a rubber spatula to fold in gently until no flour streaks remain.
- Pour batter into the prepared pan and smooth the top with a spatula.
- Dollop tahini evenly over the top of the batter and swirl with a toothpick or a knife.
- Bake for 35-40 minutes, rotating the pan halfway through, until a skewer inserted into the center comes out clean.