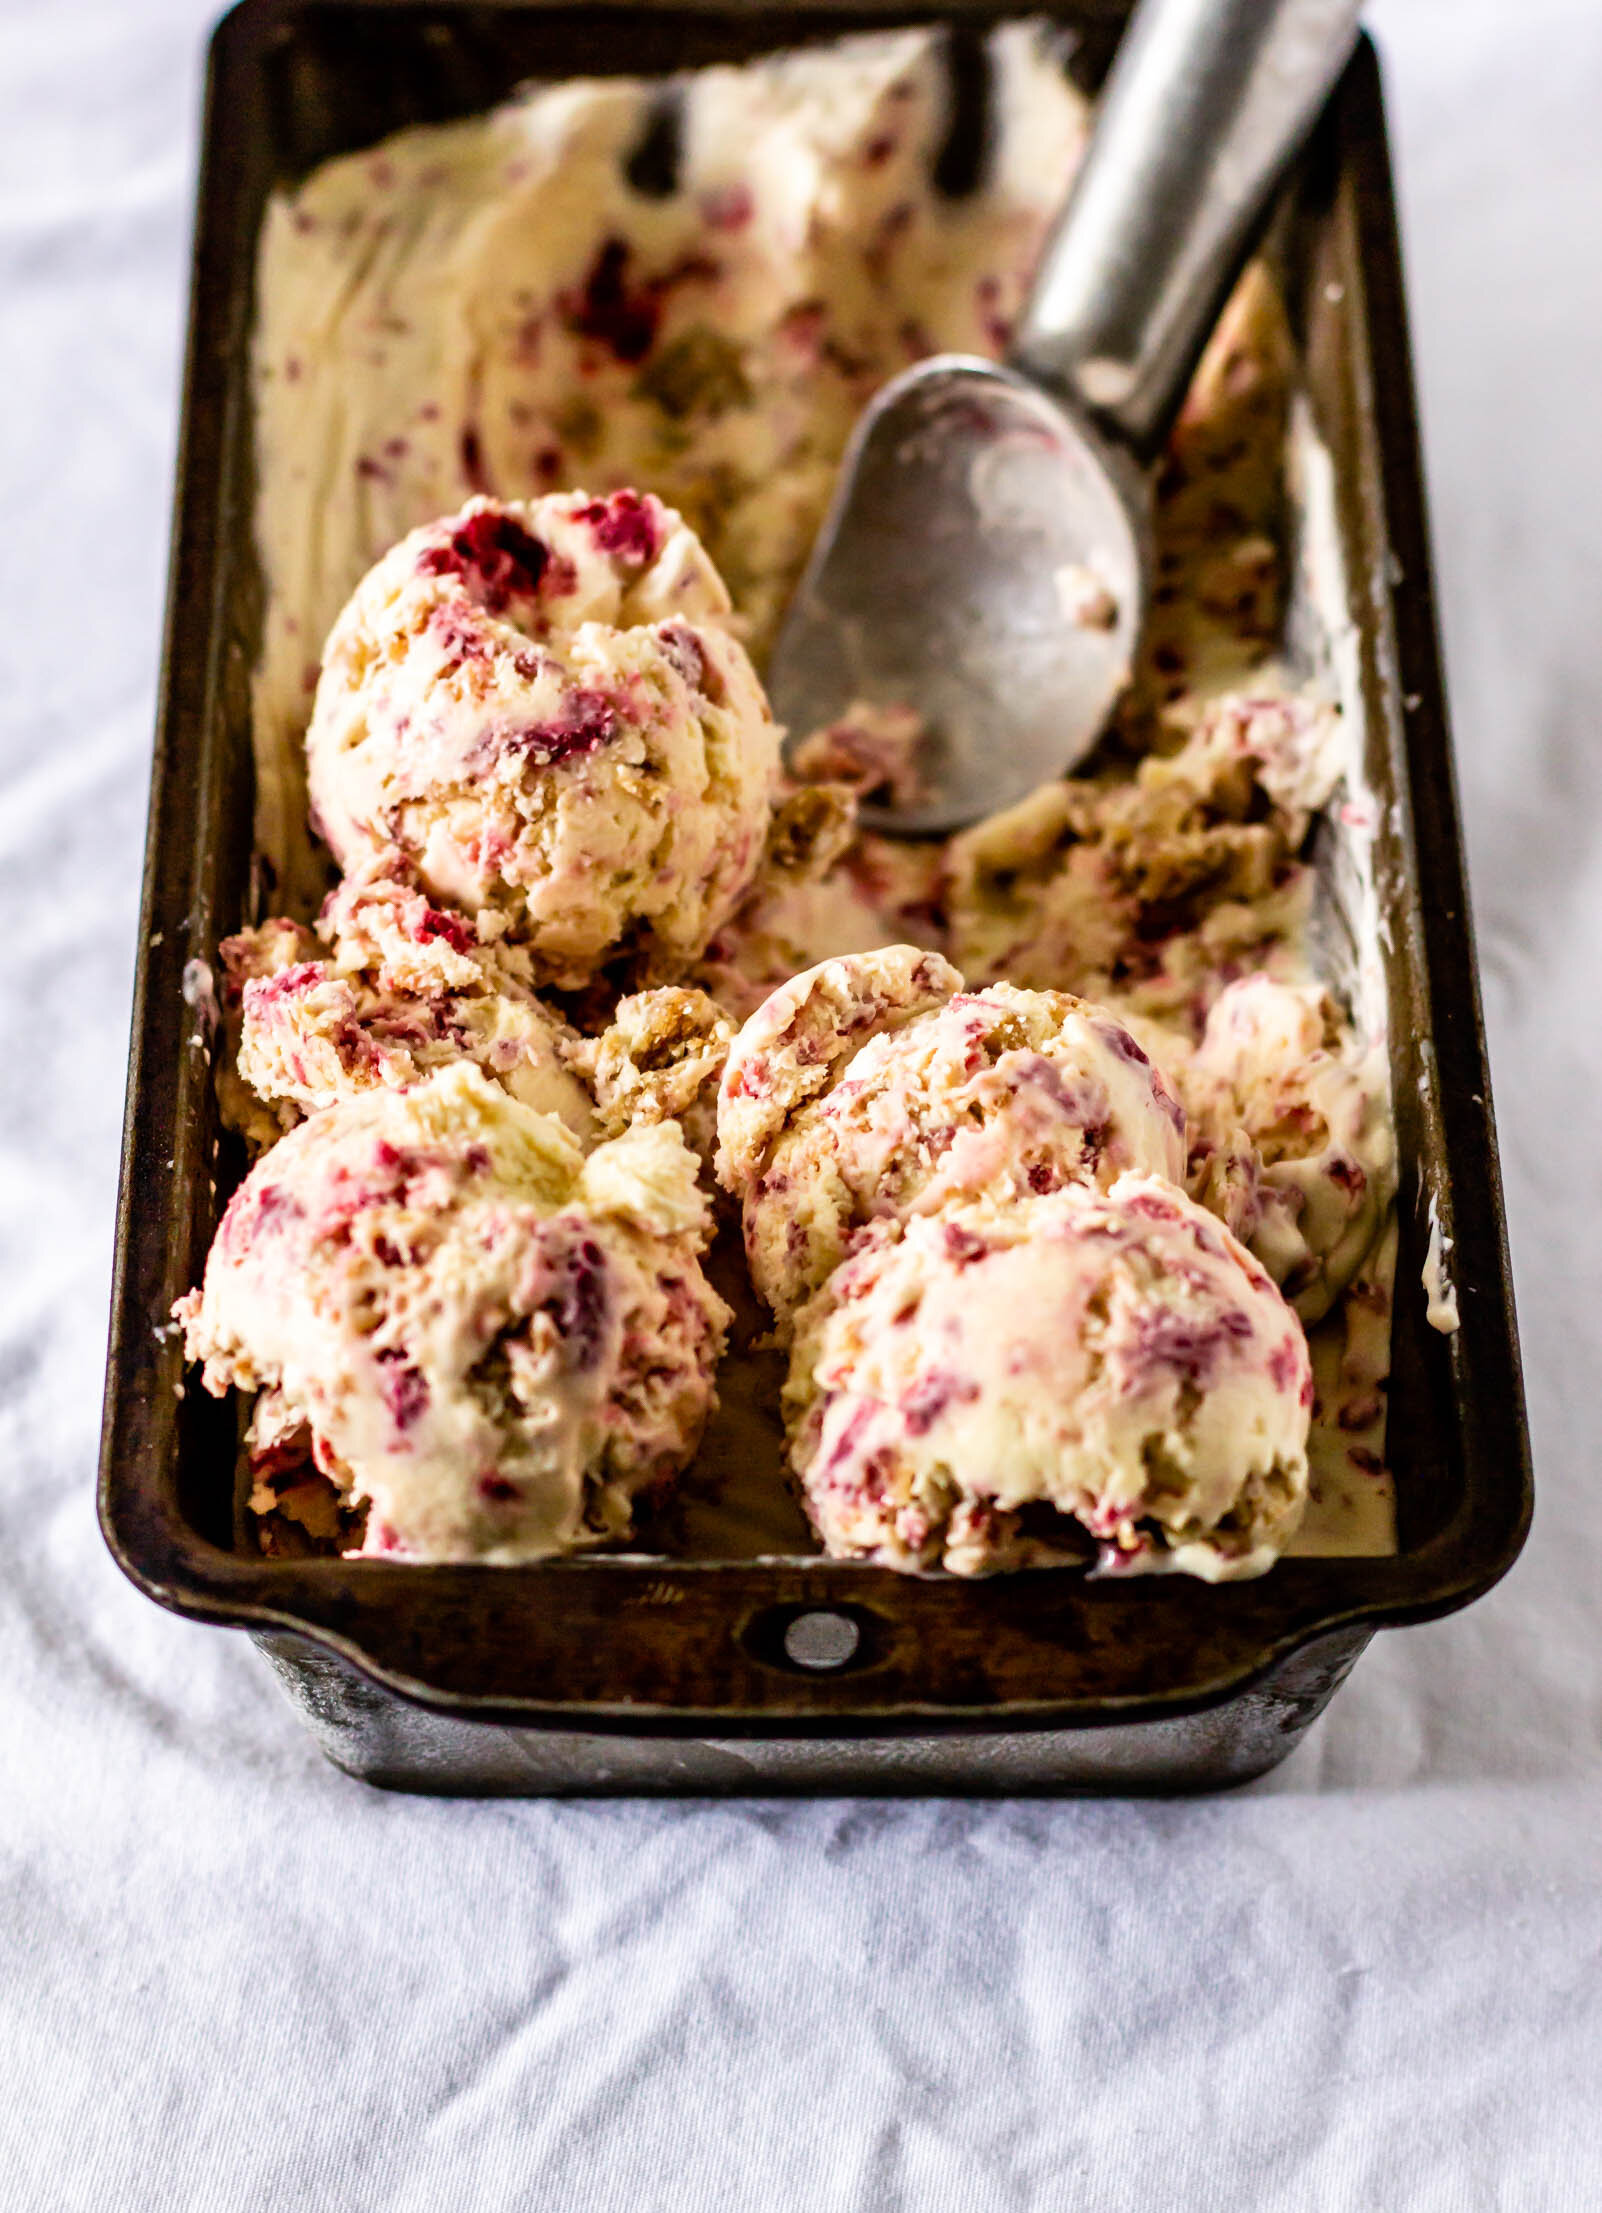
Basil Olive Oil Ice Cream
/
It’s Day 8 of our little 12 Days of Christmas Project and I’m turning tradition on its head and giving you an ice cream recipe. I know that ice cream may not be the most tradition of holiday desserts, but we eat snow so why not ice cream? Like all of the ice cream recipes I have here on the blog, this ice cream base can made without an ice cream maker or with the assistance of one so there are no real excuses for not making ice cream.
I created this recipe a few months ago as a part of a Thanksgiving campaign featuring Monini’s Basil Olive Oil and it was a hit. A simple vanilla ice cream custard base is steeped with basil leaves and basil olive oil is added after whipping the cold custard (or drizzled in during the churning process if you are using an ice cream maker). Once the base has frozen overnight, more olive oil is drizzled on the ice cream before serving. It’s bright and floral and interesting and makes a really lovely dessert when served after a rich, heavy meal.
If you don’t have access to Monini’s Basil Olive Oil, this recipe can easily be made using high-quality, extra virgin olive oil. And if you are looking to go the extra mile, scrape out a few vanilla beans and place the seeds and pods in a jar with some olive oil and let it infuse. Store it in your pantry and have it on hand to drizzle over any ice cream or fruit anytime.

Basil Olive Oil Ice Cream
makes 1 quart of ice cream
Ingredients
2 cups (460 g) heavy cream
6-8 fresh basil leaves
3 strips of lemon zest (from about 1/2 of a lemon)
3/4 cup granulated sugar
4 egg yolks
pinch of salt
1 tbsp vanilla extract
1/4 cup Monini Basil Olive Oil or extra virgin olive oil, plus more for drizzling
Procedure
In a medium saucepan, heat cream, basil leaves, and lemon zest over medium-low heat until it is beginning to bubble around the edges of the pan and is hot to the touch. When hot and bubbly, remove from the heat and cover. Let steep for 30 minutes, then strain out basil and lemon zest.
Return the steeped cream to the medium saucepan and set it back over the heat. Bring the cream back to a simmer.
While the cream is heating, whisk together sugar, egg yolks, salt, and vanilla extract until a thick paste forms. When the cream is hot, slowly stream it into the egg mixture, whisking continually the whole time. Transfer the entire mixture back into the saucepan and return to heat.
Cook, stirring continually with a wooden spoon, over low-medium heat until the sauce is thickened, but do not bring to a boil. You can test if the sauce is ready by wiping your finger through the sauce along the back of the wooden spoon. If the line your finger creates holds, the sauce is ready. If it drips, continue cooking.
When the sauce is sufficiently thickened, remove from heat and immediately strain into a large mixing bowl. Press a piece of plastic wrap directly over the top of the custard, cover and refrigerate, until completely cold (preferably overnight).
When the ice cream base is cold, transfer it to the bowl of a stand mixer fitted with the whisk attachment. Whip on medium-high speed until soft peaks form and then, with the mixer running, stream in the 1/4 cup of olive oil
Spread the whipped cream mixture into a 8x8” loaf pan, press a piece of plastic wrap directly on the surface, wrap tightly, and freeze for at least 12 hours.
To serve, scoop ice cream and drizzle with more olive oil.

more recipes like this
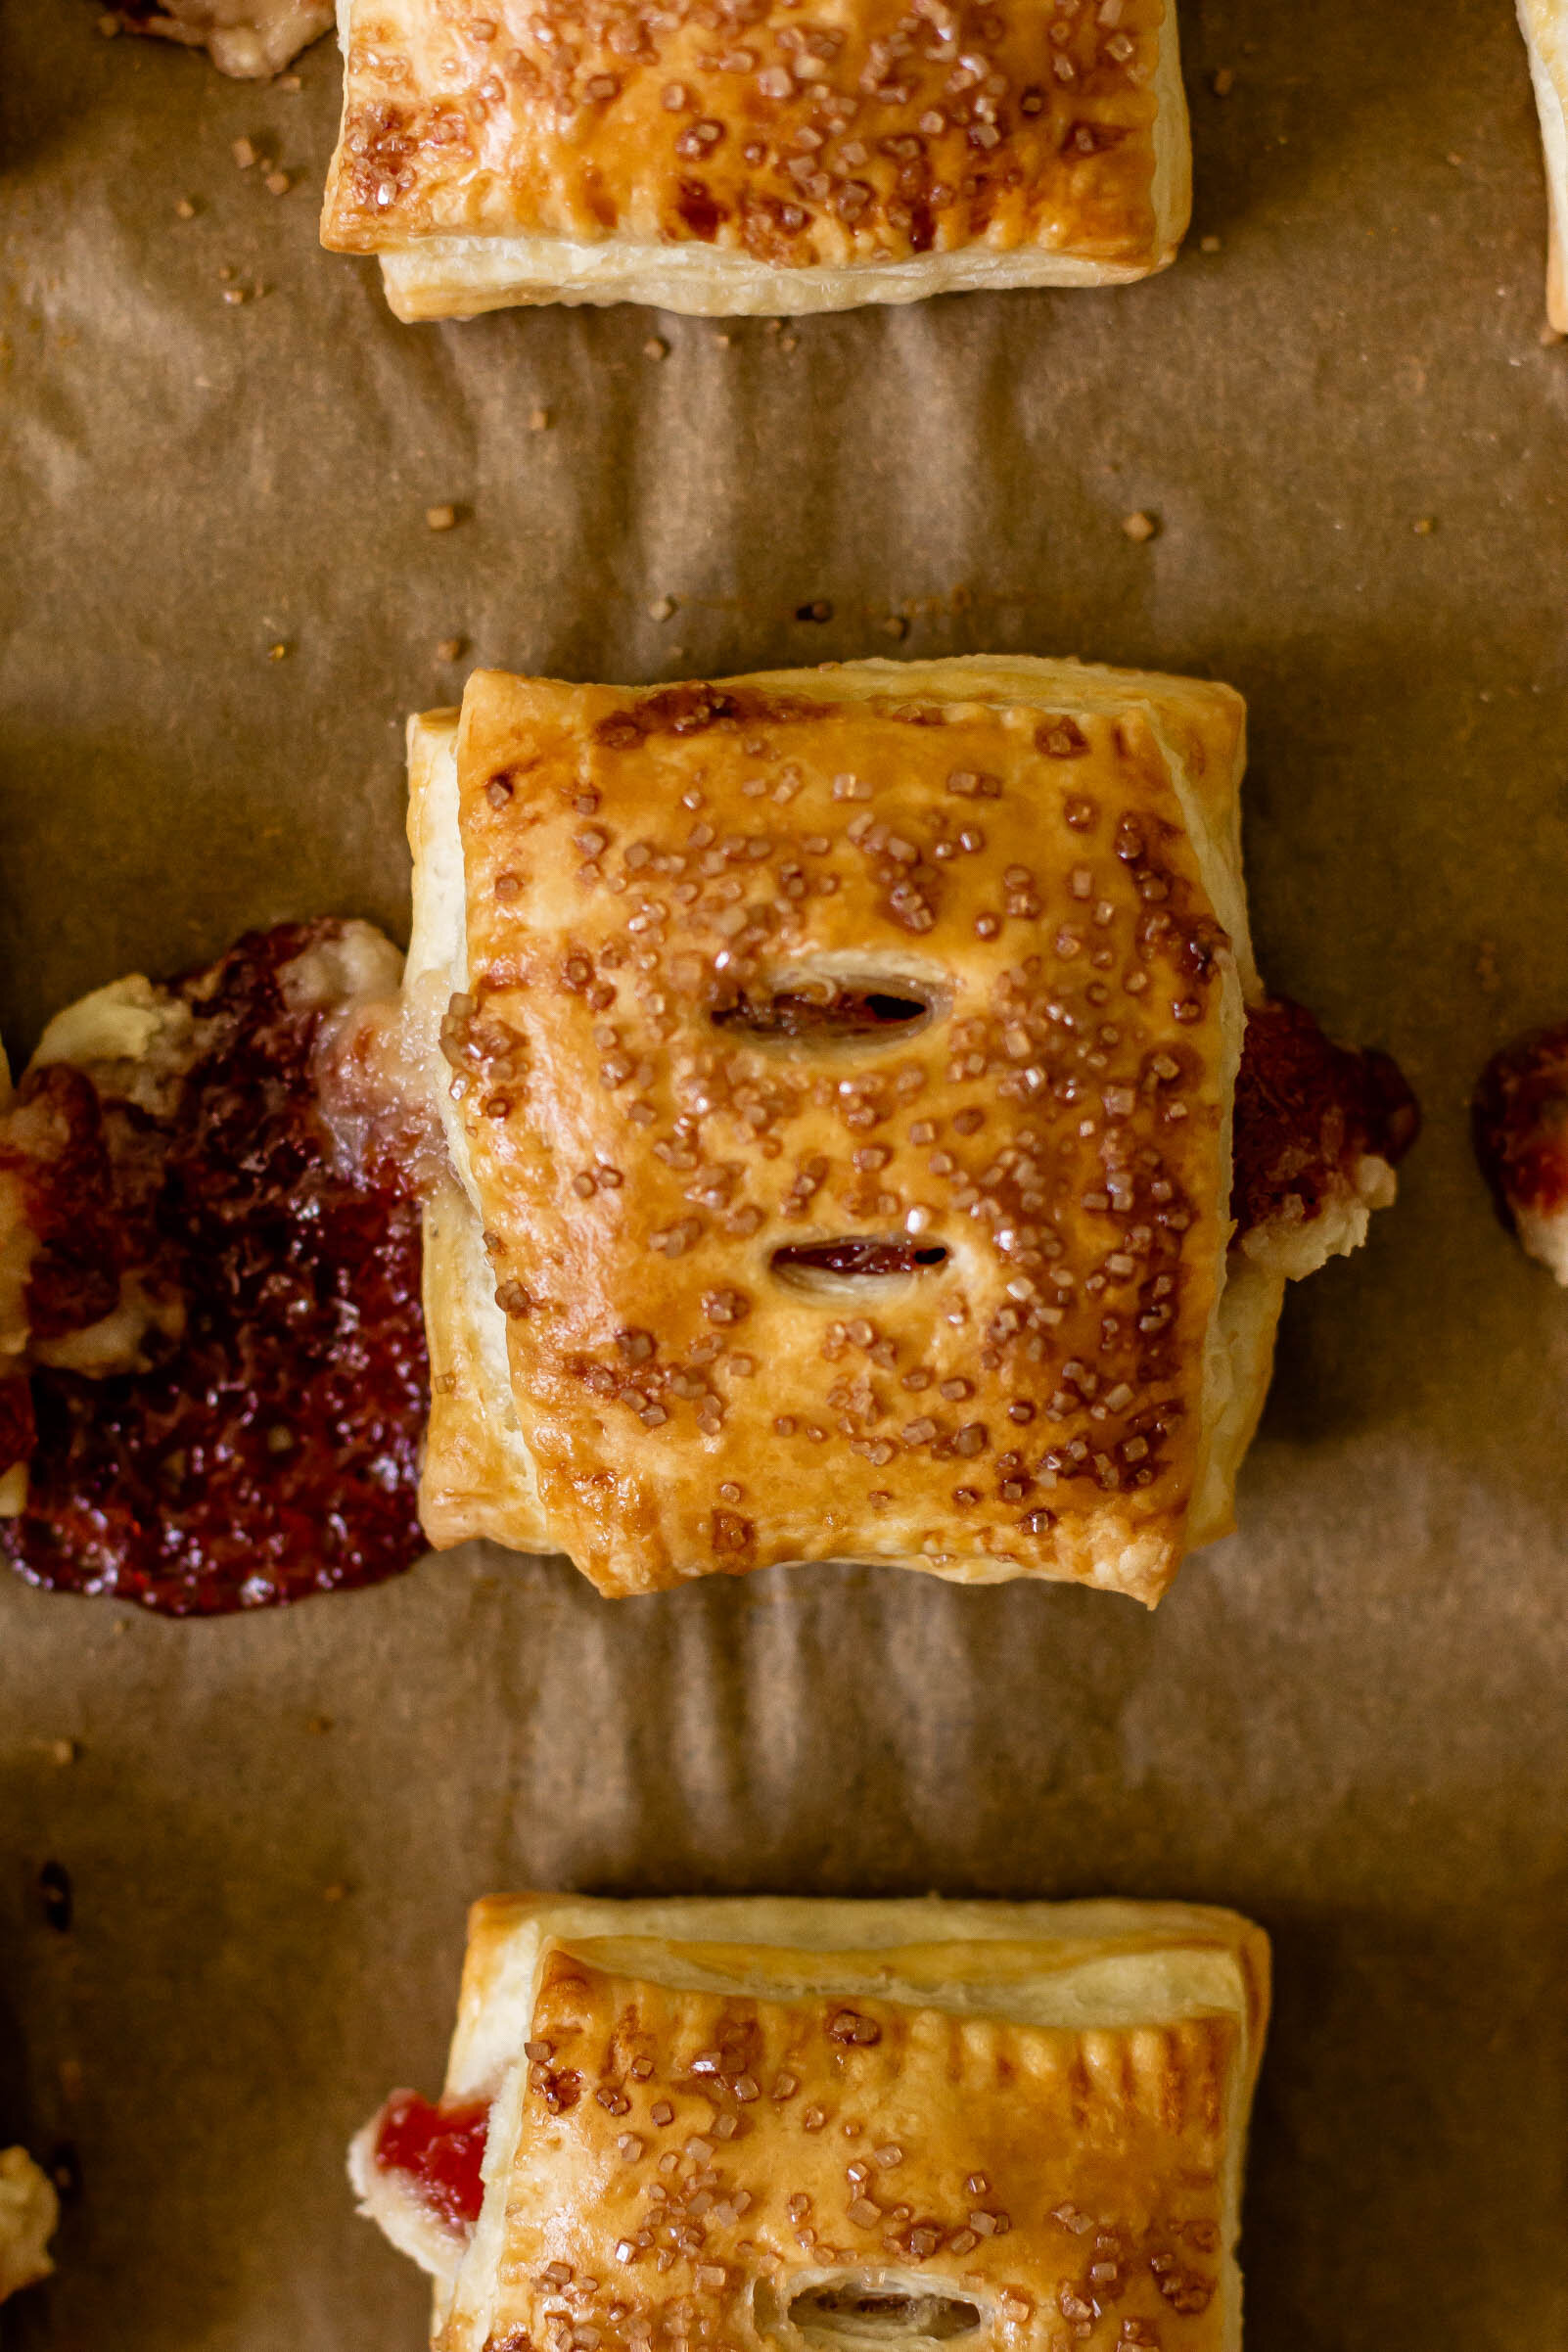
goat cheese and roasted raspberry ice cream

lemon olive oil loaf

strawberry top and black pepper caramel ice cream