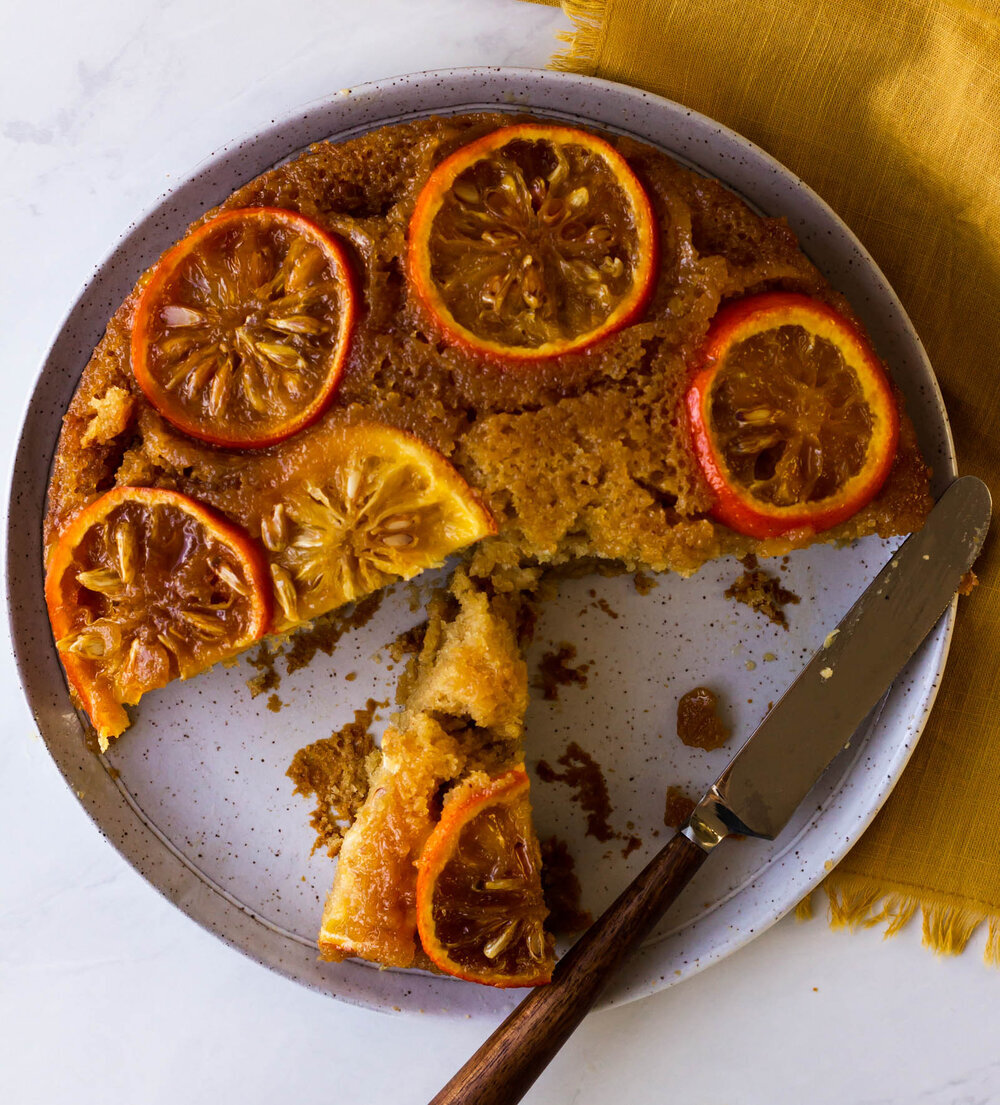
Browned Butter Peach Upside Down Cake with Honey Whipped Cream
/A simple, browned butter and sour cream snack cake topped with brown sugar caramel and the best summer stone fruits.

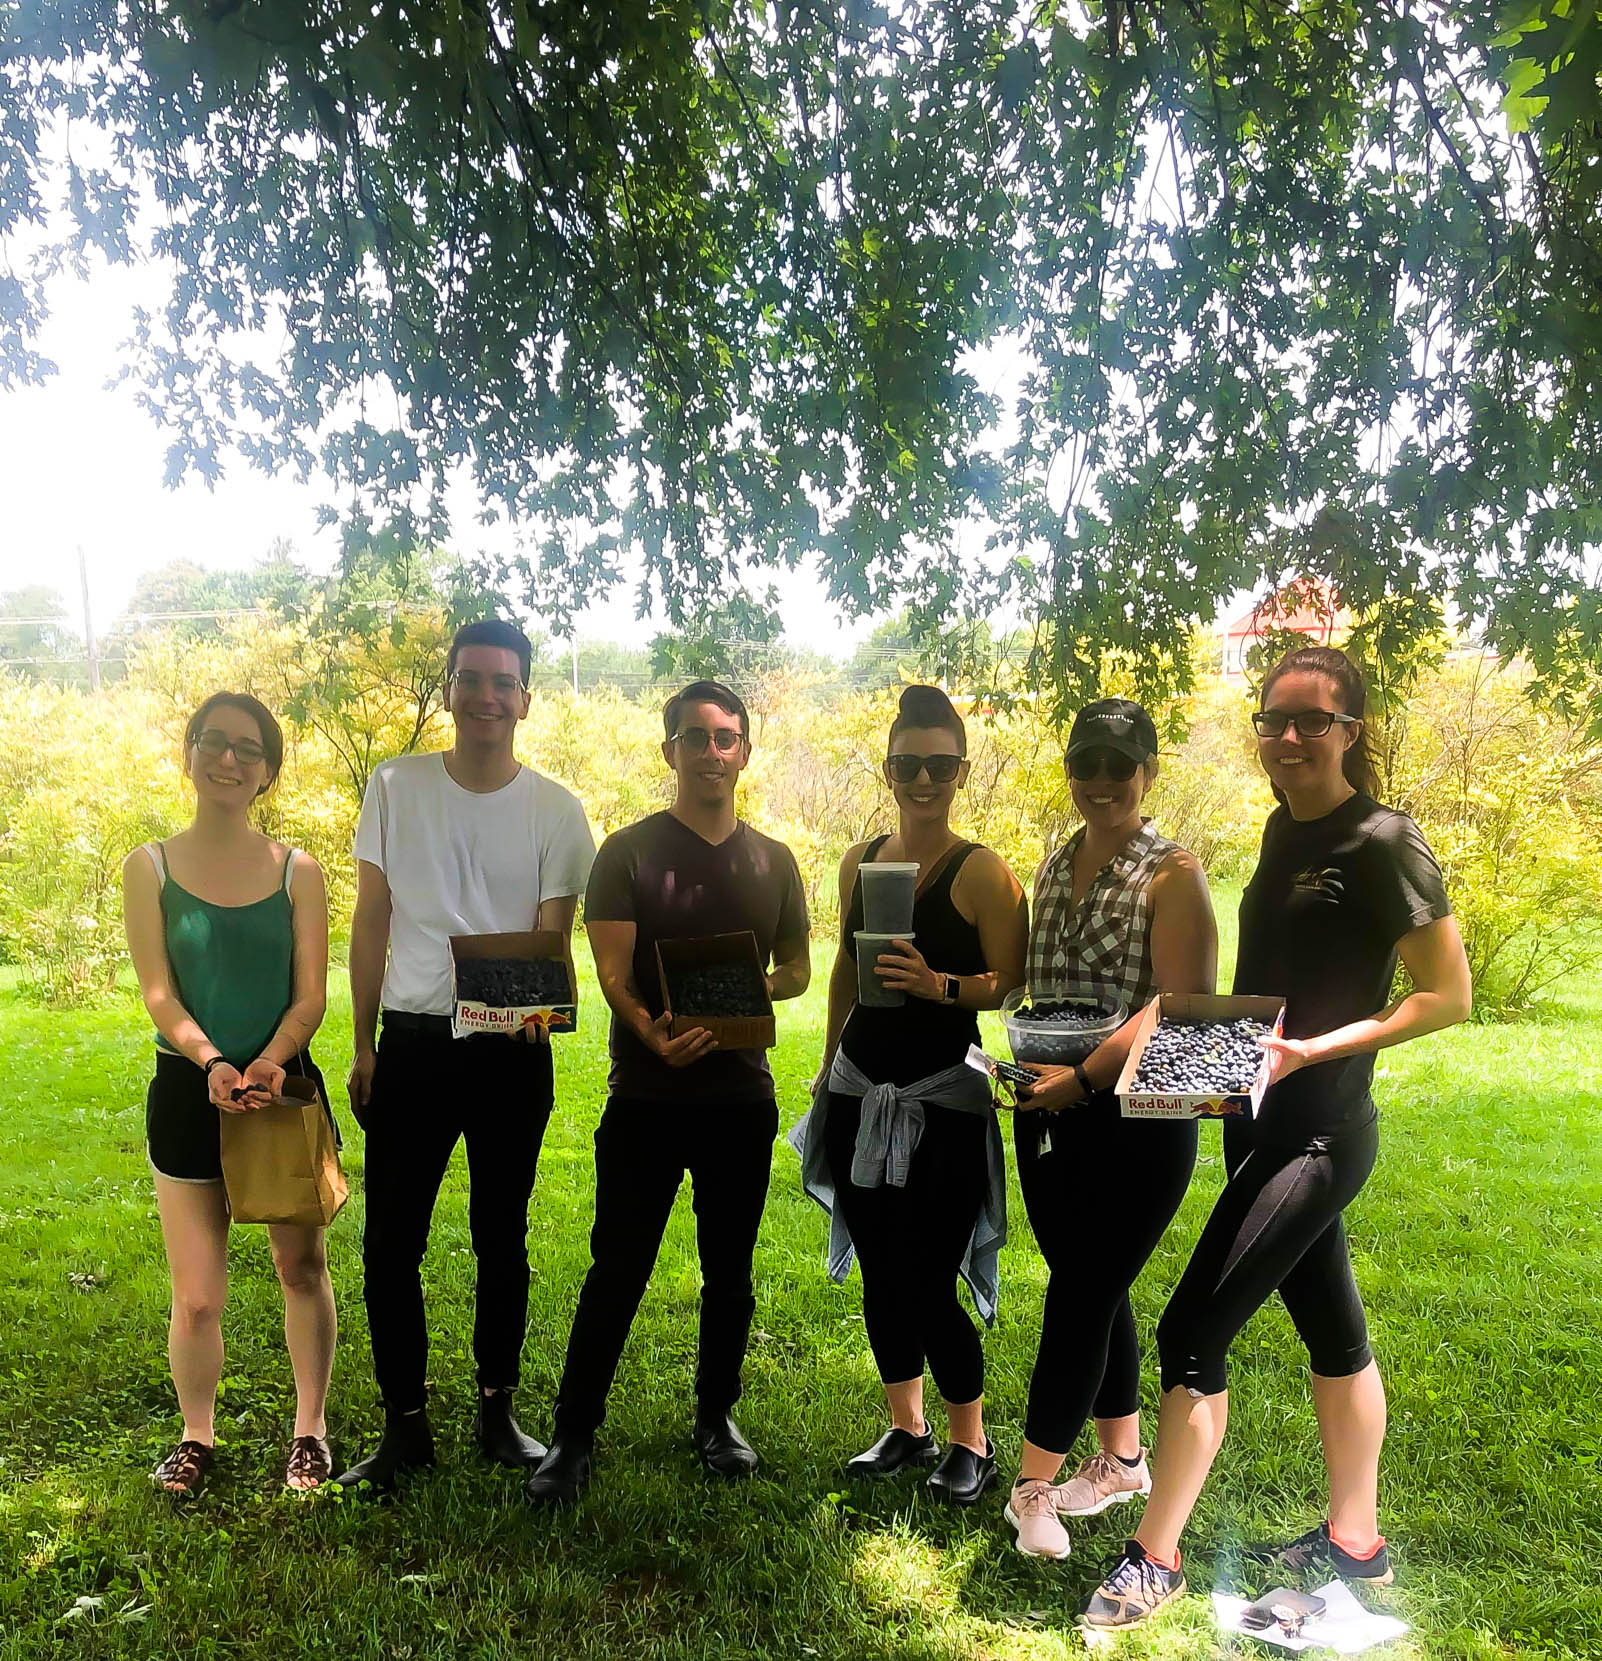
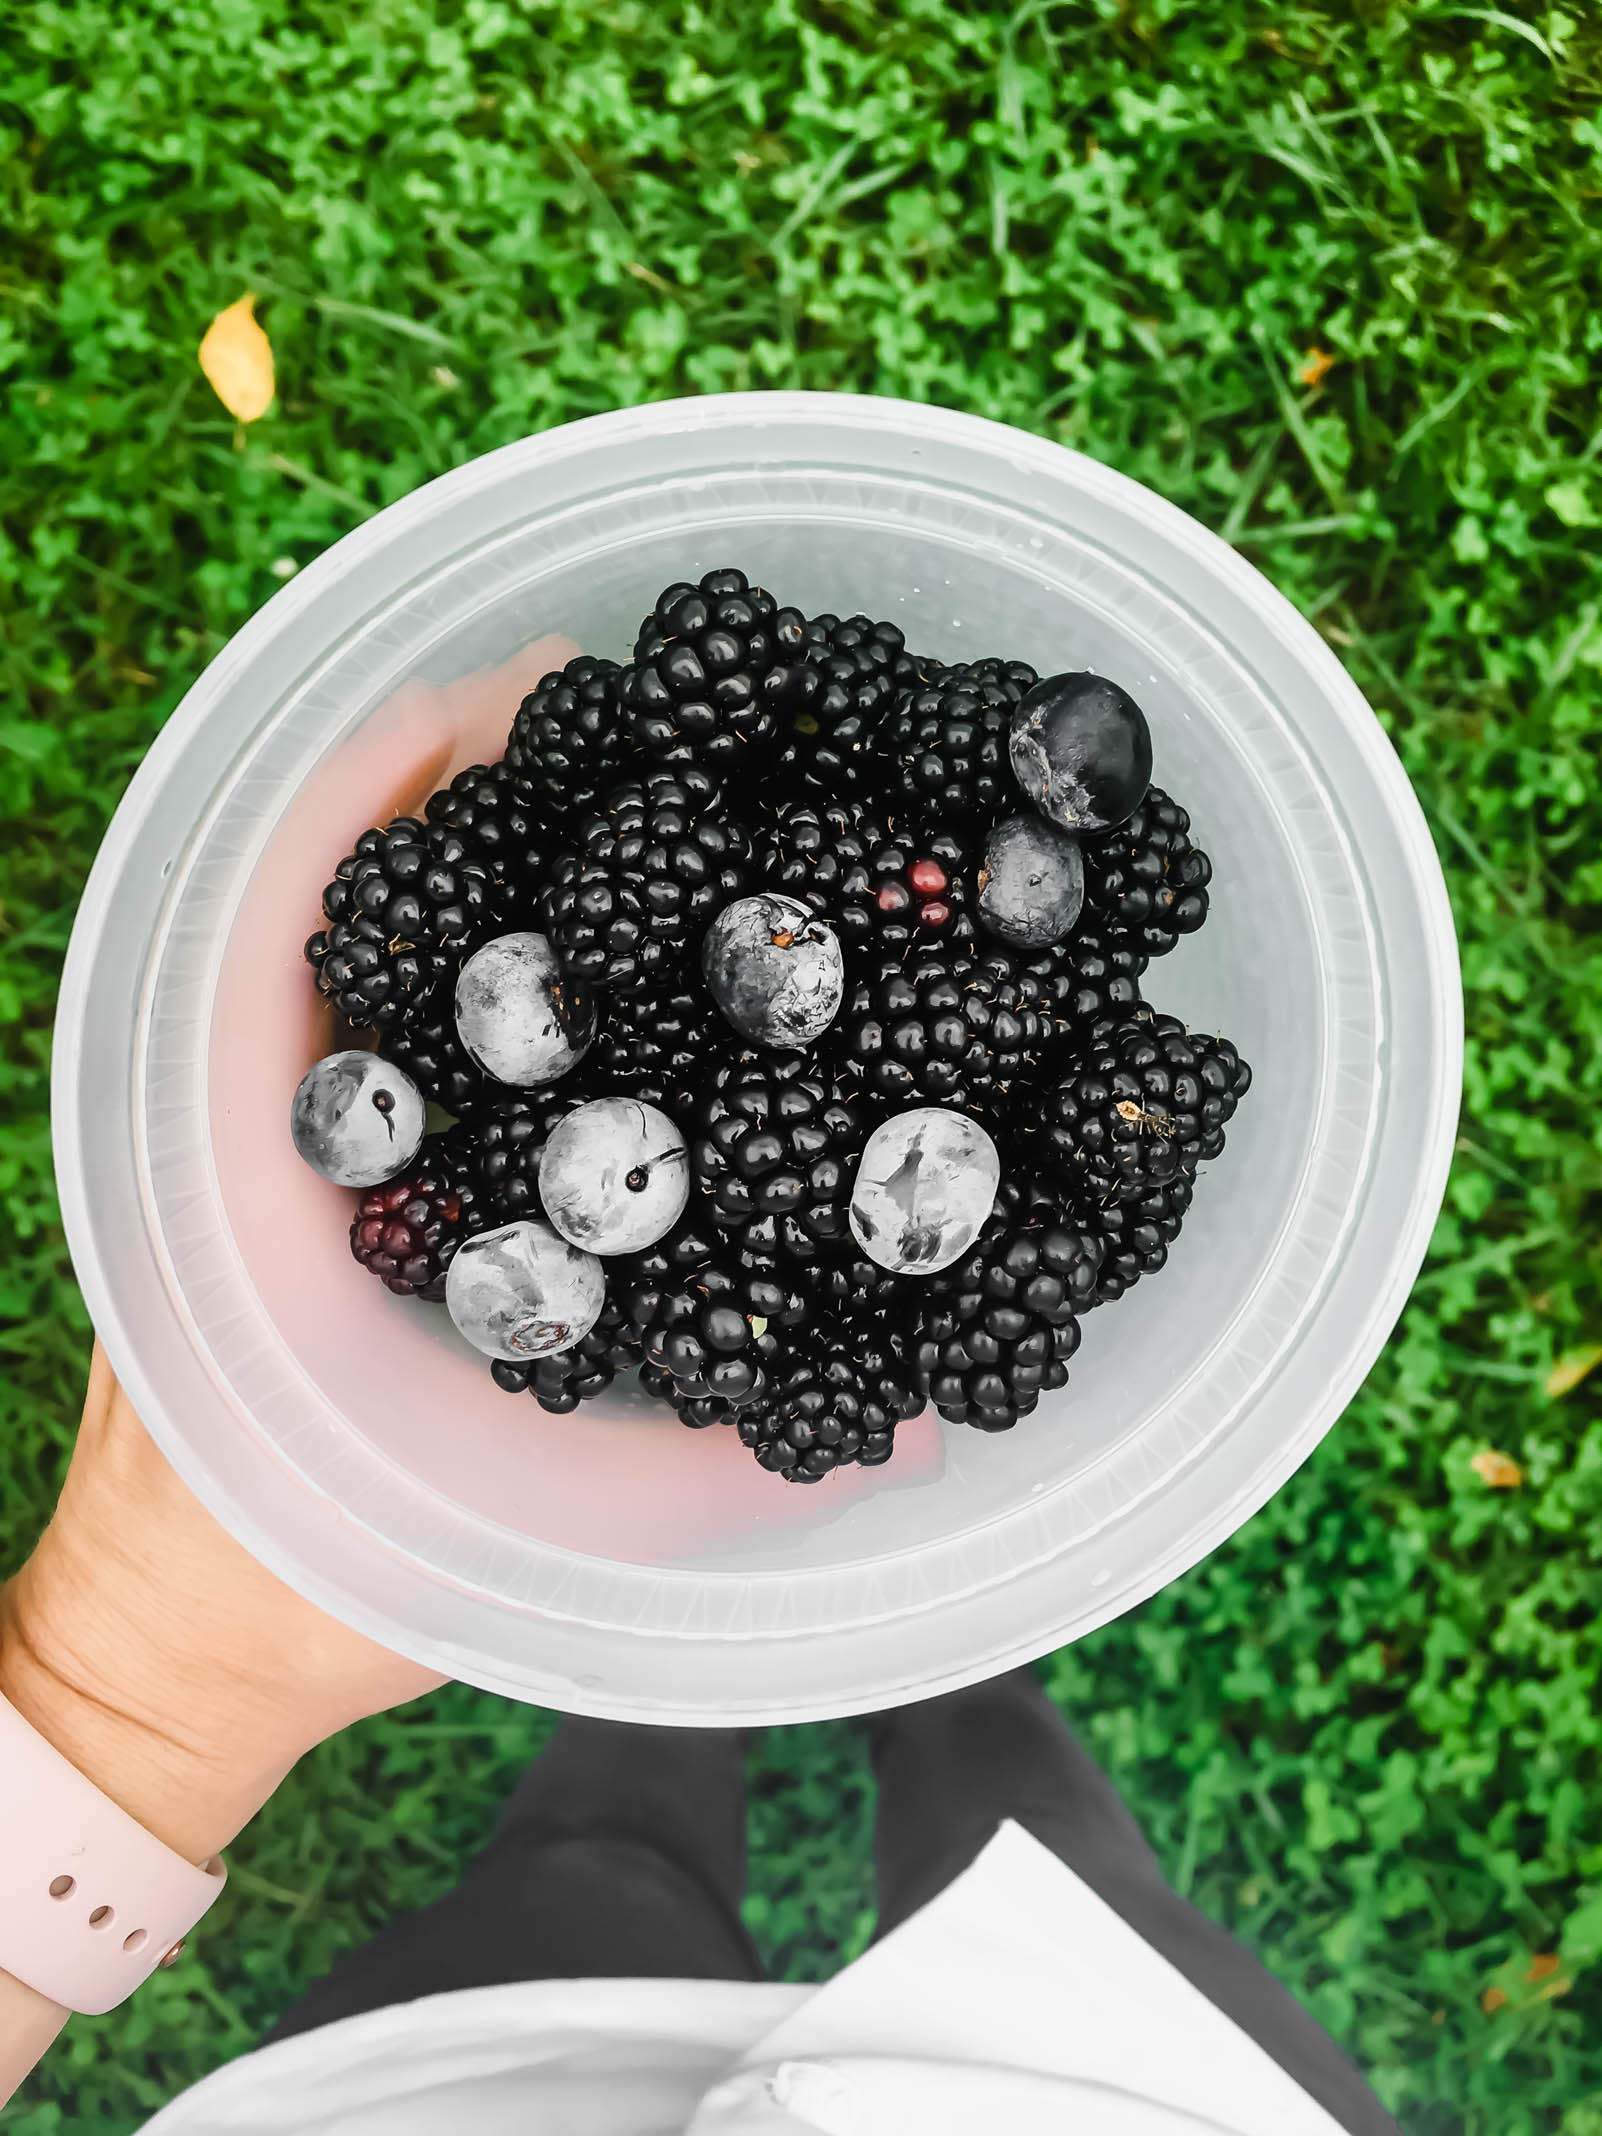
If you are anything like me, you are extremely well-intentioned when purchasing fruit. However, that does not always translate into the actual consumption of fruit. I’m especially terrible at this in the summer. There are so many options and fruit is at it’s bounty! It’s also burning hot outside in Florida and the cute little peaches and berries appeal to my quest for all things “refreshing”. Fast forward a week or two later, and I my refrigerator full of peaches and berries are decidedly less cute. It’s not that I dislike fruit, I just struggle to eat it straight up, and I will always choose a more savory, vegetable centered snack. So in walks this cake. A one-bowl, ultra moist, perfect little vessel for all of that well-intentioned fruit currently ripening in your kitchen.
how to make an upside down cake
The cake is made using the blending method, a simple mixing method where you whisk together your dry ingredients and wet ingredients separately and then combine them. This method is used when making recipes that call for a liquid fat, like oil or melted butter, and the aim is minimal gluten development, which results in a ultra-moist final product. If you’re feeling fancy and want a lighter crumb, you could substitute cake flour for the all-purpose, or even do a mix of the two. The cake’s flavor hinges on browned butter, which is one of my favorite kitchen smells. (Someone please tell Yankee Candle that we don’t need any more “vanilla cookie” scents, but if they could work out a browned butter candle, I would definitely be interested.) Browning the butter essentially carmelizes the milk solids in the butter. You will see the butter beginning to foam and it will start to smell nutty and fall-like. That’s when you pull it from the heat. There will be little mocha-colored specks on the bottom of the pot, make sure to scrape all of that up because that’s where the flavor lies! When adding your melted butter to your final cake batter, the fat in the butter will probably cause the batter to do a little slip-n-slide action and it might be a little difficult to whisk. You can help to curb the slickness by taking a little bit of batter, maybe 1/4 cup, and adding it to your butter first. Whisk vigorously to combine the two and then add it all back into your big bowl of batter. The butter will integrate much more easily leaving you with a little less mess.
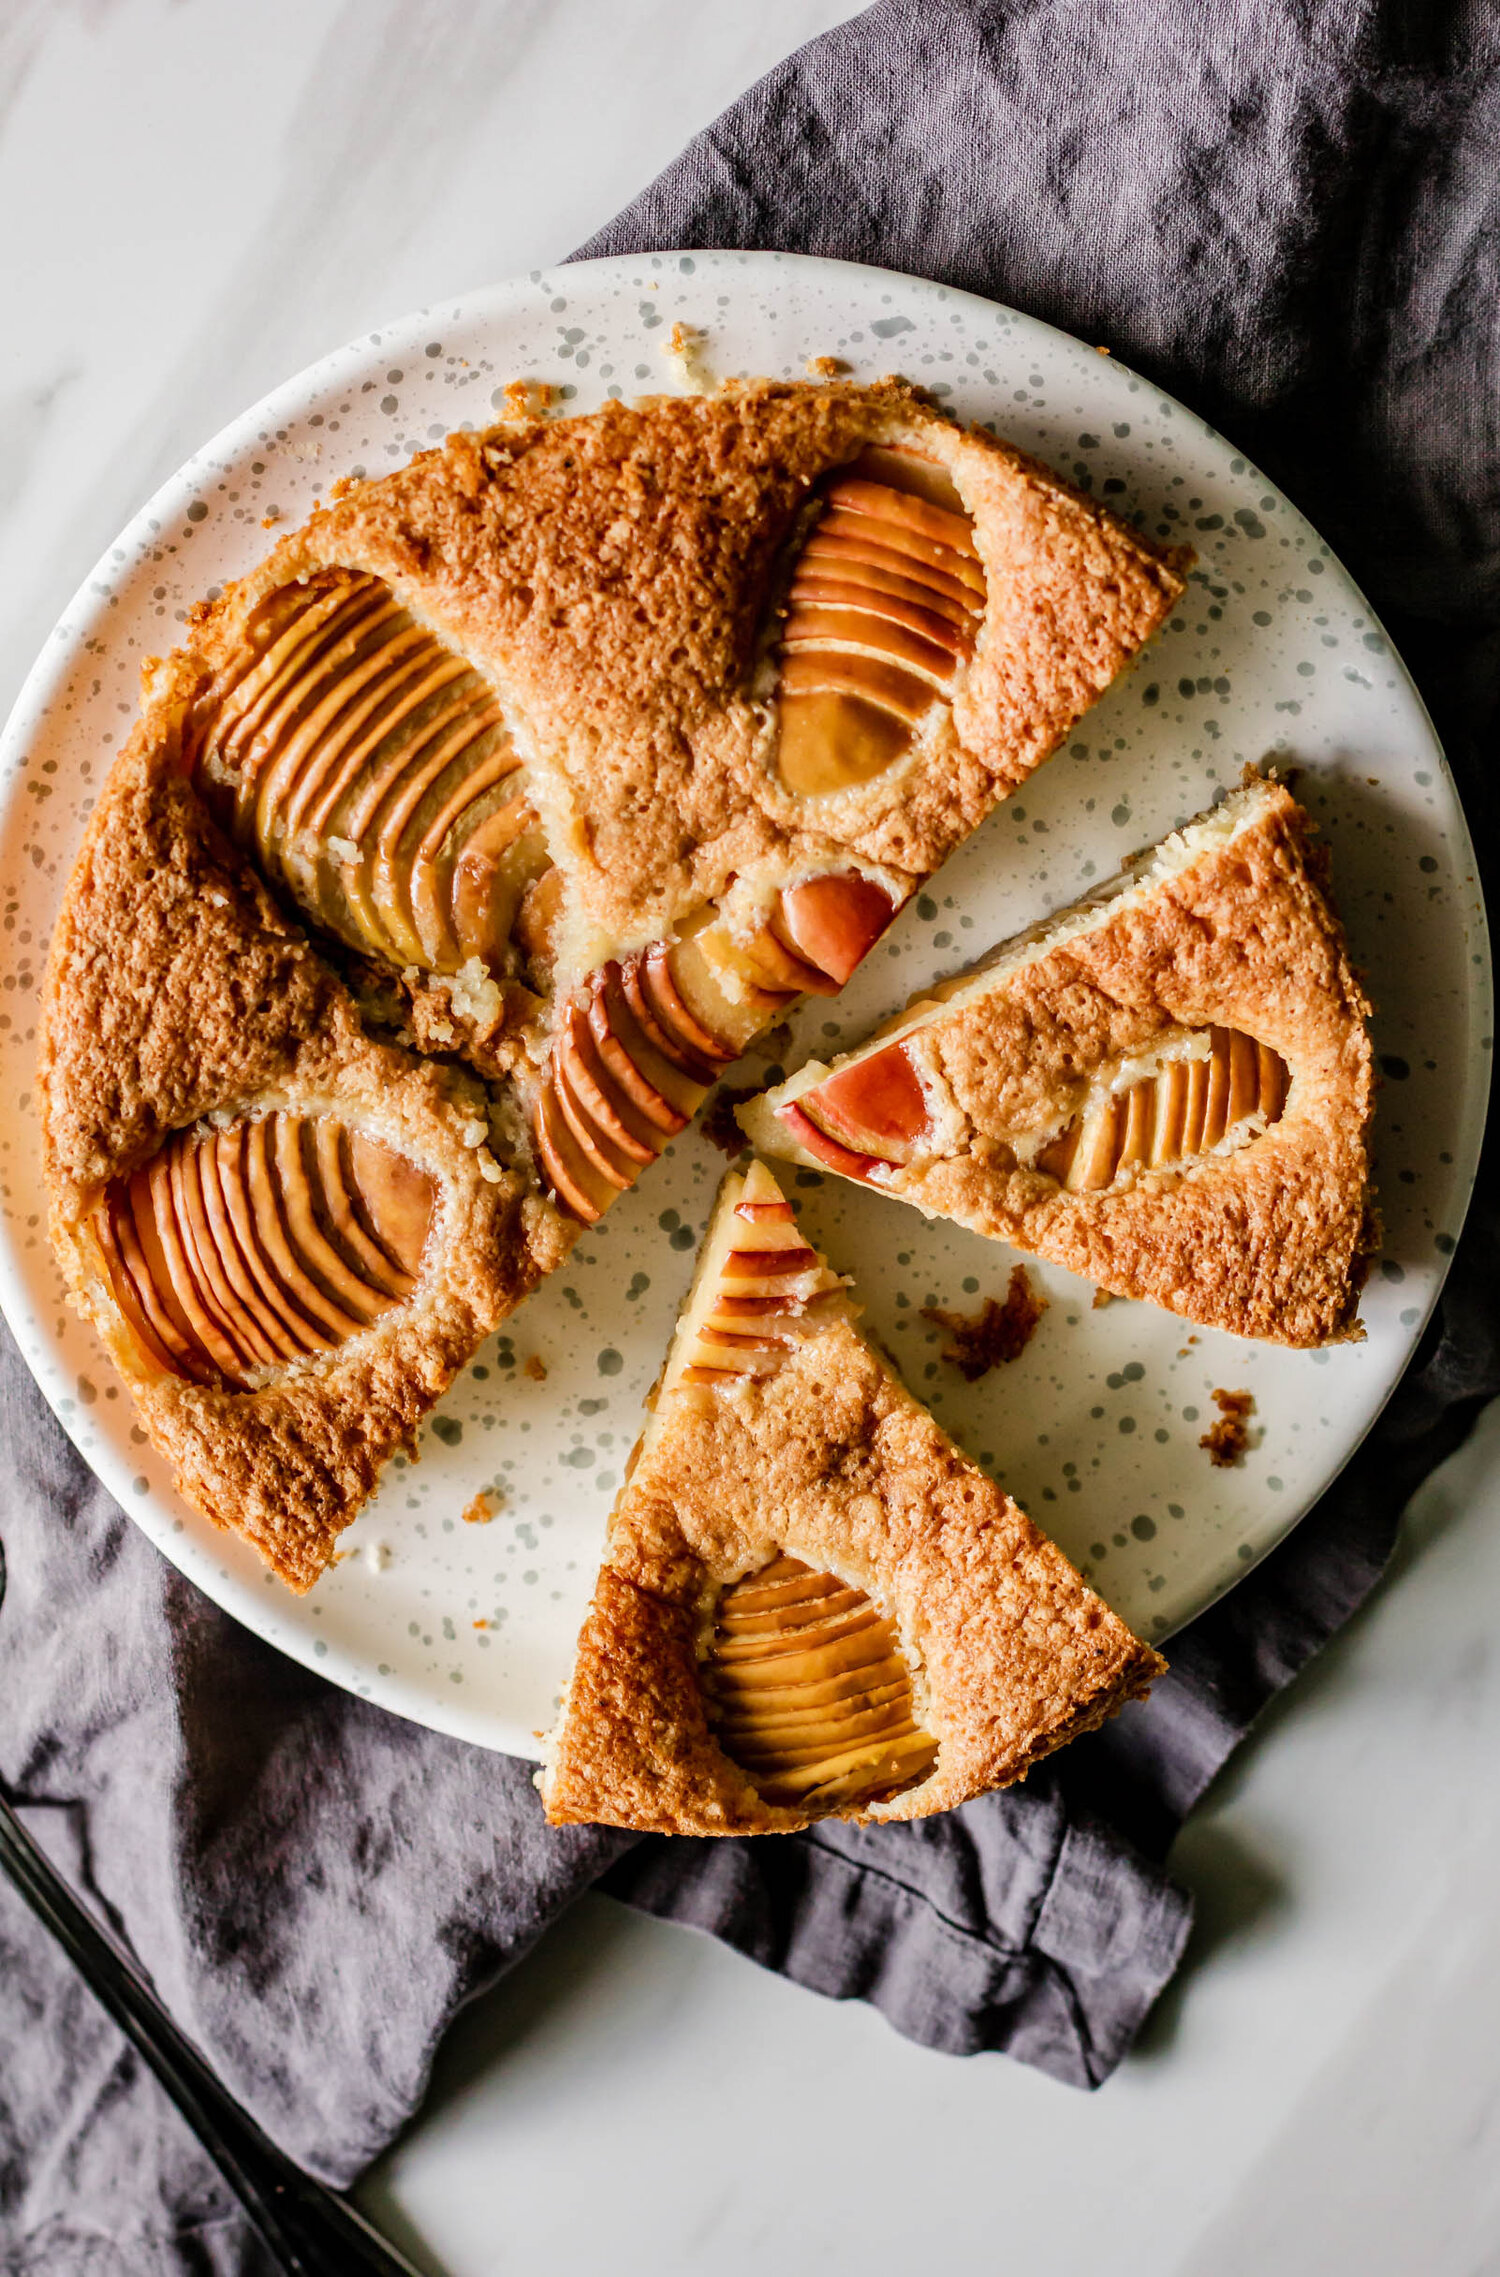
This cake can be made with all sorts of fruit in danger of losing its pizzazz. Nectarines and peaches really shine and they are sturdy enough to hold their shape during baking, but pineapple would give a little classic Hawaiian vibe, if you’re here for that.


Browned Butter Peach Upside Down Cake
Ingredients
- 1/2 cup (1 stick) + 2 T unsalted butter
- 1 1/2 tsp vanilla extract
- 2 cups all-purpose flour
- 1/2 cup granulated sugar
- 1 cup brown sugar, divided
- 1 1/2 tsp baking powder
- 1/2 tsp baking soda
- 3/4 tsp salt
- 1/2 cup whole milk
- 1/2 cup greek yogurt or sour cream
- 2 large eggs
- 3 peaches, thinly sliced
- 1 cup heavy cream
- 3 T honey
Instructions
- Preheat the oven to 350 degrees. Spray a 9” round cake pan with cooking spray and set aside.
- In a small saucepan, combine 1/2 cup of the brown sugar with 2 tbsp of butter. Cook over medium heat, stirring frequently, until sugar is dissolved and caramel is homogenized and smooth. Pour the hot caramel into the prepared pan and tilt to cover the bottom and arrange the peach slices on top. Set aside.
- In a small saucepan set over medium heat, melt the remaining 1/2 cup of butter. Cook, swirling the pot every few minutes, until the butter begins to foam and brown at the bottom. It should smell nutty and delicious. Scrape up the browned bits from the bottom of the pan and then set aside to cool slightly.
- In a medium bowl, whisk together flour, granulated sugar, remaining 1/2 cup brown sugar, baking powder, baking soda, and salt. Set aside.
- In a large measuring cup, whisk together eggs, yogurt, milk, and vanilla. Add the milk mixture to the flour mixture, and whisk just enough to blend everything. Pour the butter into the batter and whisk again, just until everything is emulsified. Be careful not to over mix.
- Pour batter over the nectarines and smooth with a small offset spatula. Bake until the edges are golden brown and the center of the cake is set, about 35-40 minutes. Remove the cake from the oven and let cool in the pan for about 10 minutes. While the cake is still warm, place a large plate on top and use a towel to flip the cake out onto the plan. Let cool completely and serve with whipped cream.
- To make the whipped cream: Pour cold cream into a mixer fitted with the whisk attachment. Begin whipping on low speed, increasing speed gradually as the cream begins to thicken. When the cream has gained a little body, add honey and continue whipping until soft peaks form.
Notes
This cake can be made with all sorts of fruit in danger of losing its pizzazz. Nectarines and peaches really shine and they are sturdy enough to hold their shape during baking, but pineapple would give a little classic Hawaiian vibe, if you’re here for that.