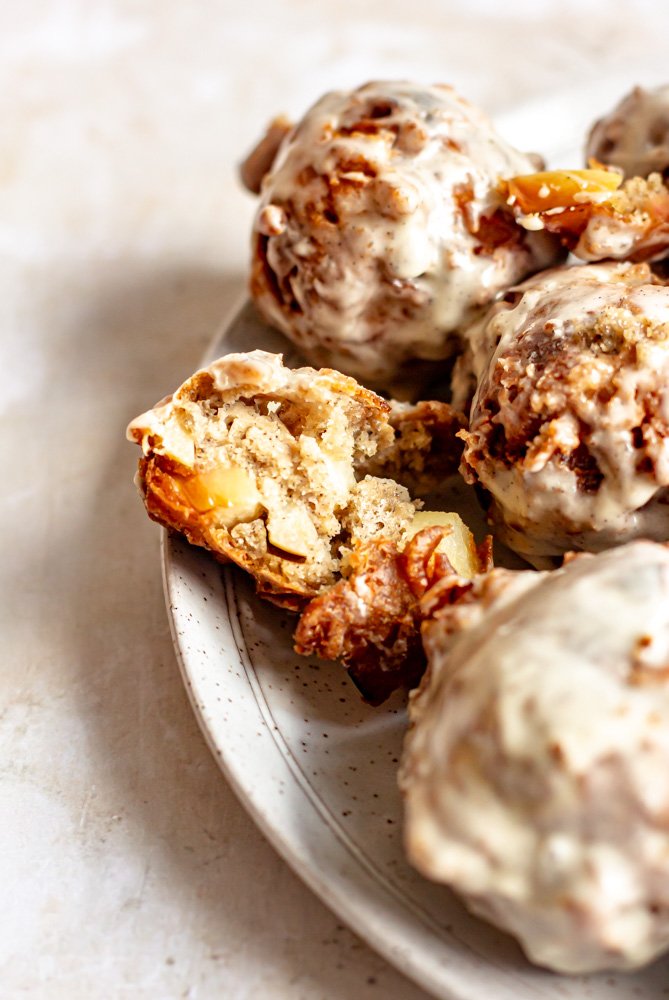
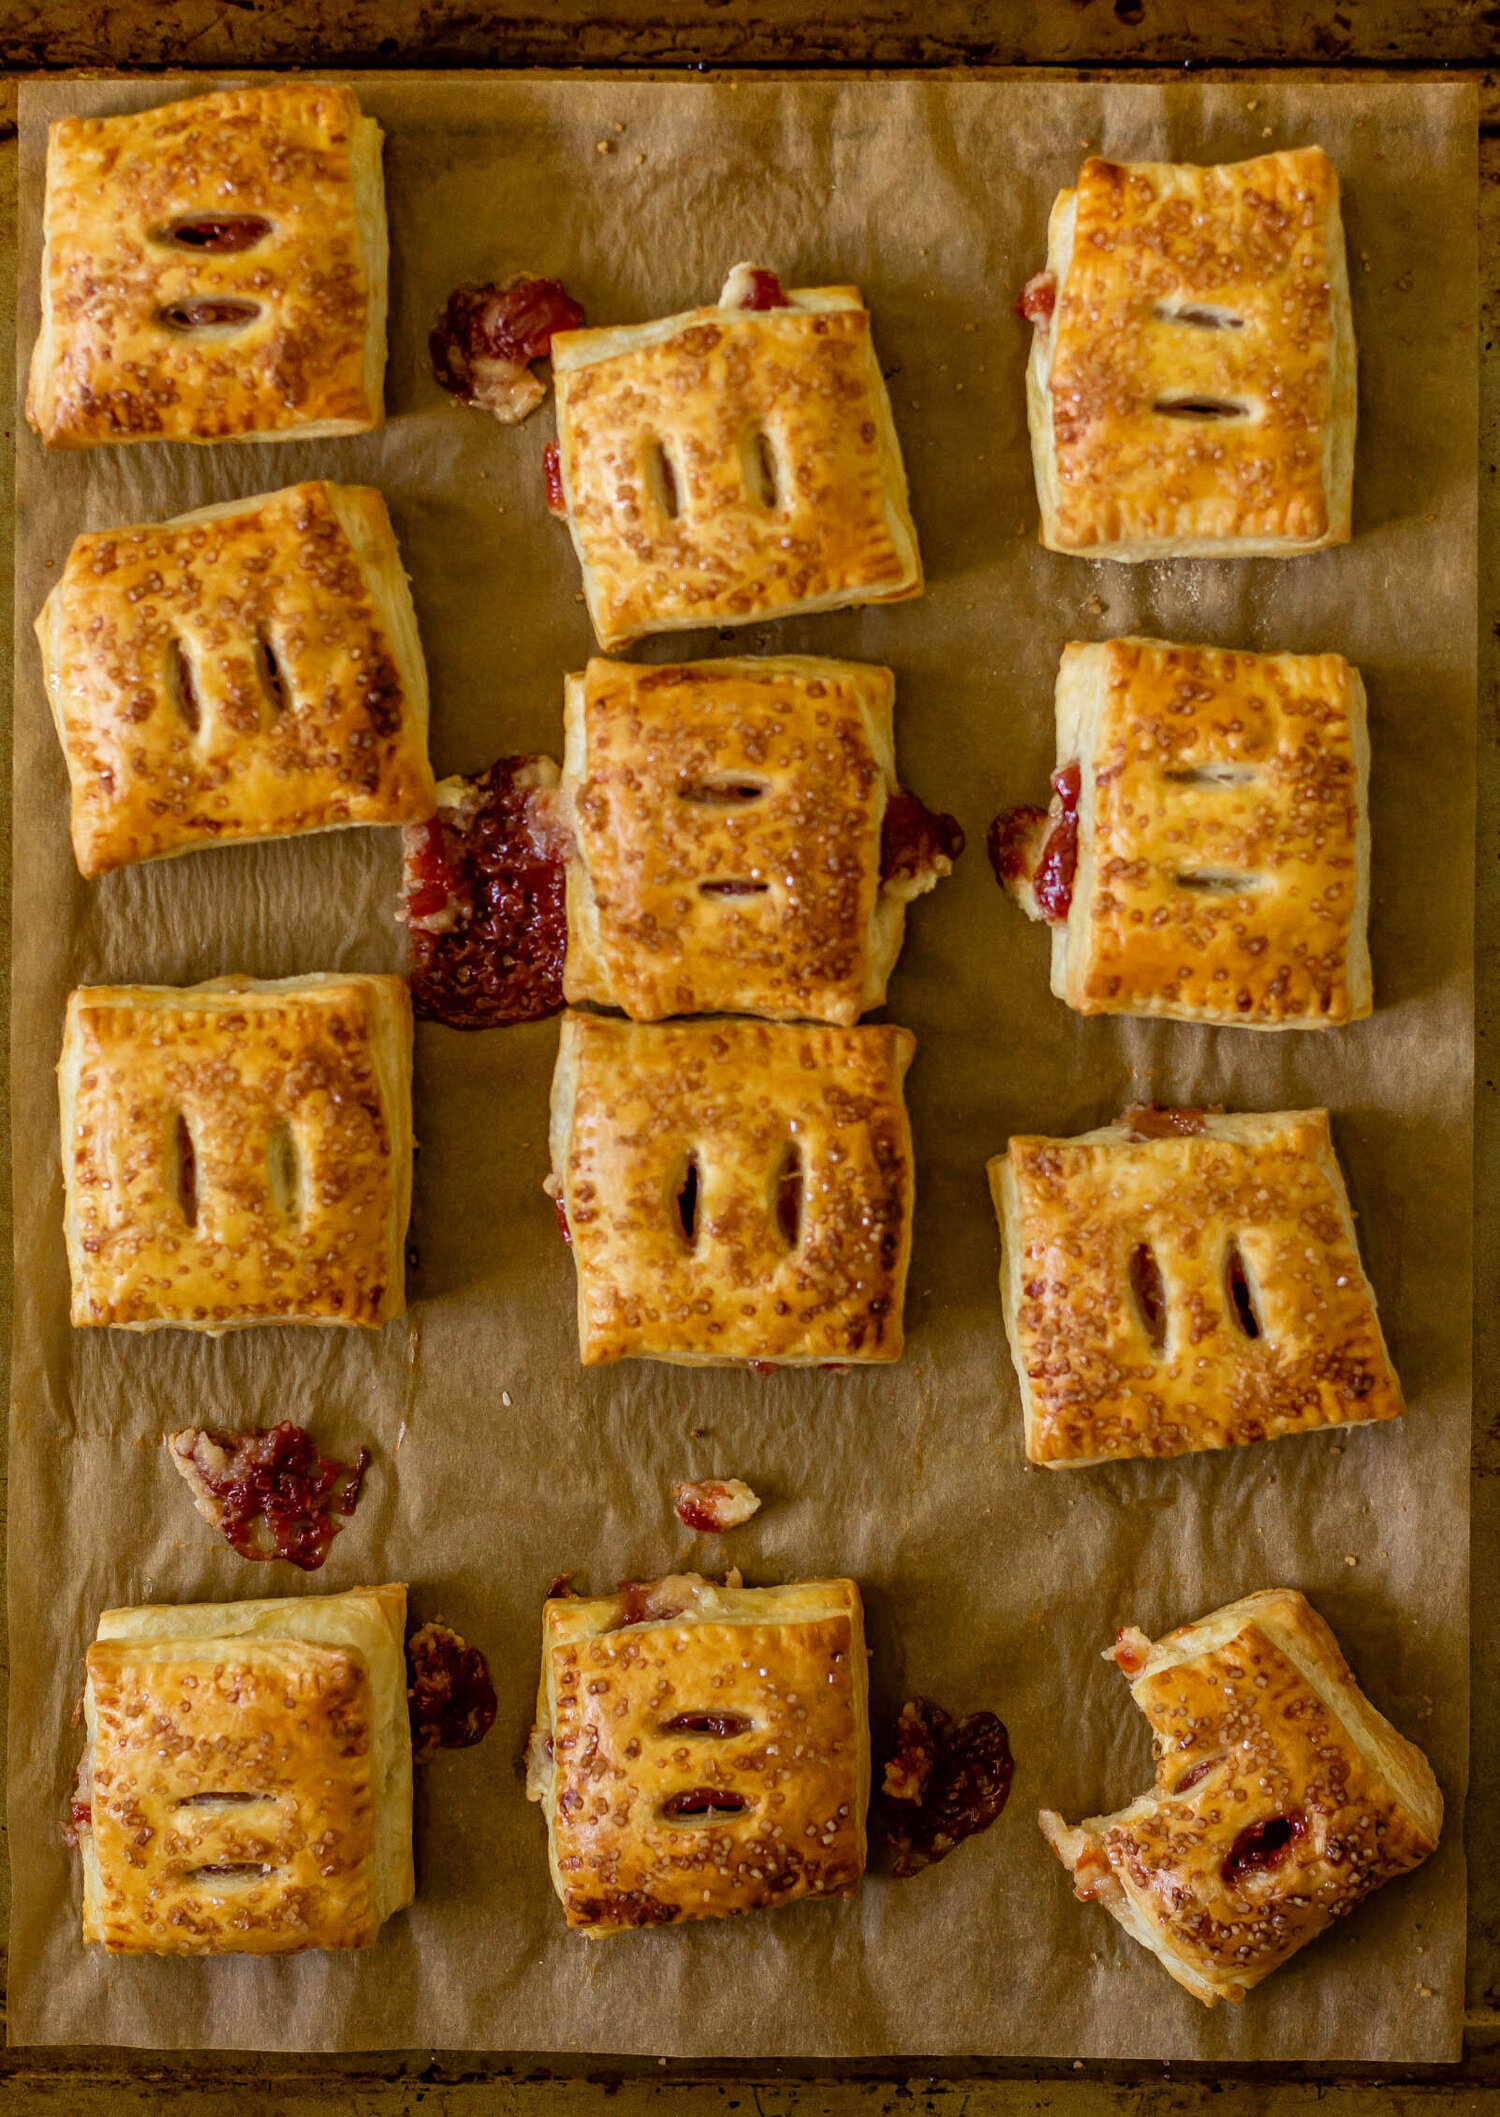
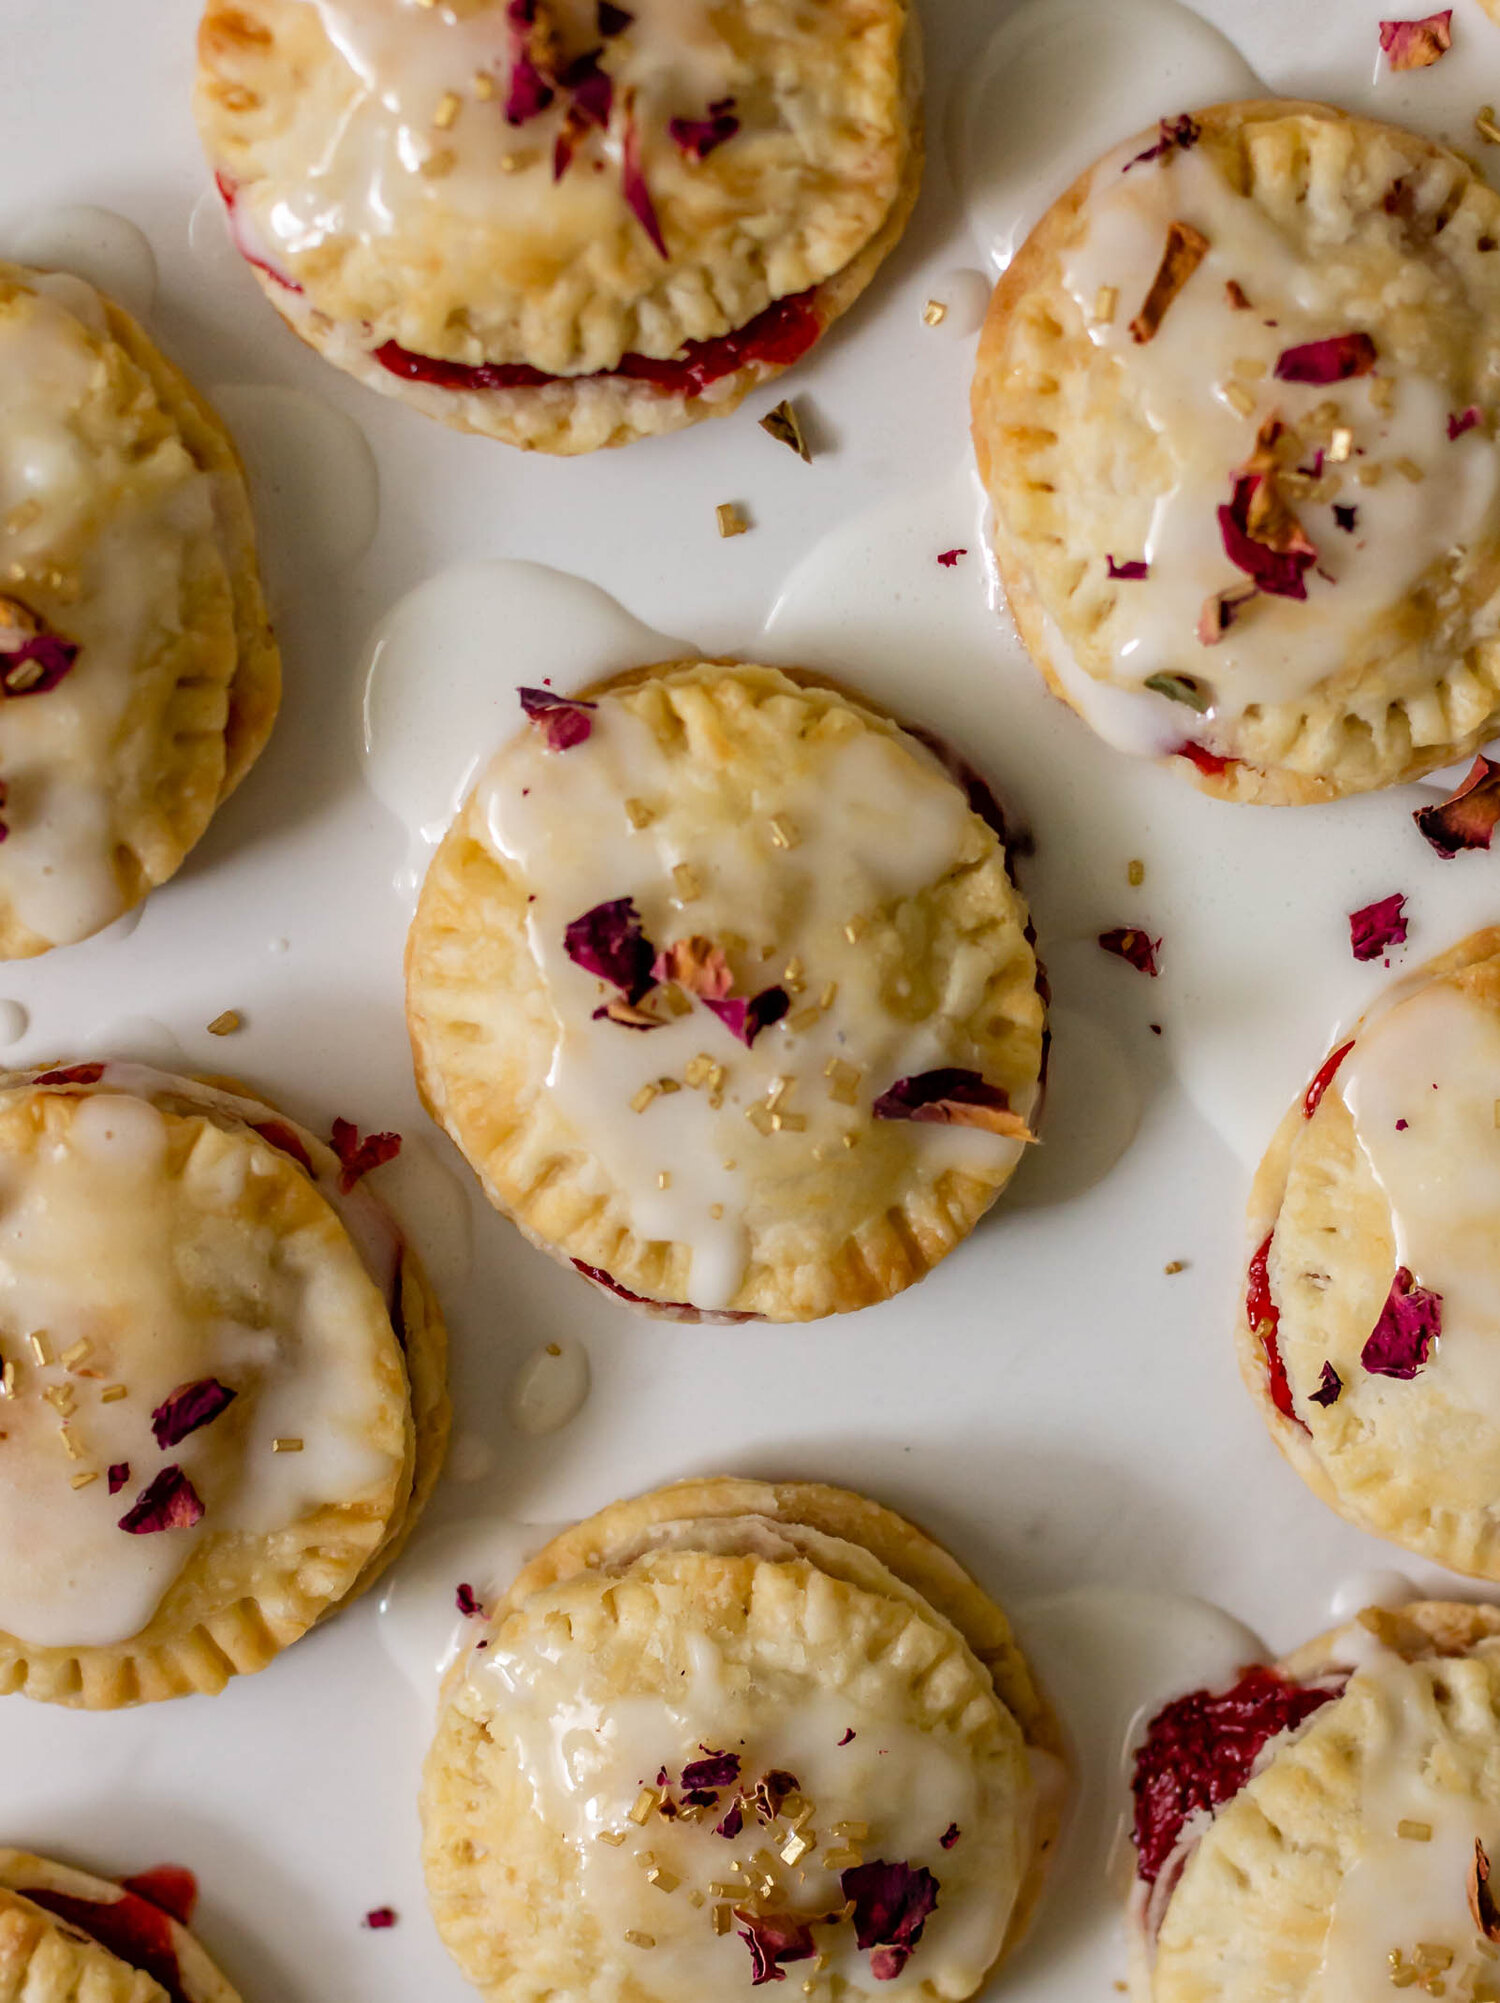
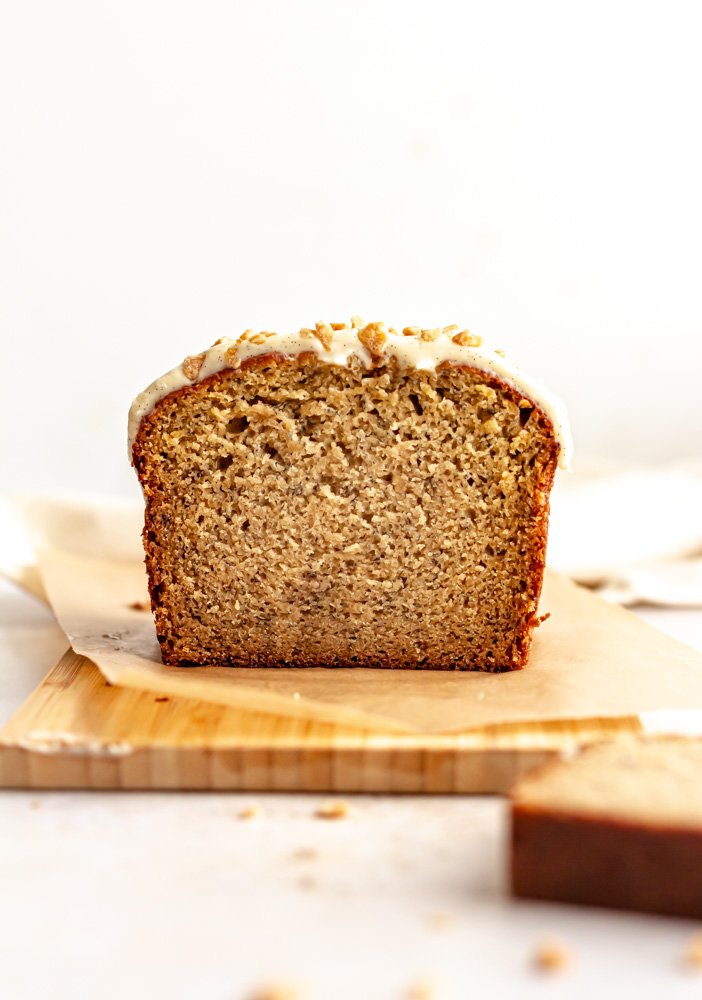
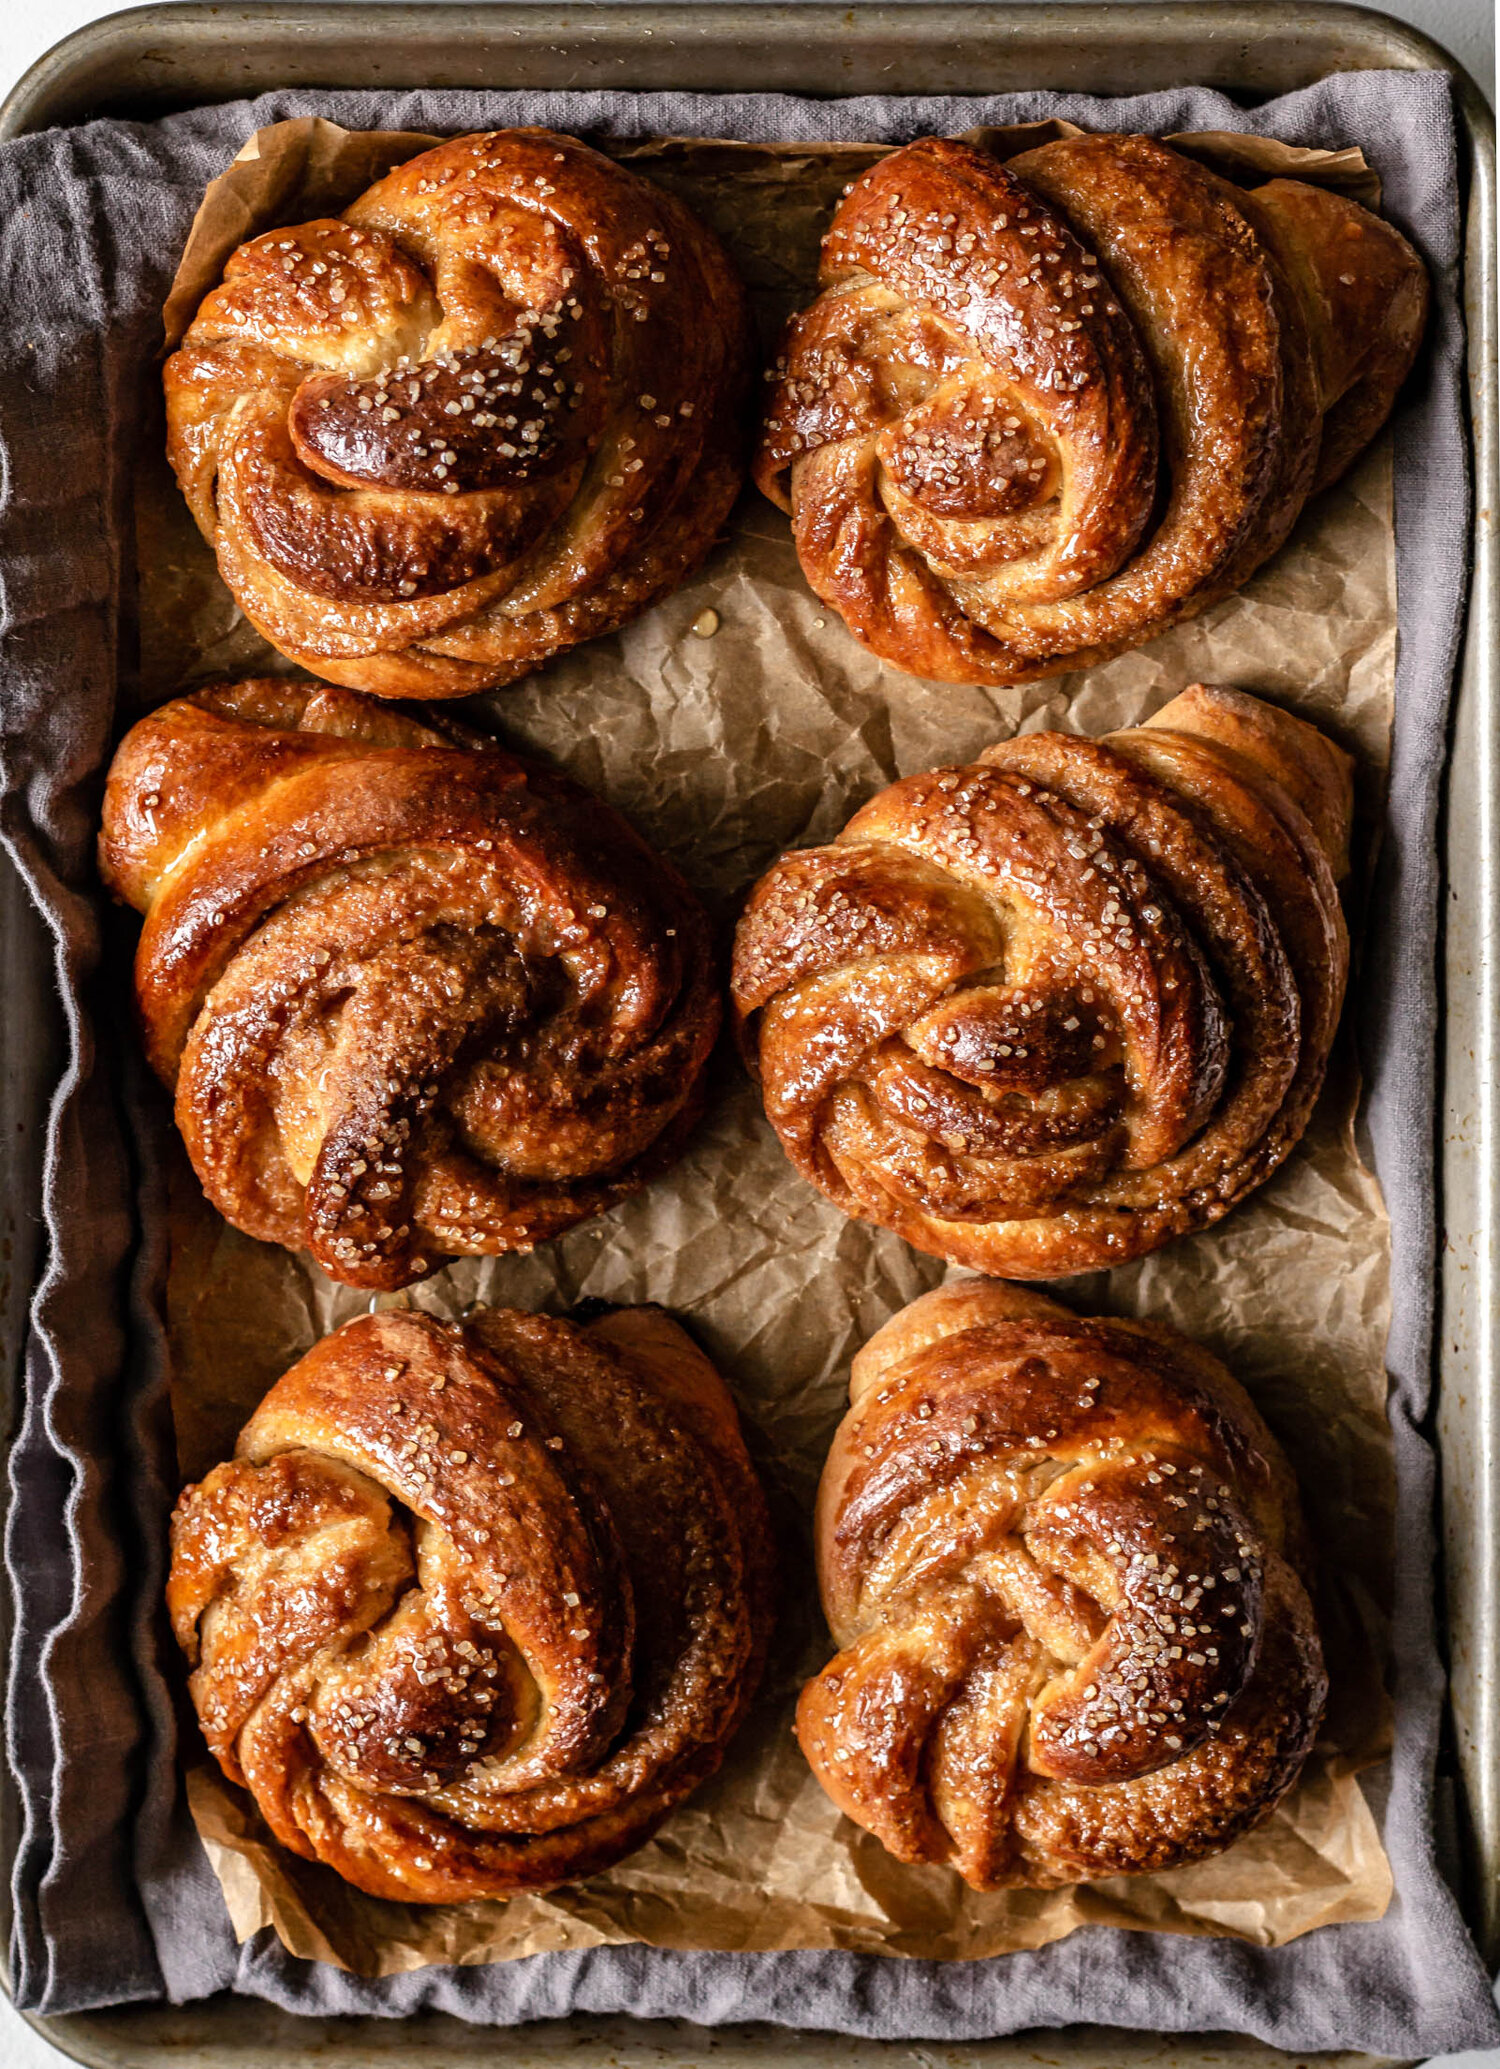
Fig and Cranberry Scones
/Flaky and cozy scones, filled with bright cranberries and laminated with sticky fig jam. Served warm with butter, they are the perfect fall breakfast treat.

This recipe is sponsored by Crisco® as a part of their Holiday Baking 2023 Campaign. All thoughts and opinions are my own. Thank you for supporting the businesses who support Gathered At My Table!
When I first got into baking, I bought a giant copy of Thomas Keller’s Bouchon Bakery Cookbook. I’d been baking at home all throughout college, bookmarking my favorite food blogs and keeping a running sticky-note list of all of the recipes I wanted to try. And then I got serious. I bought this gargantuan cookbook and decided I was going to teach myself how to laminate dough and temper chocolate at home. I was optimistic to say the least.
The first recipe I made from the book was Cinnamon Honey Scones—plain scones with a homemade cinnamon honey butter streaked throughout in a tie-dye fashion. I made them once and instantly felt like a professional baker. So I made them again. And again. I don’t actually remember making many more recipes from that book that year because I just made scones. As I started to feel confident in my baking ability, I began to experiment. Cinnamon honey scones turned into bacon cheddar scones, which turned into feta and green onion scones. Was this the recipe that changed my entire career trajectory? Possibly.
I still use Thomas Keller’s scone recipe as a base today, though I’ve tweaked it many times over the years to suit my mood or my flavors. This year, it’s taking a fall spin with these Fig and Cranberry Scones, perfect for all of your holiday brunches and gatherings this season.

how to make fig and cranberry scones
The key to a good scone is cold fat and lots of it. In this recipe, we are using four different types of fat, each with a different role, to help ensure maximum tenderness. We’re using a little bit of cold, grated butter for flavor, but the real work horse in this recipe is Crisco® All Vegetable Shortening. Shortening, like butter, is a solid fat, but unlike butter, it is made up of 100% fat. This is good in many baking applications because there is no water content, it helps provide flakiness without the spread. Shortening is super versatile, plant-based and its high melting point helps create flaky layers. We are also using heavy cream and sour cream, to provide moisture and tenderness.
The best part of this recipe are the mix-ins. We fold dried cranberries into the dough and then laminate fig butter into each flaky layer, threading layers of flavor throughout the scones.
the importance of chilling and freezing
For a baked good that hinges on the solidity of fat for it’s rise and tenderness, chilling and freezing are important. Like biscuits and pie dough, the colder the better. We chill the scone dough before cutting to allow the fats to re-harden and allow the flour to properly absorb the moisture. Then, after slicing the scones into triangles, they are frozen completely and baking off from frozen. This will prevent spreading and flat, underwhelming scones.
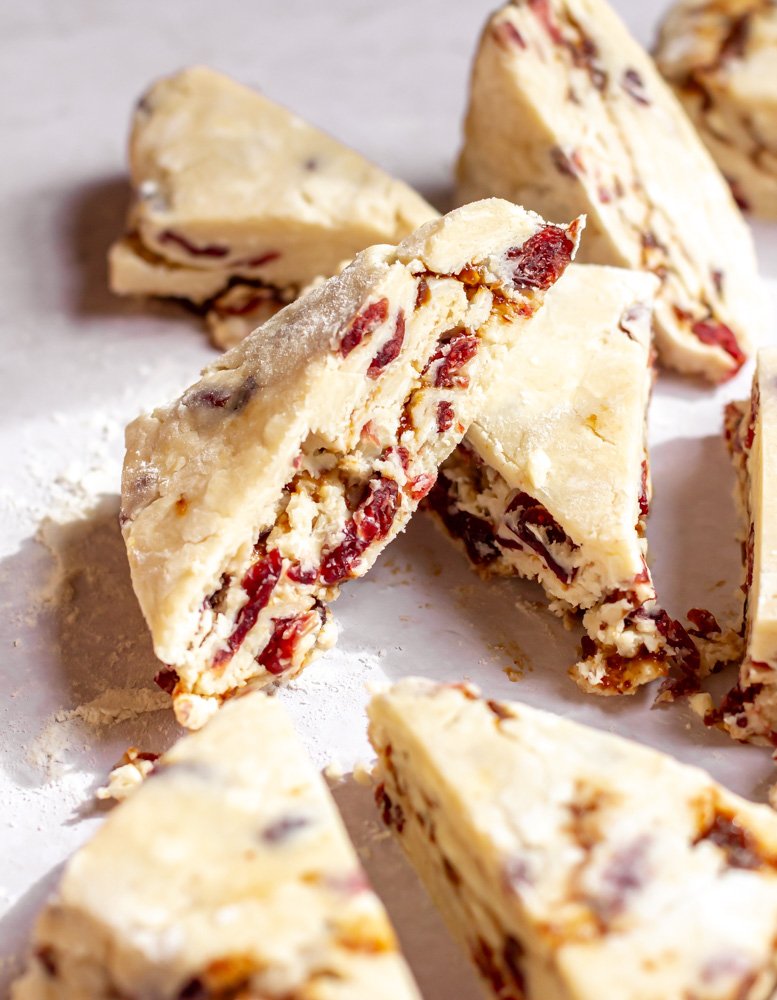
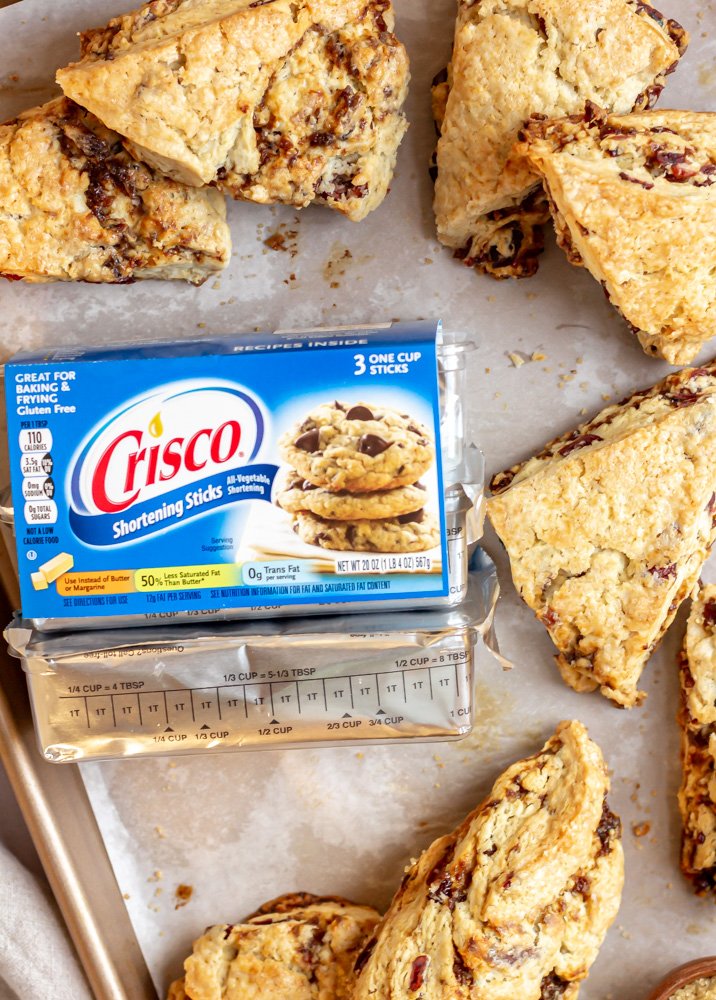
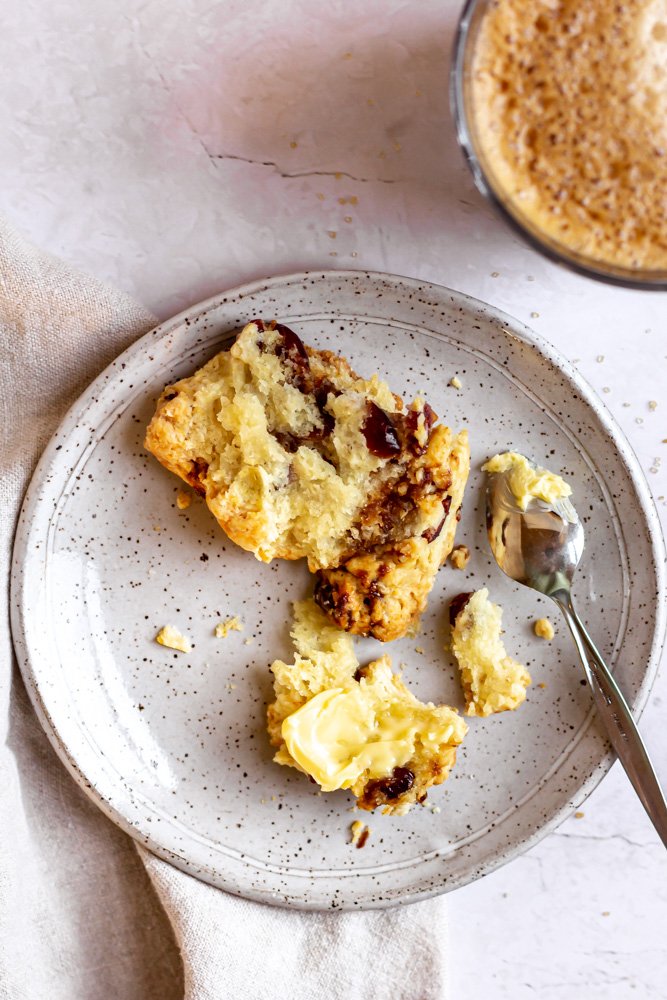

Fig and Cranberry Scones
Ingredients
- 3 1/2 cups (438 g) all purpose flour
- 2 1/2 tsp Clabber Girl baking powder
- 1/2 tsp baking soda
- 1/4 tsp kosher salt
- 1/2 cup (100 g) granulated sugar
- 1/2 cup (113 g) unsalted butter, cold and grated
- 1/2 cup (113 g) Crisco All-Vegetable Shortening, cubed
- 1/2 cup (113 g) heavy cream, plus more for brushing the tops
- 1/2 cup (113 g) sour cream (or whole milk plain yogurt)
- 5 oz (150 g) dried cranberries
- 4 tbsp fig butter
- demerara or turbinado sugar for topping
Instructions
- In a large bowl, whisk together the flour, baking powder, baking soda, salt, and sugar.
- Add the cubed Crisco All-Vegetable Shortening and work in using your fingertips until the shortening is broken down into pea-sized pieces. Add the grated butter and mix that in as well until all of the fat is in small pieces and the mixture is crumbly.
- In a small bowl, whisk together the heavy cream and the sour cream. Create a well in the center of the dry ingredients and add the creams. Use a rubber spatula to stir, just until the liquid is incorporated. Gently fold in the cranberries.
- Turn the dough out onto a clean work surface and knead for 1-2 minutes, just until cohesive and no flour spots remain. Pat the dough into a thick rectangle, about 8x10 in size.
- Spoon two tablespoons of the fig butter onto the surface of the dough rectangle and smooth into a thin layer using an offset spatula. Gently fold the dough in half, sandwiching the fig butter inside. Rotate the block 90°, pat back down, and repeat with the remaining two tablespoons of fig butter.
- Wrap the block, with the fig butter inside, tightly in plastic wrap and chill for at least 2 hours.
- When the scone dough is very cold, remove it from the plastic wrap and use a sharp knife to cut six equal squares from the rectangle. Slice each square in half diagonally so that you have 12 triangles. Place the scones on a parchment-lined baking sheet and freeze until solid, at least two hours, preferably overnight.
- When you are ready to bake, preheat the oven to 350° F. Arrange the frozen scones on a parchment-lined baking sheet leaving about 2" of space between each scone. Brush the tops of the scones with a little bit of heavy cream and sprinkle them with a crunchy sugar.
- Bake for 30-35 minutes, until the outsides are deeply golden. Serve warm.