Chocolate Tahini Brioche Babka

You’ve probably heard about Marie Antoinette and her infamous “let them eat cake” phrase. As the story goes, Marie Antoinette, who was the Queen of France during the French Revolution, was informed that her poorer subjects were starving and had no bread to eat and she callously replied with the French phrase “Qu’ils mangent de la brioche!” which is more correctly translated to “Let them eat brioche!” This response didn’t work out so well for Marie, as it was used to illustrate her lack of understanding of the plight of the everyday man and she wasn’t very well-liked by her constituents. Turns out, historians haven’t actually been able to confirm that Marie Antoinette actually spoke those words (you can read more here if you’re a history nerd like me), but regardless, the phrase stuck.

But what exactly is brioche and how does it differ from other types of breads? Brioche falls into the “enriched dough” category because in addition to the basics (flour, water, yeast, salt) it contains a much higher fat content through the use of eggs, milk, and lots of butter (traditionally about 60 percent of the weight of the flour). Brioche is typically baked in loaves or cute little rolls, but it’s also a great base dough and can be filled or twirled any way that you like. There are two important things to remember when making brioche. First, the temperature of the butter matters. Butter should be soft and pliable, and around the same temperature as the dough. When you add it piece by piece, it will work into the dough and if the butter is too cold you will be left with chunks flaked throughout your brioche. If the butter is too warm, though, it will begin to melt and seep out of the dough. Neither of these are great for your final product. Second, the high fat content gets in the way of gluten development and it will need to mix or knead for much longer than a dough lower in fat. The word “brioche” actually comes from the old Norman verb “broyer”, which means “to pound” and it refers to the exceptionally long kneading process. After you have added your butter, the dough will mix for a good long time. Since every mixer and baker is different, the exact mixing time will vary so it’s easier and more accurate to look for specific signs that the dough is ready. Once you add the butter, the dough will look very soft, more like a thick cake batter, and it will kind of stick to the bottom of the bowl. As you continue to knead it, the dough will eventually become more elastic and it will start to pull away from the sides of the bowl-this is what we want. When it’s done mixing, it will be smooth and almost velvety in texture. To test the gluten structure, you can pull off a small piece of dough, pinch it in your fingers and gently stretch it to make a small square. If the dough doesn’t break in the center, it means that the gluten is developed and you are good to go. If it rips immediately when you try to stretch it, it needs some more kneading time. (This is called the windowpane test and you can see pictures of what it should look like here.)

When you have your finished dough, it will proof for two hours, turning it a couple of times throughout, until it’s doubled in size. After proofing, you can either continue to shape and build your babka, or you can cover the dough and chill it overnight. This particular brioche recipe is from Tartine Bread and it uses a sourdough starter to create the overnight pre-ferment or leaven. If you don’t already have your own starter and you would like to try your hand at making one, you can find step by step instructions here. If you don’t have your own starter and have zero interest in making one, I have a brioche recipe that doesn’t use a sourdough starter here.

*Note: If you choose to follow the Tartine brioche recipe below, you will have enough dough for two babka loaves (or a babka and something else; spoiler: there’s a fall inspired recipe using more brioche coming in a few weeks). If you use my brioche recipe from the Cinnamon Swirl Brioche, you will only have enough for one babka.


Tartine Brioche

Babka1.jpg

Yield: 1600 g of dough, or 2 babka loaves


Ingredients: 

poolish: 

100 g water

100 g flour

Pinch of yeast


leaven: 

1 1/2 tsp starter

110 g flour

110 g water


for the dough: 

500 g bread flour

13 g salt

60 g sugar

5 g active dry yeast

250 g eggs (about 5), at room temperature 

120 g milk, at room temperature

150 g leaven 

200 g poolish

225 g butter, at room temperature


Procedure: 

  1. The night before baking, stir together poolish ingredients and place in a plastic container with lid. Store in the refrigerator overnight. Mix together the leaven ingredients and store in another plastic container. Leave on the countertop overnight.

  2. In the bowl of a stand mixer fitted with the dough hook, combine wet ingredients (milk, eggs, leaven, poolish). I like to stir these together with a rubber spatula to break up the leaven and poolish. On top of the wet ingredients, add the flour, salt, sugar, and yeast. Mix on low speed for 3-5 minutes until everything is combined and a dough begins to form. Cover the mixer with a kitchen towel and let the dough rest for 15-20 minutes.

  3. Scrape down the sides of the bowl and increase speed to medium-high. Mix for 6-8 minutes, adding the softened butter 1 tablespoon at a time, until all the butter is incorporated. Continue to mixing for about 15-20 more minutes. It is much easier to determine sufficient mixing by looking for specific qualities in the dough, rather than by using a mixing time. The dough is ready when it is smooth and elastic and pulls away from the sides of the bowl. When you pull a piece of the dough out, it will be soft, but you should be able to stretch the dough into a small square without it tearing. This is called the window pane test.

  4. Cover the bowl with a kitchen towel, place in a warm space in your kitchen, and proof for two hours. You will turn the dough three times during this time, at the 30-minute mark, the one hour mark, and the one and half hour mark. To complete a turn: grab the bottom of one side of the dough and stretch it up and over to the other side of the rest of the dough. Turn the dough 90 degrees and repeat until you have folded all four sides of the dough. This is considered one turn. Cover and continue to proof, repeating the turn every 30 minutes.

  5. After the bulk fermentation, cover the bowl with plastic wrap and place in the refrigerator for 30 minutes to an hour. This will make the dough much easier to shape and will prevent the butter from melting out while you are working. If you are not ready to shape right away, you can store dough in the refrigerator overnight.


Babka4.jpg

Chocolate Tahini Babka 

Ingredients: 

750 g brioche dough

1 stick (113g) unsalted butter, melted and cooled

110 g brown sugar

50 g dark chocolate cocoa powder

Pinch of salt 

1/3 cup tahini

for the egg wash: 

1 egg yolk

1 egg

1-2 T water

Procedure: 

  1. Stir together butter, brown sugar, cocoa powder and salt. You should have a thick, but spreadable paste. Set aside.

  2. Spray a 9x5 loaf pan with cooking spray and line with parchment paper. Set aside.

  3. On a floured surface, roll dough out to a 10x18” rectangle. If the dough is sticky, make sure that your are lifting it up and moving it around often in order to prevent it from adhering to your work surface.

  4. Use a small offset spatula to spread chocolate mixture in an even layer over the dough, leaving about 1/4” border on all four sides. Drizzle tahini over chocolate.

  5. Starting from a short end of the dough, roll dough tightly into a log and pinch the ends to seal. Starting about 1/2” from the top, use a sharp knife to slice the log lengthwise. You should have two strands, connected by a small dough portion at the top. Flip the strands so that the layers are facing up. Begin to braid the dough strands, crossing one over the the other, and pinch the bottoms to seal. Place your dough braid into your prepared loaf pan, cover with a kitchen towel, and let proof until almost doubled in size. This should take 1-1/2 hours, depending on the temperature of your dough.

  6. When you are ready to bake, preheat the oven to 350 degrees. Combine egg, egg yolk, and water in a small bowl to make egg wash.

  7. When the babka has risen, use a pastry brush to lightly coat with egg was. Bake for 30-35 minutes, until golden brown and a skewer or knife comes out clean when inserted. Remove from oven and let cool in the pan for about 20 minutes. Turn out onto a wire cooling rack and let cool completely before slicing and serving.

An Israeli Inspired Dinner Party

In our house, we love to have people over for dinner. I love to try out new recipes with people willing to give feedback and be my little culinary guinea pigs. I love to create something from practically nothing, like homemade pasta, and spend an hour or so, shoulder to shoulder with our guests, rolling and shaping little tortellini or farfalles. And I really love making sure that people are well-fed and feel comfortable and cared for when they step through our front door. Recently, I have used my little dinner get-togethers as an opportunity to explore different cuisines from around the world, playing with new spices and ingredients, and immersing ourselves in a faraway place if only for just a night.

I mentioned a few weeks ago that while I was at the restaurant this summer, I had the opportunity to meet Chef Alon Shaya. My husband and I spent one of our favorite evenings in most recent memory, perched atop plastic bar stools at Alon Shaya’s restaurant Safta in Denver last fall. We dined on labneh cheesecake and red wine, our cheeks red and chapped from the wind, and watched chefs pull cloud after cloud of fresh pita from their monstrous wood ovens. After our dinner, I spent a long afternoon curled up in the corner of a Barnes and Noble, thumbing through Alon’s book “Shaya”, soaking in stories of his childhood and copying down recipe after recipe.

The week of Alon’s visit at the restaurant, he taught a cooking demo for the event guests and the kitchen was invited to attend. We would have to come in early in the morning, off the clock, and dressed in our chef-whites. We were allowed to stand in the back of the room and watch the demonstration and then we were able to stand in the book signing line for an opportunity to meet Alon. I stood in the line, a little afraid of looking dorky and not sure what I would say when I got to the front. When it was my turn, Alon asked me about what my plans were after my internship, how I liked working in the kitchen, and what my end goals were in the food industry. I shared with him that I ultimately wanted to write cookbooks and we spoke a little about his book and his story. He wrote a sweet, personalized note in my book and a few words of encouragement as the next person moved up to the table.

Later that evening, we spent any free moment in the back of the kitchen, dunking pieces of kubaneh into swoops of hummus and muhamarra and I was reminded about why I chose to spend my all of my time around food to begin with. Food speaks in a universal language, it makes people feel cared for and allows for us to share a little bit of who we are with others.

I made Alon Shaya’s lutenitsa for some friends a few weeks ago and we spent a few hours, sitting around the table, sipping wine and catching up on life. Because I enjoy a good themed dinner, I spent some time exploring a little more of Israeli cuisine and to go along with our lutenitsa I made spiced lentils, yogurt sauce, Israeli salad, and lots of pita, because if you have good bread and good friends, what more do you need?

IsraeliDinnerParty2.jpg

Lutenitsa 

Yield: about 2 cups 

recipe from Alon Shaya

Ingredients: 

4 red bell peppers

1 large eggplant

4 T olive oil, divided

1/4 cup tomato paste

2 cloves garlic, minced

2 tsp kosher salt

3/4 cup canned whole tomatoes with their juices

2 T parsley leaves, chopped

Procedure: 

  1. Turn oven to broil and line a rimmed baking sheet with aluminum foil. Place eggplant and peppers, whole, on baking sheet and broil, turning frequently (about every 5 minutes) until the outsides are charred and the inside of the eggplant feels soft. Keep an eye on the vegetables, this should take 15-20 minutes, but will vary depending on the strength/heat of your oven so just watch carefully.

  2. Place the peppers in a large ziploc bag (or in a large glass bowl covered with plastic wrap). Let cool. When the peppers are cooled, use your fingers to peel off the charred, outer skin. Remove the stems and scrape out the seeds. Roughly chop peppers and place in a bowl.

  3. When the eggplant is cool enough to handle, remove the top and slice eggplant in half lengthwise. Use a spoon to scrape out the creamy insides and place in the bowl with the peppers.

  4. Place 2 tablespoons of olive oil in a large skillet set over medium heat. Once oil is warm, but not hot, add tomato paste and use a wooden spoon to break it up. Cook until olive oil begins to turn orange and the tomato paste mellows a bit in its smell. Add the garlic and cook just until it begins to soften. Add the roasted peppers, eggplant, salt and stir to incorporate.

  5. Add the tomatoes and their juices. You can do this in one of two ways: you can use a knife to roughly chop the tomatoes before adding them, or you can use your hand to squeeze each tomato as you add it in, breaking it into smaller pieces. Stir to combine and reduce heat to low.

  6. Cook over low heat, uncovered, for about an 1hour, stirring occasionally to prevent it from sticking to the bottom of the pan. The mixture will dry out and thicken and you will know that it is done when it tastes sweet and deeply caramelized. Set aside and cool to room temperature. Drizzle with remaining olive oil and sprinkle with parsley before serving.

Dinner Party Notes:

-You can find my pita recipe here.

-For the yogurt sauce, I confess that I didn’t really measure anything. But I used roughly two parts yogurt to one part mayonnaise. I added a clove or two of grated garlic, salt and pepper, and a splash of lemon juice. If you’re feeling a little wild, add whatever tender herbs you have on hand. Just taste as you go to make sure your seasonings are right!

-I used the base spices from my Mediterranean Spiced Chickpeas, combined them with lots of garlic, shallots, butter, and lentils and then swirled in some tahini, lemon juice, and herbs. Yotam Ottolenghi also has quite a few lentil recipes you can find on the internet and I have yet to make anything of his that is not delicious.

-I also recommend checking out your local wine store and asking for them to recommend wines from the region. My wine market has a few different wines from Lebanon, Morocco, and even sometimes Israel. Most local wine shops owners are very knowledgeable and always ready to help you find something new.

Sourdough Chocolate Chip Cookies

newsourdoughcc4.jpg

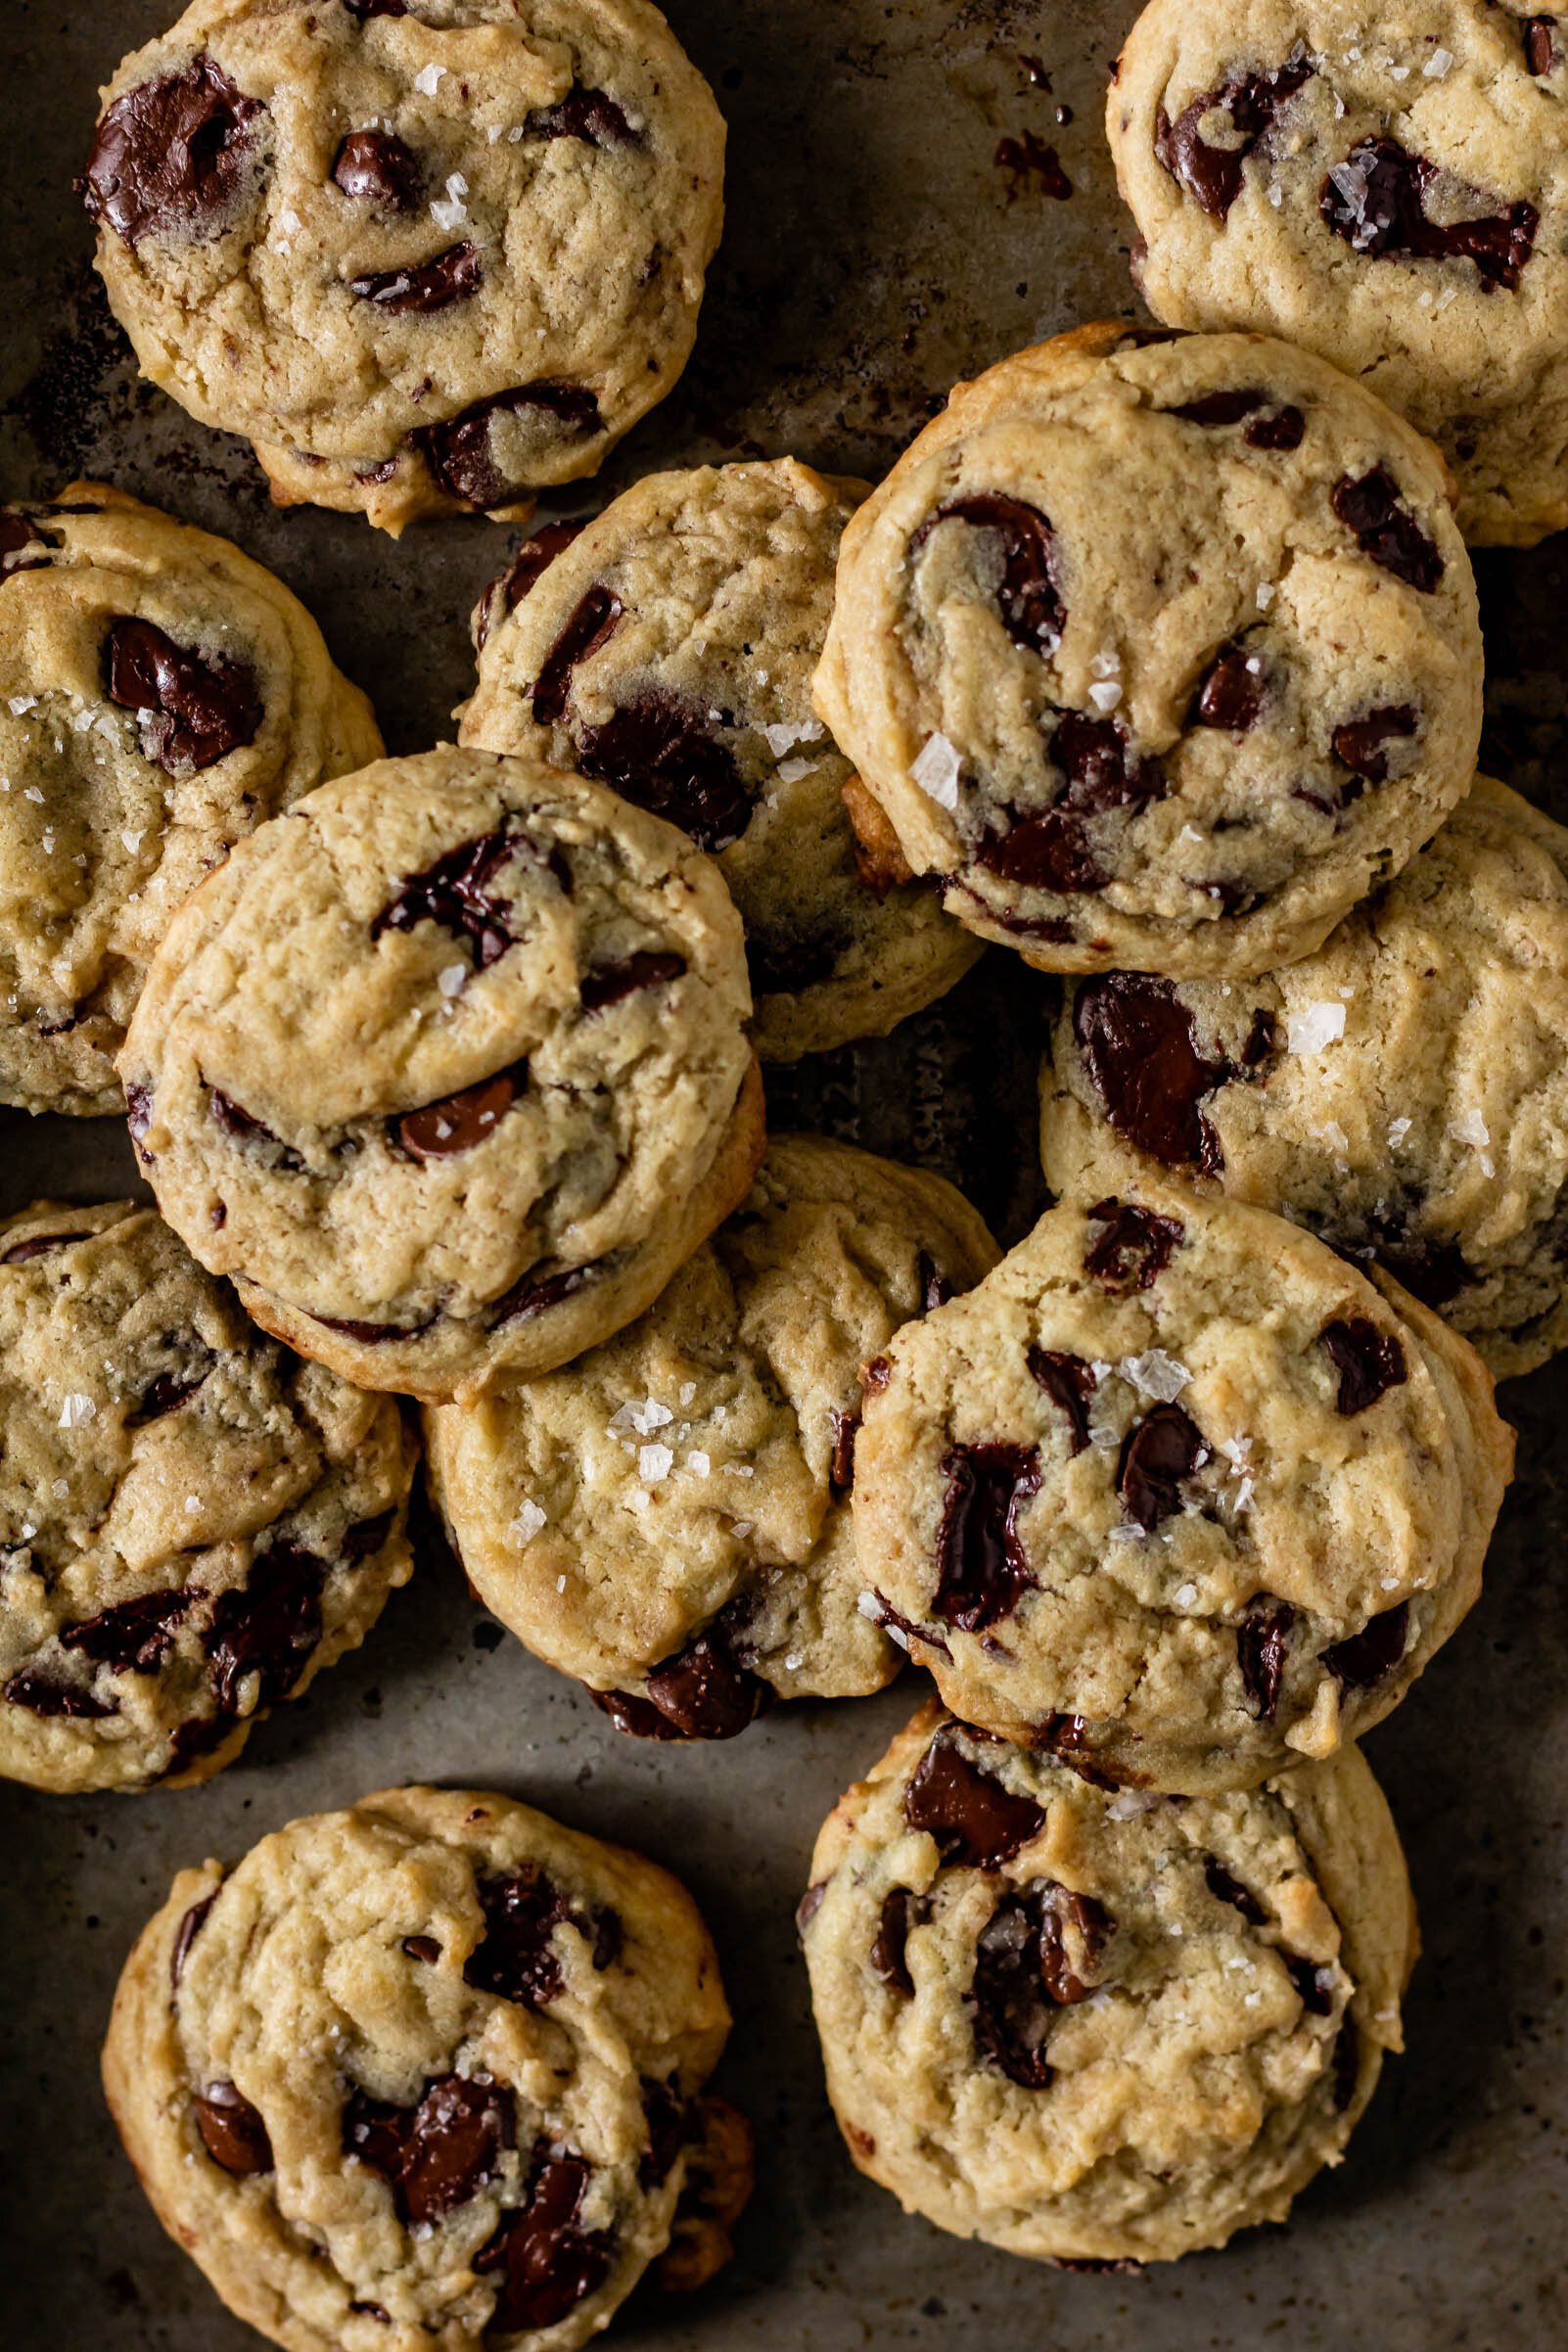
I don’t believe that one can have too many chocolate chip cookie recipes. They are perhaps the most sentimental dessert and everyone has an opinion when it comes to the perfect chocolate chip cookie. For some, it’s a thin, flat disc, crunchy around the edges with just a little give in the center. Others may prefer to indulge in a cookie with a little more altitude and a fluffier, more cake-like crumb. There is a little bakery down the street from our house known around town for their dense, giant cookies and the equally large line for them that snakes around the building. To me, they feel like piles of chocolate chips bound together by large wads of cookie dough, ultra-gooey and barely holding together. I love them. My husband does not. But I get it, chocolate chip cookies can be a contentious topic. I’m not here to sway your opinions, only to submit a new variation to add to your cookie rotation.

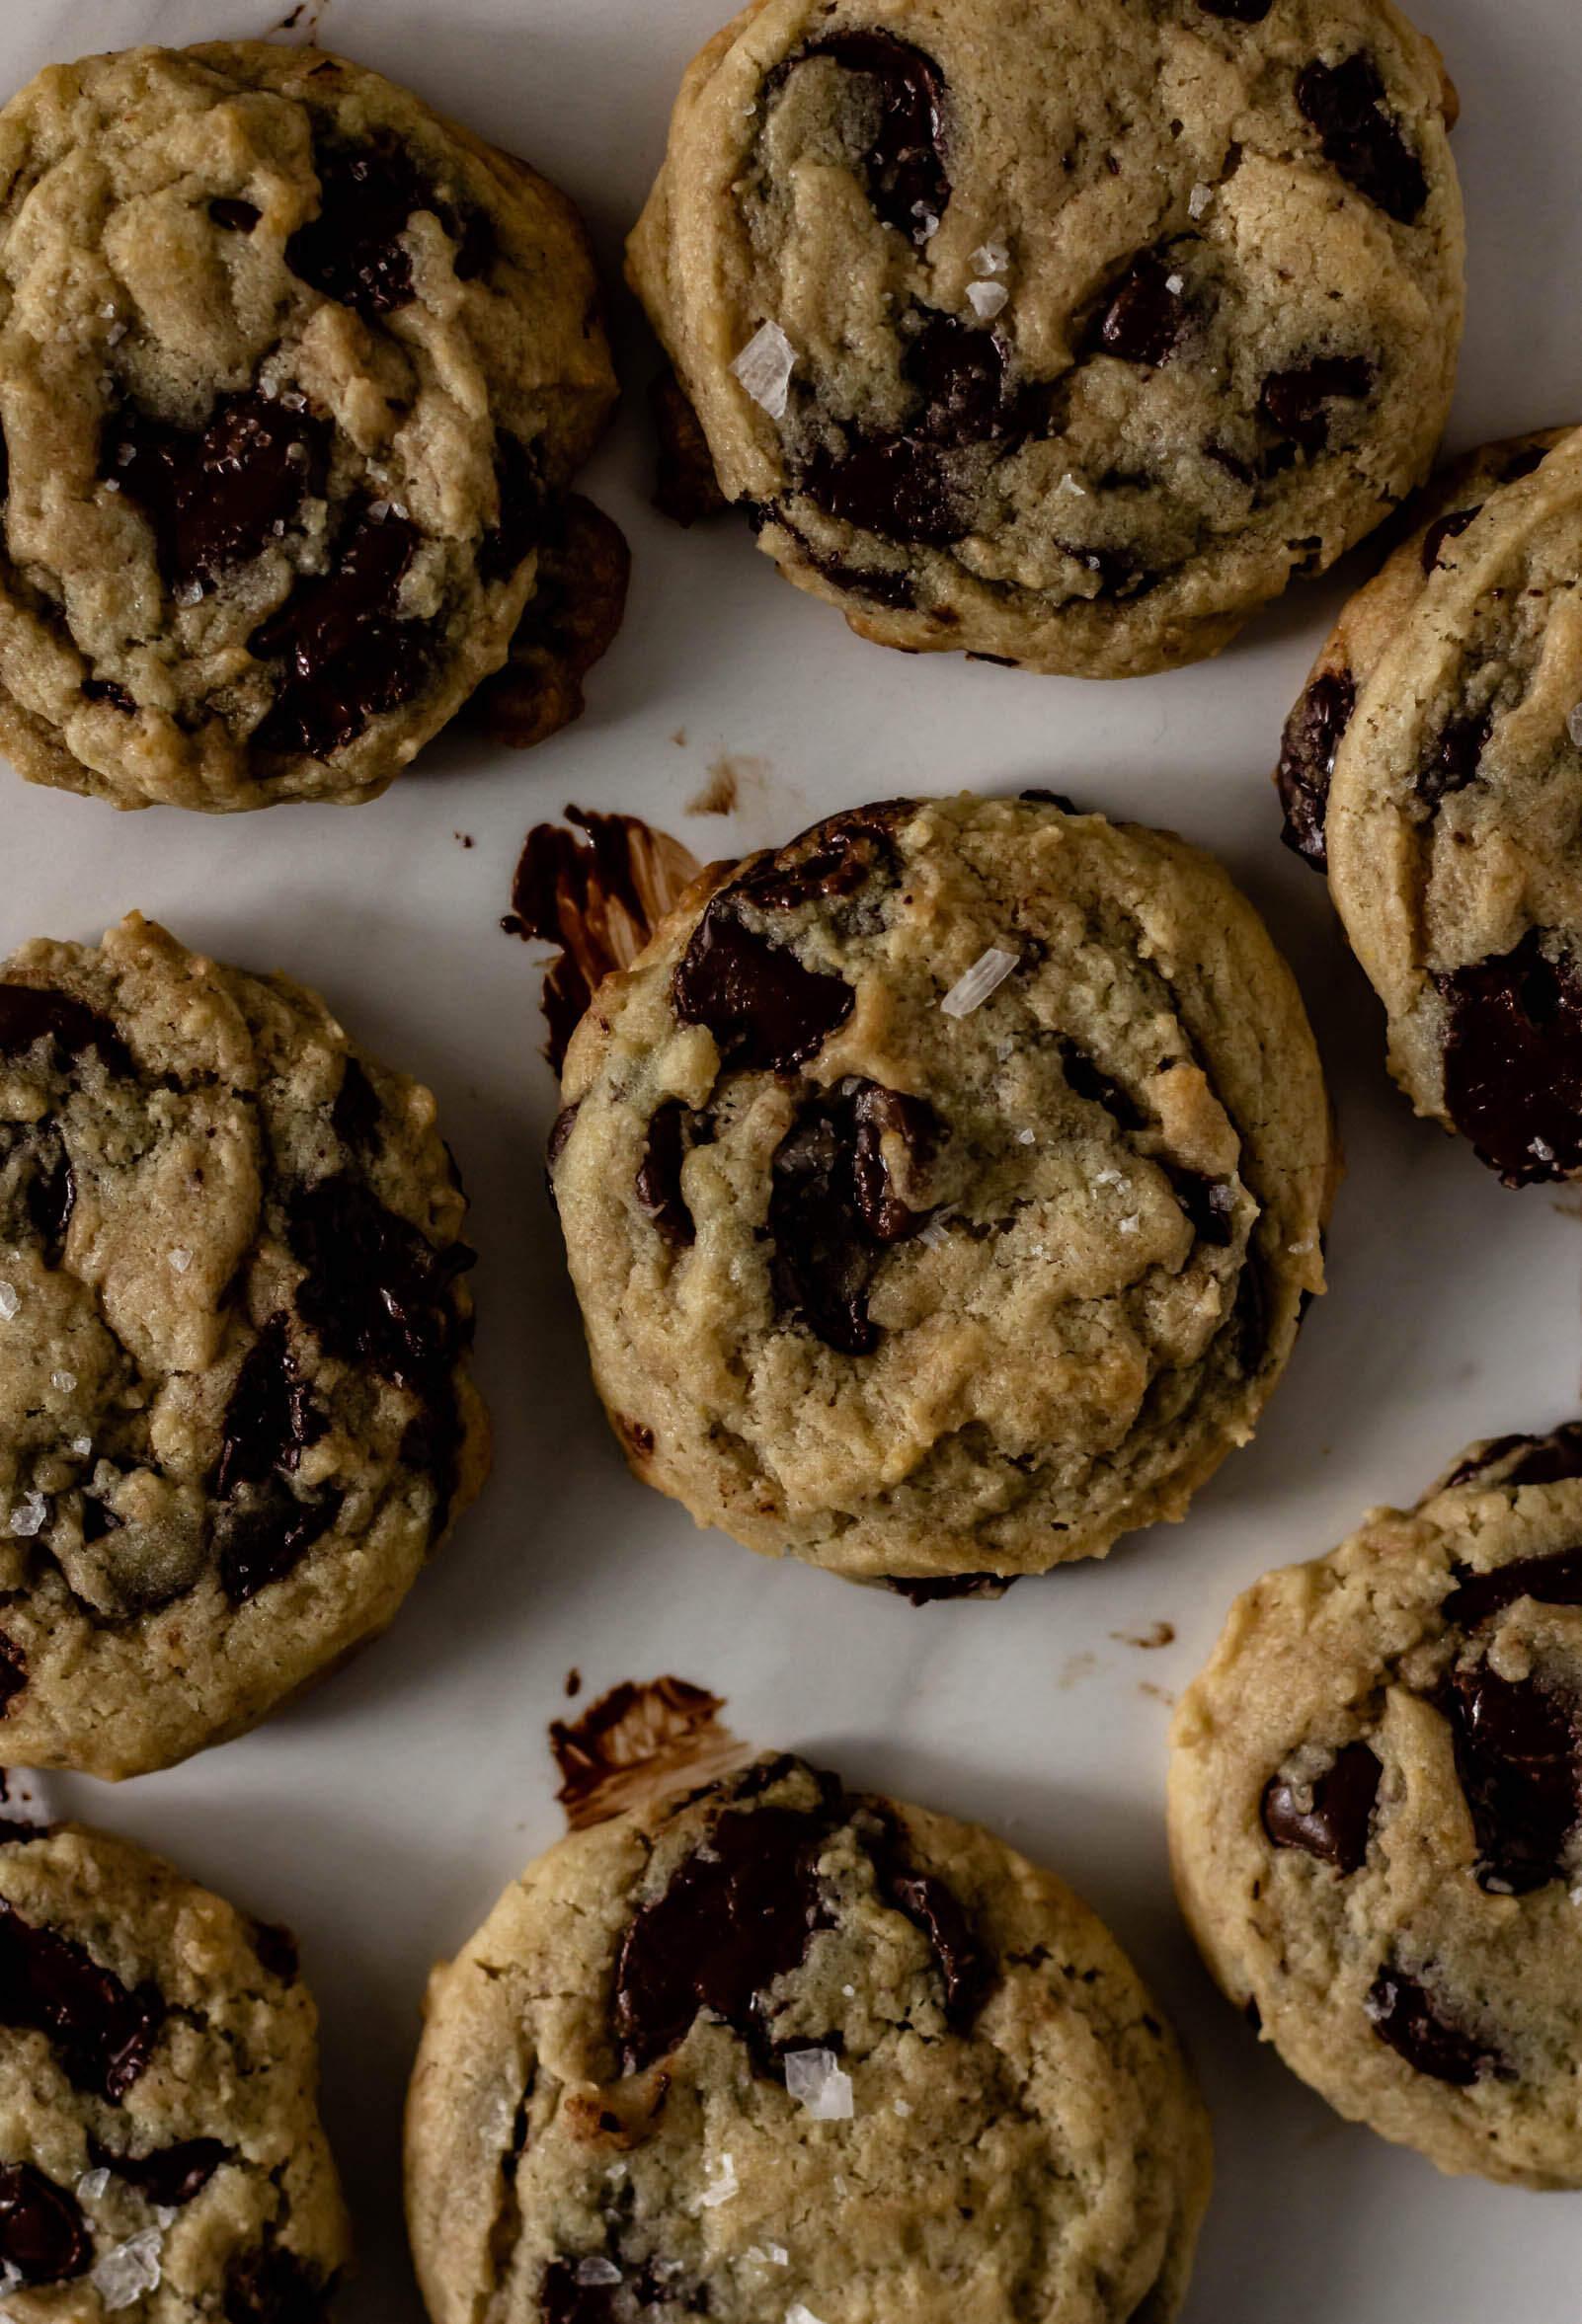
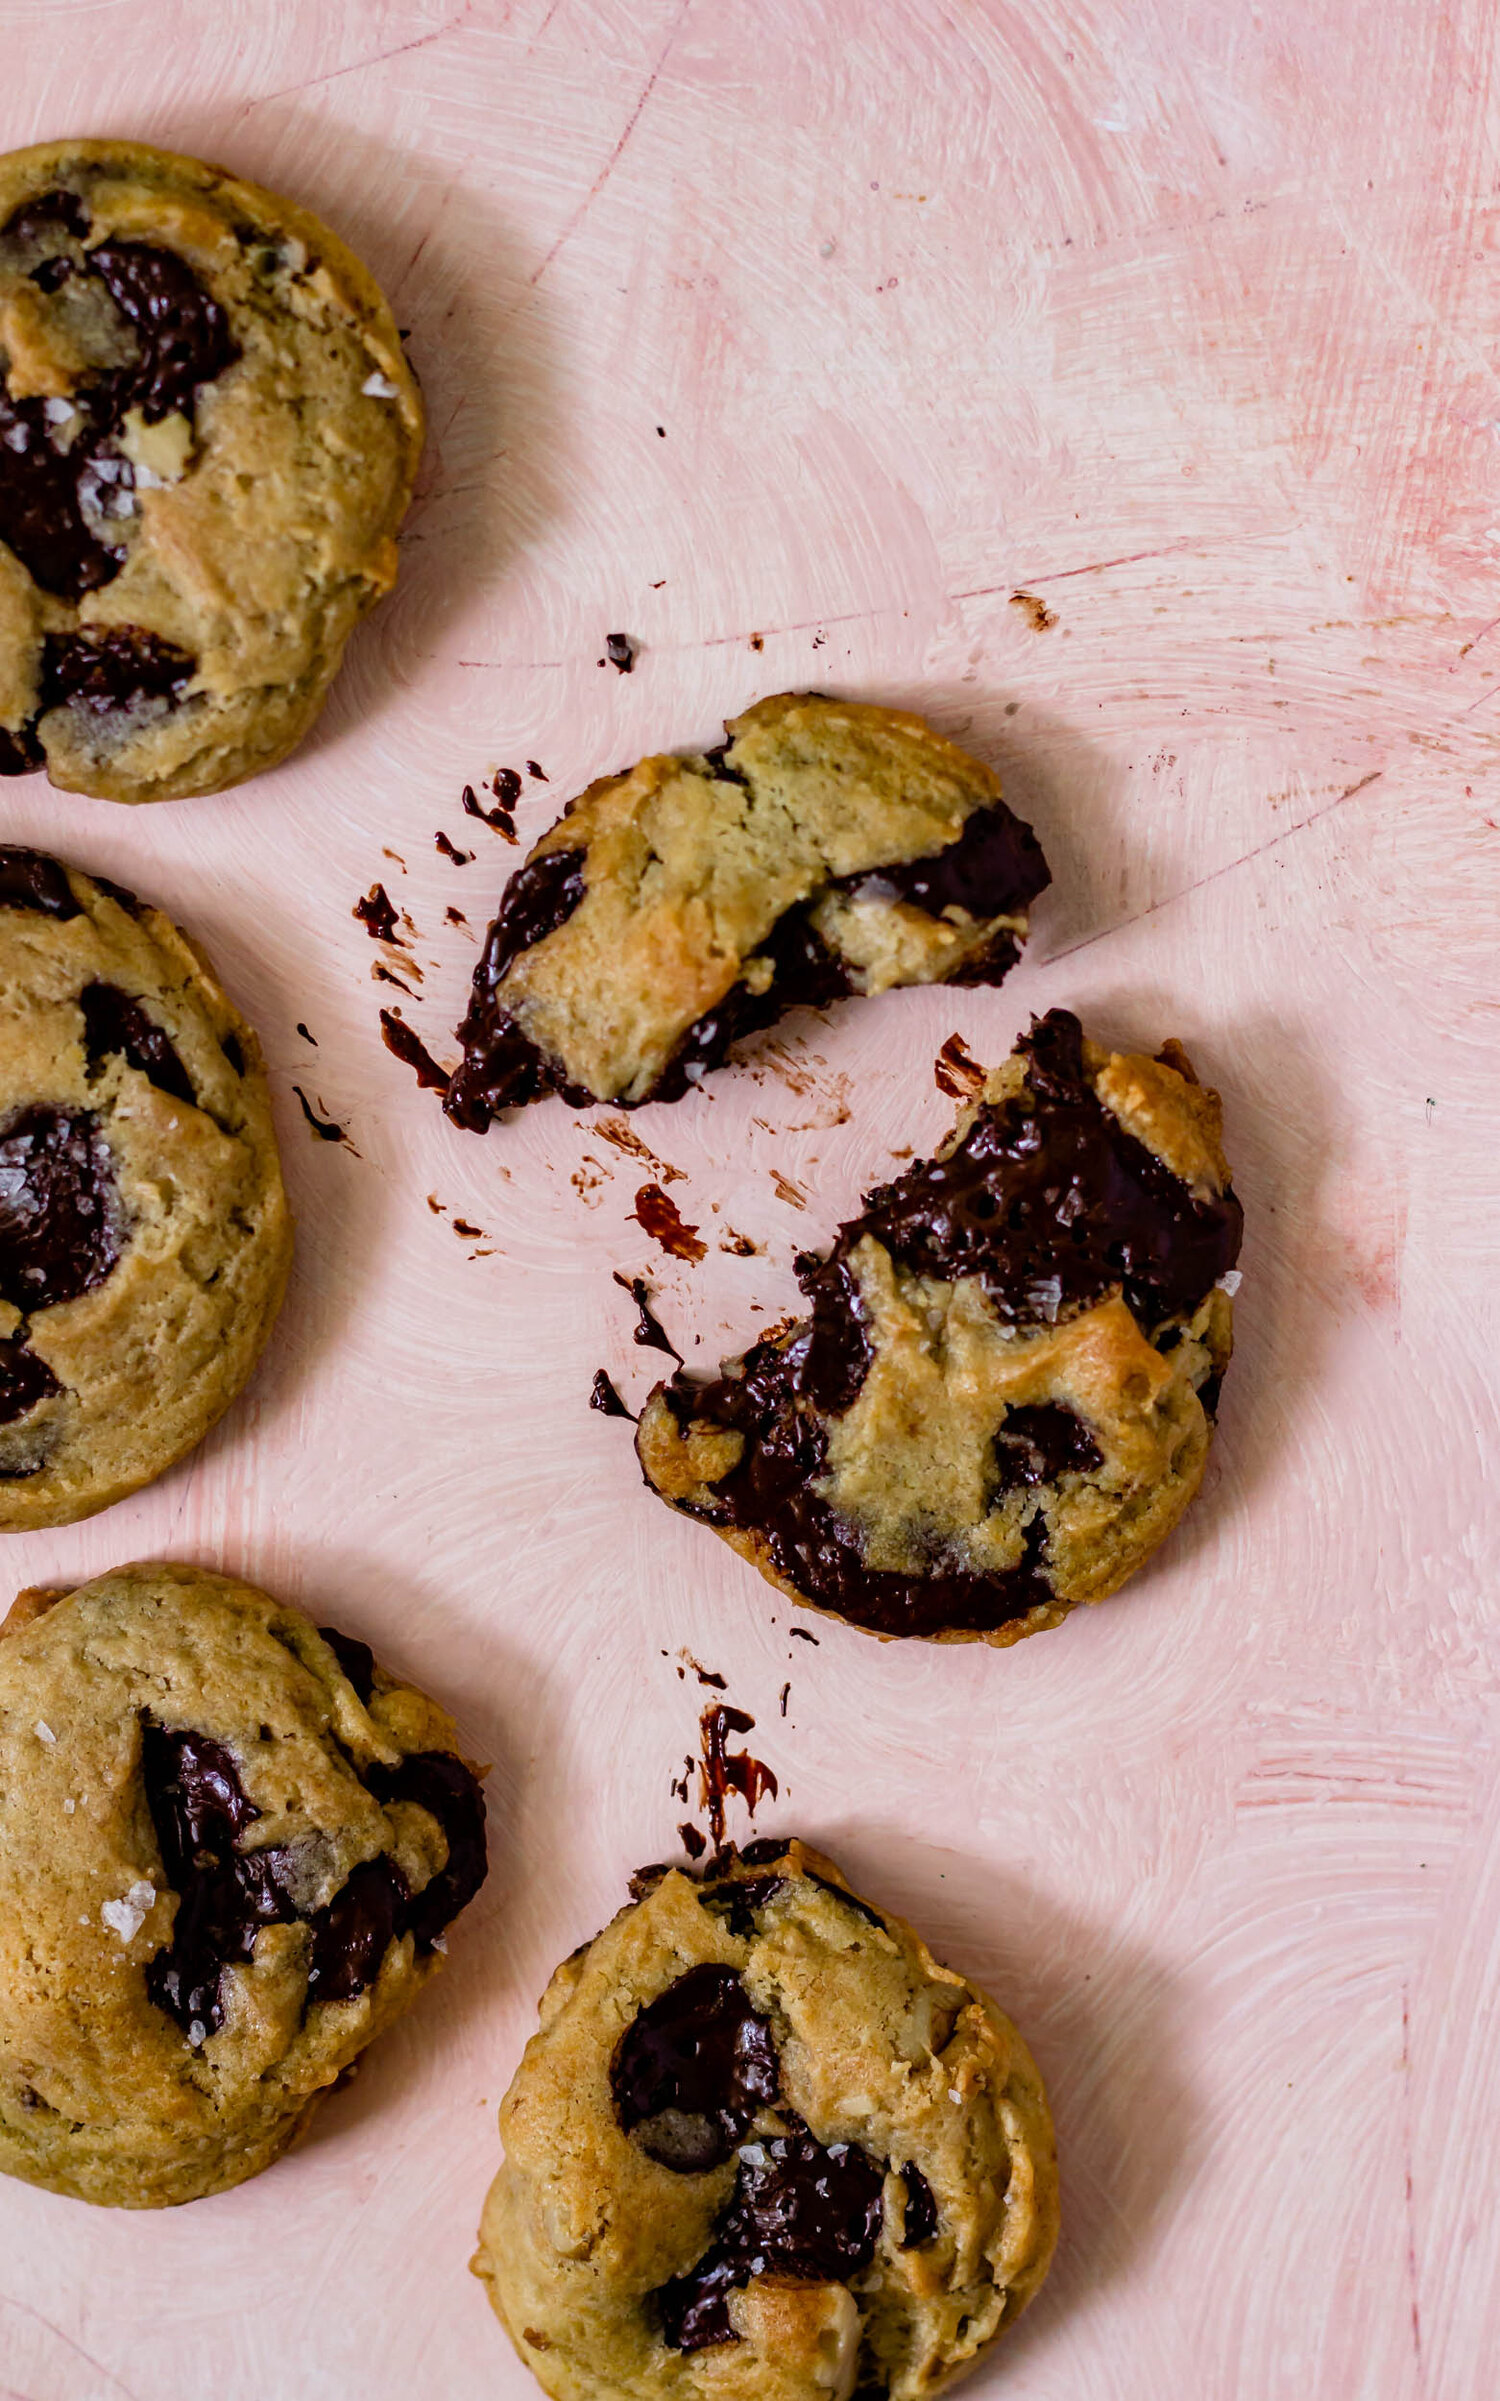
I got this recipe in an email earlier this summer from Tara Jensen (whose book is beautifully written and has taught me so much about dough). I was working at the restaurant and my fellow pastry cooks and I spent weeks promising that we were going to test it out. I procrastinated all summer long, so when I returned home, these little cookies topped my to-do list. They did not disappoint. These sourdough chocolate chip cookies are soft, but with little crispy edges and the sourdough culture gives a slight tang, cutting through some of the richness. Using chopped chocolate instead of chocolate chips and implementing a little “tray banging” at the end of the bake, gives you little puddles of chocolate that you will just want to dive into. And please remember to salt your cookies!

why you need a kitchen scale

I usually try to convert most recipes to cups and tablespoons in order to make things a little simpler for the home cook, however, I am a huge advocate for using metric measurements when baking, especially when it comes to using sourdough starters. Kitchen scales are relatively cheap and they are total game changers in the kitchen. Precision is not as imperative in cooking, but the science of baking really demands accuracy in order for things to turn out consistently. For example, depending on your measuring cup, the humidity in your kitchen, and the way you scoop, a cup of flour will almost always have a different weight each time you measure. If you use a kitchen scale, though, you are able to do a much better job of controlling your ingredient portions and it will come out the same each time. The other reason I recommend using metric measurements is LESS DISHES. You don’t have to dirty a million different measuring cups and spoons and you can just weigh everything directly into your bowl. For me, that alone justifies the purchase of a kitchen scale.

This is the kitchen scale I am currently using and it does the trick just fine.

newsourdoughcc9.jpg

*If you don’t yet have a sourdough starter and are ready to create your very own, check out my step-by-step guide here!

Recipe Update! May 2020:

When I first shared this recipe, it was one that I received in an email newsletter. I made a couple, very small tweaks, liked the extra tang of the sourdough starter and thought I would share the recipe with you guys. They were a very good cookie, but not necessarily my perfect cookie. Fast forward a few months and this recipes is by far the most popular on the blog! You guys love adding sourdough to cookies, which is great, but since so many people were heading to the blog for these babies, I wanted to make sure the recipe was not just a good one, but an excellent one- one I was proud to be the most popular recipe on the site. So after some more tinkering and adjusting, here are the new and improved Sourdough Chocolate Chip Cookies! They are a no longer a good cookie, but a really great cookie!

P.S. I’ve gotten a lot of requests for the old recipe as people want to try both, side by side! I love this so much so you’ll find the original recipe below all the way at the bottom of this post. Try them both and decide which cookie fits your style, and maybe even make a few of your own tweaks to make these little guys perfect for you. Happy baking!

Yield: makes 18-24 cookies
Author: Anna Ramiz
New and Improved Sourdough Chocolate Chip Cookies

New and Improved Sourdough Chocolate Chip Cookies

Prep time: 15 MinCook time: 10 MinInactive time: 24 HourTotal time: 24 H & 25 M
These soft, chewy sourdough chocolate chip cookies are spiked with leftover sourdough discard for an extra tang.

Ingredients

  • 340 g all purpose flour
  • 2 sticks (226 g) unsalted butter, melted and then cooled to room temperature
  • 1 egg
  • 1 egg yolk
  • 50 g sourdough starter
  • 75 g sugar
  • 125 g brown sugar
  • 1 T vanilla extract
  • 1/2 tsp baking soda
  • 1 tsp baking powder
  • 1 tsp salt
  • 385 g dark chocolate, chopped

Instructions

  1. In a medium bowl, whisk together flour, baking soda, baking powder, and salt. Set aside.
  2. In the bowl of a mixer fitted with the paddle attachment, combine together butter, sugar, and brown sugar. Beat until light and sandy, then scrape down the sides of the bowl. With the mixer on low speed, add in sourdough starter, egg, egg yolk and vanilla. Mix until combined.
  3. With the mixer on low speed, add flour mixture in two additions, scraping down the sides of the bowl and mixing until no flour streaks remain. Use a rubber spatula to fold in chocolate chips.
  4. Transfer dough to a bowl, cover with plastic wrap and refrigerate for 24 hours.
  5. When ready to bake, preheat the oven to 350 degrees. Scoop dough into balls and place on a baking sheet, leaving 2” between each cookie. Bake until tops are just set and edges are beginning to brown, 8-10 minutes for small cookies and 10-12 minutes for larger cookies. When removing from oven, bang the tray against the counter a couple of times to settle the cookies and create those much-desired chocolate puddles. Let cookies cool on the tray for 5 minutes and then transfer to a cooling rack. Sprinkle the tops of cookies with flaky salt (like Maldon). Let cookies cool on the tray for 5 minutes and then transfer to a cooling rack.

Notes:

I've received quite a few questions about this recipe, so if you have any questions, check the comments below first! I may have already answered your question.


The chilling time is pretty important for this cookie recipe. Chilling the cookie dough allows for proper hydration and the development of the sourdough flavor. That being said, if you are unable to chill the dough for the full 24 hours, give the dough at least 1 hour in the fridge to hydrate slightly before baking, but know that the sourdough flavor won't be as pronounced.

Did you make this recipe?
Tag @gatheredatmytable on instagram and hashtag it #gatheredatmytable
Created using The Recipes Generator

Sourdough Chocolate Chip Cookies (Older Version)

Yield: 18-24 small cookies, or 10-12 large cookies

Recipe adapted from Tara Jensen

Ingredients 

250 g all purpose flour

2 sticks unsalted butter, softened

1 egg

50 g sourdough starter

100 g sugar

50 g brown sugar

1 T vanilla extract

1/2 tsp baking soda

1/2 tsp baking powder

3/4 tsp salt

400 g dark chocolate, chopped

Procedure 

  1. In a medium bowl, whisk together flour, baking soda, baking powder, and salt. Set aside.

  2. In the bowl of a mixer fitted with the paddle attachment, cream together butter, sugar, and brown sugar. Beat until creamy and light, then scrape down the sides of the bowl. With the mixer on low speed, add in sourdough starter, egg, and vanilla. Mix until combined. 

  3. With the mixer on low speed, add flour mixture in two additions, scraping down the sides of the bowl and mixing until no flour streaks remain. Use a rubber spatula to fold in chocolate chips. 

  4. Transfer dough to a bowl, cover with plastic wrap and refrigerate for 24 hours. 

  5. When ready to bake, preheat the oven to 350 degrees. Scoop  dough into balls and place on a baking sheet, leaving 2” between each cookie. Bake until tops are just set and edges are beginning to brown, 8-10 minutes for small cookies and 10-12 minutes for larger cookies. When removing from oven, bang the tray against the counter a couple of times to settle the cookies and create those much-desired chocolate puddles. Let cookies cool on the tray for 5 minutes and then transfer to a cooling rack. 

more recipes like this

backgroundflipped2.jpg

sourdough starter how-to guide

apeinkornloaf7.jpg

classic sourdough bread

slicedwhole7.jpg

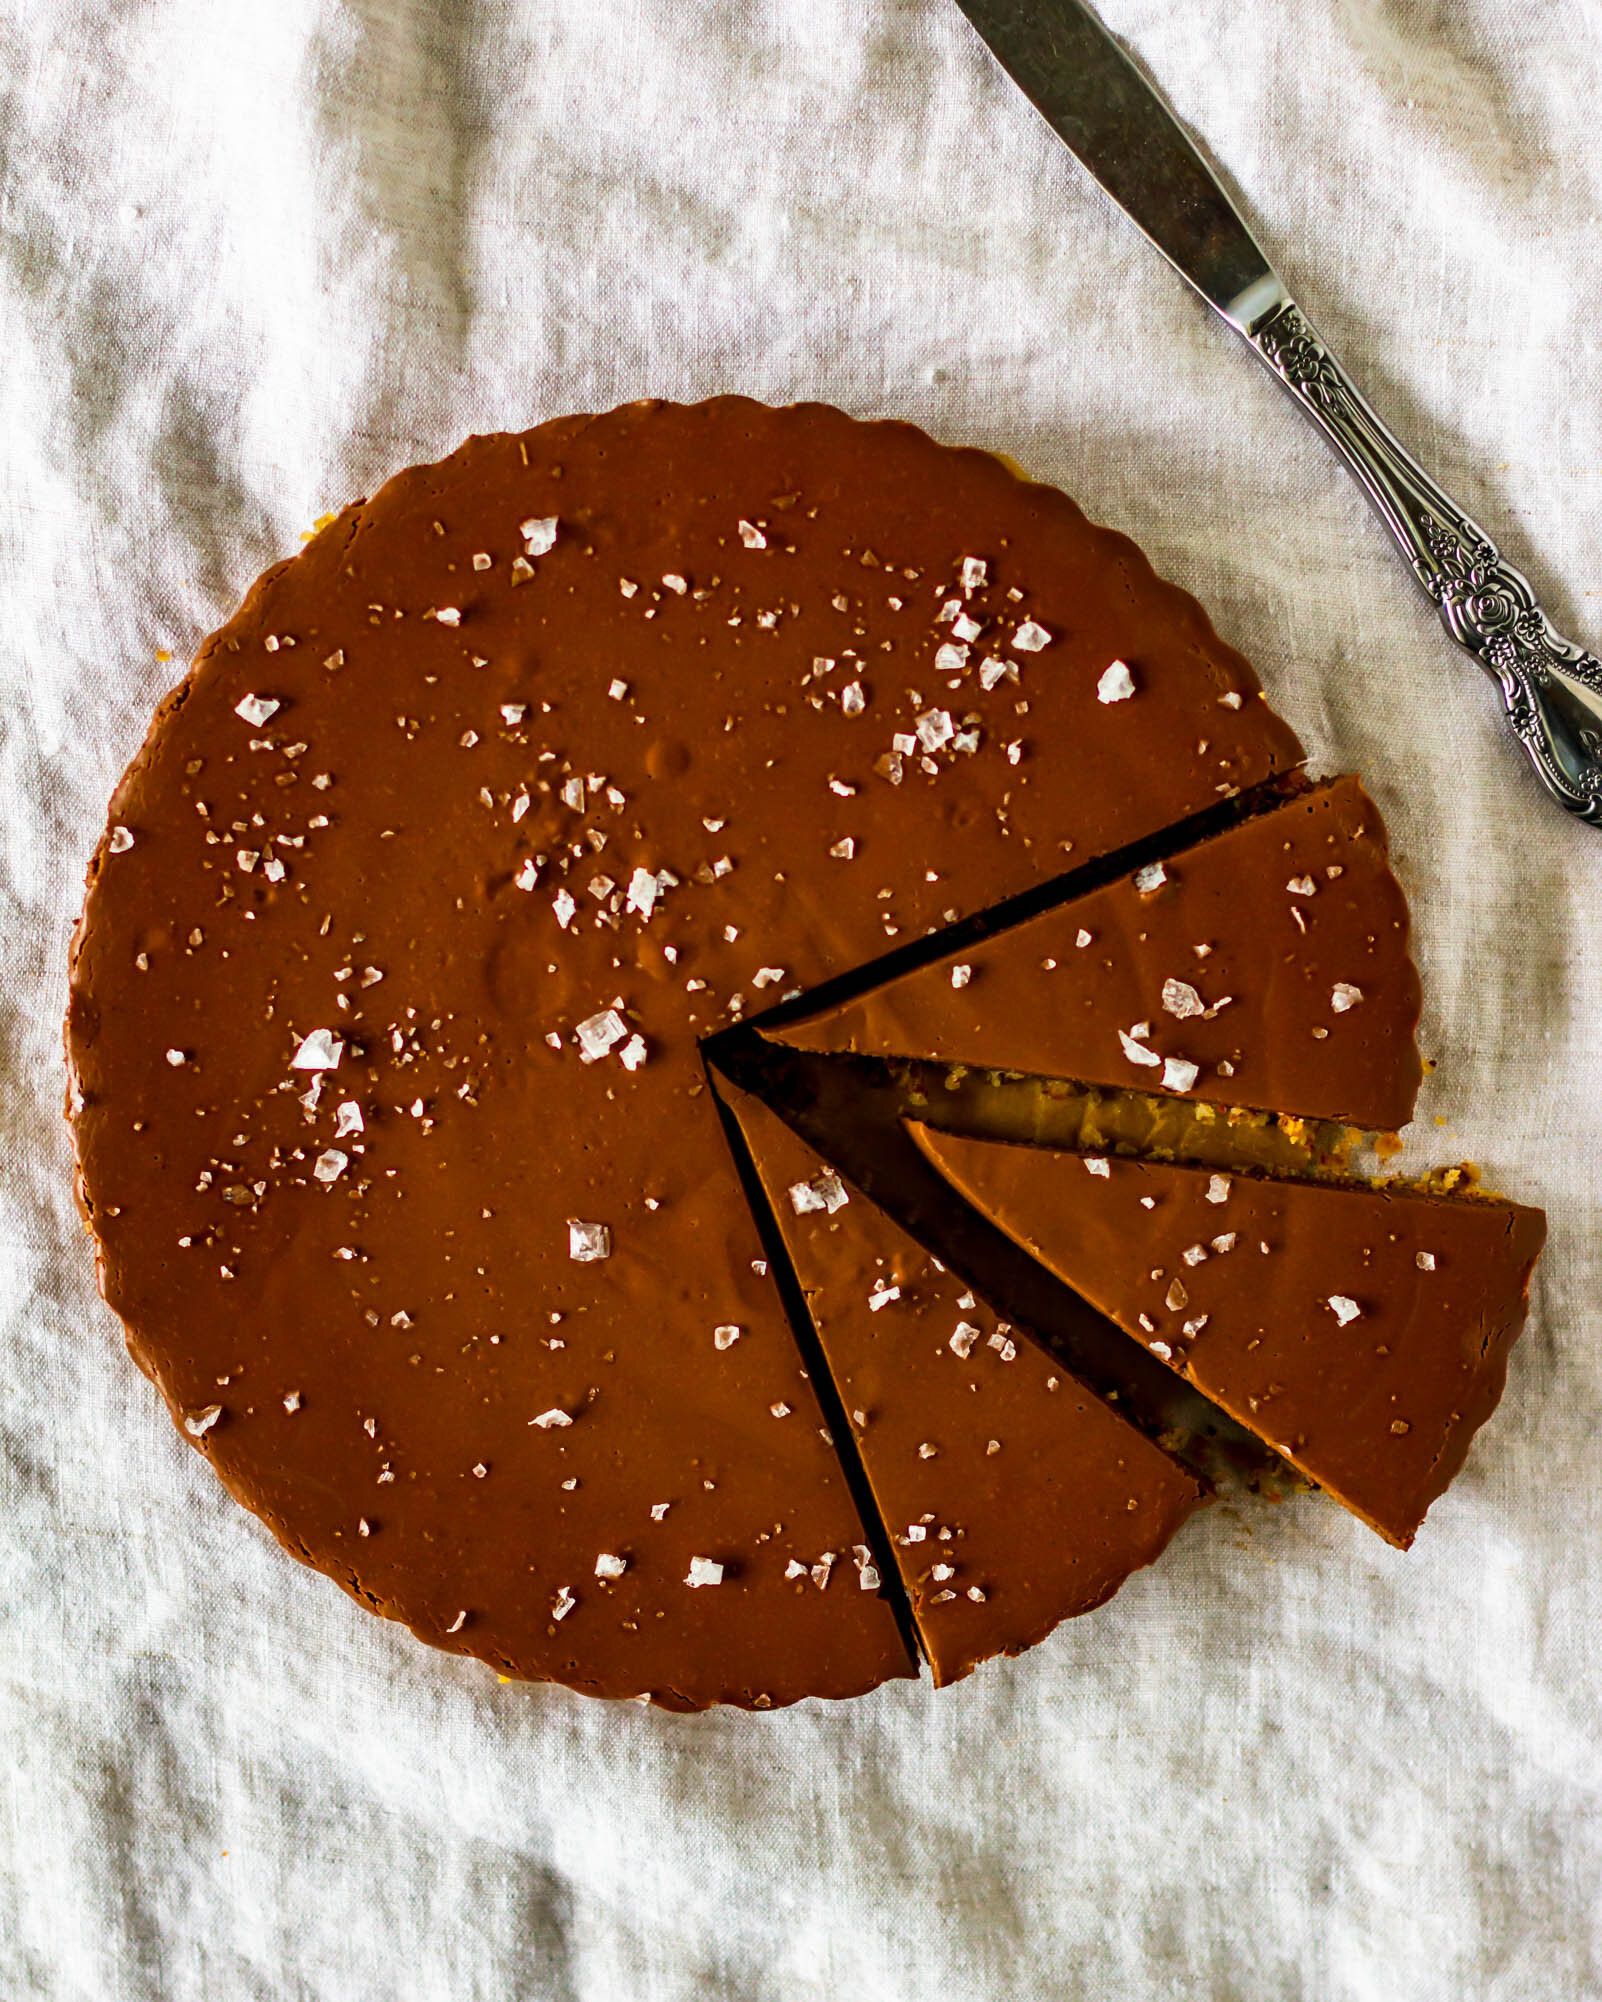
sourdough chocolate tart

Print Friendly and PDF


This post contains affiliate links. As an Amazon Associate, I make a small commission from qualifying purchases. Thank you for supporting the brands that make Gathered At My Table possible!