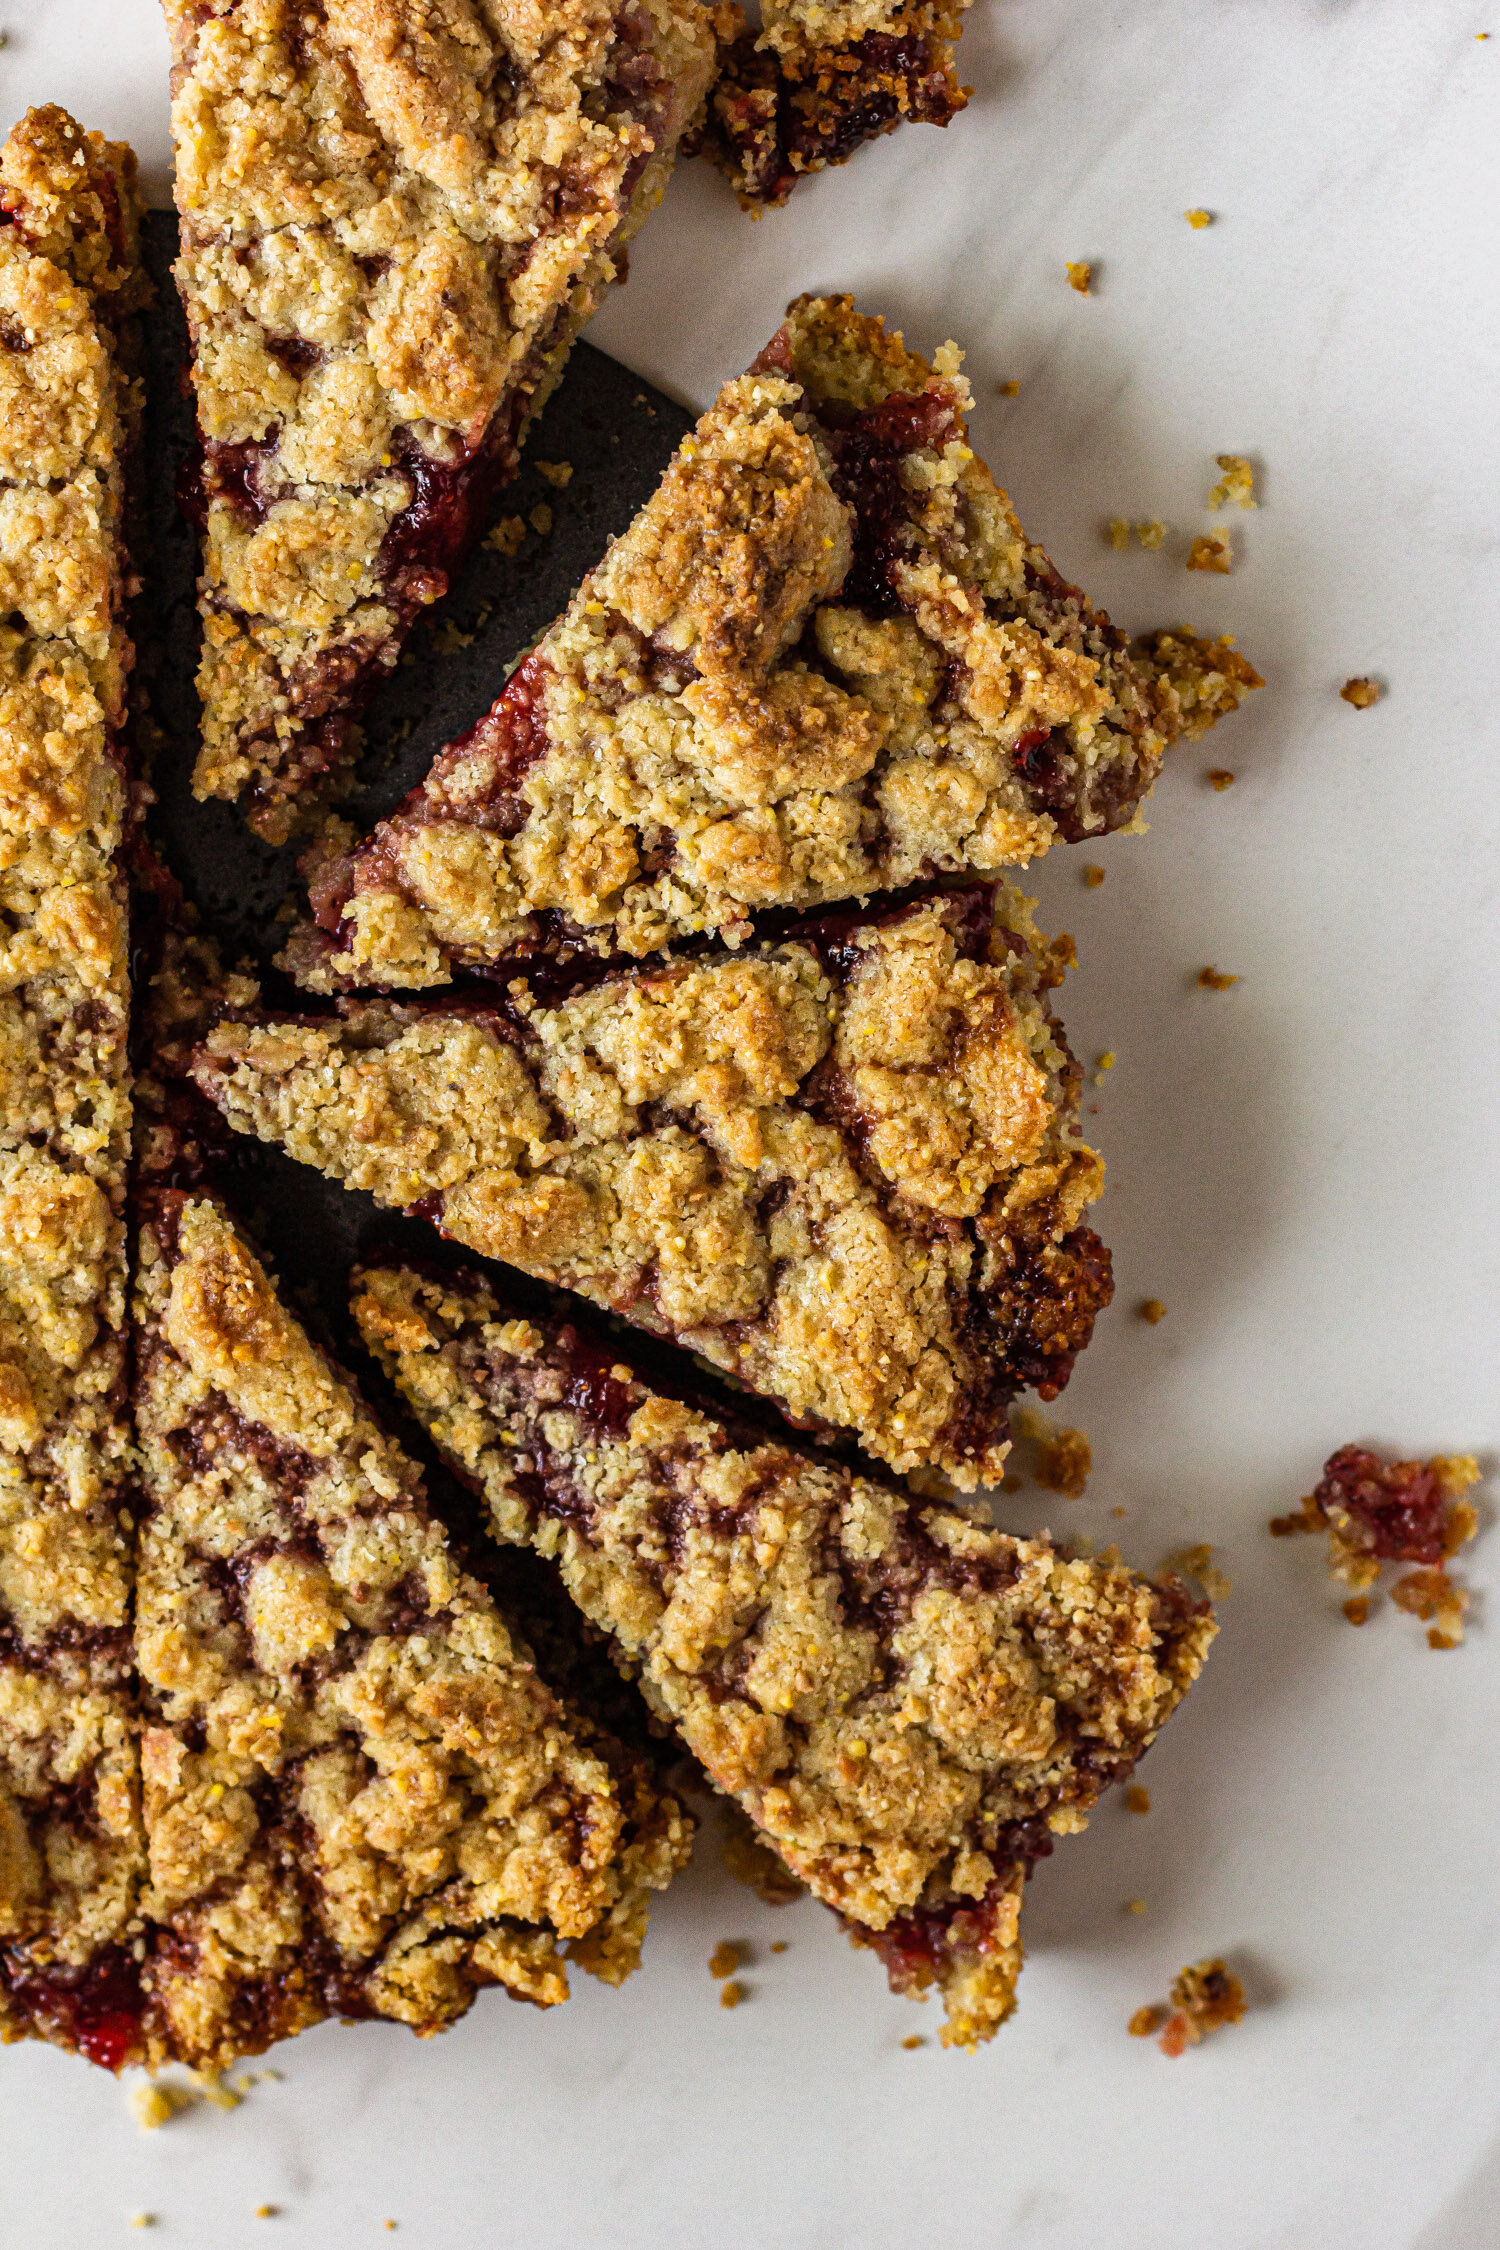
Olive Oil and Roasted Garlic Hamburger Buns
/
I’m not a huge fan of 4th of July. I don’t love fireworks, or mosquitos, or standing outside in the oppressive summer heat. I’m not super into platters of grilled meats or red, white, and blue tank tops. One thing I can always get behind, however, is a great cheeseburger. We do so little food-wise when it comes to 4th of July, that making your own hot dog or hamburger buns doesn’t seem quite as overwhelming and I promise you, it’s definitely worth it. These hamburger buns are brioche-esque, meaning that they are enriched slightly with fat, eggs, and milk, but not so much of these ingredients as to make a full brioche. They are light and fluffy, soft in the middle and sturdy enough to support a fully-loaded cheeseburger and they come together in just a couple of hours. And if you’re anything like my mom and prefer charred hot dogs to hamburgers, just shape them in cylinders instead of rounds to make hot dog buns. So Happy 4th of July to you all! I hope that your weekend is filled with air conditioning, cold margaritas, and great hamburger buns.

Olive Oil and Roasted Garlic Hamburger Buns
Yield: about 9 buns
adapted from NYTimes Cooking
Ingredients
1 cup (237 g) warm water
3 T (42 g) whole milk
2 tsp active dry yeast
2 eggs, lightly beaten
3 cups (410 g) all purpose flour
1/2 cup (67 g) whole wheat flour
1 1/2 tsp kosher salt
2 T (30 g) honey
3 T (40 g) olive oil
1 head roasted garlic (about 20-25 grams) *see note below*
egg wash
Procedure:
In a glass measuring cup, combine water and milk and heat in the microwave for about 30 seconds, until warm to the touch. Add yeast, and let rest for 5 minutes, until yeast is foamy.
Meanwhile, in a medium bowl, whisk together flour and salt. Set aside.
In the bowl of a stand mixer fitted with the dough hook attachment, combine eggs, honey, and olive oil. Add the yeast and liquid mixer and gently stir with a rubber spatula, just to combine.
With the mixer on low speed, gradually add dry ingredients, followed by the roasted garlic. When everything has been added, increase mixer speed to medium and mix for 5-7 minutes, until a smooth, elastic dough has formed and it begins to pull away from the sides of the bowl. You can test the dough’s gluten development by performing the window pane test.
Transfer the dough ball to a lightly-oiled mixing bowl, cover with plastic wrap and let proof for 1 1/2-2 hours, until doubled in size.
Turn the dough out onto a lightly-floured work surface. Divide the dough into 50 gram portions and then shape each piece into a ball.
Place dough balls on a parchment lined baking sheet and cover with plastic wrap. Let proof another 30-45 minutes, until buns are puffy and an imprint fills in halfway when poked gently with a finger.
When the buns are finished proofing, preheat the oven to 375° F. Brush the tops of each bun with egg wash and sprinkle with sesame seeds.
Bake for 15-20 minutes, rotating the pan halfway through the baking time, until buns are golden brown. Let cool completely before slicing.
Notes: To roast garlic, slice a head of garlic in half horizontally and pour a couple of glugs of olive oil over the open cloves. Wrap the garlic tightly in aluminum foil and roast at 400° F for 20-30 minutes, until garlic is soft, caramelized, and fragrant. Let cool completely and then squeeze garlic cloves out of the skins. And if you’re roasting one head, you might as well roast two and then keep roasted garlic in the fridge to smear on anything and everything.