Grapefruit Meringue Tarts

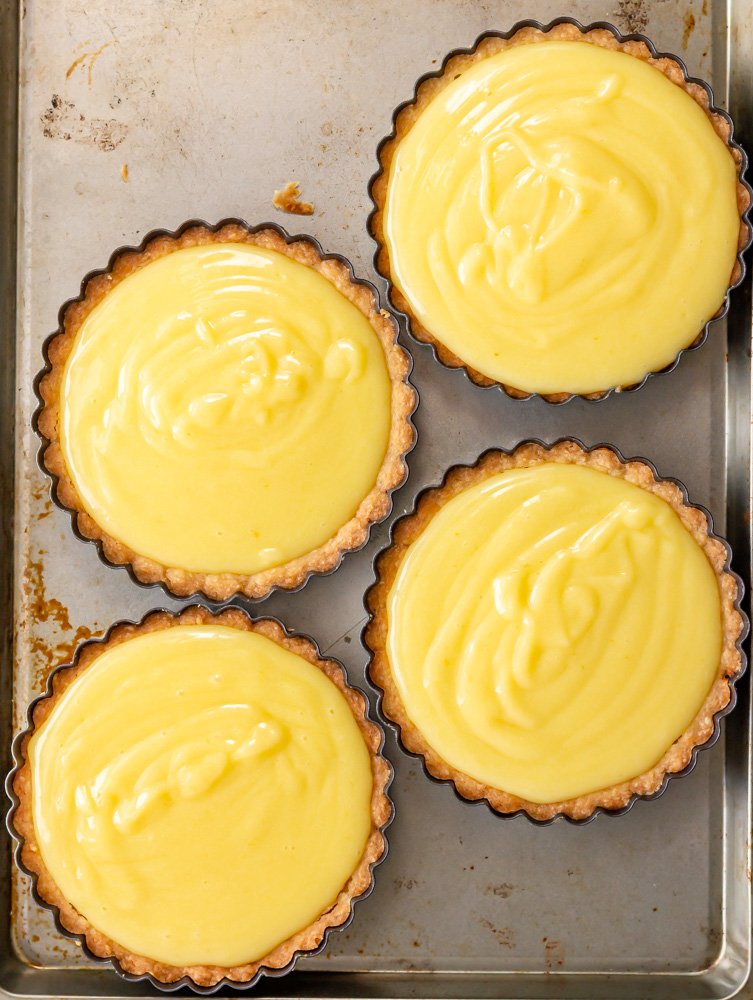
A simple sweet crust, filled with a floral and tart grapefruit curd and topped with torched meringue.

I’m going to sound like a weirdo, but the idea for this recipe came to me from the sky. In early January, we began our drive back to Minnesota after spending the holidays with family. We had made our way from Florida to Tennessee to spend a day or two with my cousin and woke up before dawn to start our trek back to the north. This meant that I was driving through the Smoky Mountains as the sun began to peek over the tops of the trees. As we were winding down the steep mountain roads, light began to reflect off of the newly fallen snow and deep hues of pink and corals inked themselves across the sky. It was absolutely breathtaking and we drove for a bit in complete silence, soaking in the glow of the day beginning to unfurl itself across the sky.

And then, it made me think of dessert. The juxtaposition of the deep pink propped up against the sparkling white of the snow made me think of grapefruit and meringue, and because I was driving, I made Martin jot down a note in my recipe ideas folder of my notes.

Of course, as I began testing, I found that grapefruit juice isn’t quite vibrant enough to create a pink hued curd (a bit of a bummer), but I loved the flavor enough to stick with it so instead of pink and white, we ended up with a creamy yellow and white color palette. Not the color scheme I was initially going for, but a very delicious tart.

These grapefruit meringue tarts have three simple components: a crust, a curd, and a meringue.

the crust

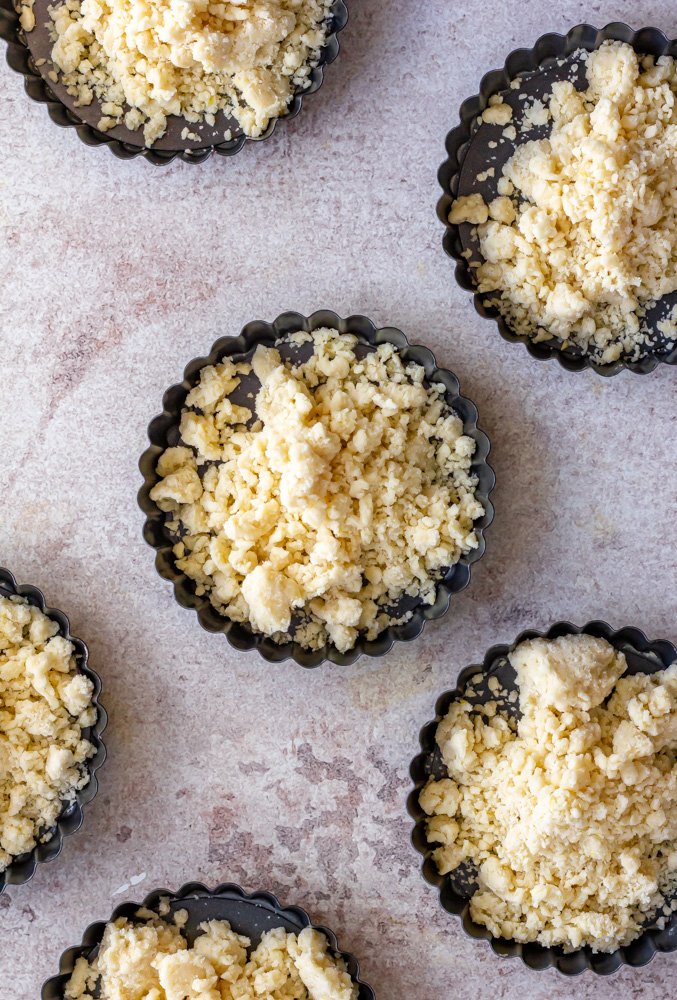
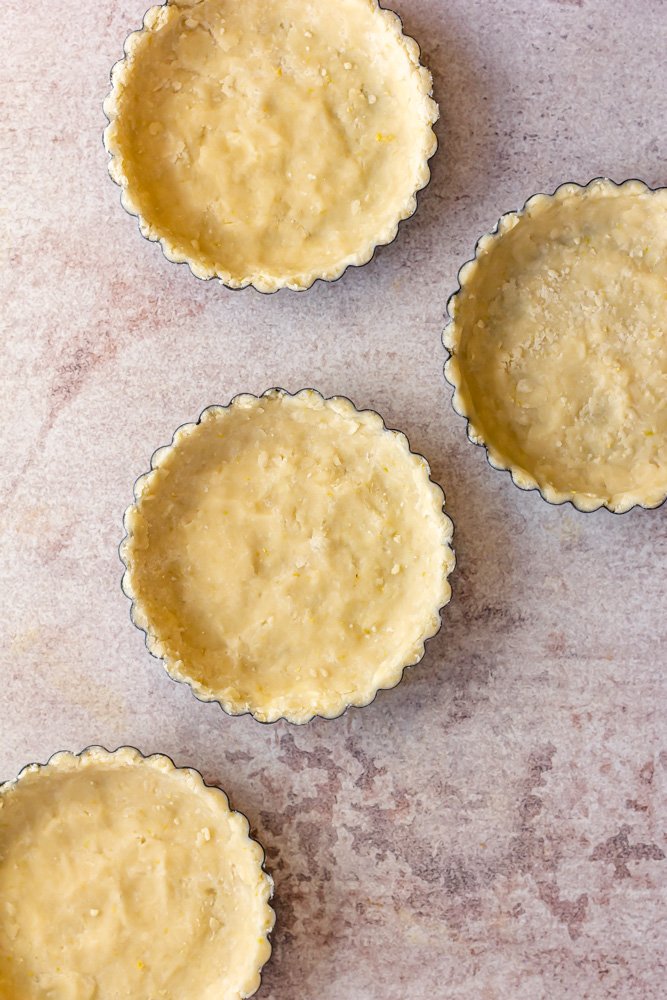
For this recipe, I used my favorite sweet crust dough from Thalia Ho’s book, Wild Sweetness. It's similar to a pie crust, but we add sugar and use a softened butter instead of cold butter. The soft butter helps to create a crumblier dough that doesn’t need to be rolled out. Simply sprinkle it into the tart pans and press it into the sides.

After the tart pans are filled, we will chill the dough to allow it to set up and prevent melted butter from oozing everywhere when we bake. I like to pop the tray crust-lined tarts into the freezer for about 30 minutes, then dock them with a fork and bake until golden.

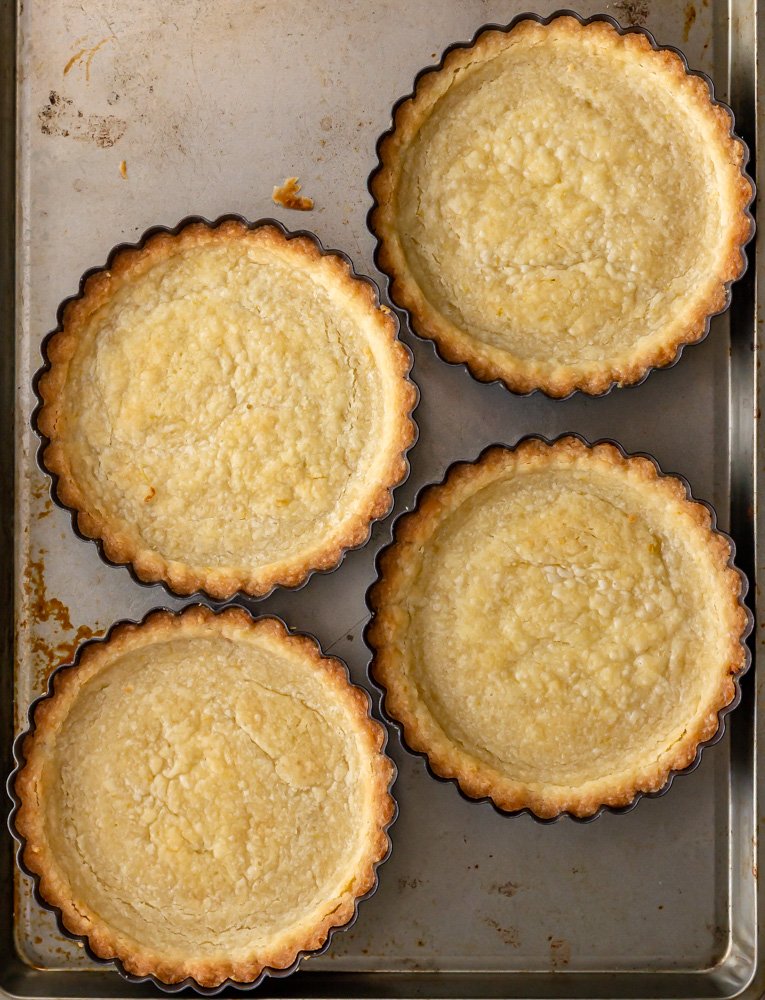
A note: If your crusts come out of the oven a little swollen and puffy, it’s okay! You can take a drinking glass or another flat-bottomed tool and press gently into the warm centers to push the dough down and make room for the filling.

the curd

The curd for this recipe is simple and can be made ahead of time. We start by simmering grapefruit juice with half of the sugar, just until hot and the sugar has melted. While that’s simmering, whisk together the rest of the sugar, cornstarch, zest, and salt in a large bowl. This will break any clumps of cornstarch. Add the eggs and yolks and whisk to form a paste. When the juice is hot, slowly temper it into the egg mixture, whisking continually, until all of the juice has been incorporated. Pour it all back into the pot and bring to a boil, whisking continually. Once the mixture boils, cook for 1-2 more minutes, to allow the cornstarch to cook out and the mixture to thicken, strain it through a sieve and whisk in the butter.

Since the curd is fully cooked, we’ll simply pour it into the cooled tart shells and let it chill until set.

the meringue

There are three main types of meringue: French, Swiss, and Italian. French meringue is made by whipping granulated sugar into egg whites and needs to be baked. Swiss is made by cooking egg whites and sugar over a double boiler and then whipping and Italian meringue whips egg whites with a hot sugar syrup.

For this recipe, we went with Swiss—my favorite. Swiss meringue follows a 2 parts egg whites to 3 parts sugar ratio so it’s very simple to scale up or down depending on your need.

After you make the meringue, you can swoop or pipe as much or as little as you want on top of your chilled tarts. You can use a torch to blister the edges for some added flair, or if you’re like me and your torch is packed in a box in storage, you can bake the tarts at 375° F for 10-15 minutes, until browned.

Grapefruit Meringue Tarts
Yield 4
Author Anna Ramiz
Prep time
30 Min
Cook time
40 Min
Inactive time
4 Hour
Total time
5 H & 10 M

Grapefruit Meringue Tarts

( 0 reviews )
A simple sweet crust, filled with a floral and tart grapefruit curd and topped with torched meringue.

Ingredients

for the crust, from Wild Sweetness by Thailia Ho
  • 1 1/4 cup (155 g) all purpose flour
  • 2/3 cup (80 g) powdered sugar
  • 1 tsp grapefruit zest
  • 1/4 tsp kosher salt
  • 2/3 cup (150 g) unsalted butter, softened
for the grapefruit curd
  • 3/4 cup (165 g) freshly squeezed grapefruit juice
  • 1 cup (200 g) granulated sugar
  • 3 tsp cornstarch
  • Pinch of salt
  • 1 tbsp grapefruit zest
  • 3 large eggs
  • 2 egg yolks
  • 5 tbsp unsalted butter, softened
for the meringue
  • 110 g egg whites (from 3-4 eggs)
  • 1 cup (200 g) granulated sugar

Instructions

to make the crust
  1. In a large bowl, whisk together flour, powdered sugar, grapefruit zest, and kosher salt. Add the softened butter and use your fingers to work the butter into the dry ingredients until crumbly and well combined.
  2. Divide the dough between the tart pans and press into an even layer along the bottom and up the sides of the pan. Freeze for 30 minutes, then dock with a fork.
  3. Preheat the oven to 375° F. Bake the chilled tarts for 10-12 minutes, until golden brown. Let cool completely.
to make the curd
  1. Combine grapefruit juice and half of the sugar in a large saucepan. Bring to a boil over medium high heat and cook until sugar is mostly dissolved.
  2. While the juice is cooking, whisk sugar, cornstarch, salt, and zest in a large bowl. Add the eggs and yolks and whisk again to form a smooth paste.
  3. While whisking continually, gradually stream the hot liquid into the bowl with the eggs and sugar. When all of the liquid has been added, transfer the mixture back to the pot and return to the heat.
  4. Continue cooking, stirring continually, until the mixture begins to boil. When it begins to boil, cook for 2 minutes more and then strain through a sieve into a clean bowl.
  5. Whisk in the butter and let cool.
  6. When the curd has cooled slightly, divide it between the tart shells and transfer to the refrigerator. Let chill for at least 4 hours, until curd is completely set.
to make the meringue
  1. When you are ready to serve, make the meringue by combining egg whites and sugar in a large bowl set over a double boiler.
  2. Cook, whisking continually, until the mixture is hot to the touch and all of the sugar has dissolved.
  3. Transfer the mixture to the bowl of a stand mixer fitted with the whip attachment and whip on medium-high speed until medium peaks form.
  4. Top each of the tarts with meringue and torch, or bake at 375° F for about 10 minutes, until the edges are golden brown. If you decide to bake the tarts, let them cool completely before serving. If you torch the tops of the meringue, serve immediately.

Notes

This recipe is endlessly adaptable:

  • If you don't have individual tart pans, you can make one 9" tart.
  • Substitute any citrus in place of the grapefruit.
  • Add an herb or floral component to the crust in place of grapefruit zest.
Did you make this recipe?
Tag @gatheredatmytable on instagram and hashtag it #gatheredatmytable

Biscotti with Dark Chocolate, Hazelnuts, and Clementine

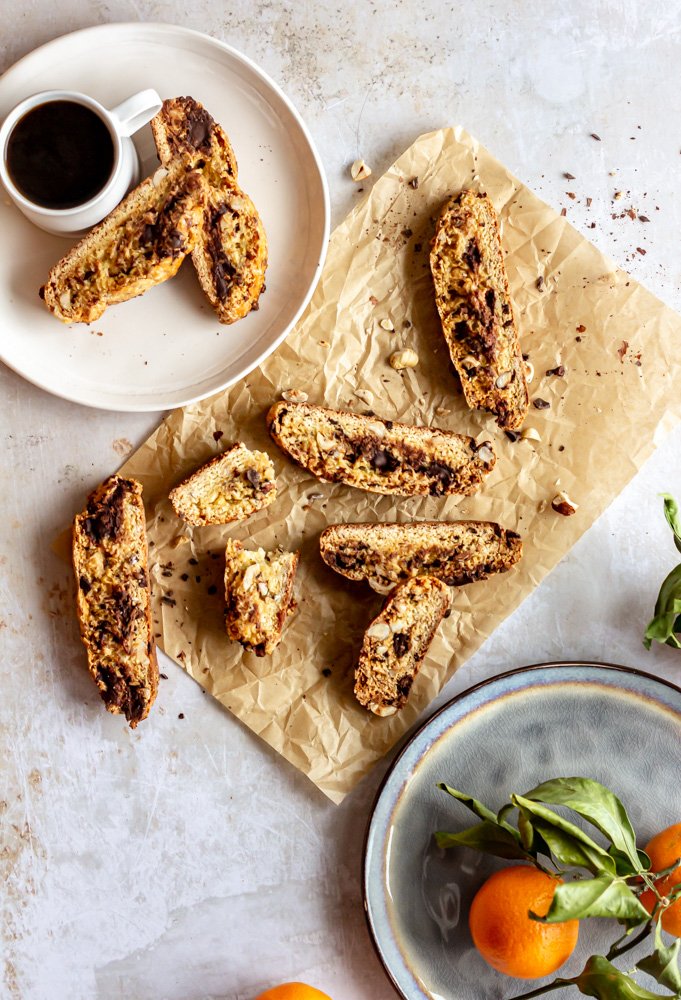
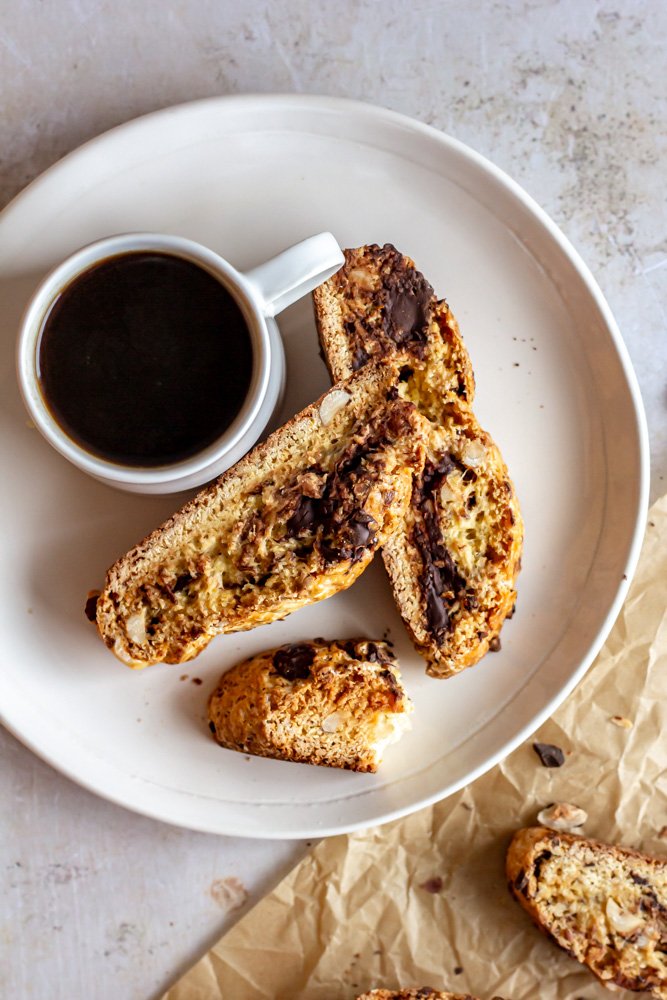
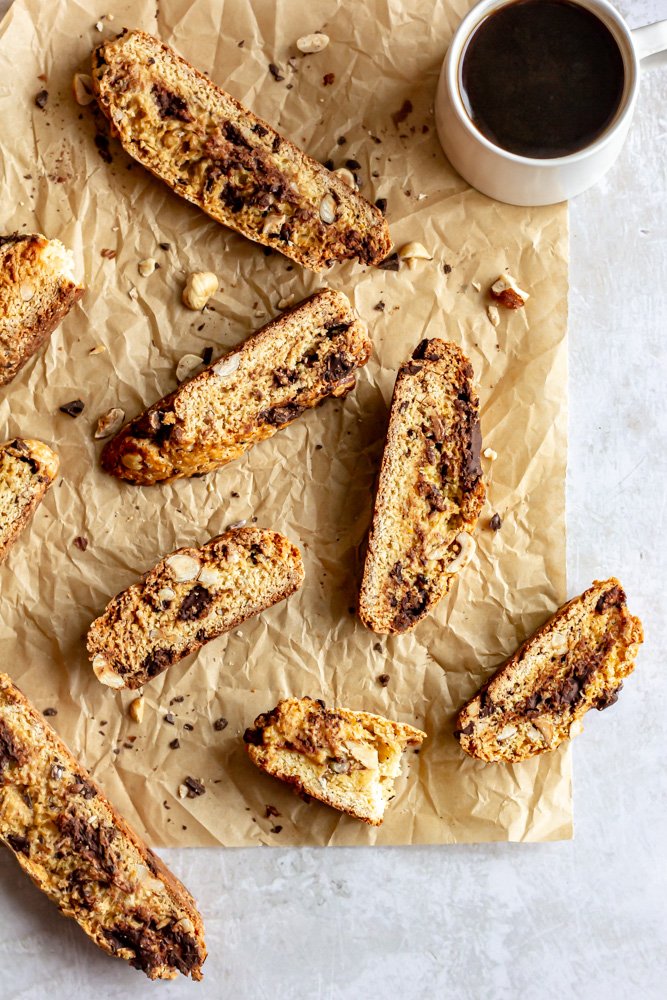
Crunchy, Italian-style biscotti studded with puddles of dark chocolate, toasted hazelnuts, and bright winter clementines. This simple biscotti recipe will make a perfect addition to your holiday cookie baking.

Making friends as an adult is hard. Moving to a new city and then making friends as an adult is even harder. Moving to a new city, running your own business completely from your home and then making friends as an adult is really really hard. So many of our relationships are built on shared experiences—there are friends you went to high school with, those you went to college with, and co-workers turned friends—but how do you find your people in an entirely new place when there aren’t many other people around to connect with?

This past six months in Minneapolis has been so much fun. We’ve gotten to explore a brand new city, eaten at so many new restaurants, enjoyed beautiful summer and fall weather, and so much more. But it’s also been really lonely at times. Since I work entirely from home as a freelancer and run a business that I built by myself, I’ve found it’s been a bit tricky to meet new people. I’ve made a few local internet-turned-real-life friends which has been really neat. In fact, in having coffee with Amanda from HeartBeet Kitchen, I met the very first person to have the same job as me and that was a super fun experience.

I’ve also been very blessed to have a husband with a job that involves people. His co-workers and their families have been so generous in helping us create a little home here in the North. Sometimes, it’s easy for me to give into to feeling sorry for myself. To break down and cry because I miss my people who now live thousands of miles away and because I feel like I can count all of my Minneapolis friends on one hand. But when I step back and think about it, I realize how lucky I am to have these few new friends because in the span of just a few months, they’ve turned into family.

It’s only a few times in your life where you meet someone and it’s instantly easy. It was easy when I met my best friend back on the first week of 10th grade and when I met my sorority sister turned real life sister-in-law in college. It was easy when I met my very best teacher friend on the first day of new teacher orientation my first year in Nashville and when we moved to Seattle where we found friends who we could make curry chicken tacos with on a Sunday afternoon in our pajamas. And lucky me, I found it again here in Minneapolis.

I’ve decided, as I get older, that I would way rather have a handful of friends that I can call no matter what, who can hang out on our couch and watch the Bachelorette or make biscotti with than a million acquaintances.

homemade Italian-style biscotti

My Minneapolis BFF and I had a cookie baking day last week where we used a ridiculous amount of butter and made a giant mess in my kitchen. Oh, and we made these biscotti.

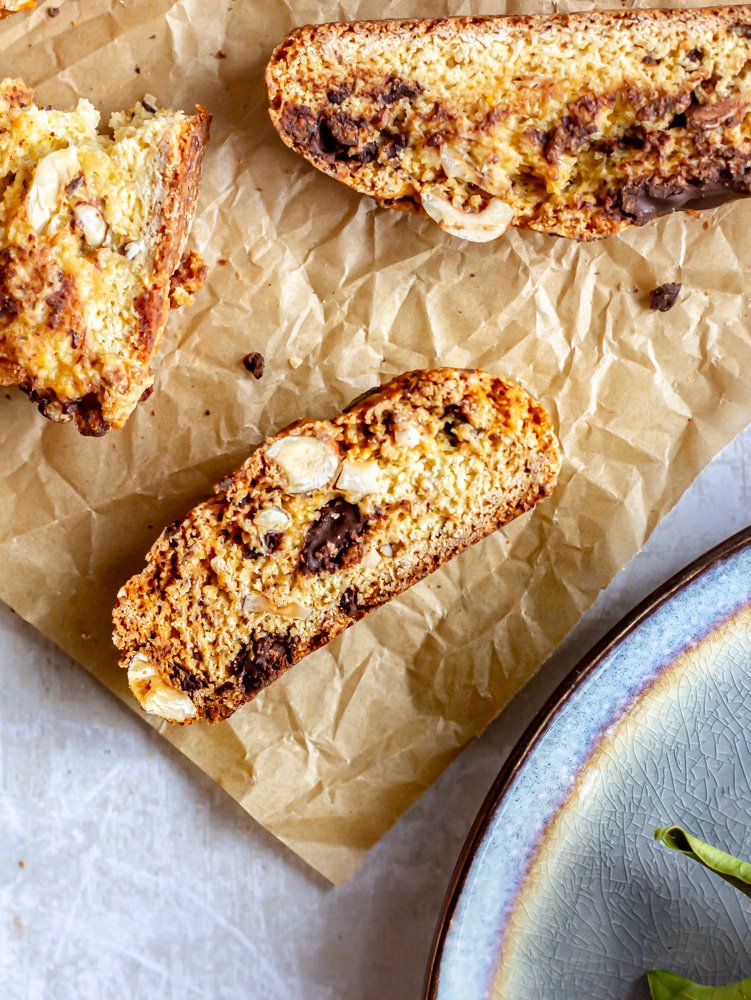
These are a traditional Italian-style biscotti (adapted from Emiko Davies’ most recent book Torte Della Nonna), studded with toasted hazelnuts, clementine juice and zest, and big hunks of dark chocolate. They are super easy to adapt with whatever nut + citrus + chocolate combination you prefer and make a great Christmas cookie since they only get better as the days go by.

Like all Italian biscotti, these cookies are twice-baked. After mixing all of our wet and dry ingredients together into a fairly dense dough, we turn it out on a floured work surface and knead it a bit to make sure all of the flour bits are incorporated. Then we’ll sprinkle in our add-ins and knead it a bit more to ensure even distribution. The dough is then shaped into two rectangular logs, brushed with egg wash and baked until deeply golden brown. The logs cool for a few minutes and then we’ll use a sharp serrated knife to cut individual cookies. The long cookies are then baked again to ensure maximum crunchiness.

tips and substitutions

Maybe it’s the little Florida baby in me, but I love citrus season so much. There’s something about how in the darkest, coldest, parts of winter we get to reap the brightest bits of produce that just makes me giddy. I started seeing blood oranges and mandarins pop up in my grocery stores a few weeks ago, so you can bet that when I found a big bag of beautiful clementines, I jumped on it. You can easily substitute whatever citrus juice and zest looks the most exciting to you if you can’t find clementines.

I do have a small disclaimer about this recipe—slicing the biscotti will cause your chocolate to smear a bit. (This is why many biscotti recipes only incorporate nuts or dried fruits and then dip the cookies in chocolate after baking, but I really really wanted the chocolate scattered throughout). It’s inevitable that slicing the warm cookie log will cause the hot chocolate puddles to smear. I think it’s a small price to pay for having little pockets of chocolate studded throughout the final cookie, but if that really bothers you, you can absolutely omit the chocolate in the cookie dough and then melt your chocolate and dip your cooled cookies in it post-bake.

Sour Orange and Tequila Upside Down Cake

sourorangecake8.jpg

I’ve been doing some research lately on SEO, an aspect of internet business I am greatly lacking in. Apparently crucial to running a successful blog, SEO or search engine optimization is a technical, behind-the-scenes area that uses specific words and plugins to help Google easily read your content and push your blogs and recipes to the top of the Google search lists. This is obviously super important for bloggers and recipe developers as people actually need to see and read our recipes in order for us to run a mildly successful recipe writing business. It’s an area that I will admit, I am not strong in, and could use a little extra support in since most of my posts ring in somewhere near the bottom of the billion pages of Google search results, but if I’m being honest, there’s something about the whole SEO optimization thing that feels uncomfortable to me. One of the things I’ve read over and over again is that you should be performing key word searches before creating recipes so that you’re able to see the types of recipes people are already Google-ing and then create recipes based off of that. This idea feels so inauthentic to me! My whole mission in life is teaching people how to elevate their baking, using creative flavors and ingredients that are a bit unexpected and teaching techniques that the average home baker may be unfamiliar with. Often times, this means that the types of recipes people search for are recipes that they are already familiar with like chocolate chip cookies or brownies or something with a peanut butter chocolate combination. Not many people sit down and search “sour orange and tequila upside down cake”, not because they don’t like it or it’s a bad recipe, but simply because it’s a flavor combination that they didn’t know they needed! And I love love love introducing people to baked goods that they didn’t know they needed. But that does put me in a bit of a pickle, because in order to get my quirky recipes out there, I need to get people to my blog because what is the point if no one even ever sees them. Most of this rambling is me processing and getting all my feelings out into words (which is also an SEO no-no— don’t talk about things that aren’t directly related to the recipe, but I’m a real person and since I pay to keep this website up and running, I think I can occasionally go off-topic.) All of this to say, I’m going to continue sharing weird flavor combinations and encouraging you to bake out of your comfort zone, but I may include a s’mores cookie bar (a recipe I’m currently working on so keep an eye out) every now again to keep the internet happy. 

let’s talk about cake

I’ve been planning a version of this Sour Orange and Tequila Upside Down Cake in my head for months. If you know me, you know I LOVE a good upside down cake. I even wrote a whole little e-book discussing how wonderful upside down cakes are at showcasing your fun produce finds—if you don't have a copy, what are you waiting for?! I also saw a picture of a Salted Pineapple and Mezcal Cake on What’s Cooking Good Looking’s site a few months ago and ever since then, I’ve been waiting for my perfect boozy produce cake to arrive. Then I got sour oranges. They are tart and slightly bitter, similar to lemons, but with all of the floral brightness of oranges and they were perfect!

The cake itself is a rendition of a base cake I use in a bunch of different recipes. It’s easy to throw together, doesn’t use a mixer, and can be adapted in all sorts of ways. The sour oranges are marinated in tequila and then cutely arranged into a layer of brown sugar caramel, topped with cake batter and then baked.

When testing this recipe, I was a little frustrated. Everything tasted perfect, but my oranges decided to do a little slip-n-slide action and it did not come out as pretty as I had hoped. I toyed with the idea of re-doing it for photogenic purposes but decided against it for two reasons: 1) I was all out of sour oranges and it’s not easy to get your hands on more. I could have done the cake just as easily with blood oranges or sumo or any other citrus, but I really loved the sour orange flavor and I wasn’t quite ready to give that up. 2) Part of me running this blog is to teach you how to make really delicious desserts at your house and a piece of that is making desserts accessible. If everything that I produce is a work of art and looks flawless, that’s really not realistic to the home kitchen. Home kitchens are where we make really tasty food that isn’t always beautiful and that is a-okay! So I promise you that I am a real person whose oranges don’t do exactly what I want every time. I also promise you that this is a great cake recipe that will produce a great cake in your kitchen, but if your baked goods don’t always look like little airbrushed magazine photos, that’s okay! Keep on baking!

Yield: makes one 9" round cake
Author: Anna Ramiz
Sour Orange and Tequila Upside Down Cake

Sour Orange and Tequila Upside Down Cake

Prep time: 40 MinCook time: 40 MinInactive time: 12 HourTotal time: 13 H & 19 M
A citrusy, boozy upside down cake filled with cinnamon, tequila, and brown sugar caramel. recipe inspired by jodi moreno (what's cooking good looking)

Ingredients

for the topping
  • 2 sour oranges*, thinly sliced
  • 1/3 cup tequila
  • 2 cinnamon sticks
  • 1/2 cup (113 g) unsalted butter
  • 1/2 cup (110 g) brown sugar
  • 1 tsp kosher salt
for the cake batter
  • 1/2 cup (113 g) unsalted butter
  • 1 1/2 tsp vanilla extract
  • 2 cups (240 g) all purpose flour
  • 1/2 cup (100 g) granulated sugar
  • 1/2 cup (110 g) brown sugar
  • 1/2 tsp ground cinnamon
  • 1/2 tsp baking powder
  • 1/2 tsp baking soda
  • 3/4 tsp kosher salt
  • 1 cup (227 g) buttermilk, at room temperature
  • 2 large eggs

Instructions

  1. The night before making the cake, combine sour orange slices, cinnamon sticks, and tequila in a bowl. Cover tightly and let marinate overnight in the refrigerator.
  2. Preheat the oven to 350° F. Grease a 9” springform cake pan and line the bottom with parchment paper. Set aside.
  3. In a large skillet set over medium high heat, melt 1/2 cup of butter. When the butter is melted, add the brown sugar and cook, whisking occasionally, until the brown sugar is dissolved and the mixture is bubbly and homogenized. Whisk in the salt and then pour the caramel mixture into your prepared cake pan.
  4. Remove the orange slices from the marinade and place in an even layer on top of the caramel in the prepared cake pan. Discard cinnamon sticks and save leftover tequila marinade for the cake batter.
  5. In a small saucepan, place the remaining 1/2 cup of unsalted butter and cook over medium-high heat, swirling occasionally, for 5-7 minutes, until the butter is foamy and fragrant, and has little browned specks. Set aside to cool.
  6. In a large mixing bowl, whisk together flour, sugar, brown sugar, cinnamon, baking powder, baking soda, and salt.
  7. In a large measuring cup, whisk together buttermilk, eggs, vanilla, and reserved tequila marinade until smooth and well-combined.
  8. Pour the wet ingredients into the bowl with the dry ingredients and whisk until the batter is well combined and no dry streaks remain. Whisk in the browned butter. Pour the batter over top of the orange slices.
  9. Place your cake pan on a parchment-lined sheet tray to catch any overflowing caramel, and bake for 35-40 minutes, until a knife or toothpick inserted in the center of the cake comes out clean.
  10. Let the cake cool in the pan for 15-20 minutes, until warm enough to handle, and then carefully invert the cake onto a plate. Serve warm.

Notes:

If you can't find sour oranges, don't fret! You can substitute another type of orange, like blood orange, or navel orange or cara cara in this cake. You could even play around with some other citrus (I bet limes would be fun) or even pineapple slices. Orange peels are edible, just make sure that you slice them thinly enough that they are able to soften completely during the baking time.

Did you make this recipe?
Tag @gatheredatmytable on instagram and hashtag it #gatheredatmytable
Created using The Recipes Generator