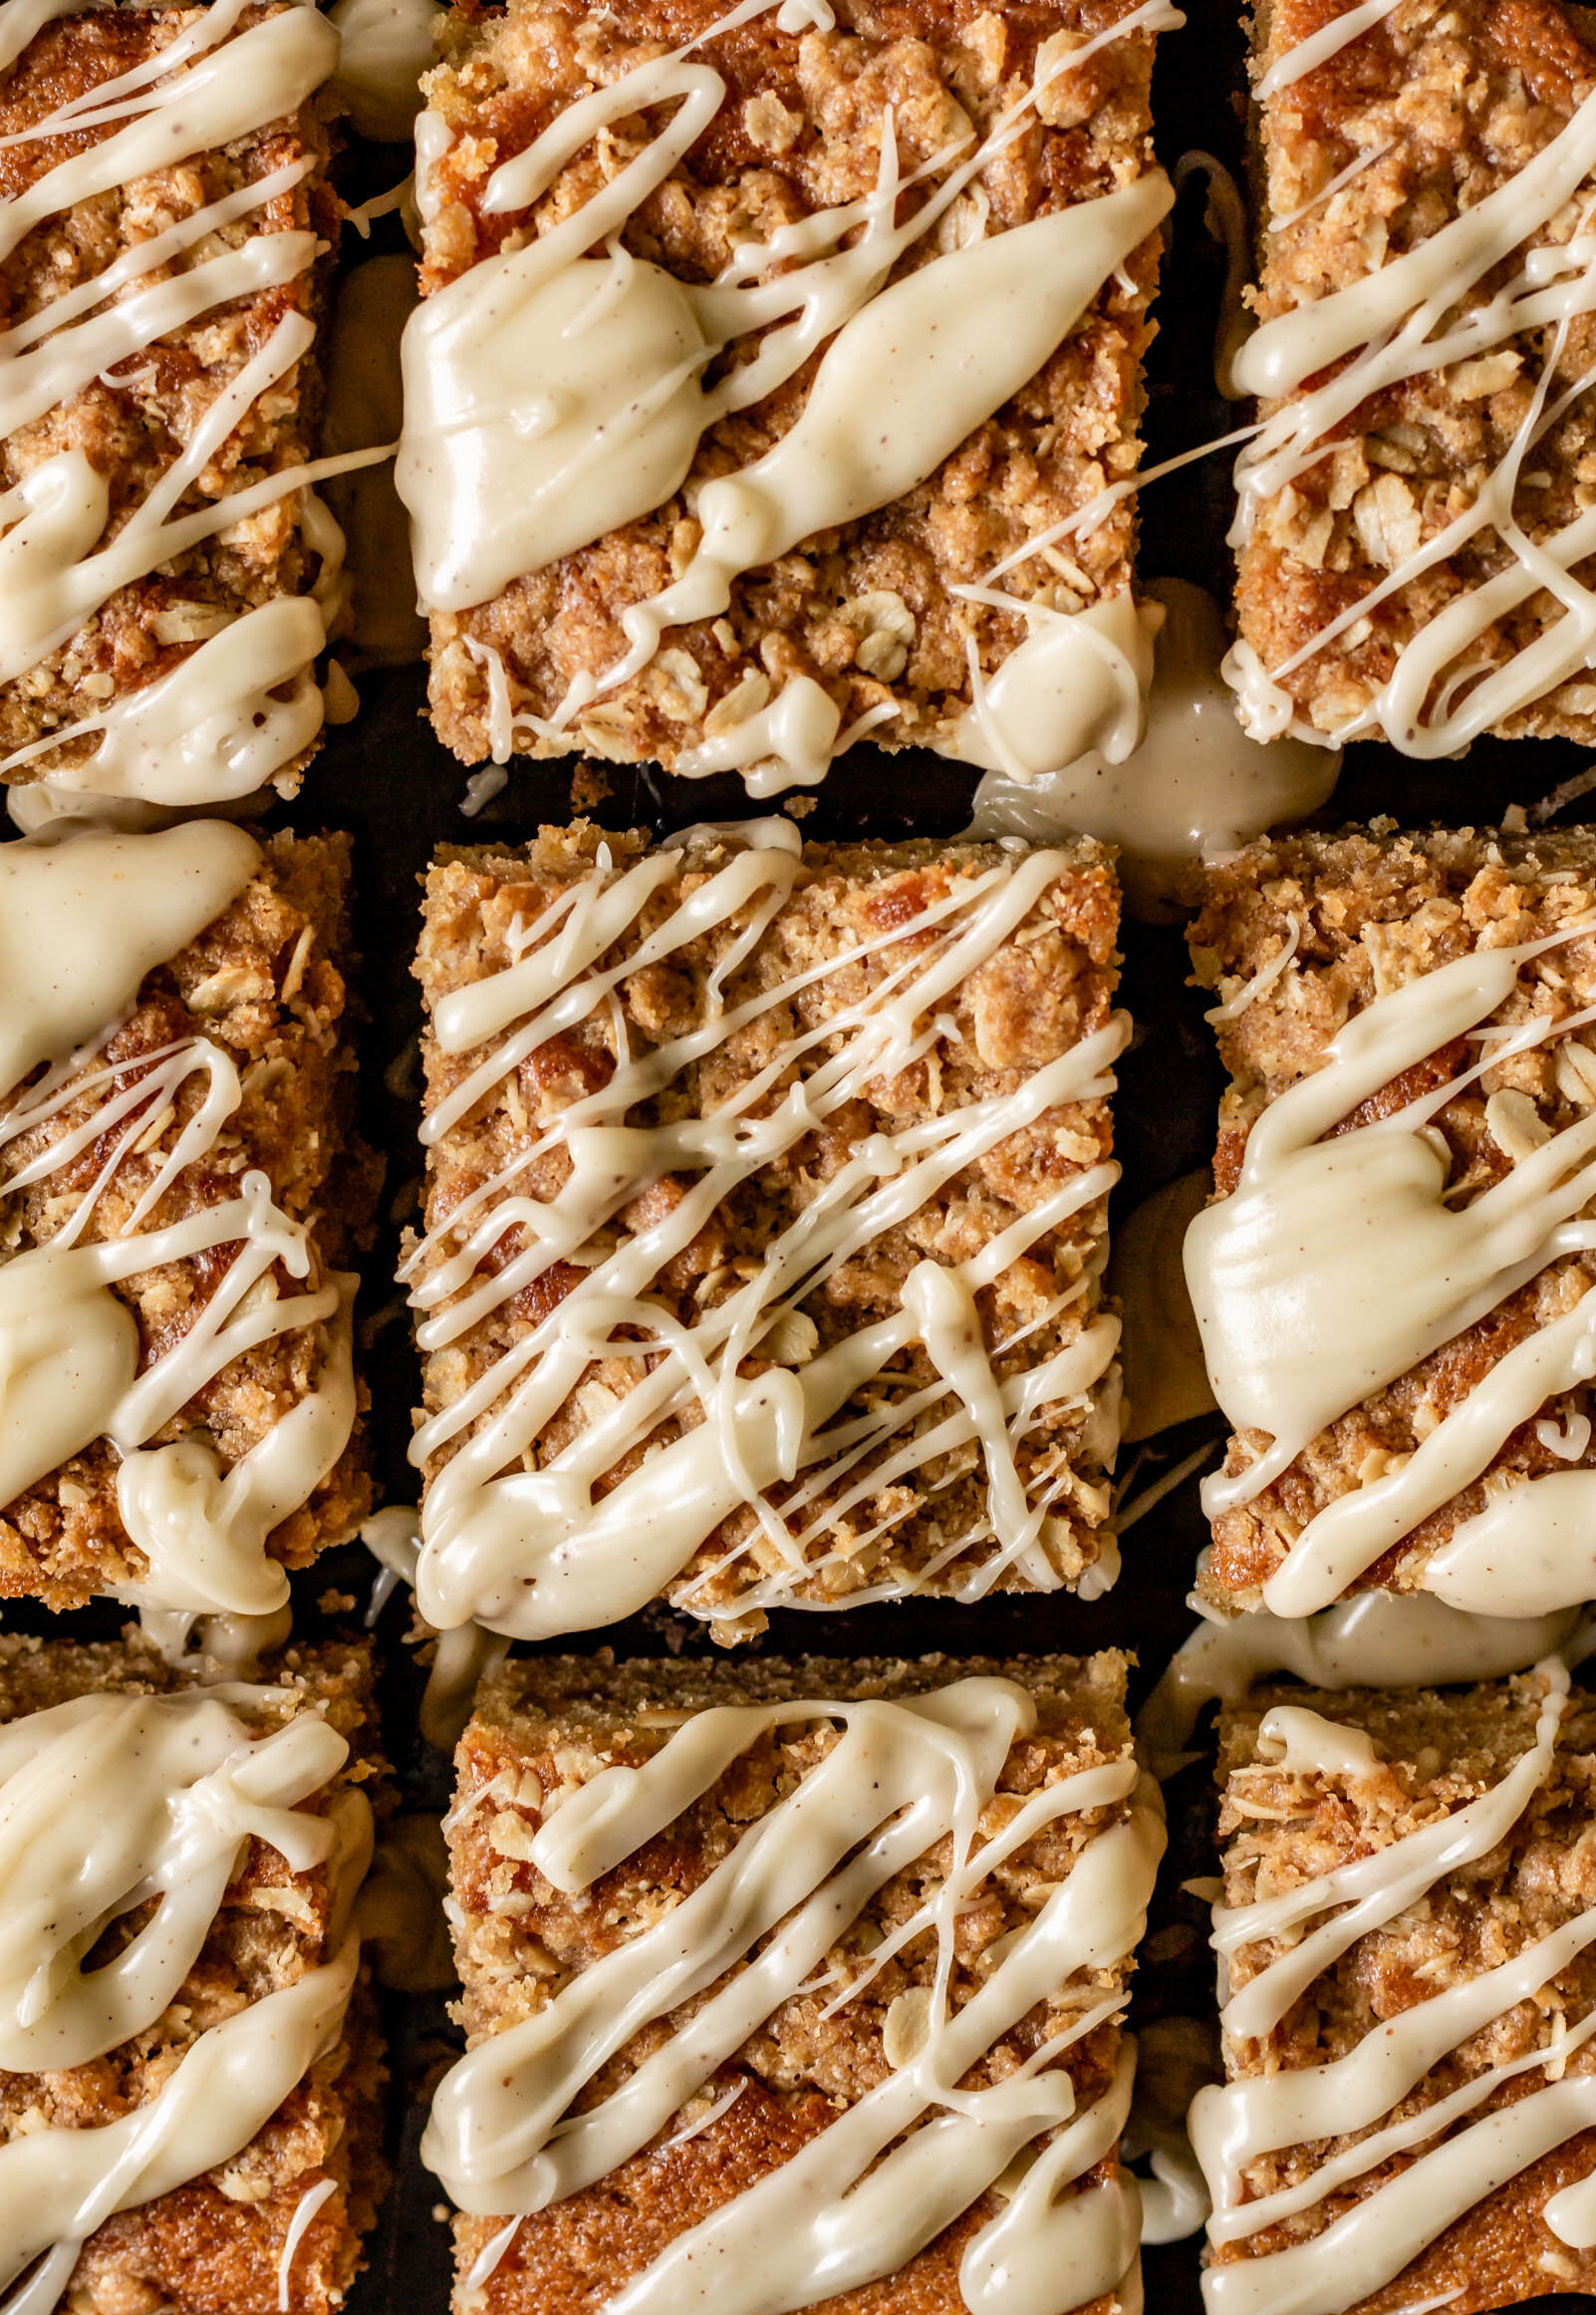
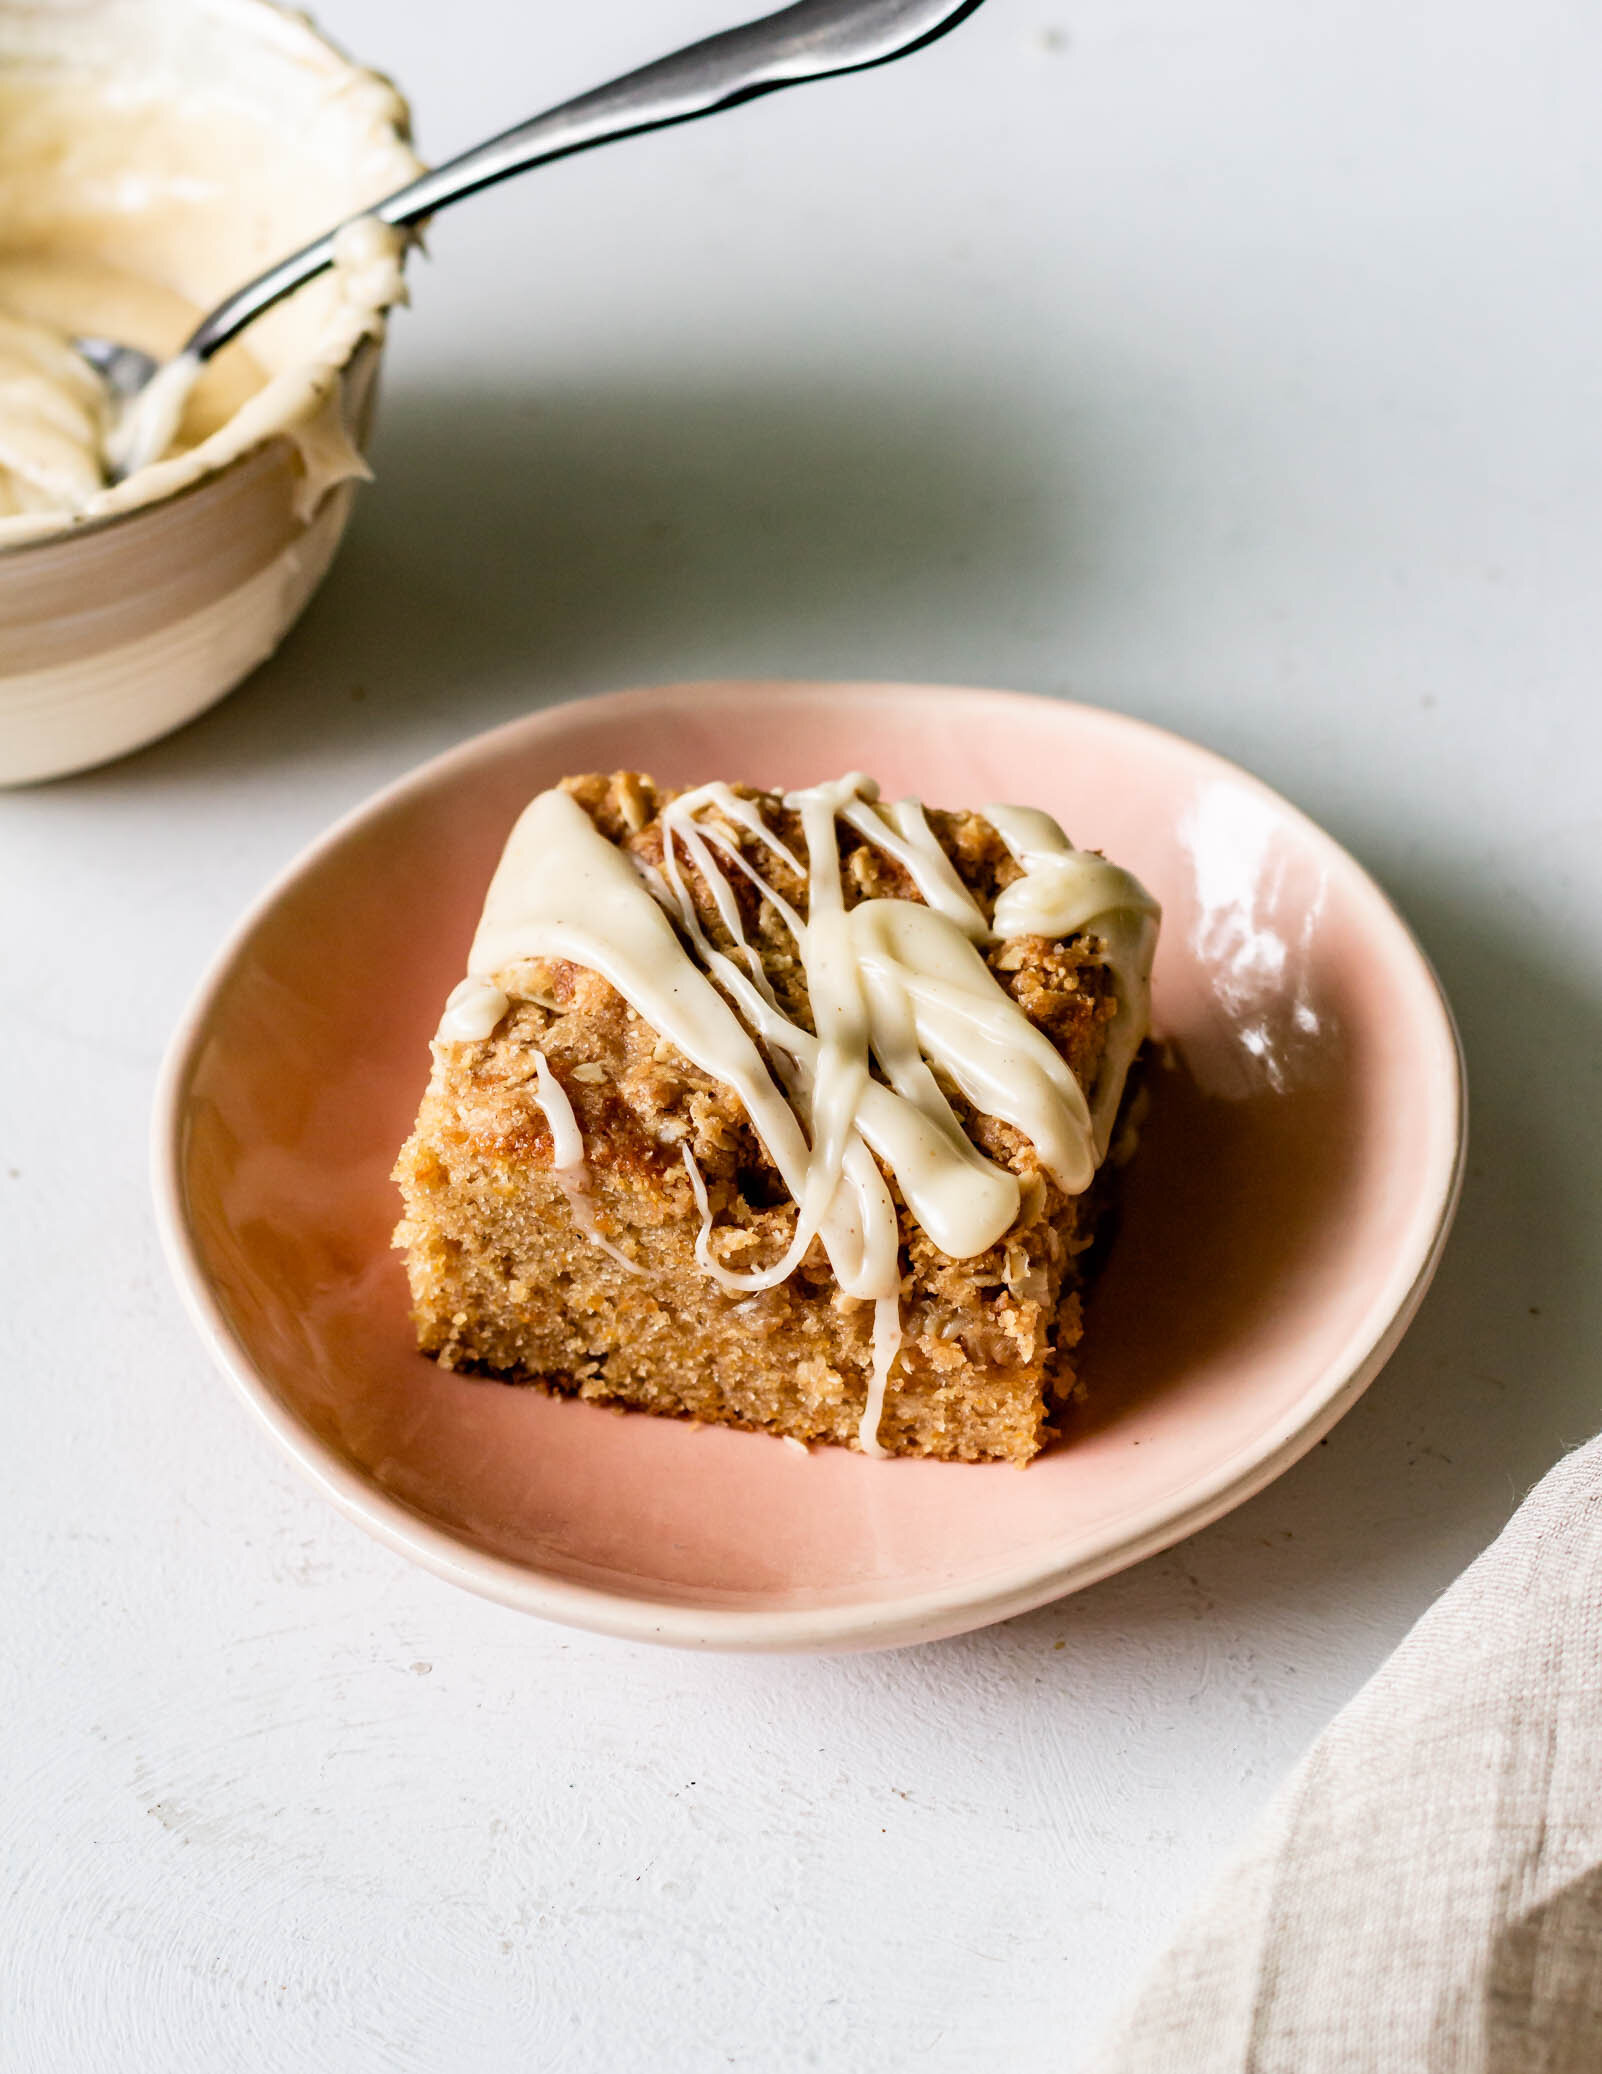
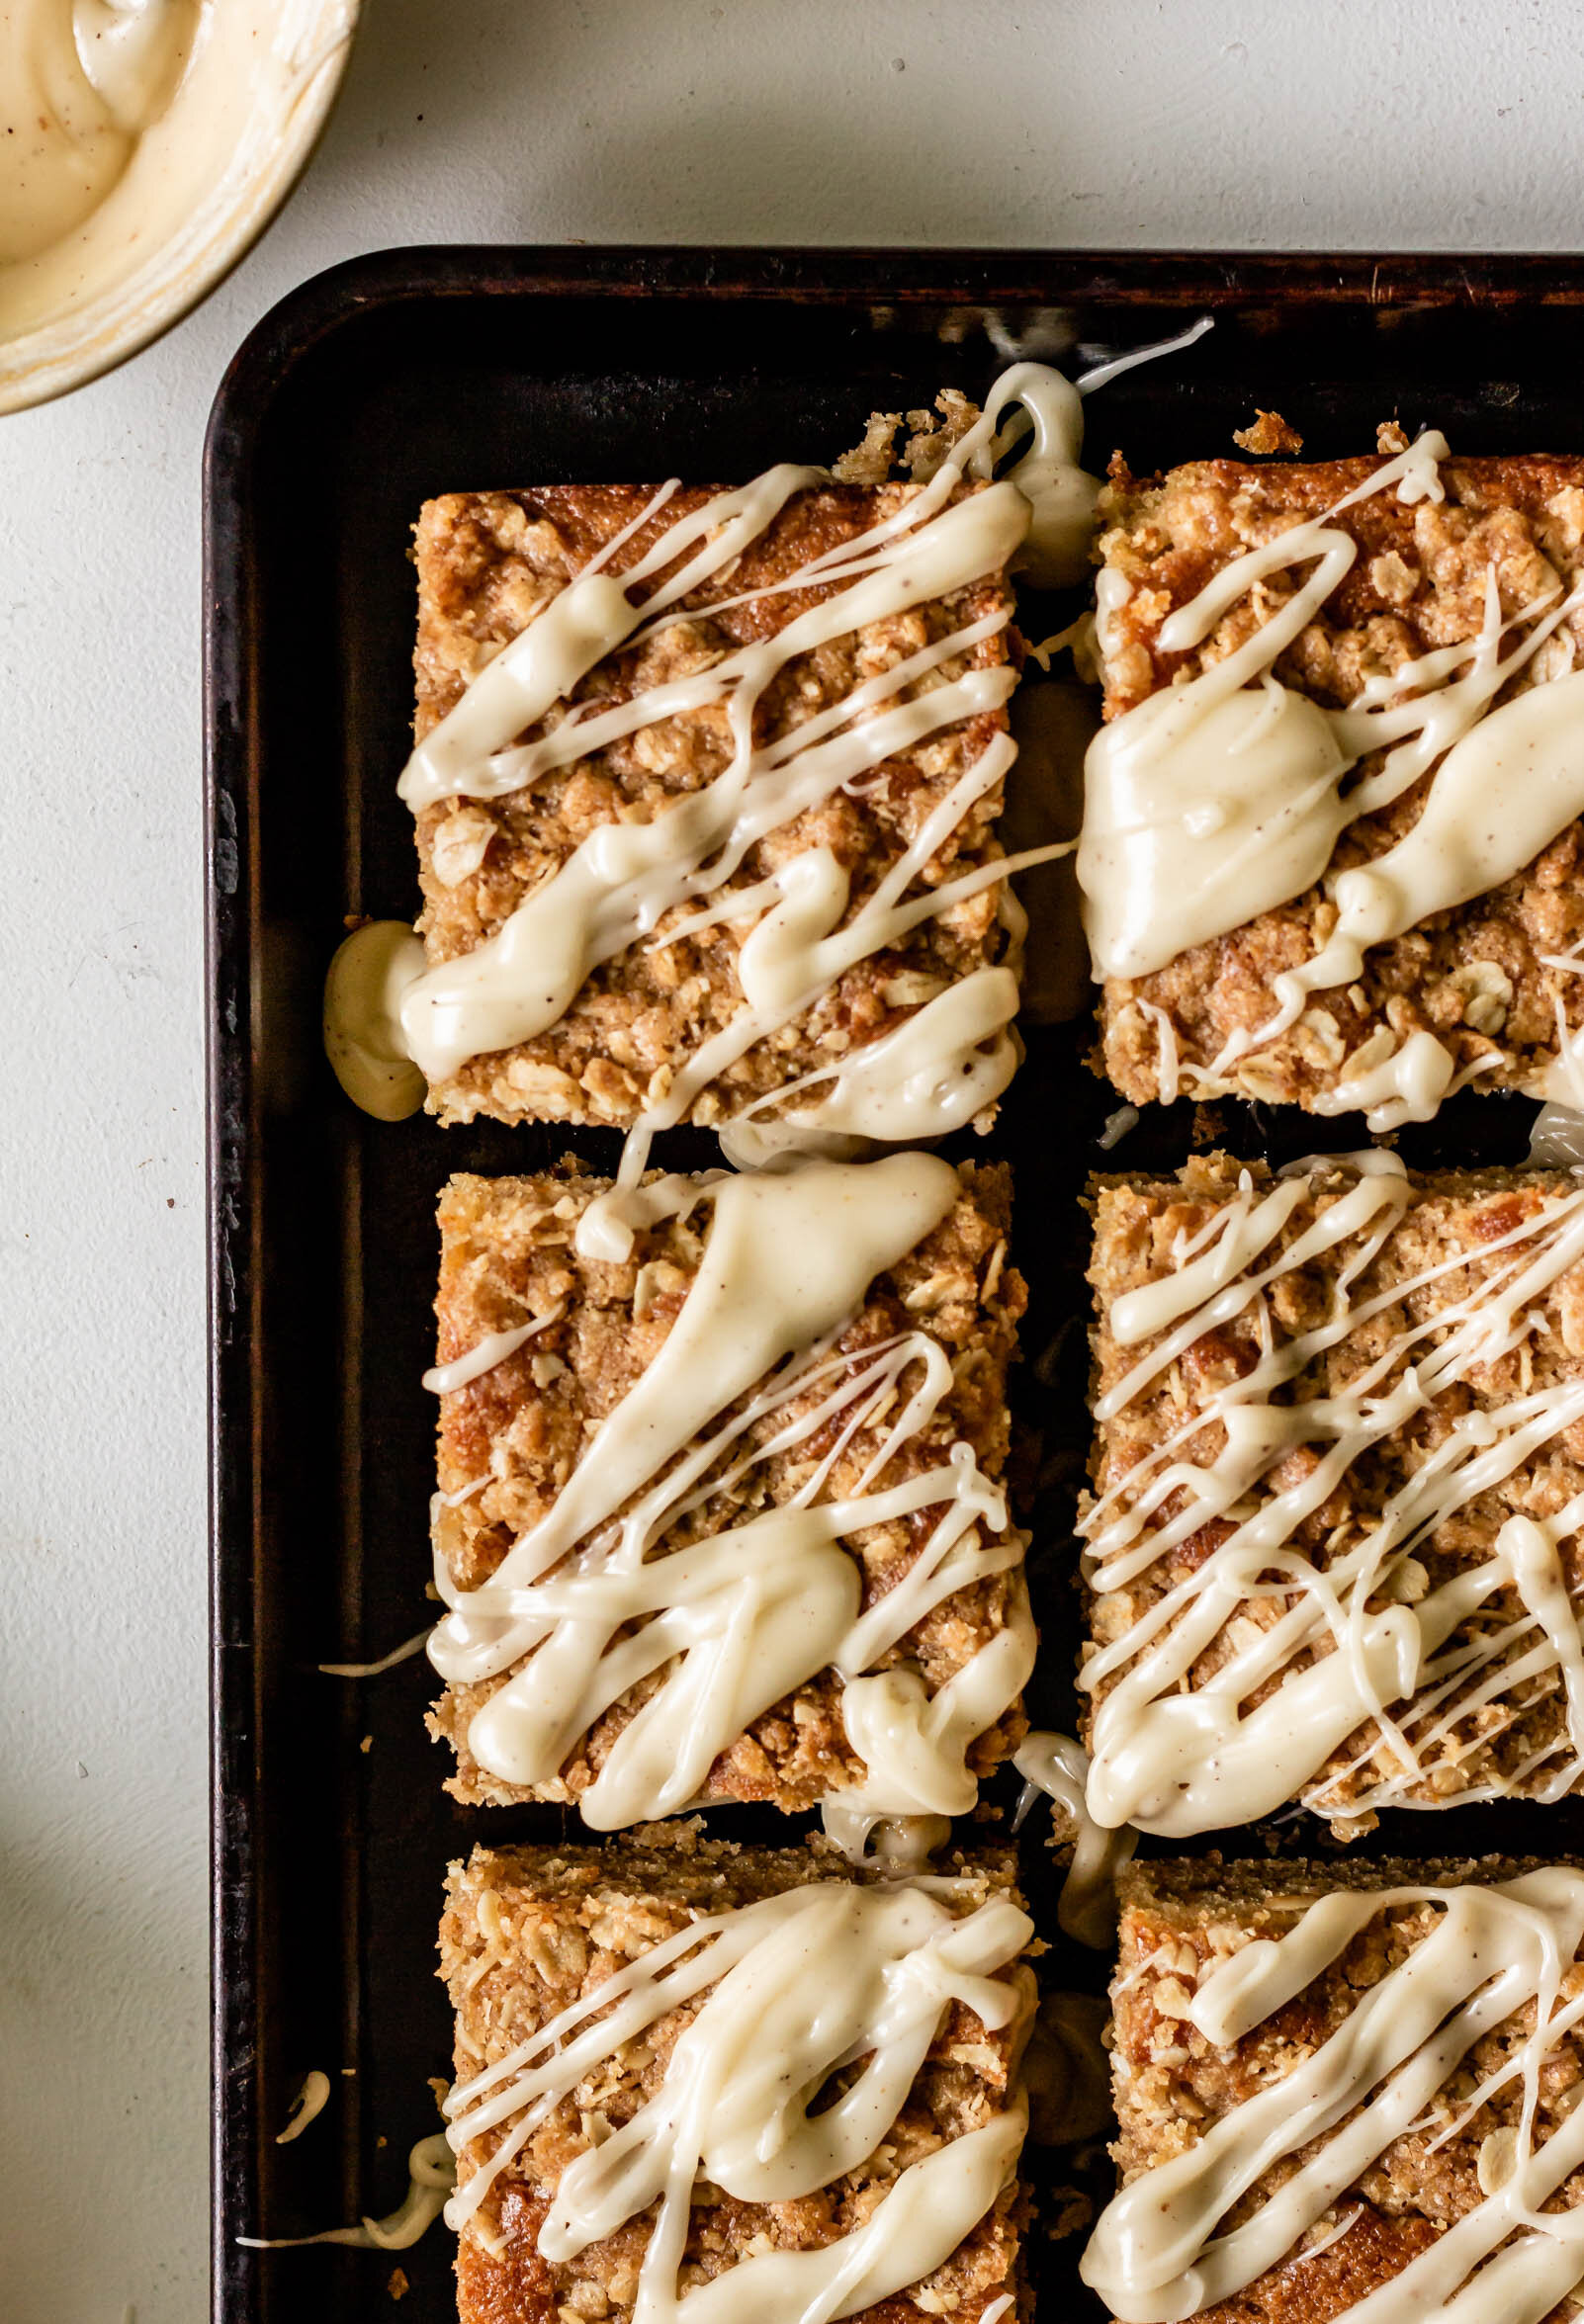
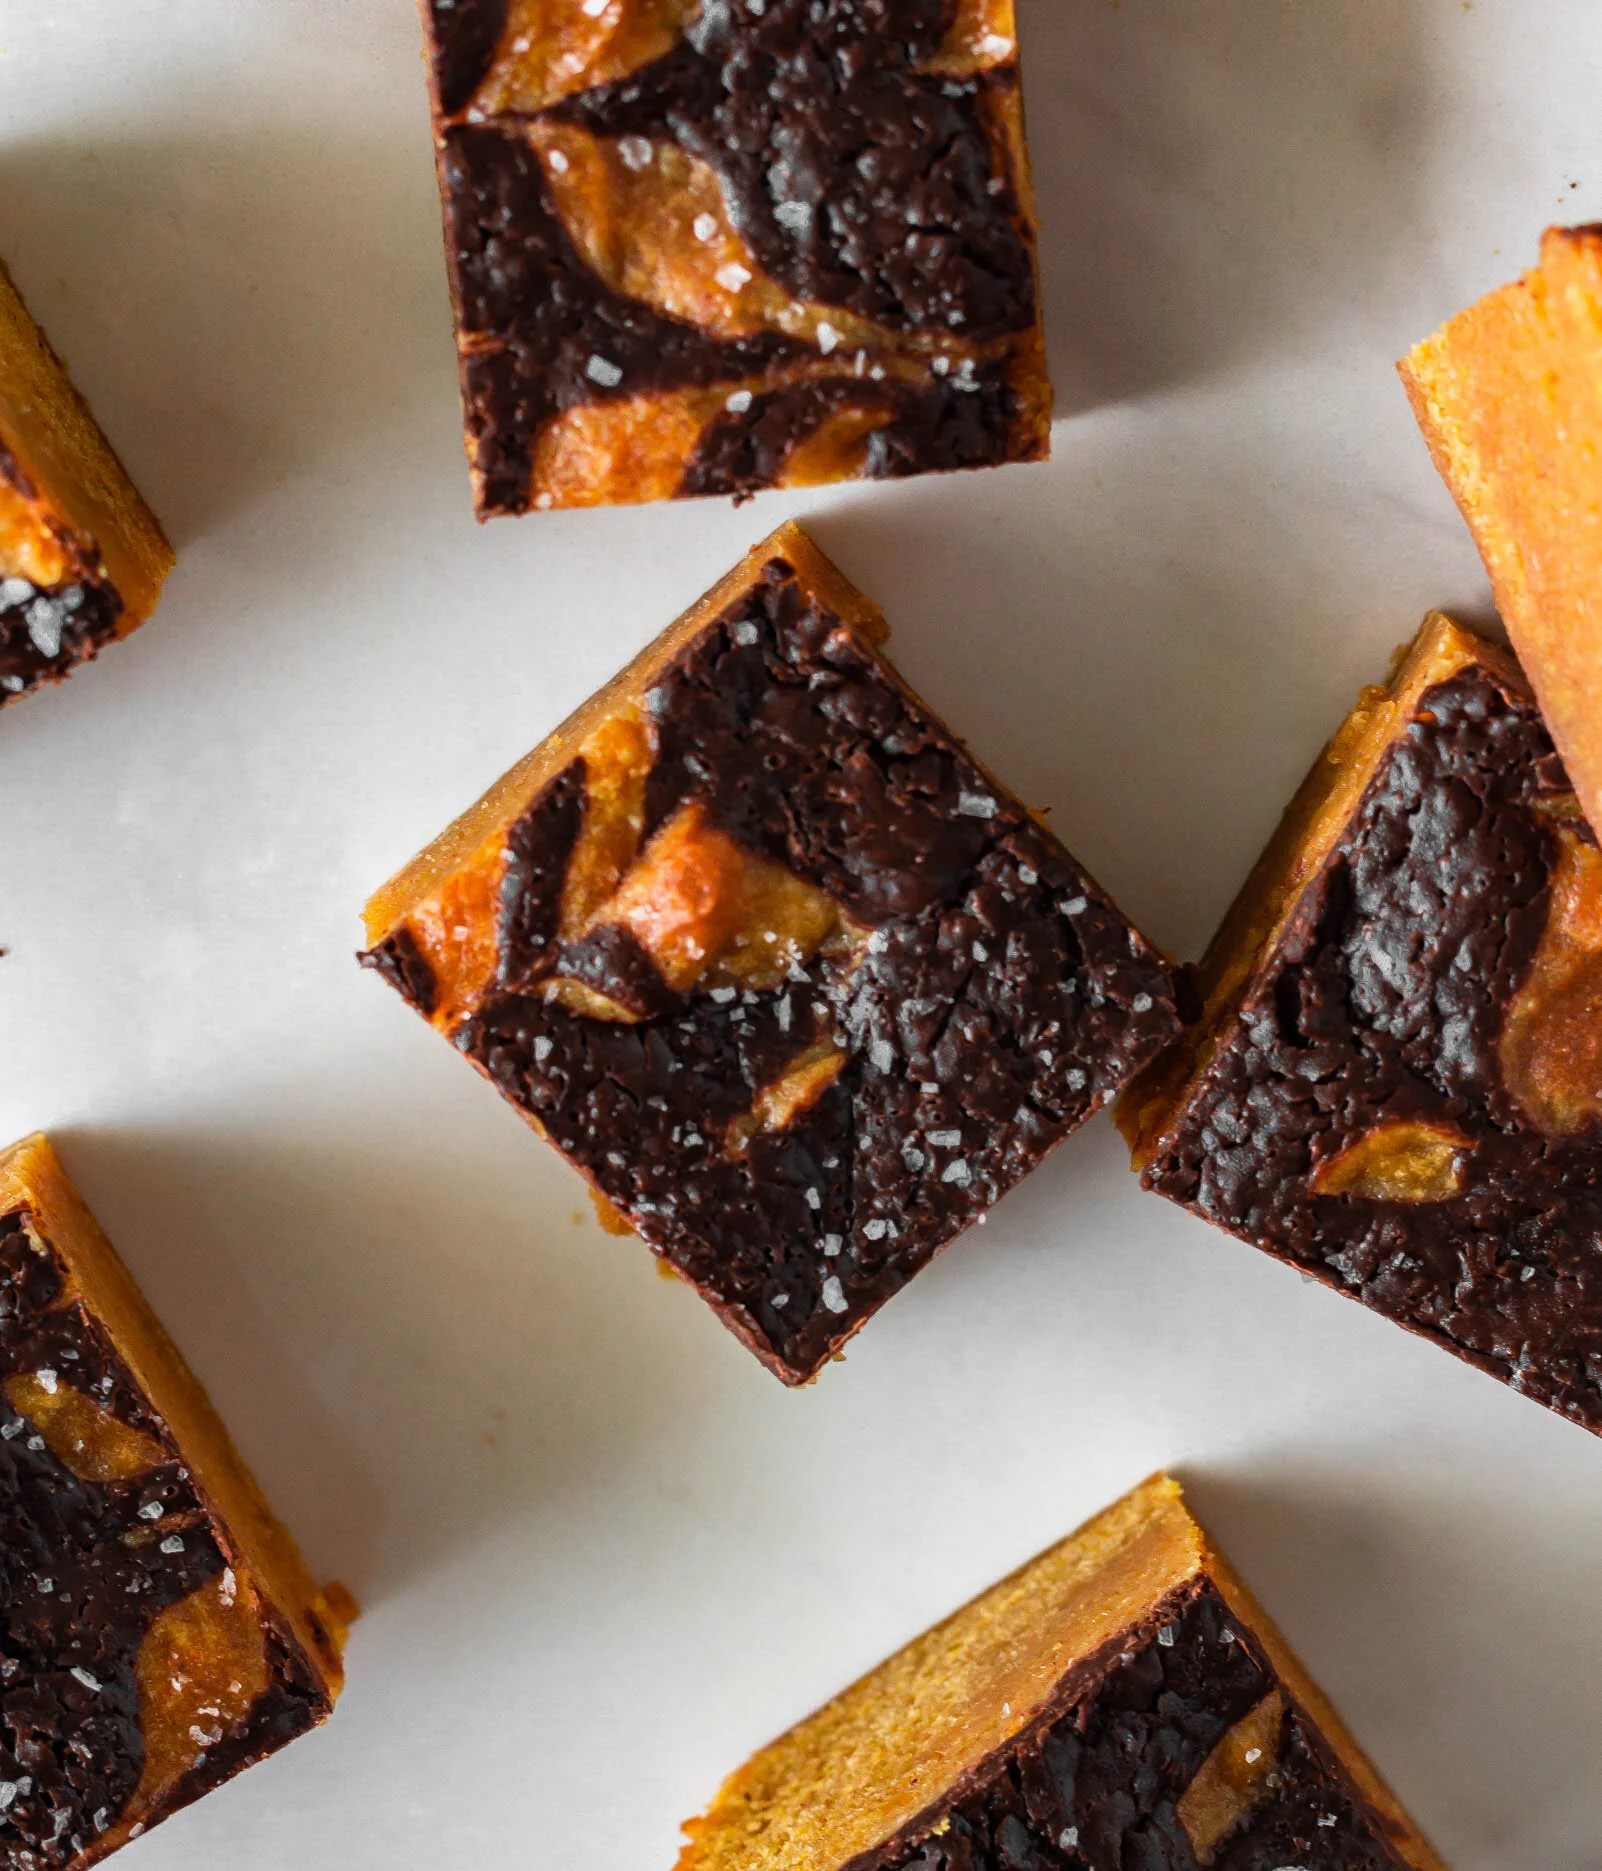
Pumpkin Blondies with Chocolate Ganache
/
Happy Halloween week from me and these very easy pumpkin blondies! Halloween will probably very different for a lot of people this year, along with everything else in our lives in 2020, but for us, things will be very much the same. I’m not very big on Halloween. I think I’ve mentioned that before here on the blog, but I just have never really gotten into costumes, I don’t like spooky things, and I’m not really a candy person. I do, however, love celebrating Dia De Los Muertos, and I especially like to spend my Halloween’s watching Coco and eating tacos in my living room.
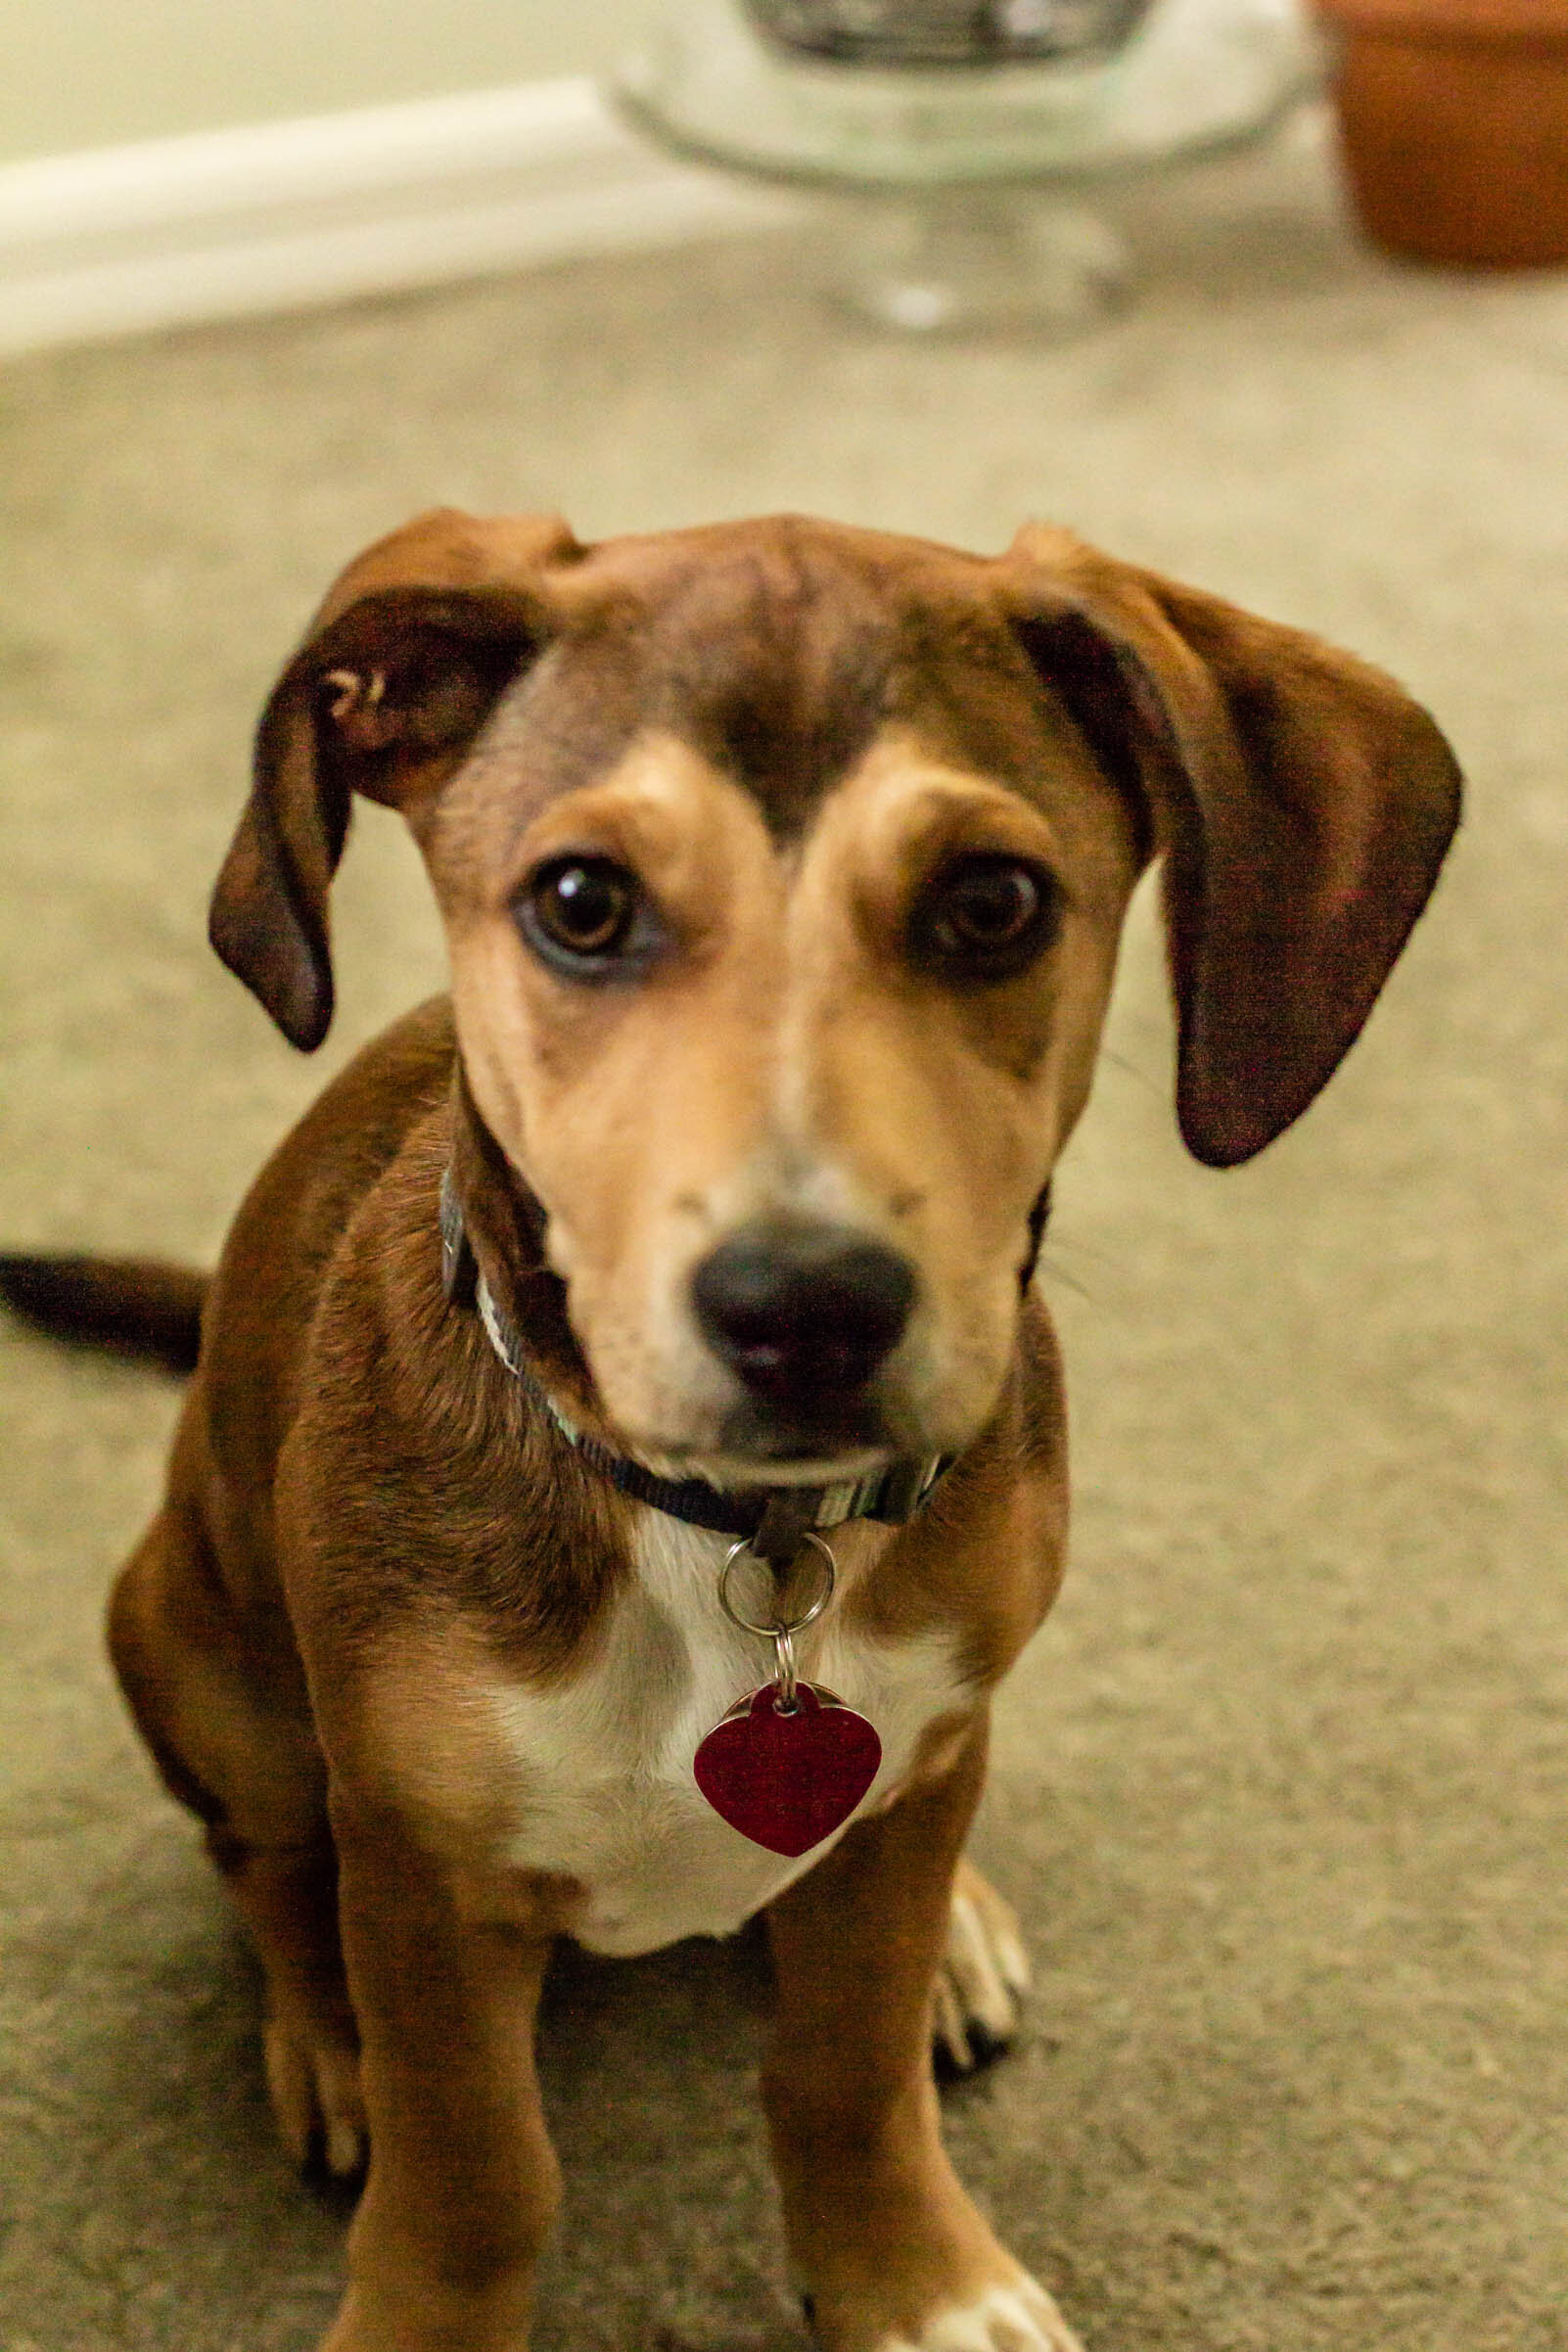
This is Tahini’s first Halloween and a few weeks ago we spontaneously purchased a very cute little dinosaur hat for him for $5 at Target. Unfortunately, his head was a little too big for it, so we returned it without a plan for any other puppy costume. But that Target Dollar Spot, guys. It gets me every time. They had a little puppy referee t-shirt that said “rufferee” for only $3 so obviously we had to get it. It too is a bit snug on the little guy, but he’s a little champ and Martin spent an hour letting out the sleeves so he would be more comfortable in it. So I guess this Halloween, Tahini will be dressed as a cute little rufferee as we eat our tacos and watch Coco.
All of that to say, here’s a very simple, one-bowl (ish) pumpkin blondie recipe for all of you. There are no herbs or unique spices, no ancient grains or alternative flour, just good ‘ole pumpkin and chocolate. You probably have everything on hand and these little guys can be whipped up in about 15 minutes, a perfect Halloween weekend recipe for when you run out of the good candy.

Pumpkin Blondies with Chocolate Ganache
makes 1 8x8” pan
Ingredients
1 2/3 cup (220 g) all purpose flour
1 tsp baking powder
1/2 tsp kosher salt
1/2 tsp ground cinnamon
1/4 cup (113 g) unsalted butter
1 1/4 cup (270) brown sugar
3/4 cup (200 g) pumpkin puree
2 tsp vanilla extract
3 oz dark chocolate, chopped
3 oz heavy cream
Procedure:
Preheat oven to 350° F and line a 8x8” baking dish with parchment paper. Set aside.
Place butter in a small saucepan and set over medium heat. Cook, swirling occasionally for 6-7 minutes, until butter is foamy and fragrant and dotted with little amber specks. Remove from heat and immediately transfer to a medium mixing bowl. Set aside to cool slightly.
When the butter has cooled a bit, whisk in the brown sugar, followed by the vanilla and pumpkin puree until the mixture is smooth and homogenous.
Whisk in flour, baking powder, cinnamon, and salt, stirring just until everything is combined and no dry streaks remain. Smooth the batter into the prepared pan.
Meanwhile, place chocolate in a small bowl and heat cream in a small saucepan until just beginning to bubble around the edges (about 180°F). Immediately pour the hot cream over the chopped chocolate, jostle slightly to settle it, and let sit for 3-4 minutes.
After 3-4 minutes, begin whisking the cream and the chocolate together, starting in the center of the bowl and working your way outward until you have a smooth, glossy ganache. Drizzle ganache over the top of the blondie batter and swirl with a knife or skewer. (I only used about half of the ganache, you can store the leftovers in the fridge for about a week and use for drizzling on ice cream or swirling into brownies.)
Bake for 30-35 minutes, or until the edges of the blondies are golden and begin to pull away from the edges of the pan and a skewer inserted into the middle comes out clean. Cool completely (I prefer to let them spend a night in the fridge), and then cut into squares.

more recipes like this

espresso tahini brownies

harvest cookies

sourdough spelt brownies