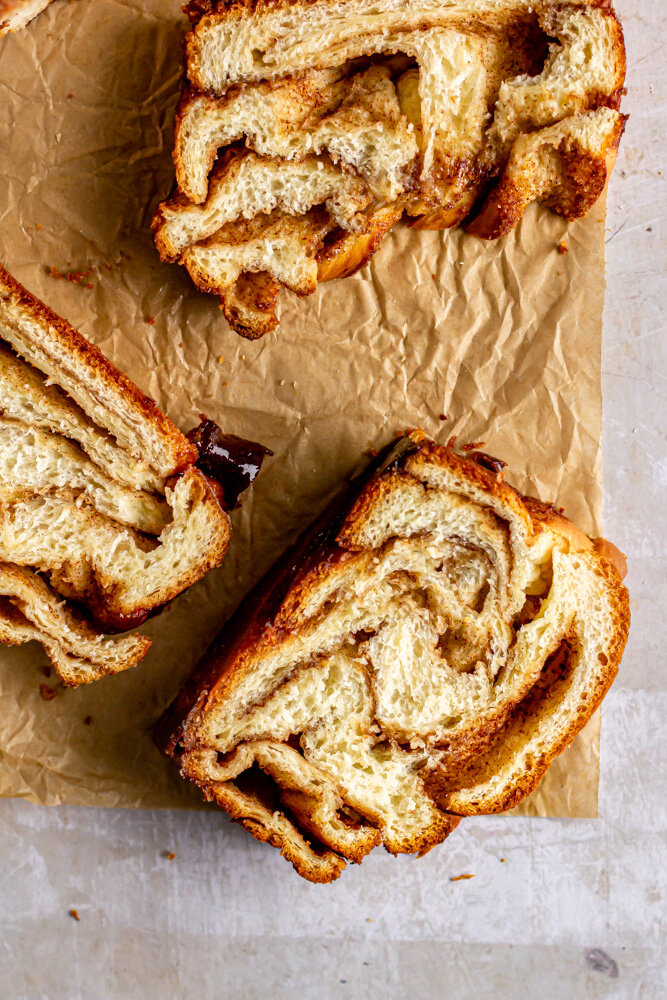
Cinnamon Swirl Brioche
/A soft, buttery brioche bread filled with cinnamon sugar.
My mom makes great breakfast toasts. Growing up, I remember there being quite a variety of toast options in my house and there was just something about my mom’s toast that tasted better than all other toasts. Even today, just plain toast with butter tastes so much better when my mom makes it. I think that’s just a mom thing. But hands down, the top two toasts of my childhood were cheese toast and cinnamon toast. Cheese toast is fairly self explanatory- its toast that my mom would top with slices of cheese and slip under the broiler for a few minutes. The edges would crisp and then cheese would get all melty and delicious. For cinnamon toast, my mom would smear the toast with butter and sprinkle it with cinnamon sugar before tucking it into the heat of the oven. There were the extra toasty bites where the sugar had begun to caramelize and the soft squishy bites where the butter completely soaked the toast. It was a work of toast art.

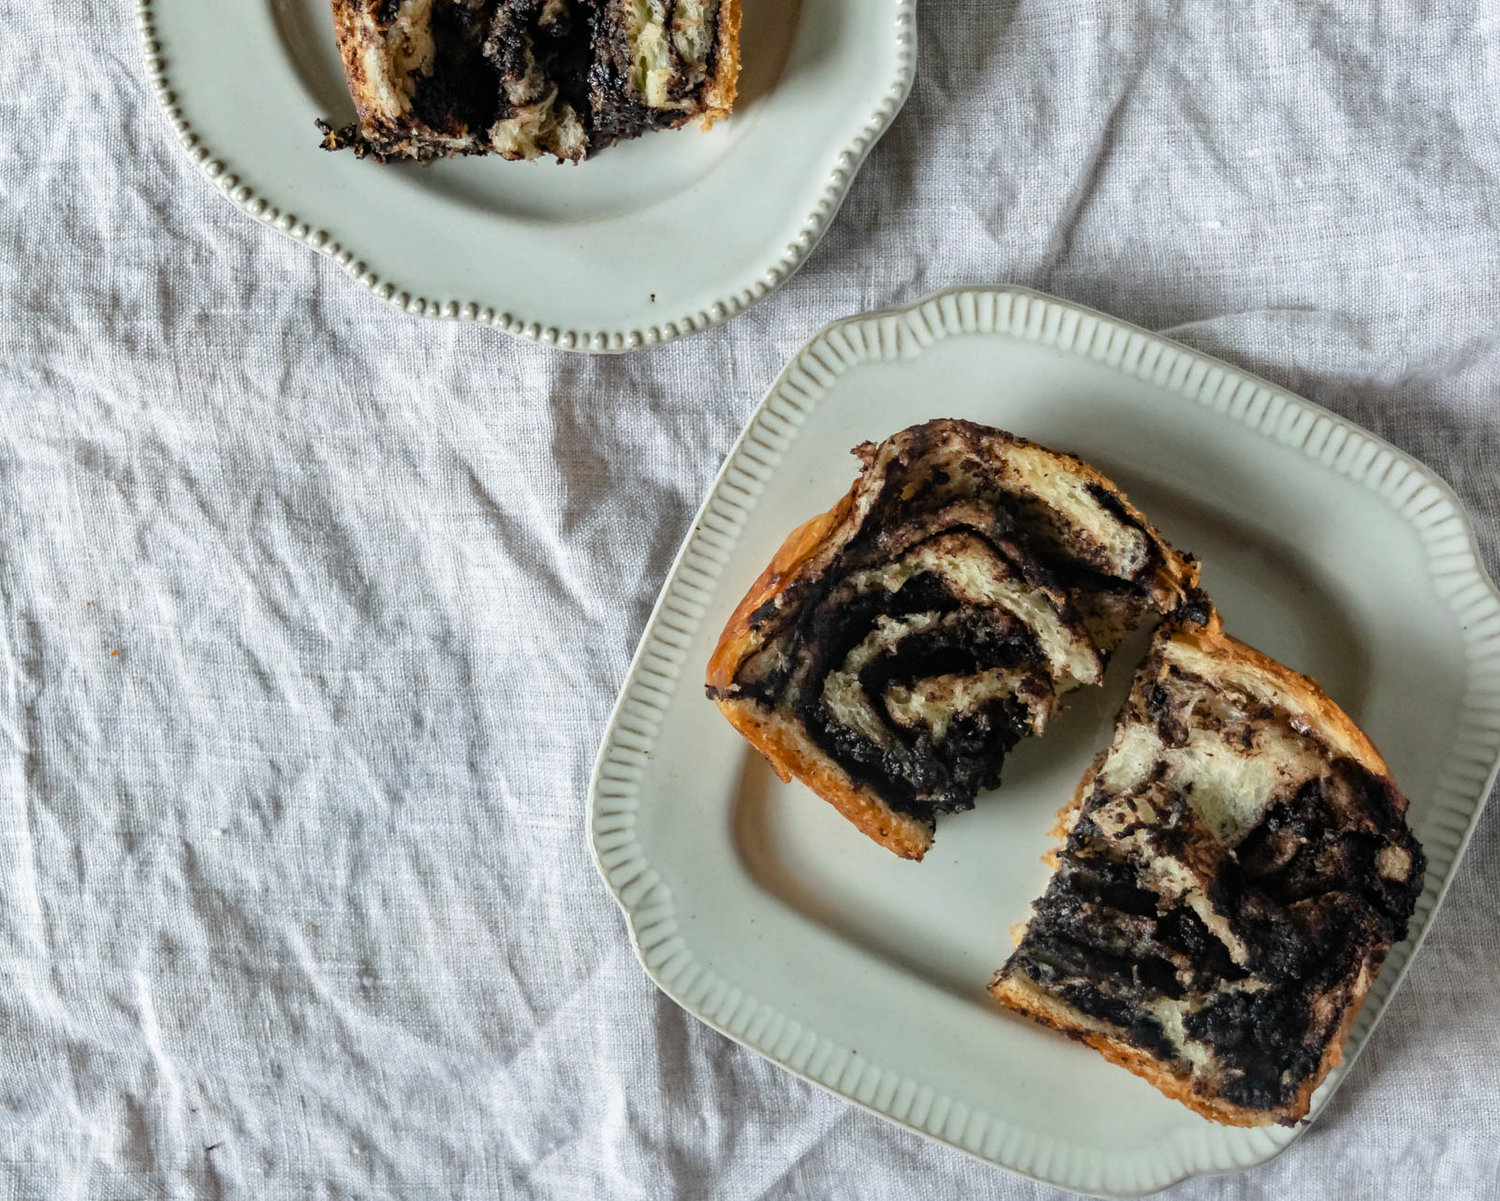
This is a traditional brioche dough swirled with softened butter and cinnamon sugar, reminiscent of those cinnamon toast mornings of my school years. Brioche is an enriched dough, which means that has sugar, eggs, and butter, all of which add flavor and richness to the dough, but slow down gluten development and yeast production. This means that brioche dough needs a longer mixing time and a longer proofing time than other yeasted doughs. For this, we tuck our dough into the fridge to cold proof for 6-12 hours (or overnight). Cold proofing slows fermentation and gives the butter a chance to re-solidify before shaping so that it doesn’t melt out of the dough when you begin working with it. This also means that you can mix your dough the night before and have freshly baked cinnamon brioche in the morning, which is never a bad thing in my opinion.
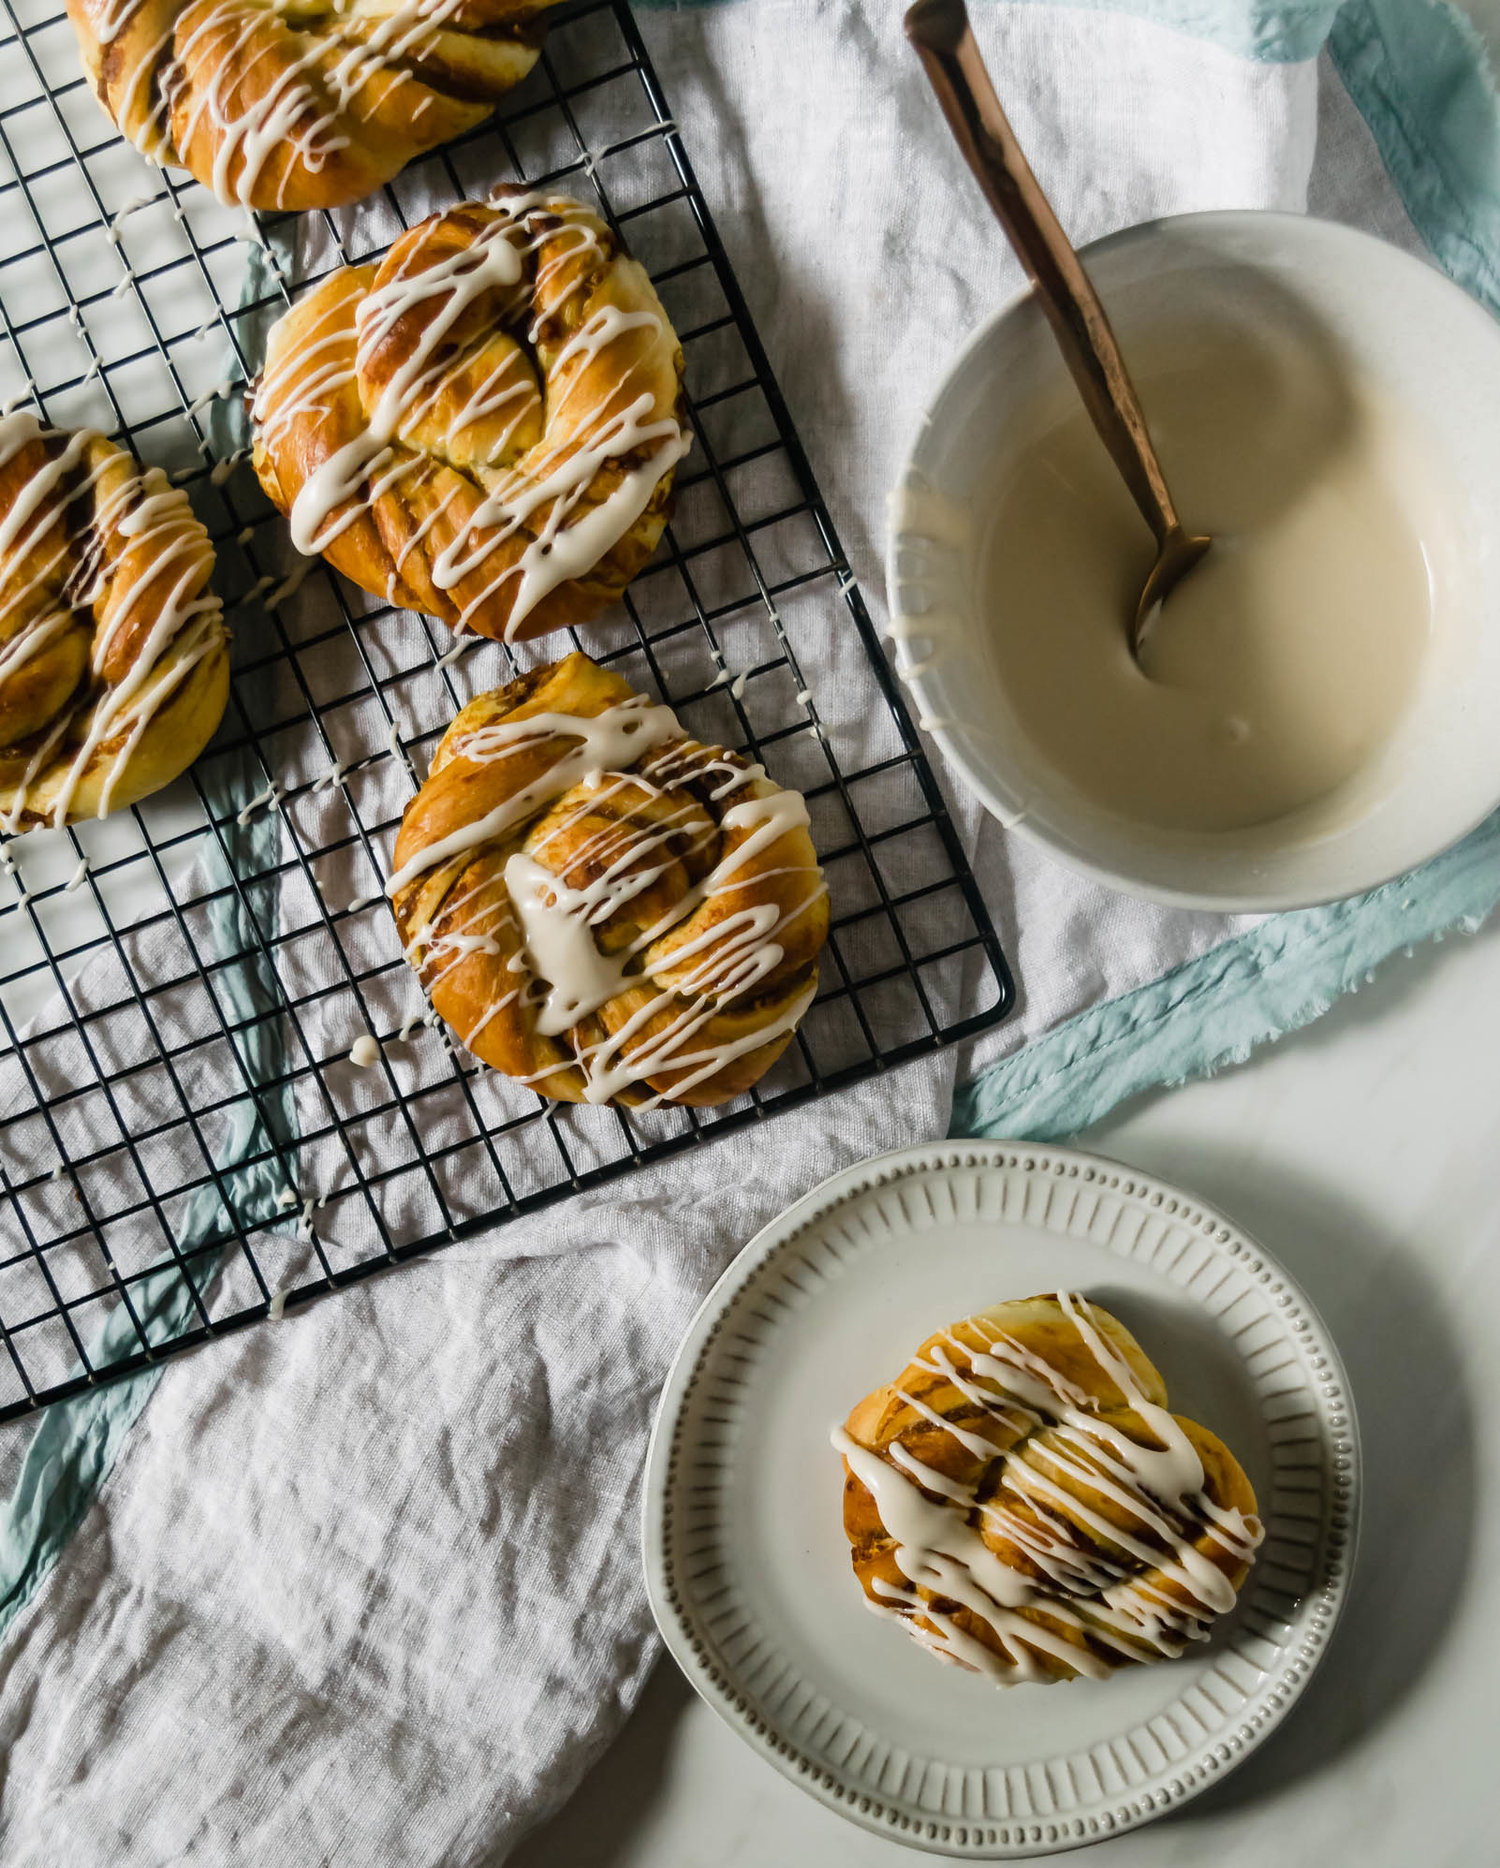
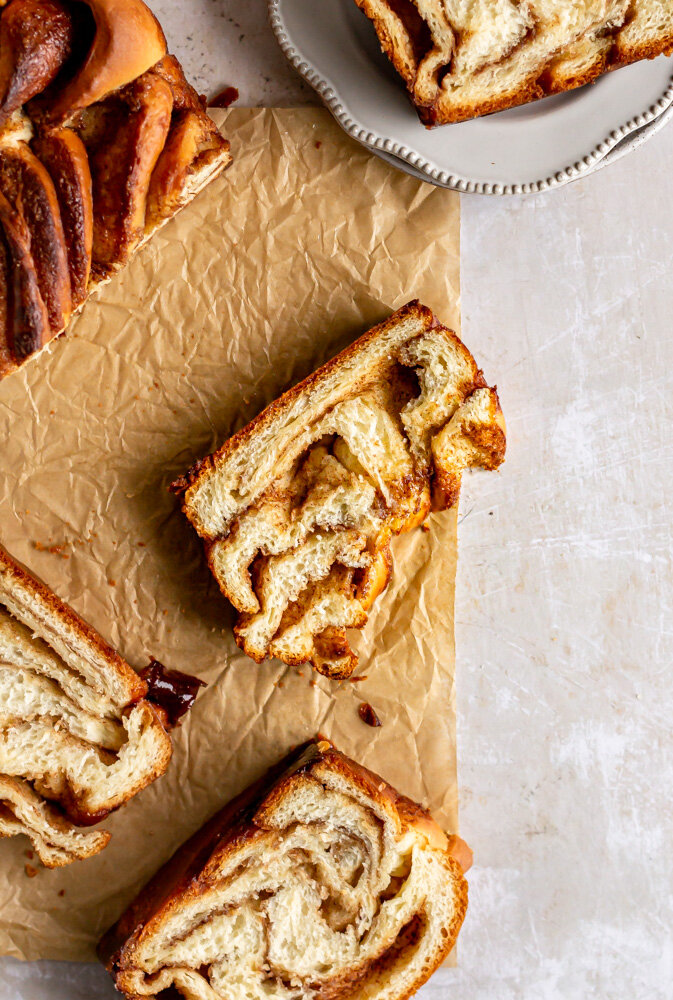
After the dough has been filled, we slice it and braid to, similarly to a babka, mostly because I think it looks pretty and the swirls make sure that there is cinnamon sugar in every bite. After it rises one last time, the dough is baked until golden brown and then brushed with butter. In the words of the great Ina Garten, “How easy is that?”


Cinnamon Swirl Brioche
Ingredients
- 125 g whole milk
- 7 g active dry yeast
- 260 g flour
- 30 g sugar
- 1/2 tsp salt
- 2 eggs, at room temperature
- 65 g butter, at room temperature
- 113 g (1 stick) butter, soft
- 110 g (1/2 cup) brown sugar
- 2 tsp cinnamon
- 1 tsp cardamom
- 1/2 tsp salt
Instructions
- Warm milk in the microwave to remove the chill. (Liquid should be between 110-115 degrees to proof yeast which means it should feel warm, but not too hot to the touch.) Add the yeast and a pinch of sugar to the milk. Stir to combine and then let sit until foamy, about 5 minutes.
- In the bowl of a stand mixer fitted with the dough hook, combine flour, sugar, and salt.
- Slowly add the yeast/milk mixture and mix on medium speed until combined. With the mixture running, add the eggs one at a time. When the eggs are combined, add butter piece by piece ensuring that it is mixed in before adding more. At this point, the dough will be very wet and sticky, that’s ok- just keep mixing!
- Increase the speed to medium high and continue mixing for about 8 minutes, until the dough is smooth.
- Place dough into a greased bowl, cover with a damp towel and let rise for 1 hour, or until doubled in size.
- When the dough has proofed, punch it down and then cover the bowl with plastic wrap. Transfer to the refrigerator and allow to cold proof for 6-12 hours.
- Take the brioche dough from the refrigerator and allow it to rest at room temperature for 15-20 minutes, just to take the chill off. While the dough is resting, make the cinnamon filling.
- In a medium bowl, mix together all of the cinnamon filling ingredients until smooth and combined. Set aside.
- Turn brioche dough out onto a clean surface. (The dough should not stick, but I always like to keep a small bowl of flour next to me as insurance in case the dough starts being temperamental). Roll the dough to a large rectangle, about 9x18 inches in size.
- Use an small offset spatula (or a spoon) to spread the cinnamon filling over the surface of the rectangle, leaving about a 1/2 inch at the edges.
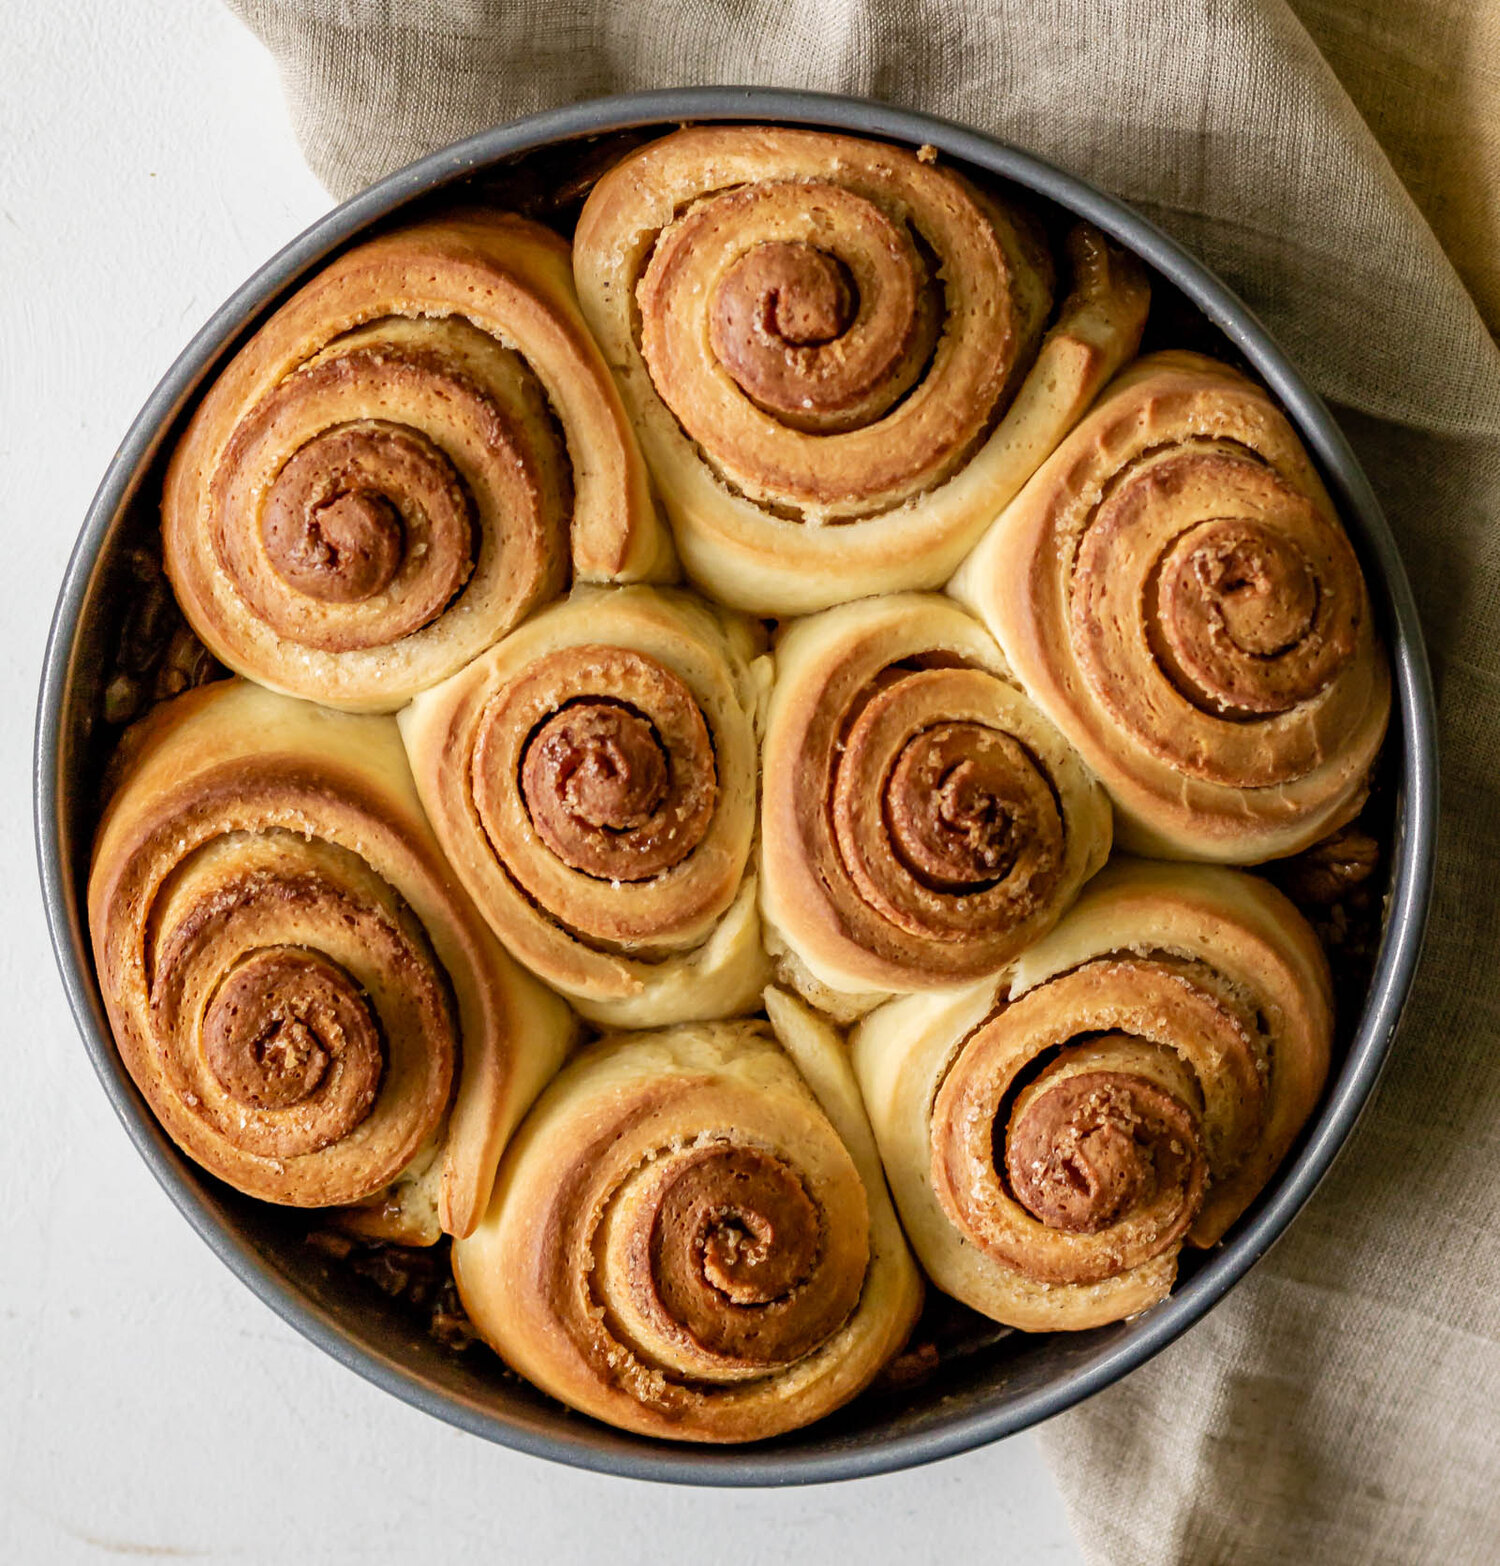
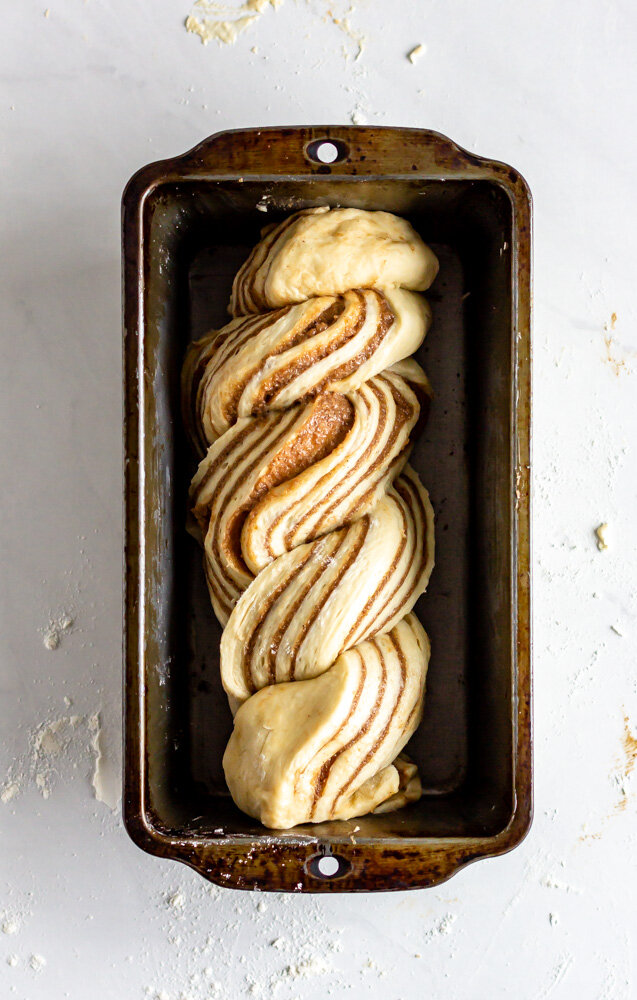
- Beginning with the short side, roll brioche tightly to create a log. Trim 1” off of the ends of the log. Slice the long in half lengthwise, leaving the top 2 inches unsliced. At this point, you should have one piece of dough with two “legs”. The pieces should be facing up so that the layers of filling are visible. Begin to twist the two pieces over and under each other, to create something that resembles a braid. Pinch the ends and then place the braid in a greased loaf pan.
- Cover the brioche with a towel and let rise again, about an hour, until it has almost doubled in size.
- Bake in a 350 degree oven for 30-35 minutes, until golden brown and a skewer comes out clean. Brush with melted butter and let cool in the pan 15 minutes. Transfer to a wire rack to complete cooling before slicing and serving.
Notes
This recipe is so versatile--feel free to add nuts or spices to the cinnamon filling. You can also wrap the baked bread tightly in plastic wrap and store in the freezer for a later date.