Coffee Cinnamon Buns

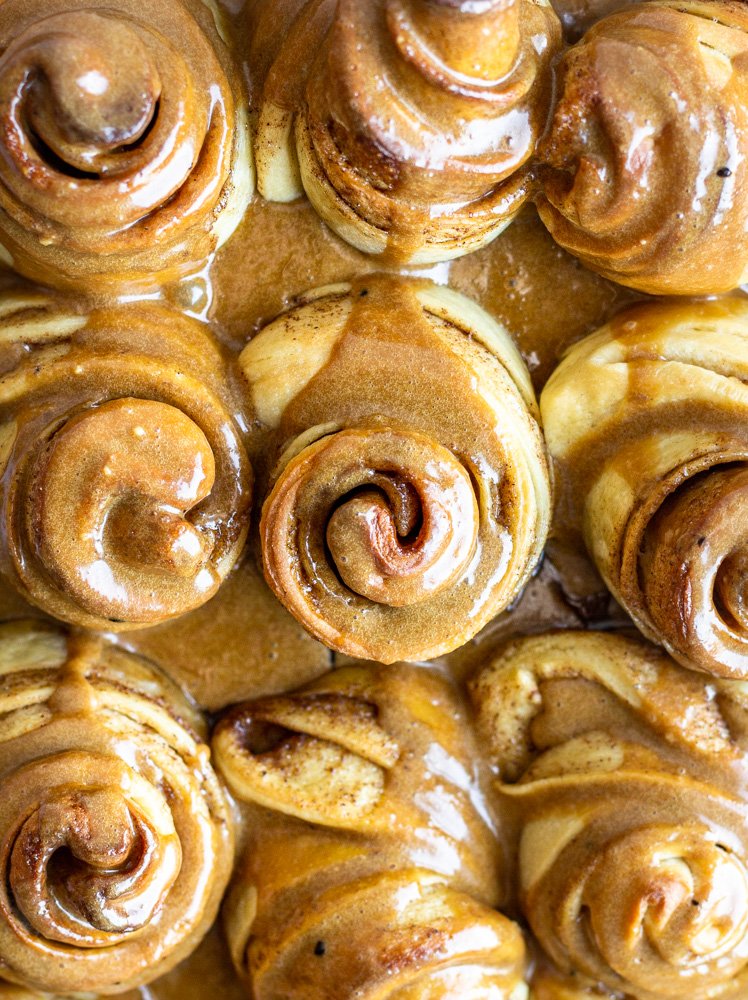
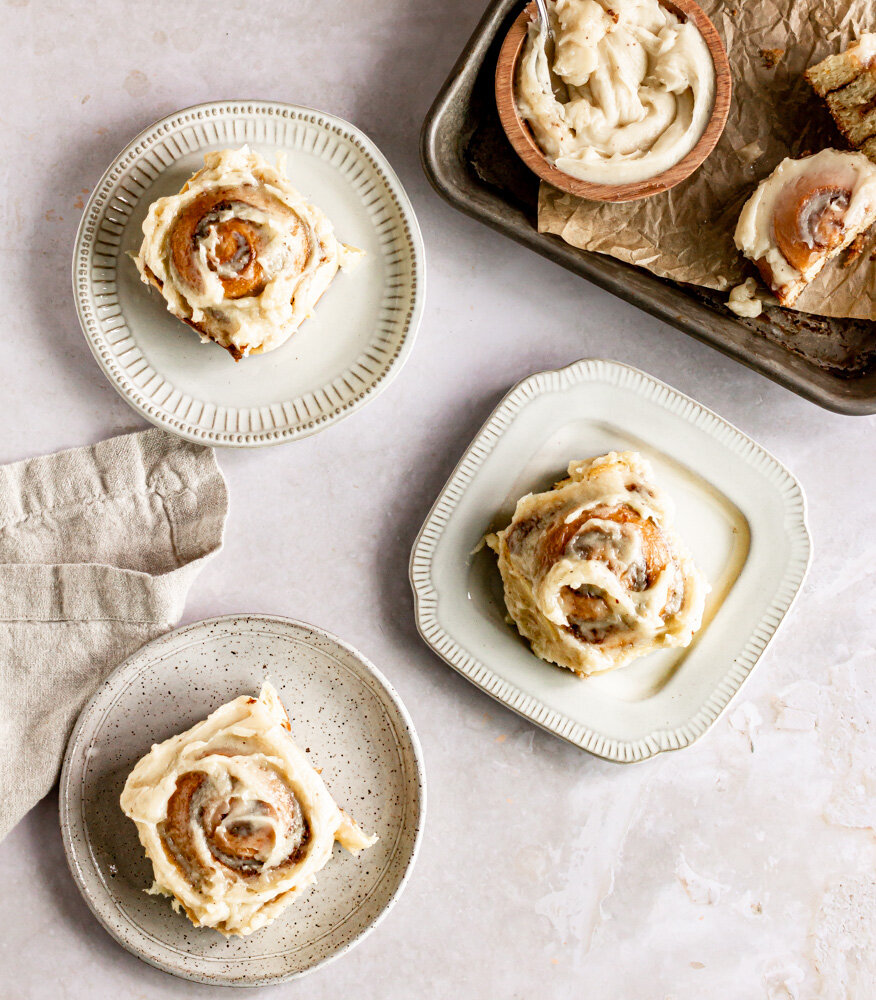
Soft, pillowy sweet dough filled with cinnamon sugar and topped with a coffee glaze.

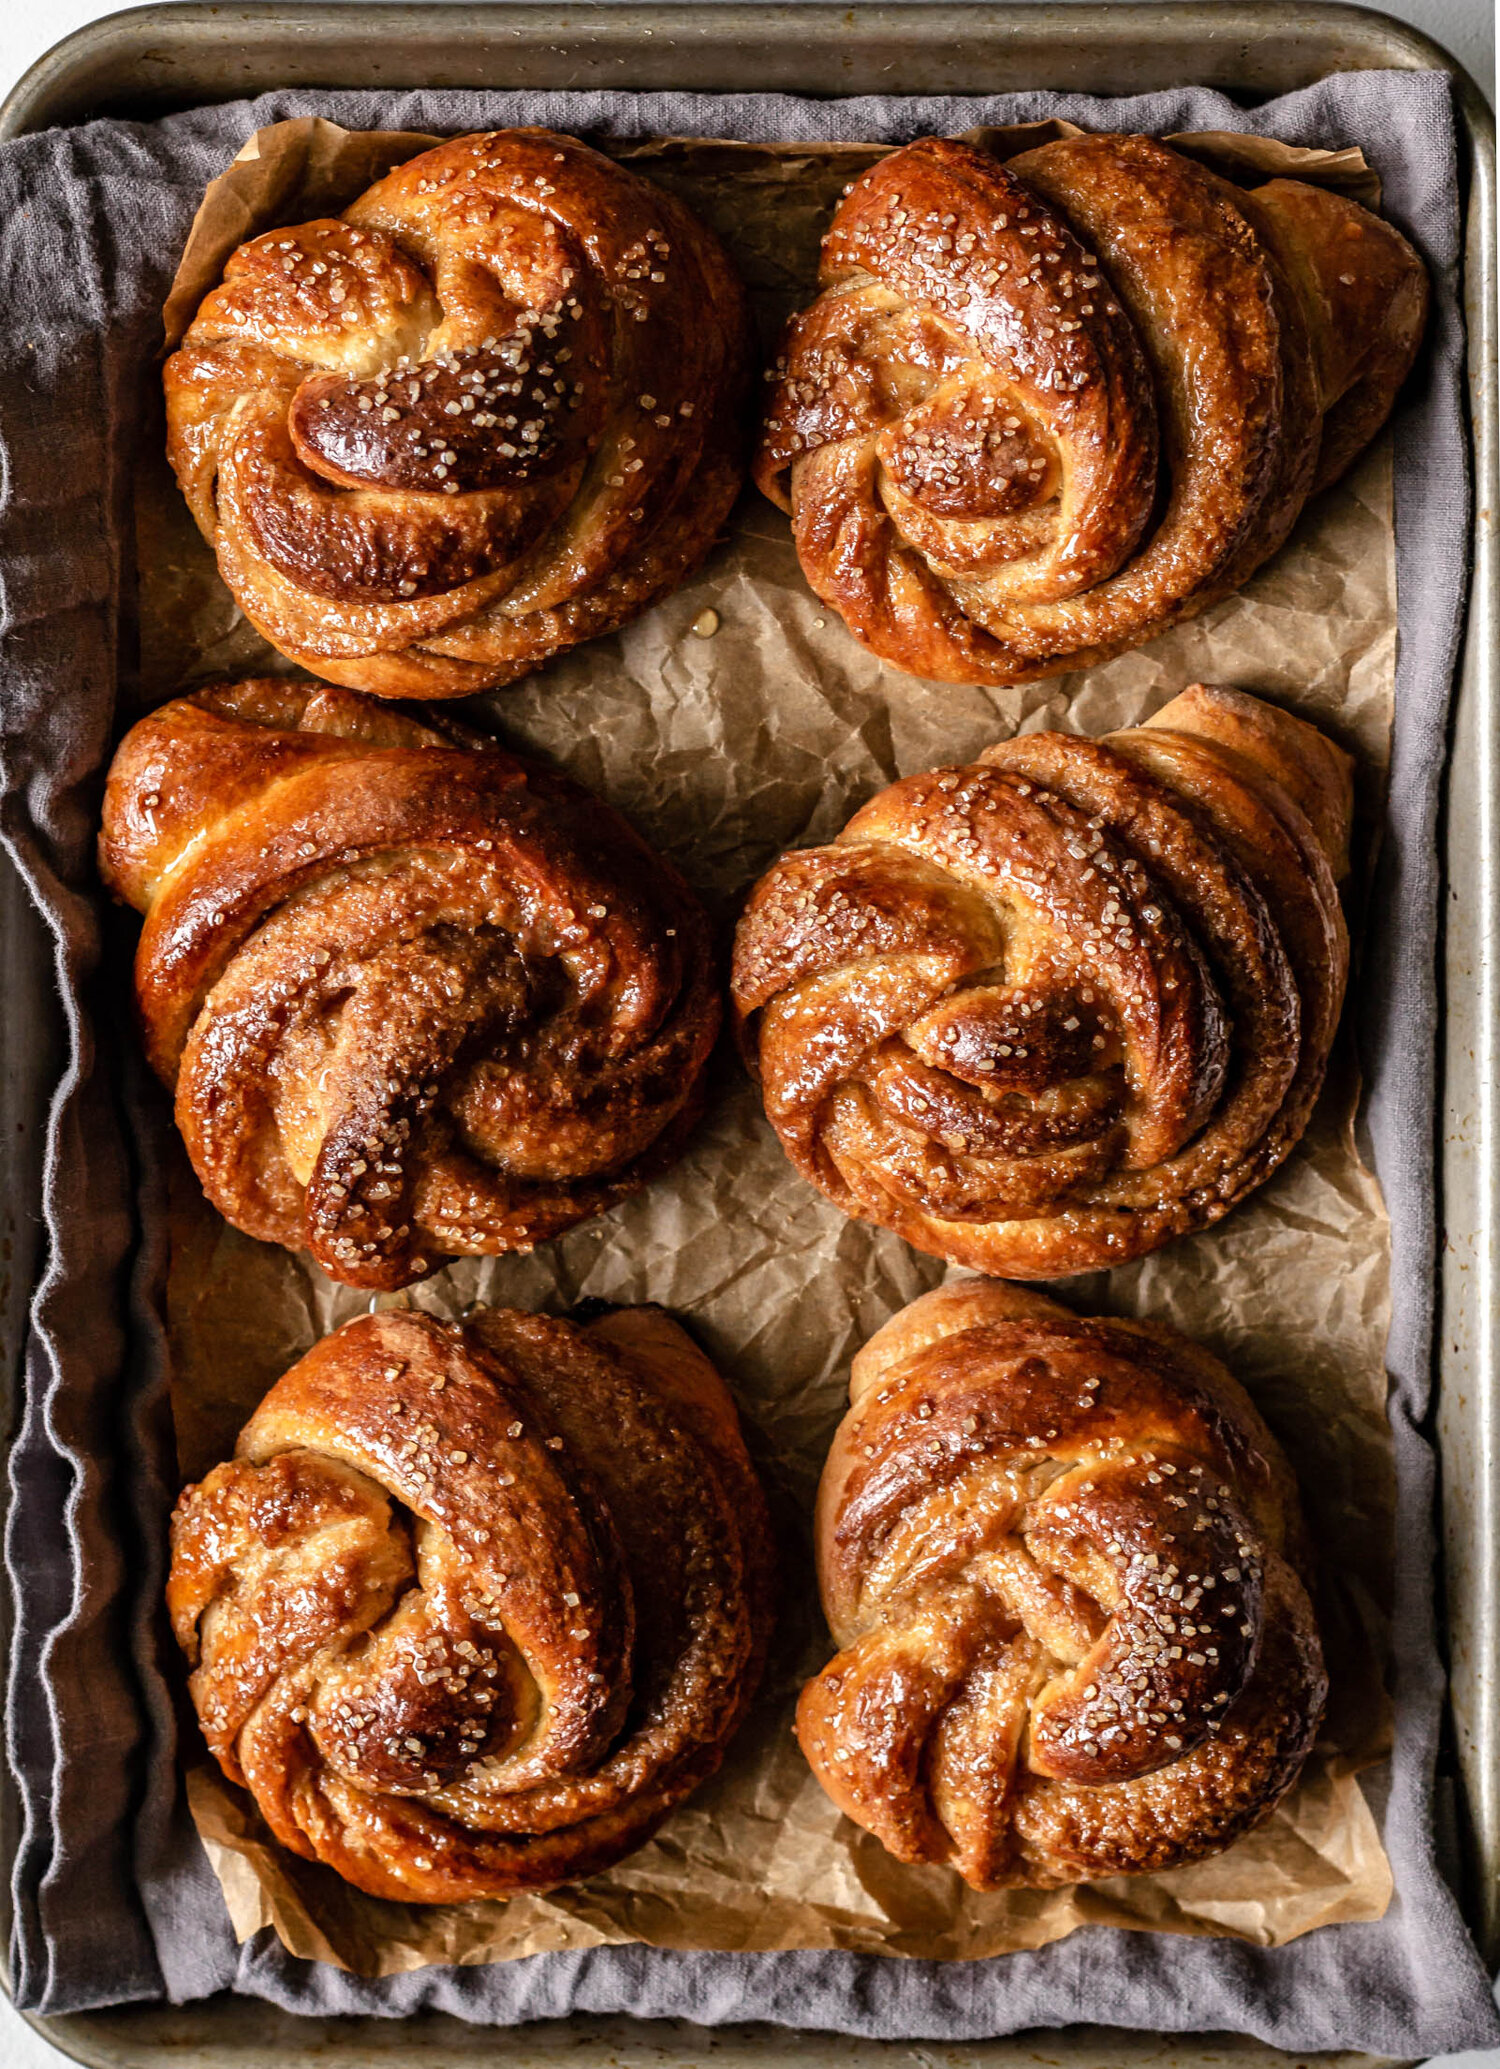
I felt like the biggest baking nerd creating this recipe last week. This was a completely unplanned recipe, born out of a serious cinnamon roll craving. I couldn’t get the idea of pillowy, soft sweet dough, filled with cinnamon sugar and twisted into delicate knots out of my head and so I found myself, sitting in front of my computer last week creating a sweet dough spreadsheet. I have a bunch of sweet dough recipes—you can check out my Browned Butter Spelt Cinnamon Buns, Tahini Orange Cinnamon Rolls, and Einkorn Pecan Sticky Buns if you don’t believe me—but they all vary slightly and I wanted to create the perfect sweet dough ratios. I compiled all of my sweet dough recipes into one very organized document, converted everything to baker’s percentages, and then decided what ratios I wanted to use for this recipe. Lo and behold, the perfect sweet dough was born.

The final dough has a fairly high enrichment percentage (milk, butter, and eggs) which makes it moist and soft, perfect for spinning and swirling and rolling into these coffee cinnamon buns.

the dough

This dough is a simple, enriched sweet dough with a high ratio of milk, eggs, and butter. It’s made brioche-style and we start by proofing the yeast in the warm milk. Then the eggs, flour, sugar, and salt, are added and mixed to form a thick dough. With the mixer running on a lower speed, softened butter is incorporated a little at a time, before the mixer speed increases and the dough kneads for a decent amount of time—until it’s smooth and elastic, with a strong network of gluten strands.

The dough rests at room temperature until doubled in size and then there are two options for shaping and the second proof. Option #1: Punch the dough down and transfer it to the refrigerator for an overnight cold proof. In the morning, let the dough warm up slightly, roll it, fill it, and shape it, and then let the buns proof for another 30 minutes or so before baking. Option #2: After the first proof, go ahead and roll, fill, and shape the dough and then transfer the cinnamon buns to the refrigerator for their overnight proof. Give them about an hour at room temperature before baking. You can adapt this recipe to fit your schedule.

the filling and frosting

Because I wanted the dough to be the star, we leaned into simplicity for this recipe. A very classic cinnamon, sugar, and butter filling is smeared over the dough before shaping and I topped them with a strong coffee glaze making them really perfect for lazy weekend mornings.

Coffee Cinnamon Buns
Yield 12
Author Anna Ramiz
Prep time
30 Min
Cook time
20 Min
Inactive time
13 Hour
Total time
13 H & 50 M

Coffee Cinnamon Buns

( 0 reviews )
Soft, pillowy sweet dough filled with cinnamon sugar and topped with a coffee glaze.

Ingredients

for the sweet dough
  • 140 g (1/2 cup +3 tbsp) buttermilk, warmed
  • 10 g (2 3/4 tsp) active dry yeast
  • 1 egg
  • 1 egg yolk
  • 50 g (1/4 cup) granulated sugar
  • 345 g (2 3/4 cup) all purpose flour
  • 3 g (1 tsp) kosher salt
  • 100 g (7 tbsp) unsalted butter, softened
for the filling
  • 56 g (4 tbsp) unsalted butter, softened
  • 100 g (1/2 cup) brown sugar
  • 2 tsp ground cinnamon
  • 1 tsp ground cardamom
  • 1/4 of a nutmeg pod, grated
  • 1/2 tsp kosher salt
for the glaze
  • 70 g (1/3 cup) heavy cream
  • 1 tbsp instant coffee
  • 120 g (about 1 cup) powdered sugar

Instructions

  1. Combine warmed buttermilk and yeast in the bowl of a stand mixer fitted with the dough hook attachment and let sit for about 5 minutes, until foamy.
  2. While the yeast is proofing, combine sugar, flour, and salt in a medium bowl.
  3. When the yeast is foamy, add the egg and egg yolk and whisk to incorporate. Add the dry ingredients and begin kneading on medium speed for 1-2 minutes, until all of the flour has been incorporated and a dough begins to form.
  4. With the mixer running, add the butter a tablespoon or so at a time. When all of the butter has been added, increase the mixer speed to medium high and knead for 5-6 minutes, until the dough is smooth and elastic.
  5. Scrape down the sides of the bowl, cover, and let proof at room temperature for an hour to an hour and a half, until the dough has doubled in size.
  6. Punch the dough down and transfer to the refrigerator for about 30 minutes, just to make the dough a little easier to work with. **see notes for alternate proofing instructions**
  7. While the dough is chilling, combine butter, brown sugar, cinnamon, cardamom, nutmeg and salt and stir to form a smooth paste.
  8. Turn the dough out onto a lightly floured work surface and rolled into a 12x18” rectangle.
  9. Smear the cinnamon butter mixture over the center and right two-thirds of the dough.
  10. Fold the left third of the dough into the center and then fold the right third over the dough into the center as well (like folding a letter, but horizontally).
  11. Turn the rectangle 90° and roll out a little, just to stretch it about an inch vertically.
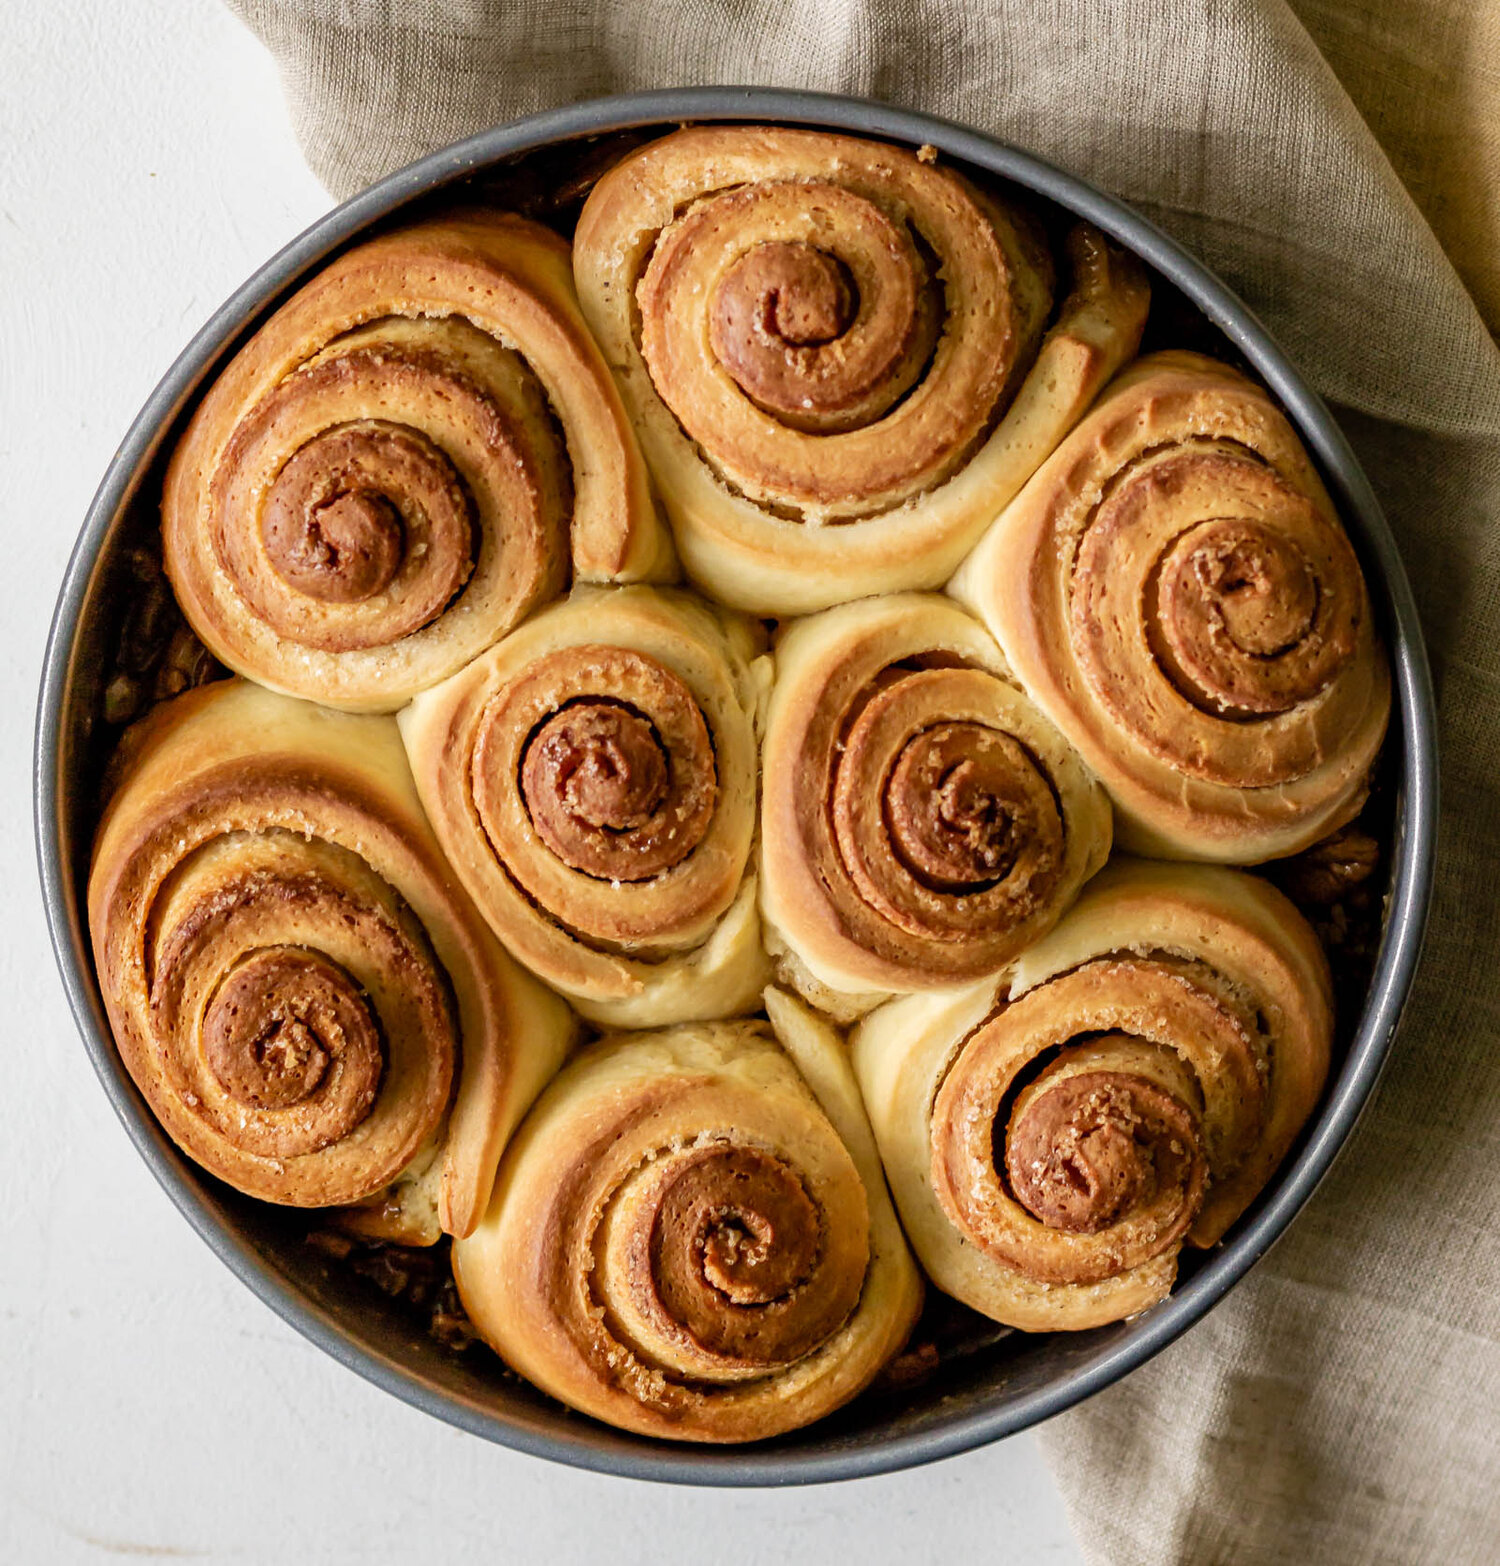
  12. Cut the dough into 12 strips. Roll each strip up like a snail and tuck the end under the center of the bun.
  13. Place on a parchment lined baking sheet and cover with plastic wrap. Place in the refrigerator overnight, or about 12 hours.
  14. When you’re ready to bake, preheat to the oven to 375° F and take the cinnamon buns out of the refrigerator. Remove the plastic wrap and cover loosely with a towel. Let rest for about an hour, until they come to room temperature.
  15. Bake for 18-20 minutes, until deeply golden.
  16. While the buns are baking, make the coffee glaze. Combine heavy cream and instant coffee in a small saucepan and bring to a simmer to dissolve the coffee. Transfer to a measuring cup and whisk in the powdered sugar until smooth.
  17. Pour the glaze over the warm cinnamon buns and serve immediately.

Notes

**For alternative proofing instructions, see the blog post above!

Did you make this recipe?
Tag @gatheredatmytable on instagram and hashtag it # gatheredatmytable

My Favorite Thanksgiving Recipes

finaltable5.jpg

Forget the turkey and stuffing! Leave the mashed potatoes to someone else! I’m sharing some of my very favorite appetizers, breads, desserts, and cocktails to add a creative touch to your Thanksgiving dinner. These are perfect if you’re searching for a dish to bring to a friend’s house or just looking for something fun to bake at home.

Appetizers

a fall mediterranean snacking board

a fall mediterranean snacking board

holiday charcuterie board how-to

holiday charcuterie board how-to

What is a holiday celebration without a good charcuterie board? Simple and stunning, they are always a crowd-pleaser whether you’re sharing with friends or just having dinner for one.

Fall Mediterranean Snacking Board: The best part of this board is the dips. So. Many. Dips. Paired with pita for scooping, a few fun cheeses, and fruit to round the whole thing out.

A Holiday Charcuterie Board How-To: A step-by-step guide (map included) for building your own, very classic charcuterie and cheese plate with lots of tips on how to customize and make it your very own.

Breads

focaccia

focaccia

my favorite everyday challah

my favorite everyday challah

spiced scallion semolina bread

spiced scallion semolina bread

briolata: sicilian-style sausage bread

briolata: sicilian-style sausage bread

Focaccia: I will never ever get tired of telling you to make focaccia. This is the easiest (and most delicious) bread in the world. Stir it together before you go to bed, wake up, stretch it out, let it rest, and bake it. That’s it.

My Everyday Challah: Challah is a great complement to any meal and the fun braiding is sure to impress everyone at your table. It can be made in one day, can be topped with all sorts of fun things, and is exceptionally delicious leftover, toasted with lots of butter.

Spiced Scallion Semolina Bread: This is also a same-day bread, filled with caramelized scallions and toasted spices. Leave the stuffing at home and bring this bread instead.

Briolata: There is nothing that says “holidays” to me like Briolata. It is the most famous family recipe and it’s been a part of every family gathering I can remember. A thick, Italian bread dough is filled with roasted garlic, Italian sausage, and lots of freshly-cracked black pepper.

Desserts

roasted squash pie

roasted squash pie

buckwheat and black plum crumble

buckwheat and black plum crumble

french apple torte

french apple torte

hawaij snickerdoodles

hawaij snickerdoodles

Roasted Squash Pie with Brown Sugar Cinnamon Bavarian Cream and Candied Pecans: This is the fancy version of your traditional pumpkin pie. Roasted squash subbed for pumpkin, a cinnamon-y Bavarian cream takes the place of whipped cream, and the whole thing gets topped with candied pecans. If you want to show off your baking skills, this one is for you!

Buckwheat and Black Plum Crumble: This is your very easy, very high reward Thanksgiving dessert. Make a big batch of crumble topping and sub the plums for any fruit you have laying around. Bake the whole thing until bubbly and serve with lots of vanilla ice cream.

French Apple Torte: If you aren’t interested in pie, may I persuade you with cake. This torte is very light, very easy, and the apples on top give it a very fancy feel. 10/10 would recommend.

Hawaij Snickerdoodles: These are for those people who put their Christmas tree up on November 1st. The Hawaij spice has a very autumnal feel that can easily transition into Christmas if that feels like you. And cookies are always a crowd pleaser.

Drinks

pomegranate sage french 75

pomegranate sage french 75

LavHCNew3.jpg

lavender hot chocolate

Pomegranate Sage French 75: This cocktail has bright, fruity flavors, earthy herbal components, gin, and Champagne. What more do we need? It’s a drink that can take from Thanksgiving all the way into the New Year.

Lavender Hot Chocolate: My favorite hot chocolate is thick and rich, made on the stove top with lots of homemade whipped cream. This one has lavender buds steeped into it for a fun and floral flavor and feels like being wrapped in a big warm blanket.

A Very Good At-Home Pizza Dough

pizza1.jpg

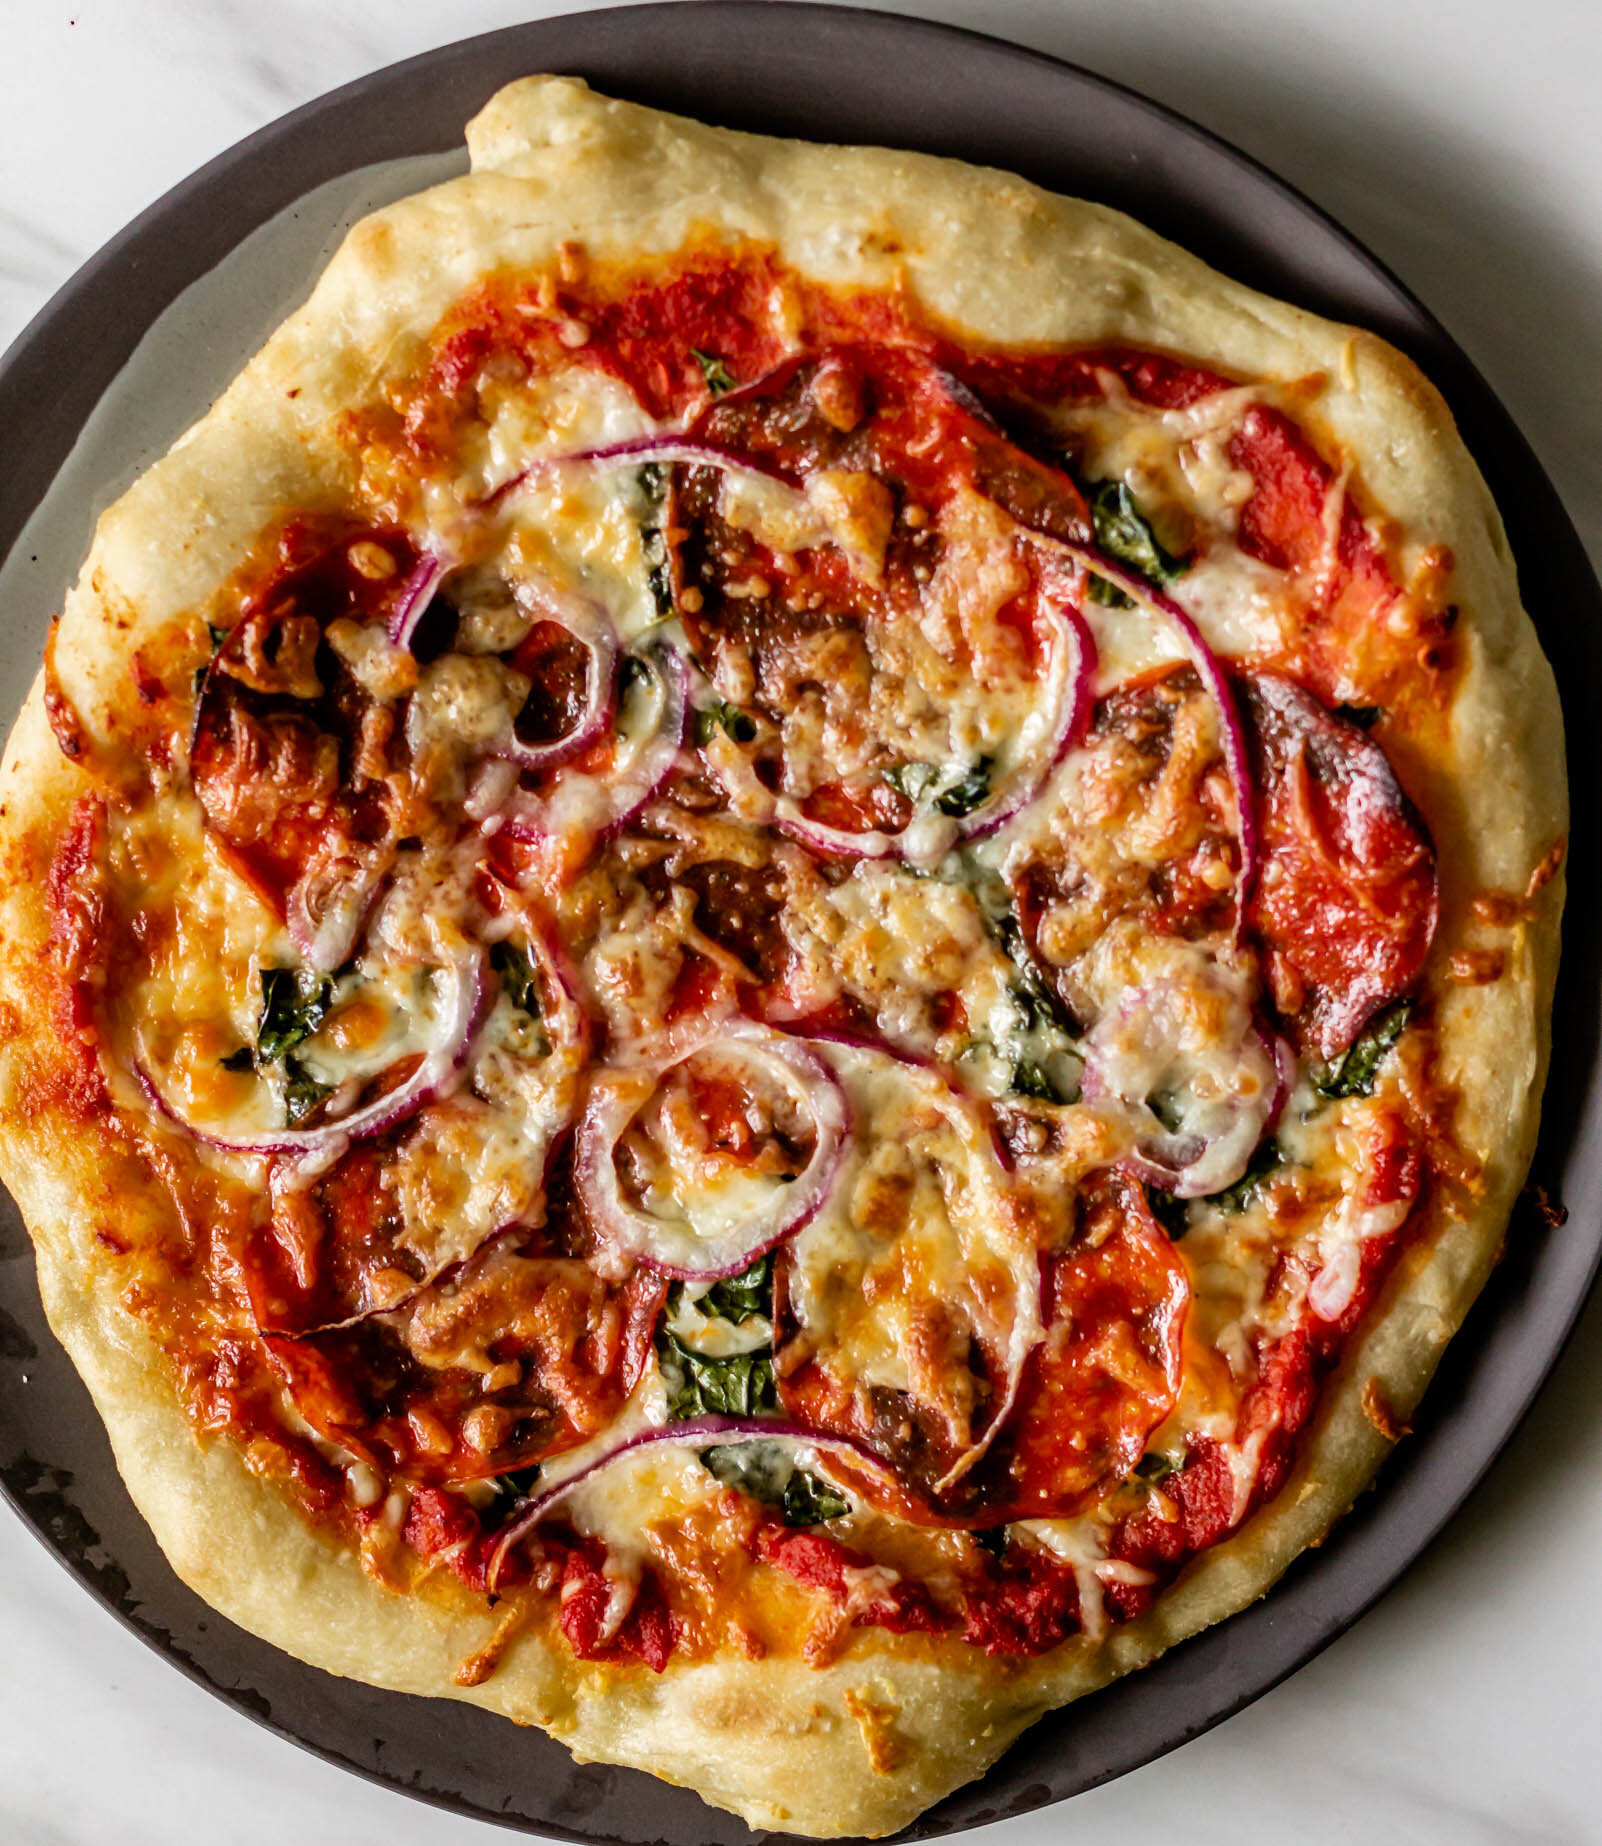
For someone who makes it almost weekly, I get very grouchy about homemade pizza. Without a wood-burning pizza oven, it just is never the same as the good stuff you get at restaurants. Sure it’s easy and you can top it with whatever you like, but I’m almost always disappointed at the lack of charred edges and those dough bubbles created by the blast of hot air. Nevertheless, I press on and continue to make pizza at home, because in the grand scheme of things, it really isn’t bad.

I’ve struggled for the last few years to find a dough recipe that is better than and just-as-easy-as the refrigerated dough in the Publix bakery shelves. Every recipe that I’ve tried worth anything requires an overnight proof and I just am not put-together enough to think about what I want for dinner an entire day ahead. A lot of doughs come out too bread-y for my taste and my jaw gets sore chewing each slice. Some create a dough that more closely resembles a cracker. It’s been a rough time, y’all.

PizzaDough5.jpg

Yet, I’ve persevered and I’ve finally created a pizza dough that checks off all of my boxes. 1) It can be made same-day, though if you are exceptionally good at planning ahead, you can definitely cold-proof this overnight for a little more flavor development. 2) It yields a crust that’s not too thick and not too thin, that falls somewhere in that perfect pizza region. 3) Did I mention it can be made same-day?

I’m not going to call this “the very best pizza in the world” or anything like that, because that would be a lie. The very best pizza is often proofed for at least 24 hours and baked in a 700° F pizza oven, but I don’t have those kind of resources so this is simply “a very good at-home pizza dough”. It’s for Friday nights when you want pizza but don’t want to go out and weeknights where you have lots of leftover veggies that just need to be thrown into a heap and covered in cheese and called dinner. A very good, very easy pizza dough fit for your home kitchen.

A few practical notes: Depending on the type of baking pan you use, bake the pizza between 450° F and 500° F, or as hot as your oven and pan can handle. I’ve also found that par-baking the crust is essential or you’ll end up with slightly burnt toppings and a soggy middle. Stretch your dough onto your baking sheet, brush it with a little olive oil, and pop it in the oven for 5-7 minutes, until its just beginning to golden. Then top it with your sauces/cheese/veggies/etc and let it continue baking until everything is melted and the bottom is golden brown and crisp. Every oven runs a little differently, so I would give it 10 minutes with toppings and then check it every 5 minutes or so after that.

pizza5.jpg

A Very Good At-Home Pizza Dough

makes 1 lb of dough (or 14” pizza)

Ingredients

270 g all purpose or 00 flour*

1 tsp active dry yeast

pinch of sugar

188 g warm water

1 tbsp olive oil

2 1/2 tsp kosher salt

Procedure

  1. In the bowl of a stand mixer fitted with the dough hook attachment, combine warm water, pinch of sugar, and active dry yeast. Stir gently and let rest until foamy, about 5 minutes.

  2. When the yeast has proofed, add the olive oil, followed by the flour. Mix on low speed for 2-3 minutes, until all of the flour has mixed in and a sticky dough is beginning to form. Cover the bowl and let rest for 15-20 minutes at room temperature.

  3. After the dough has rested, turn the mixer on low and gradually add the salt. Increase mixer speed to medium-high and knead for 3-5 minutes, until the dough begins to pull away from the sides of the bowl and an elastic dough begins to form.

  4. Turn the dough onto a well-floured work surface, dust the top with a little more flour and use your hands to gently shape the dough into a ball. Place the dough ball into a well-oiled bowl, cover with plastic wrap, and let proof at room temperature for 1 1/2-2 hours, until swollen and puffy, almost doubled in size.

  5. After the dough has completed it’s first proof, turn it out onto a lightly-floured work surface. Use your hands to punch the dough down a bit and then shape it into a smooth, round ball. Place the ball seam side down on your surface, dust the top with a bit of flour, cover, and let rest for another 2-3 hours, until pillowy. To test if the dough is ready, gently press your finger into the dough. If the imprint fills back in halfway slowly, it is sufficiently proofed. If it fills back in completely very quickly, continue to proof the dough. Alternatively, you can transfer the dough back to the refrigerator before the second proof and let it cold proof overnight. Let the dough come to room temperature before shaping and baking.

  6. When you are ready to bake, preheat your oven to 450°. Gently stretch the dough into a circle on a pizza pan, brush with a bit of oil and par-bake for 6-8 minutes, until beginning to turn golden brown. Remove from oven, top with your desired toppings and then continue to bake for 10-15 minutes until the bottom of the crust is crispy and brown and all of the toppings are sufficiently baked.

*Notes: 00 flour is a finely-ground Italian flour that comes from durum wheat. It’s protein content is similar to all purpose flour, so they are interchangeable here, but if you’re able to seek out a bag of the 00, you’ll find your crumb just a little lighter and will give you a chewier crust with less of a chance of tearing while you’re stretching. I can always find 00 flour at Whole Foods and Fresh Market, or you can easily order it online.

Print Friendly and PDF
newpita3.jpg

alon shaya’s pitas

briolata8.jpg

briolata

HerbFoc12.jpg

herb focaccia