Pumpkin Brioche Swirls

The last few weeks have been a little heavy content wise here on the blog. Lots of multi-step recipes, doughs that need hours of proofing, cakes that need layering. And sometimes, I wonder to myself if it’s all too much-if maybe I will get more Instagram likes or more blog traffic if I simplify my work, make it easier or quicker. But the more I think about it, the more I realize that sort of work doesn’t bring me joy. I was a ballerina for 16 years, spending countless hours, multiple evenings a week taking class after class and it was where I felt the most my self. For me, both pastry and ballet fall into a sweet spot, where extreme technicality and precision sync up with the creative. Where feelings and art are expressed by piecing together something beautiful out of nothing. So on days when I ask myself what I want this blog to be, that’s it. The food media industry is saturated with everything quick and easy. Our Instagram and Pinterest feeds are bursting with brightly lit, minute-long videos aimed to help you get dinner on the table as quickly as possible. And don’t get me wrong, those resources are wonderful and helpful, but I don’t think we need another one and that’s not where I most feel myself. I want this blog to be a place where creativity and exactitude collide to create something new and satisfying to the body and the soul. I want a space that provides careful instruction and guidance, but that encourages you to step out of your comfort zone and challenge yourself. For me, those are the moments worth celebrating and food worth investing in.

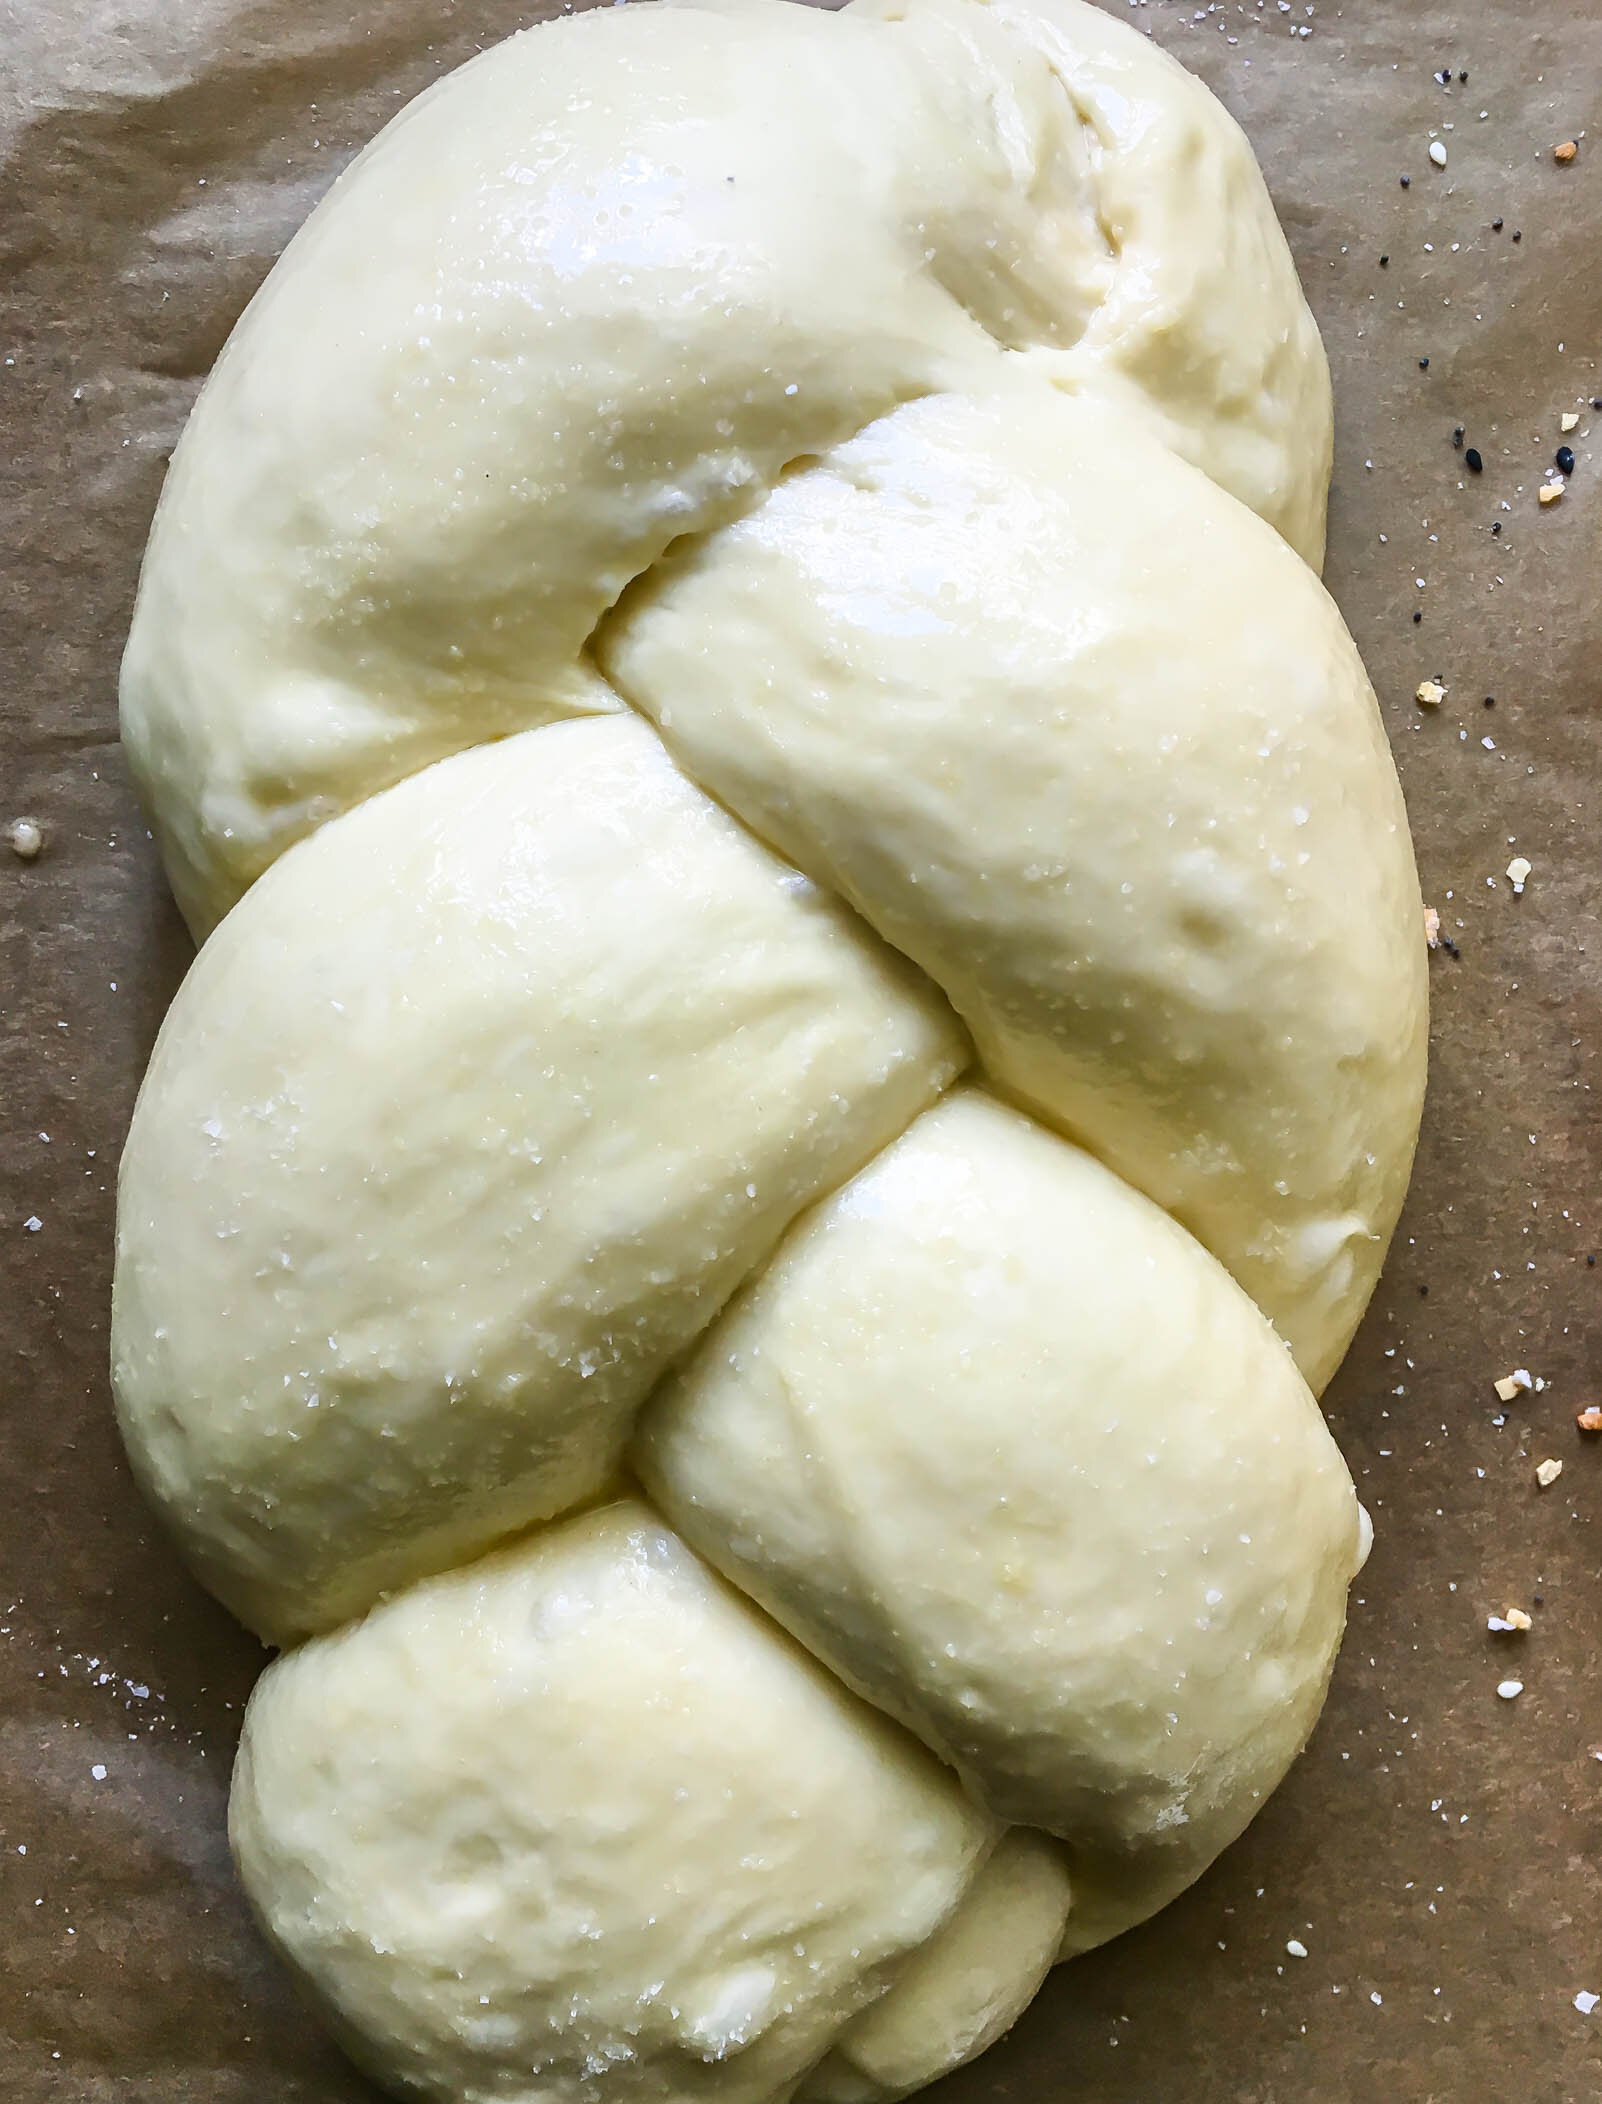
A couple weeks back, I shared a Chocolate Tahini Brioche Babka and some brioche basics. This recipe is meant to go hand in hand with that recipe and it uses the same brioche recipe. If you’re looking for a weekend project, these are your go-to’s. Making one batch of the brioche will give you enough dough for one babka and 12 pumpkin swirls. Or you can use the entire batch and make 24 swirls…or two babkas…or a baby babka and 18 swirls…really, anything goes. This twist technique is loosely based on the show-stopping cinnamon roll beauties coming out of Circus Bakery in Paris and I’ve included an article with step-by-step shaping photos in the recipe itself.

So maybe long rise times and lots of dough shaping isn’t necessarily your thing, that’s okay. But I hope that after stopping by my blog, you feel a little bit challenged and empowered to try something a little out of your comfort zone and who knows, you may find that you love it as much as I do. At the very least, I hope that you will be left with a sense of accomplishment and a few very delicious pumpkin swirls.

PumpkinSwirls3.jpg

Pumpkin Brioche Swirls

Yield: 12 knots 

Ingredients: 

750 brioche dough

1/2 cup (150 g) canned pumpkin

50 g brown sugar

1 T cinnamon

1/2 tsp pumpkin pie spice 

For the egg wash: 

1 egg yolk

1 egg

1-2 T water

For the glaze: 

1 cup powdered sugar

1 tsp vanilla extract

Pinch of salt

About 1/4 cup heavy cream

Procedure:

  1. Remove dough from the refrigerator and allow to come to room temperature slightly. It should be cool, but not cold.

  2. In a small bowl, stir together pumpkin, brown sugar, cinnamon, and pumpkin pie spice. Set aside.

  3. On a floured surface, roll dough into a 12x16” rectangle. Use an offset spatula to spread the pumpkin mixture onto 2/3 of the dough. Fold the third of dough without pumpkin spread up and over onto the pumpkin dough. Fold the remaining third over the top, like you are folding a letter. (If you are confused about the folding/shaping process, these are inspired by the world-renown cinnamon rolls at Circus Bakery in Paris. You can find step by step shaping pictures here.)

  4. Lightly roll your dough envelope to 1/4” thickness. Use a sharp knife or a pastry wheel to slice into 12 equal strips.

  5. Working quickly, roll the ends of each strip to create spiral. Wrap the spiraled dough strip around your hand twice and tuck the end through the center to form a knot-shape. Place on a parchment-lined baking sheet.

  6. When all of your rolls are formed and spread out on the baking sheet, cover with plastic wrap or a kitchen towel and let proof until doubled in size, about 45 minutes.

  7. When you are ready to bake, preheat the oven to 350 degrees. Combine egg, egg yolk, and water in a small bowl to make egg wash. When the rolls have risen, use a pastry brush to lightly coat with egg wash. Bake for 20-25 minutes, until golden brown. Let cool for 5-10 minutes on the pan, then transfer to a wire cooling rack.

  8. To make the glaze, whisk together powdered sugar, vanilla extract, and 2 tablespoons of heavy cream. Add the last 2 tablespoons heavy cream, a little at a time, until you reach your desired consistency. You may not use all of the cream.

  9. Drizzle warm pastries with glaze and enjoy immediately.

Ingredient Spotlight: Flour

If you’ve ever taken a stroll down the baking aisle of your local grocery store, you’ve probably noticed there are close to a billion different types of flour (I might be exaggerating a smidge, but there are definitely a lot). You have also probably cooked from a recipe that has a measurement listed as “one cup of flour” and you’ve thought to yourself “What kind of flour am I supposed to use?” Or “Aren’t all flours the same?” Well, let’s answer those questions!

I have been wanting to write about this for a long time because understanding flour is empowering. Once you understand what exactly flour does in a recipe, what all the different types are, and you know how to read a bag of flour, the culinary world is your oyster, so to speak. You have the power not only to follow a recipe and understand it, but you have the freedom and know-how to change a recipe to suit your needs. You can begin to stretch your baking muscles and even create your own recipes. So take a peak at the flours in your pantry, pull up a chair, and let’s start from the beginning.

PizzaDough1.jpg

What is flour?

For the purpose of our little lesson here, we will only be talking about wheat flour, meaning flour that comes from the wheat plant (not necessarily whole wheat flour). We will leave those specialty flours like buckwheat, spelt, and kamut for a later discussion. The part of the wheat plant that gets milled into flour is called the wheat kernel, or wheat grain. A wheat kernel looks like a cute little oval seed and it is made up of three different parts: the bran, the germ, and the endosperm

-The bran is a protective layer that covers the outside of the wheat kernel and is usually darker in color than the endosperm. It is high in dietary fiber, which is why you will see “wheat bran” on the shelves of the grocery store that can be added to foods for a little fiber boost. The bran does not form gluten, adds a dark rustic appearance, and imparts a slightly nutty flavor. 

-The germ is the embryo of the wheat kernel and in the right conditions, can sprout into a new plant. It is full of nutrients, but also does not form gluten. 

-The endosperm is the largest part of the wheat kernel. It makes up around 80% of the kernel and is the whitest part of the kernel, mostly because of its high starch content. The starch in the endosperm is embedded in chunks of protein. There are two different proteins located in the endosperm, glutenin and gliadin, and when mixed with water, these proteins form the all-important gluten. 

A note on whole wheat flour:

All flour that comes from the wheat kernel is considered wheat flour. The most common white-colored flour found on the shelves of grocery stores and in white-flour products is made from milling just the endosperm of the wheat kernel.  Remember that the endosperm is mostly white in color due to its starch content, so it’s naturally a whiter flour. Whole Wheat flour is made using the entire wheat kernel (bran, germ, and endosperm), which provides extra nutrients, but doesn’t always work the same way in baking due to its lowered ability to form gluten (because of the addition of non-gluten forming bran and germ). The inclusion of the bran and germ also gives whole wheat flour its signature rusty color.

Whew. That feels like a lot of science, but let’s look practically at what exactly that all means when it comes to the role flour plays in baking. 

What role does flour play in baking?

Flour does a number of different jobs in baking, but its primary function is the development of gluten. If we go back to those proteins in the endosperm, you’ll remember that when glutenin and gliadine come in contact with water, they develop the ability to form gluten. When you apply hydration and friction (or mixing), these proteins form gluten strands that essentially bind your baked goods together and give them structure. (This is why if you are making a bread dough, you can stretch the dough to determine whether enough gluten has been developed). Flour also contains a significant amount of starch, which helps to absorb liquid in a dough or batter and which also provides sugar to aid in fermentation. 

PizzaDough5.jpg

What are the different types of flour and when do I use them?

Flour is made from six different types of wheat- hard red winter wheat, hard red spring wheat, hard white winter wheat, durum wheat, soft white winter wheat, and soft white spring wheat. These names refer to the types of wheat kernels and how they are grown and cultivated.

Hard wheat kernels are able to withstand harsh winters, have a greater amount of protein, and high water absorption. Soft wheat kernels are cultivated in less harsh winters, have lower amounts of protein, and have a higher proportion of starch. Basically, the flour source depends on your final product. If you are making a rustic sourdough bread where gluten structure is of upmost importance, you would use flour milled from a hard wheat. If you are making a cake, where tenderness and moisture are desired, you would use flour milled from a softer wheat. 

The 5 main types of flour

These are what you see in the aisles of grocery stores and the major difference between flour types is the fluctuation of protein levels. 

Higher protein content = higher gluten development ability. 

  1. High Gluten Flour: High gluten flour is often found in commercial bakeries and it is used primarily for bread making. You will have trouble finding this type of flour on the shelves of your local grocery store and would find it in a specialty store or online. Its protein levels typically range from 13%-15%.

  2. Bread Flour: Bread flour forms good quality gluten due to its higher protein levels and is milled from hard wheat kernels. You can usually find it bleached or unbleached and bread flour contains protein levels that range from 11%-13%.

  3. All-Purpose Flour: All-purpose flour is milled from a combination of hard and soft wheat and typically ranges from 9%-11% protein content. Because of it’s versatility and mid-range protein content, it’s the most common type of flour and can be used across a variety of applications.

  4. Pastry Flour: Pastry flour typically has a protein content of 7%-9% and is milled from soft wheat. It is not usually bleached and its low protein levels make it good for use in things like pie crusts, laminated pastries, and cookies.

  5. Cake Flour: Cake flour has the lowest protein levels of any of the various flour types coming in at 6%-8%. It is milled from soft wheat kernels, comes from the very heart of the endosperm, and has a higher starch content than any other flour. It is often bleached and is used in applications where tenderness is desired, like cakes.

What about self-rising flour? Self Rising Flour is a softer all-purpose flour that already has baking powder and salt added. I would only use self-rising flour if a recipe specifically calls for it. If you choose to substitute self-rising flour for all-purpose flour, you will need to adjust your baking powder and salt levels accordingly. 

Challah.jpg


Reading the labels

Two words show up a lot on flour labels: bleached and enriched. But what do they mean? And are they good or bad? 

Let’s talk about bleaching first.

Freshly milled flour is exposed to chlorine gas or benzoyl peroxide which makes the yellowish hued flour bright white in color. It also provides a better chance for air or carbon dioxide to become trapped in gluten webs which can result in better volume and texture. It also can diminish nutritional value and can interfere with bacteria development when working with wild yeast and starters. 

Enriched Flour

Enriched flour is flour that has been supplemented with conditioners to increase gluten production and improve overall baked good quality. Millers add potassium bromate, ascorbic acid, and diastase to the newly milled flour. A flour with potassium bromate added can also be called “bromated” and it’s a chemical that has been banned in Canada and Europe because it’s now considered carcinogenic. Ascorbic acid is added to improve and strengthen gluten, and diastase is an enzyme that is naturally occurring in flour, but is damaged during milling so it often gets added back in. 

Whether you decide to use bleached and enriched flour is a choice entirely up to you, as bleached and enriched flours are often cheaper. I personally like to use flours that are not bleached and enriched. Whatever you decide, it’s important to remember that bleaching and enriching may affect the quality of your baked goods and bleached flour should not be used when working with wild yeast applications, like sourdough. 

How do I pick the right flour? and some practical applications

If you are a casual baker, sticking to the occasional cookie and brownie, all-purpose flour will usually be sufficient for you. It’s nice to keep a box of cake flour around for the cake or cookie recipe you will stumble upon that calls for it. If you are dabbling in any sort of bread baking, I would also recommend keeping bread flour on hand. You will definitely need it. 

Find a brand or two that you like and stick with it. I prefer King Arthur Flour. They always produce high-quality flour, don’t bleach or enrich their products, and include the protein content right on the label so I always know what I’m working with. I also like White Lily flour, which has a bit lower protein levels, for things like cakes and biscuits. 

If you purchase whole wheat flour and don’t use it on a regular basis, store it in your freezer. Whole wheat flour contains the wheat germ, which contains fat and can go rancid if left in the pantry for long periods of time. 

To sift or not to sift? I strongly encourage sifting when you are using cake flour or cocoa powder. The high starch content in both of these causes little clumps that are hard to break up without sifting. Otherwise, you probably don’t need to go through all the trouble of sifting. Just take a fork and give your flour a quick fluff if it looks a little clumpy.

Consider your desired results when selecting a flour. Do you want strong gluten structure? Do you want a soft and tender crumb? Decide what role you need the flour to play in your recipe and choose accordingly. 

I know this was an exceptionally long read so congratulations for making it all the way through! I hope that you learned a few things that will help in your future baking endeavors. Please comment any other questions you may have.

PistachioRoseWhole.jpg


Classic Chocolate Cake with Chocolate Milk Swiss Meringue Buttercream

I spent this past weekend in Knoxville drinking wine on front porches (and huddled around fires) and soaking up all the fall weather that I could. The official purpose of my trip was to help out with a Side by Side wine dinner some friends were hosting. It was a private dinner perched atop an East Tennessee hillside, with sprawling views of the city, a picturesque backdrop for one of the most beautiful dinners I’ve ever been a part of. I spent the weekend hand rolling agnolottis, singing karaoke, having drinks with one of the most prolific food writers around, and drinking 1995 vouvray. It’s been a long time since I’ve had friends that felt more like family and every time I leave Knoxville I start thinking about my next excuse to return.

Recently, I’ve been trying to shift my mindset from apprehension to gratitude. There has been a lot of transition in leaving a full-time career to pursue a future in food writing and my day-to-day has taken some getting used to. Having to manage my time and discipline myself to put in the work, whether in the kitchen or at the computer, has challenged me in ways I didn’t anticipate. Sometimes I feel like I’ve been working all day and still don’t have anything to show for it and I often find myself holding a tight grasp to the “someday”, looking forward to the day when I see a paycheck, my name on a byline, or my own book in my hands. Don’t get me wrong, it’s great that I have a goal to push towards on the days when I feel like I don’t know what I’m doing, but I’m realizing that I also don’t want to miss the time I have right now. I’m trying to view my days as flexible instead of empty, grateful that I am able to take a weekend in Knoxville or that I have the time to make a birthday cake, like this one, for a sweet friend. These are the times I want to make the most of.

Cake3.jpg

All of that being said, let’s be grateful for whatever season we’re in and let’s chat about Swiss meringue buttercream. I have never been a fan of traditional American buttercream, it’s a little too sweet for me and I don’t like its gritty texture. During culinary school, however, I discovered an entire world of buttercreams. Swiss buttercream is one of the easier buttercreams to execute and its silky smooth texture makes it one of the best for frosting layer cakes. You begin by heating egg whites and sugar over a double boiler, stirring frequently to make sure that you don’t end up with chunks of cooked egg whites because that’s gross. You’re going to heat the mixture to about 160 degrees F (feel free to use a candy thermometer if that floats your boat), but I find it’s easiest to just watch for the sugar to dissolved. The mixture should be warm to the touch and you should be able to rub a little between your fingers without feeling any sugar crystals. You will then transfer the mixture to the bowl of a stand mixer with a whisk attachment and beat it until it is stiff and glossy and room temperature. This is really important because your meringue and your butter need to be the same temperature or you will either have a chunky mess or a liquid mess-either way, a mess. With the mixer on medium high speed, add the butter piece by piece. As soon as the butter is completely added, switch from the whisk attachment to the paddle attachment and beat until smooth. At one point, your buttercream may look a little curdled and you may think it’s about to break. This is okay, as you continue to beat it, it will thicken up and start to take on that voluptuous buttercream shape. If it looks a little liquidy after you’ve added all the butter, pop the entire bowl into the fridge for a few minutes to cool it off and then try mixing it again. Because of all the butter in this recipe, when you add the melted chocolate, this buttercream tastes like a big glass of Ovaltine and takes on an ultra smooth consistency, perfect for cake swooping.

Chocolate Olive Oil Cake 

Yield: 1-1/2 sheet pan or 3-8” cake layers or 6-5” cake layers

Adapted from Ina Garten


Ingredients: 

1 3/4 cup all purpose flour

3/4 cup cocoa powder, sifted

2 cup sugar

2 tsp. baking powder

1 tsp. baking soda

1 tsp. salt 

1 cup buttermilk, room temperature

1/2 cup olive oil 

1 T vanilla extract

2 eggs, room temperature 

1 cup brewed coffee, warm 

Procedure:

  1. Preheat oven to 350 degrees. Coat pan with cooking spray and line with parchment paper.

  2. In a medium bowl, whisk together flour, cocoa powder, sugar, baking powder, baking soda, and salt.

  3. In a large measuring cup, whisk together buttermilk, olive oil, eggs, and vanilla. Add wet ingredients to dry ingredients and whisk until no lumps or flour streaks remain. Whisk in warm coffee until homogenized.

  4. Divide and/or pour batter into your prepared cake pans. Baking times will vary depending on the size of your pans. For a 1/2 sheet pan, I baked the cake for 7 minutes, rotated it, and baked for another 10-12 minutes. For 8” cake pans, I would recommend baking for 12 minutes, rotating, and then another 12 minutes, adding more time if needed. You will know that the cake is done when the top springs back when touched and the edges begin to pull slightly away from the sides of the pan.

  5. Remove from oven and let cool completely. Slice and layer as desired!


Cake10.jpg

Chocolate Milk Swiss Meringue Buttercream

Ingredients: 

115 g egg whites

230 g sugar

345 g unsalted butter, room temperature

1 tsp vanilla extract

Pinch of salt

4 oz bittersweet chocolate


Procedure: 

  1. Create a double boiler, using a heat-proof bowl and a medium saucepan. Combine egg whites and sugar in the bowl and heat, stirring frequently, until the temperature reaches 160 degrees or mixture is hot to the touch. Make sure that all of the sugar crystals are dissolved.

  2. Transfer mixture to the bowl of a standing mixer fitted with the whisk attachment and whip on medium-high speed until completely cool. You should have a stiff, glossy meringue that forms peaks when the whisk is lifted out of it.

  3. With the mixer on medium-high speed, add butter, 1 tablespoon at a time, making sure each piece is incorporated before adding the next. It is very important at this point that the butter and the meringue are the same temperature before adding the butter. As soon as you add the last of the butter, switch from the whisk attachment to the paddle attachment and beat on high speed until mixture is smooth, light, and fluffy. It should look like a familiar buttercream at this point.

  4. Melt chocolate over a double boiler and then cool to room temperature.

  5. With the mixer on low speed, add melted chocolate, vanilla, and salt and mix until combined. Scrape down the sides of the bowl and use a rubber spatula to fold buttercream, ensuring that everything is evenly mixed.

*Note: Measuring egg whites without a kitchen scale is a pain in the butt, so you will notice that this recipe is written using metric measurements. If you’re interested in why I think all baking should be done using a kitchen scale, you can read more here. If you don’t have a kitchen scale and have your heart set on making this Swiss buttercream, there is a bit a of a workaround. An average large egg weighs about 50 grams and each white weighs about 30 grams. You can do a little mental math to divide 30 into 115 and then use the number of egg whites that will get you closest. Also, one stick of butter weights about 113 grams and a cup of sugar weighs about 200 grams. If you are feeling like a real arithmetic whiz, you can scale this recipe up or down fairly easily. Swiss Meringue buttercream always uses 1 part egg whites, 2 parts sugar, and 3 parts butter. Feel free to get a little wild!