Saffron and Dulce de Leche Shortbread Cookies

closeup5.jpg

In 11th grade, my Spanish teacher would bring little dulce de leche cookies to class on Fridays. They were a generic brand with a purple design splashed on the wrapping and they were reminiscent of fudge stripes, but with dulce de leche in place of chocolate. The entire class eagerly looked forward to those Fridays, when Señora Batista would pull a flimsy plastic tray from inside a desk drawer and rows of cookies, lined up like little soldiers, made their way around the classroom. I haven’t had a dulce de leche cookie like that since the day of my Spanish final, and no amount of googling has led me to those cookies, but its okay because I made my own.

Remember back in January when I set some New Year’s goals for my kitchen? I challenged myself to develop a new cookie recipe every month in 2020 and in an effort to branch out, we decided to play with shortbread cookies this month. This is a very basic shortbread cookie dough, with saffron that I brought back from Barcelona for a little bit of a licorice flavor. (If you don’t have saffron or don’t really like it, feel free to leave it out, but I liked the elegance it brought to an otherwise ordinary cookie base.) The dough is rolled out, chilled, and baked and then dunked/drizzled/dipped in dulce de leche. They are a bit more elevated than those cookies from my high school memories and feel a bit more adult. I love them.

shortbreaddough3.jpg

On making dulce de leche

If you’ve never made dulce de leche at home before, today is a great day to try it out. It’s a pretty easy process and homemade dulce de leche is a welcome addition to almost any dessert. This recipe will make far more dulce de leche than you need for the cookies, so transfer it to a deli container or glass jar and keep it in your fridge for drizzling on ice cream. (or use the leftovers to make this Russian honey cake!)

All you need is a can of sweetened condensed milk and a pot a water. Easy peasy. A few things to remember, though. Make sure to remove the paper label from the outside of the can before you start simmering it and let the can cool COMPLETELY (like for a few hours at minimum) before you open it. If it’s too hot, the pressure will cause the can to explode and that would be dangerous and messy.

shortbreaddough4.jpg

Saffron and Dulce de Leche Shortbread Cookies

styled8.jpg

Yield: about 24 cookies

shortbread recipe adapted from Alison Roman

Ingredients

for the shortbread cookies

1 cup + 2 T unsalted butter (2 1/4 sticks), cold and cubed

1/2 cup (100 g) granulated sugar

1/4 cup (50 g) light brown sugar

1 tsp vanilla extract 

1 tsp saffron threads

1/2 tsp orange zest

2 cups (285 g) all purpose flour 

1 tsp kosher salt

for the dulce de leche

1- 14 oz can sweetened condensed milk

Procedure

to make the dulce de leche:

  1. Fill a large pot with water and set over medium heat. Remove the label from the can of sweetened condensed milk and set the can into the pot of water. Add more water, if needed, until the can is completely submerged. 

  2. Bring water to a slow boil, then decrease the heat. Simmer for two hours, adding more water as needed to ensure that the can remains completely submerged. 

  3. After two hours of simmering, carefully remove can from the pot and set on a kitchen towel. Let the can cool completely. (This is so important because if you open it while its still hot, it can explode so be very careful!)

  4. When the can is completely cool, open it and transfer dulce de leche to a sealed container. It will keep in the refrigerator up to a week, simply pop it in the microwave for 30 seconds or so to loosen it before use. 

to make the shortbread: 

  1. Put butter in the bowl of a stand mixer fitted with the paddle attachment and beat for 30 seconds to a minute to soften. Scrape down the sides of the bowl, add sugar, brown sugar, vanilla extract, orange zest, and saffron threads. Beat on medium-high speed for 2-4 minutes, until the mixture is light and fluffy. Scrape down the sides of the bowl again. 

  2. With the mixer on low speed, gradually add the flour and salt and mix until just combined. 

  3. Turn the dough out onto a well-floured work surface and pat gently to form a rectangular block. Wrap the dough in plastic wrap and refrigerate for at least an hour, preferably overnight. 

  4. After chilling, remove dough from the refrigerator and let rest on the counter for 30 minutes. Unwrap, and place on a well-floured work surface. Roll the dough out until it reaches 1/4” in thickness. Use a round cookie cutter or the rim of a drinking glass to punch out cookies and place them on a parchment-lined baking sheet. Transfer cookies to the freezer while the oven preheats. 

  5. Preheat the oven to 350°F. When the oven is ready, remove cookies from the freezer and bake for 10 minutes, rotating the pan halfway through the baking time. When the cookies are golden brown on the edges, remove from the oven and allow to cool completely on the pan. Transfer to a cooling rack. 

  6. While the cookies are cooling, prepare the dulce de leche. If chilled, reheat in the microwave in 30-second intervals until the dulce de leche is loosened, liquid consistency, and at room temperature. 

  7. Dip each cookie into the dulce de leche or transfer dulce de leche to a piping bag and drizzle over each cookie. Place cookies on a piece of parchment paper to set and then enjoy!

more recipes like this

plated1.jpg

fig butter and blue cheese rugelach

HoneyCakeNewEdit.jpg

russian honey cake

newedit1.jpg

espresso chiffon layer cake with salted caramel and ganache buttercream

Print Friendly and PDF

Pesto-Filled Challah Snails

styled2.jpg

Last fall, I started making challah on a bi-weekly basis. I tried different recipes, different seed toppings, an array of fillings all in the name of recipe development. We had a continual rotation of challah in the freezer, which I quickly learned is a fantastic hosting move. You never know when a guest or friend is going to drop in and having fresh challah on hand is always a win. I tried challah recipes with honey and sugar, debated the differences between olive oil and neutral oil (both are great) and practiced every type of challah braiding technique I could find on the internet. After months of testing, I’ve finally perfected my own challah recipe and I’m sharing it with you, along with a very versatile pesto filling and some shaping ideas today.

First, let’s talk about challah. Challah is an bread, enriched with fat, sugar, and lots of eggs. It’s similar to a brioche in ingredients and categorization, but leans a little more toward the savory side. Challah bread is synonymous with Jewish culture and cuisine and is often eaten as part of special celebrations or rituals. (Once, while at the restaurant, we made a big, giant challah loaf for a 200 person wedding. It was very impressive.) Because the dough is so smooth and easy to work with, it lends itself well to fun shaping and braiding. You can use challah dough for pretty much anything you want, you can make and bake a batch in one day (no overnight proofing needed), and you can fill it and top it with whatever your heart desires.

threesnails3.jpg

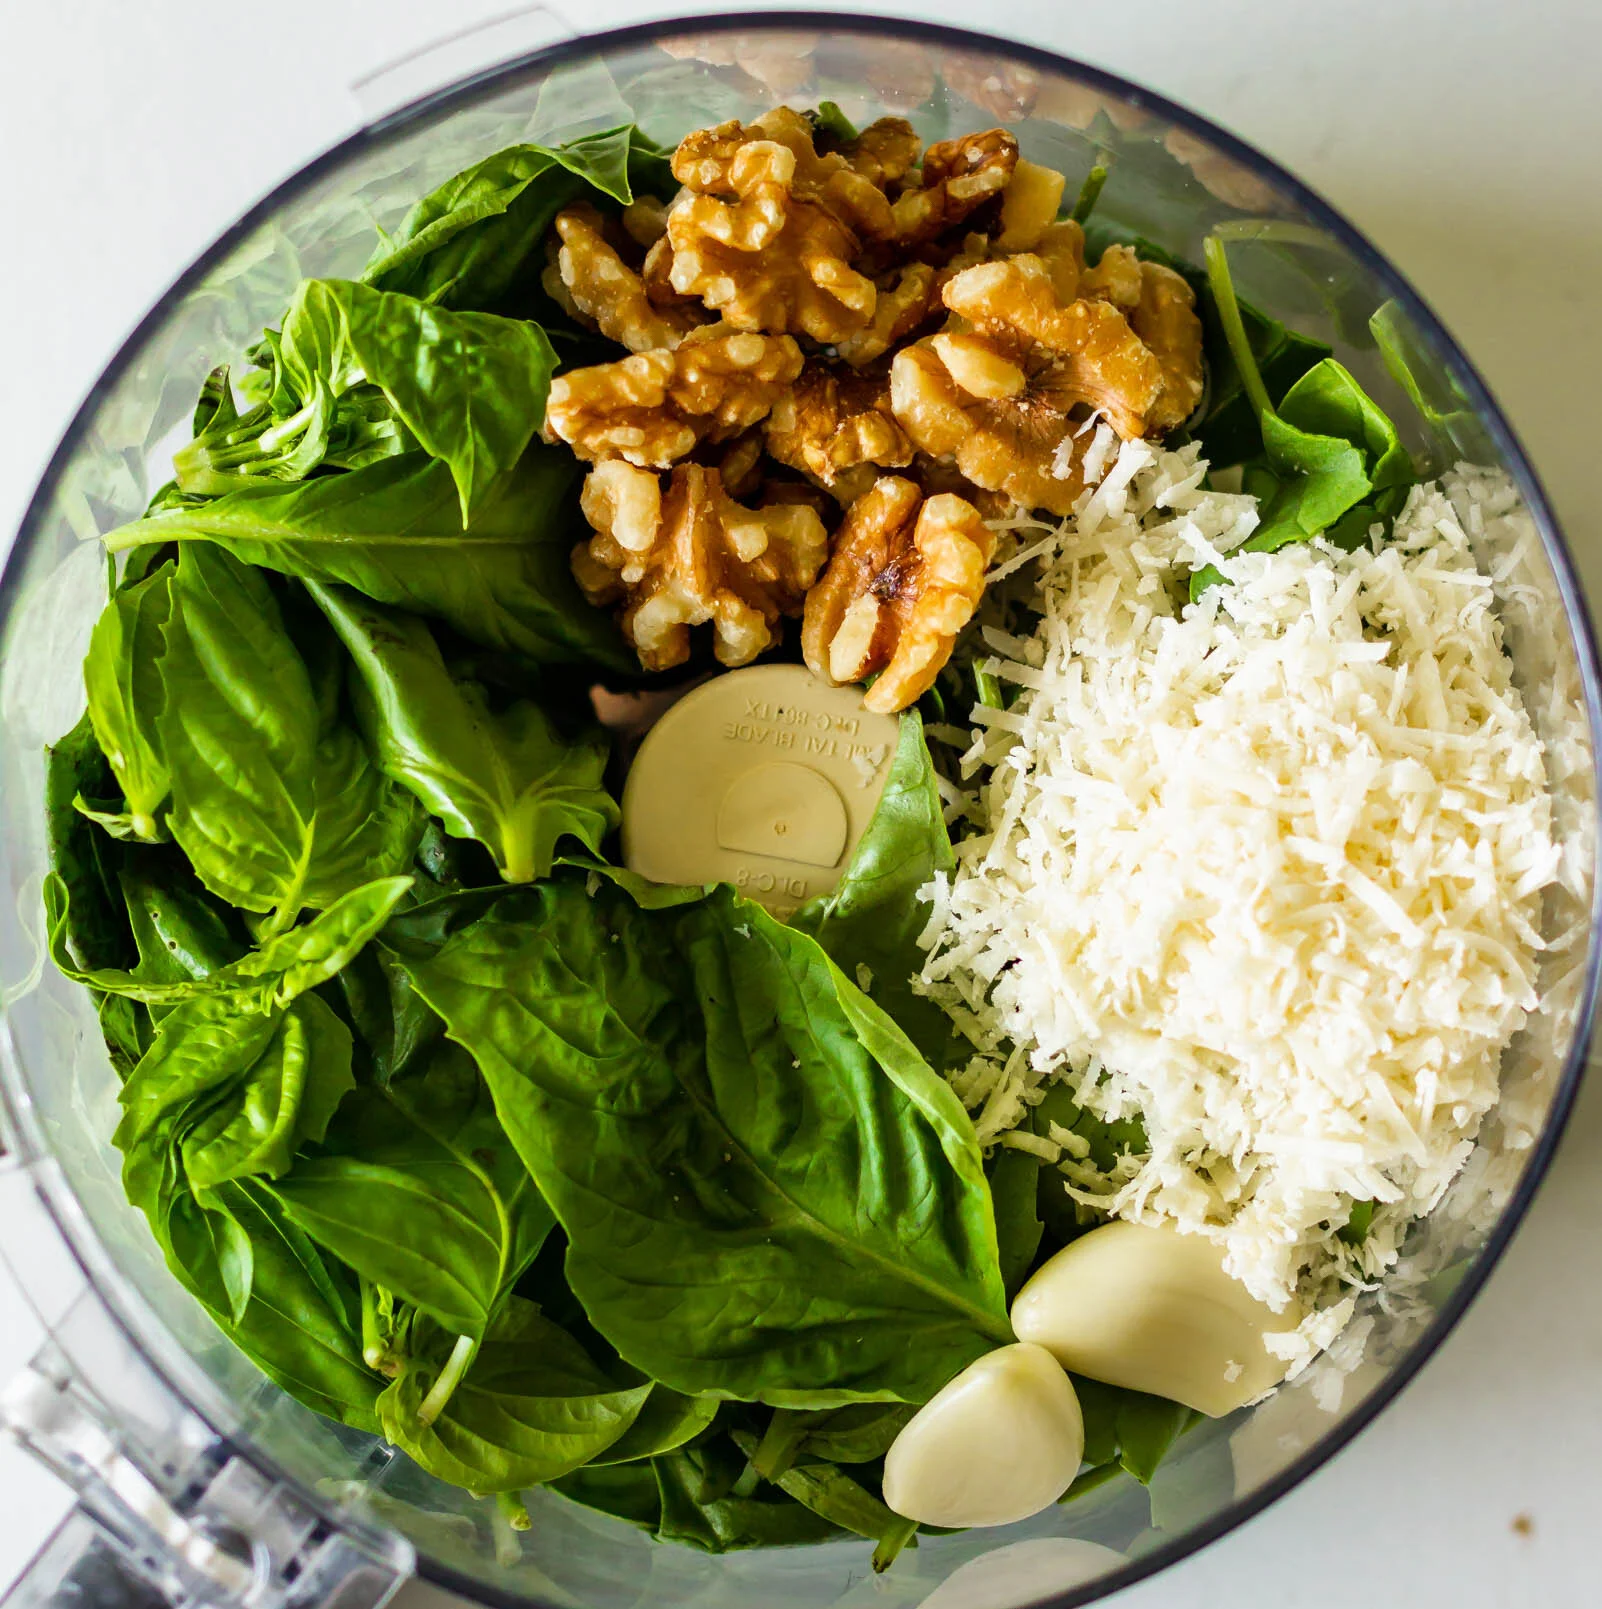
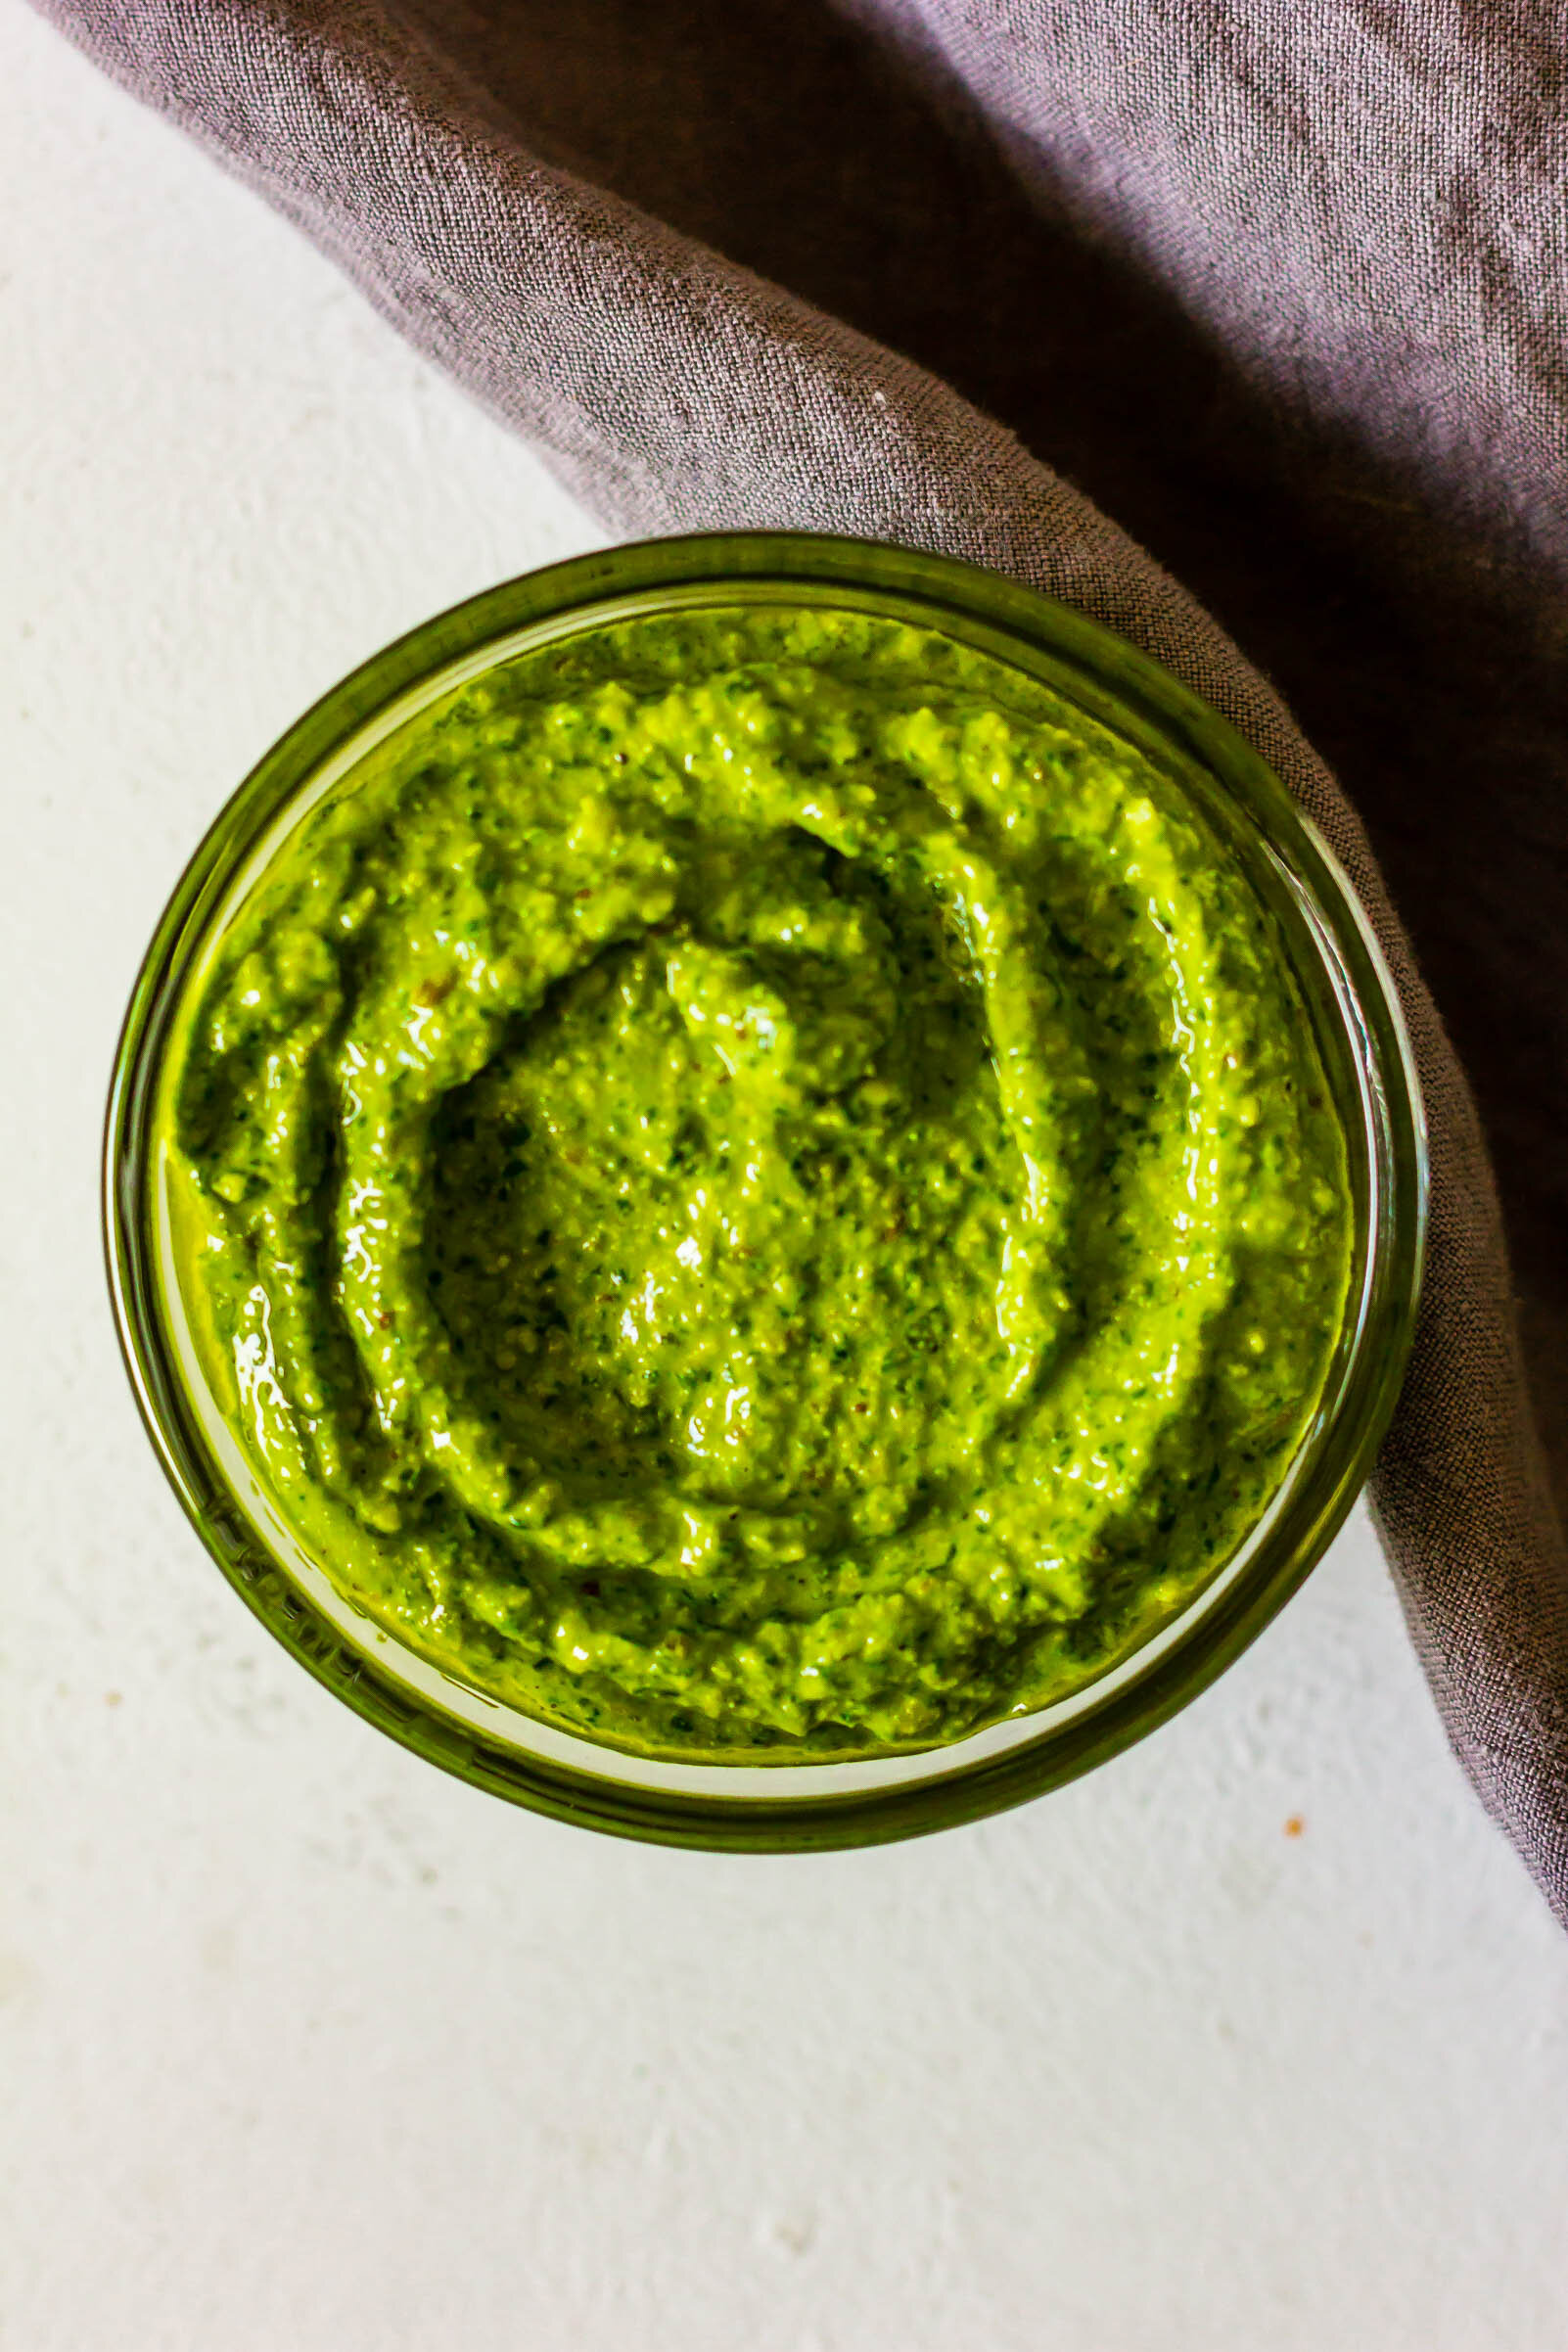
Now, let’s move on to pesto. For me, making pesto is a personal experience and should not be made with a recipe. It’s more intuitive than scripted and really it should be made with anything and everything that you have on hand. So instead of providing you with a very specific pesto prescription, I’m going to give you some general guidelines so that you are able to make a great pesto to suit any mood.

I normally follow this idea when pesto-ing:

-about 4 cups of greens (4 large handfuls)—I use spinach, kale, arugula, basil, parsley…anything goes! For a more traditional pesto, try to use basil leaves as half of your green count. For this particular batch, I used half basil and half spinach.

-1-2 garlic cloves

-about 1/4 cup (a small handful) of nuts— pine nuts are traditional and make for a creamier pesto. Walnuts are my favorite, but you can use any nut that you have on hand. Kale and walnuts are the most popular pesto combination in our house.

-about 1/4 cup (another small handful) of freshly grated parmesan cheese

-lemon juice—either half of a large lemon, or a whole small lemon

-salt and pepper

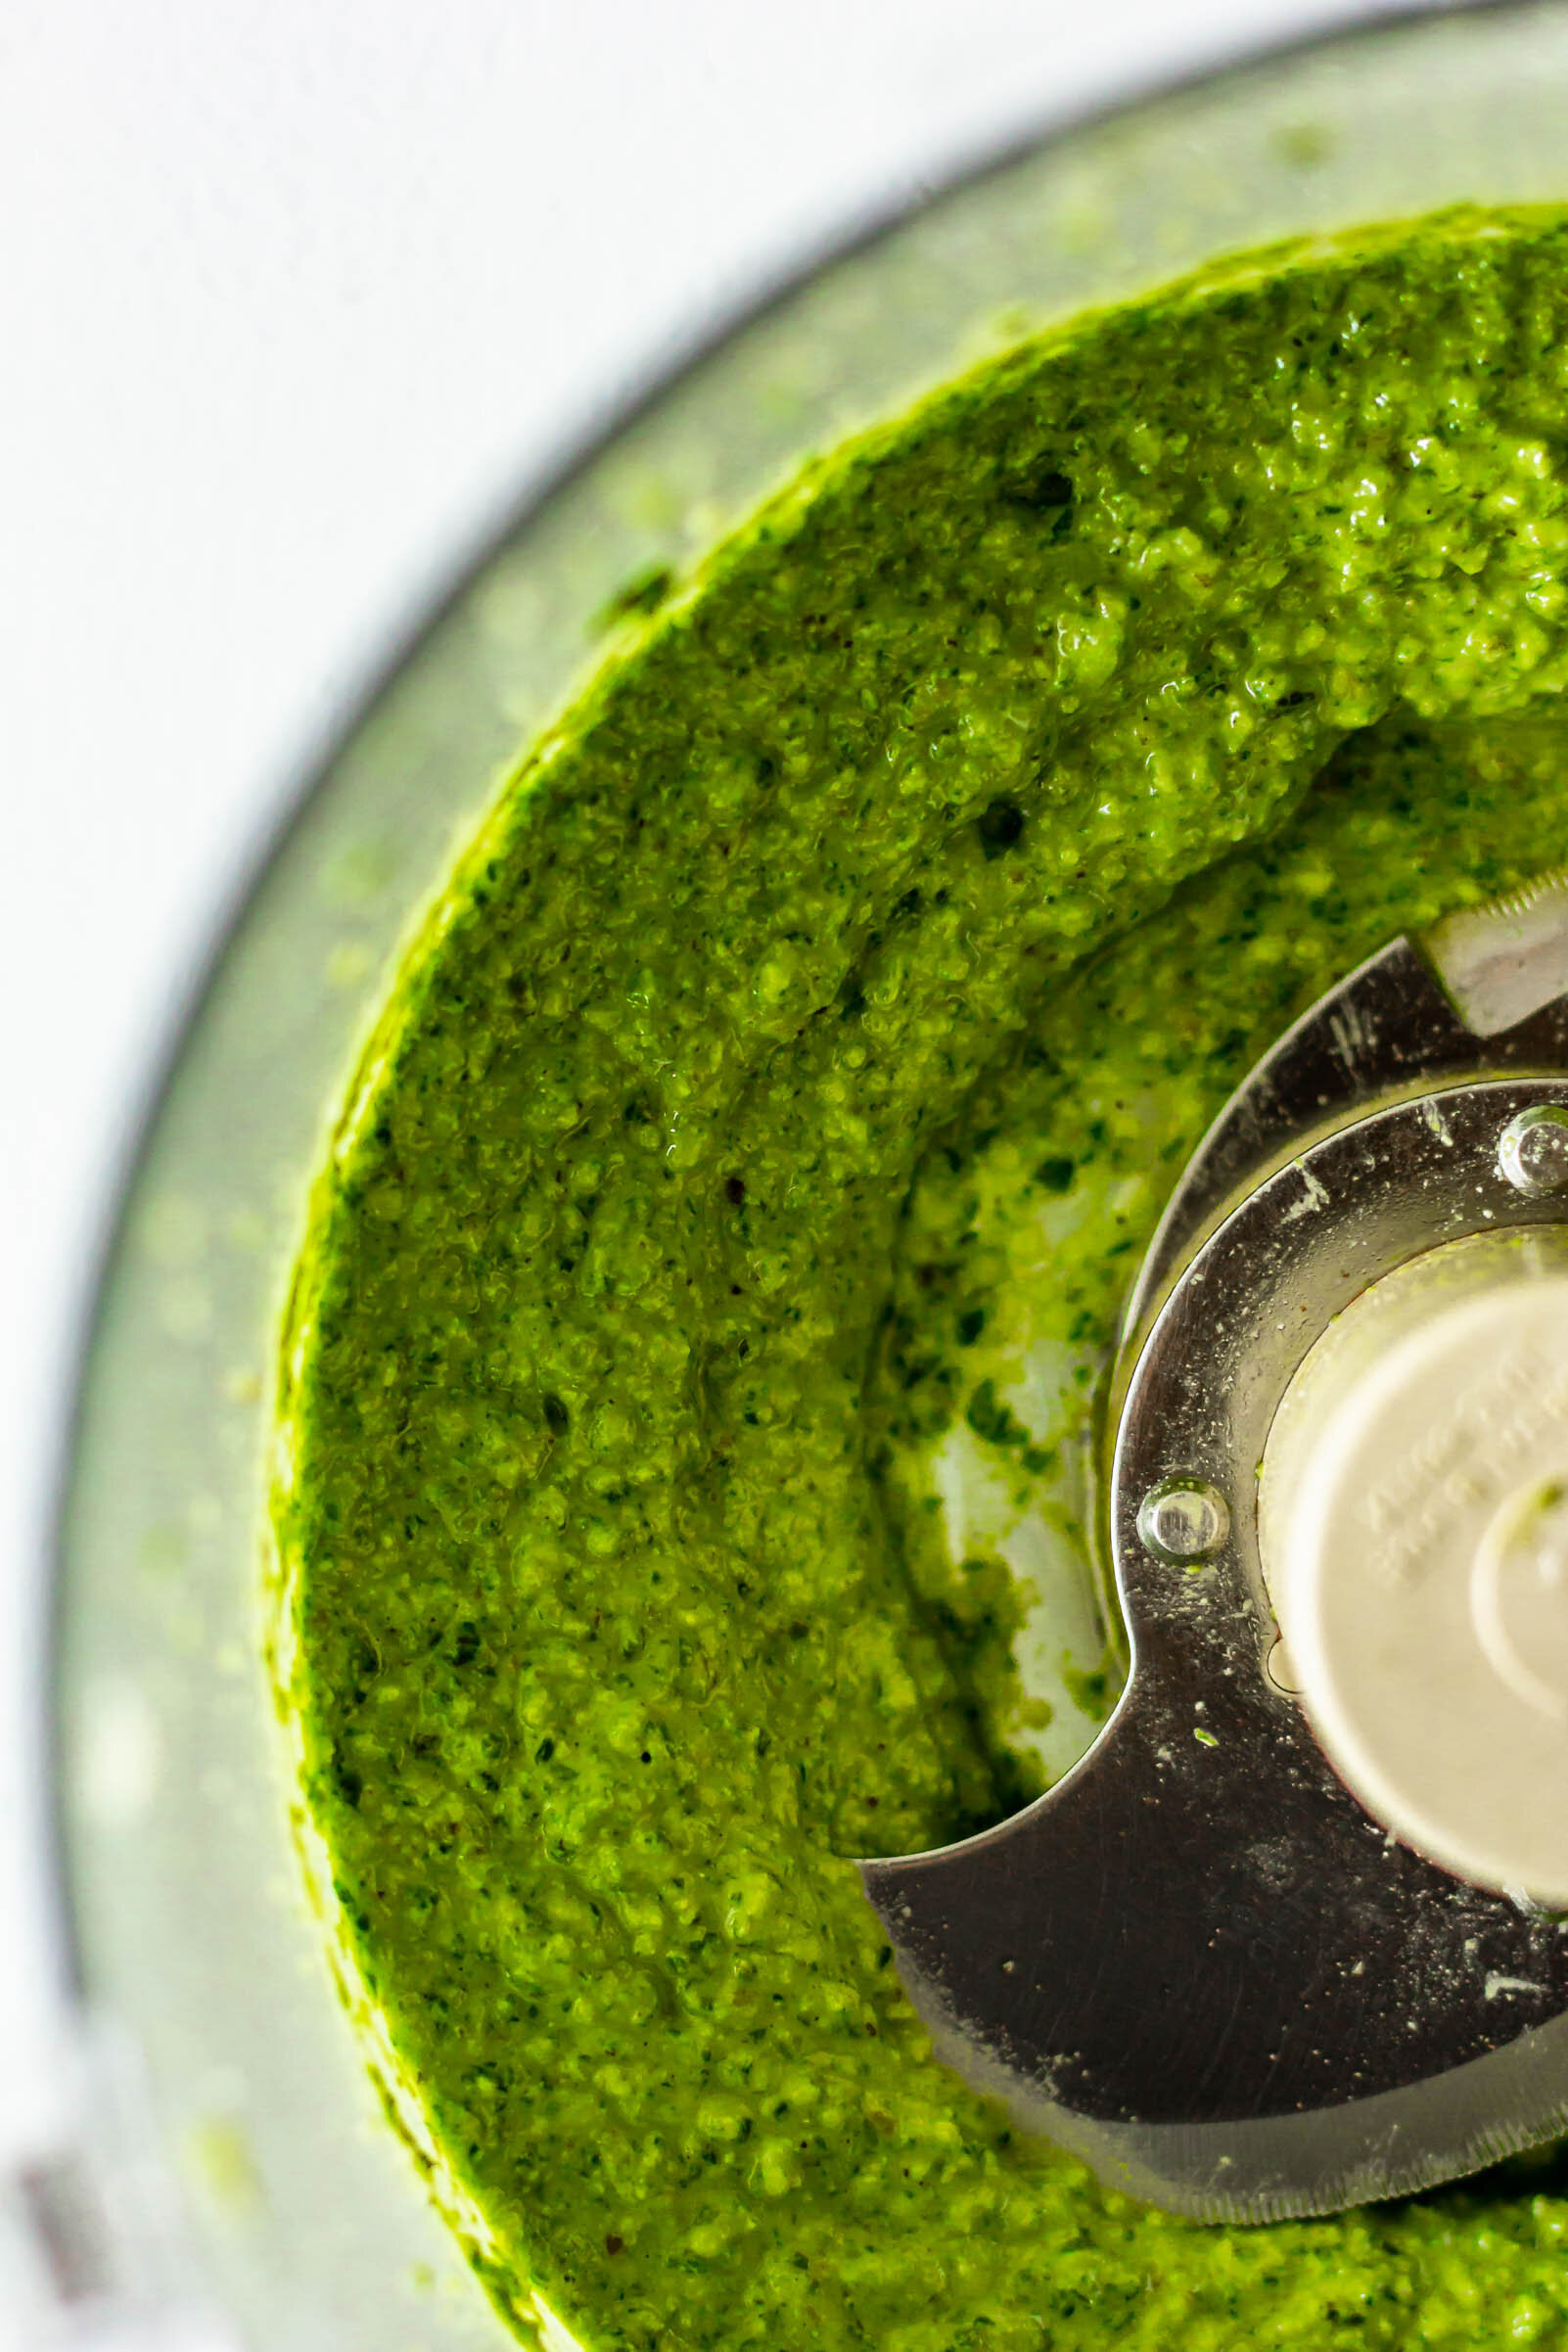
*Combine all of this in a food processor, pulsing until everything is broken down and a paste begins to form. With the food processor running, slowly stream in olive oil until the paste begins to loosen into a sauce. The consistency is up to you, but I usually use between 1/4-1/2 cup of olive oil. Taste and adjust by adding more salt, pepper, lemon juice.

My Favorite Challah 

Yield: 2 loaves

Ingredients: 

400 g (3 cups) all purpose flour

280 g (2 cups) bread flour

285 g (1 1/4 cups) warm water

2 tsp active dry yeast

2 whole eggs

1 egg yolk

110 g (1/3 cup) honey 

90 g (1/2 cup) oil, like avocado*

1 tbsp kosher salt 

  • more flour for dusting

  • one egg, for egg wash

  • optional: flaky salt, za’atar, poppy seeds, everything but the bagel seasoning, for topping

Procedure: 

  1. In a large mixing bowl, combine 1/2 cup water and yeast. Stir and let rest for about 5 minutes, until foamy. 

  2. When yeast is ready, add eggs, egg yolks, honey, oil, and the rest of the water. Whisk to combine. 

  3. Add all purpose flour, bread flour, and salt to the bowl and use a wooden spoon or a rubber spatula to stir until all of the flour has been moistened and a shaggy dough begins to form. 

  4. Turn dough onto lightly floured work surface and then sprinkle the top of the dough with a little more flour. Knead dough on the countertop for 3-5 minutes, until smooth and the dough passes the window pane test.

  5. Wipe a small amount of oil around a large bowl. Place the dough into the bowl, cover with plastic wrap and let proof for 1-1 1/2 hours, until the dough is doubled in size. 

  6. When proofed, punch the dough down and turn onto a lightly floured work surface. Use a bench scraper and a kitchen scale to divide the dough into eight equal pieces. Shape dough into small rounds, cover with plastic wrap and let rest for 20 minutes. 

  7. Shape each dough round into a rope, about 8” in length. You should now have eight ropes, four for each challah loaf.

  8. These are the instructions for shaping a four-strand challah braid. If you want to do a three or five strand braid, just divide your dough into the appropriate number of pieces. Shape the challah loaves: I started to type out all of the steps for braiding, but I find that it is SO MUCH EASIER to watch a video that shows exactly where each strand should go. Here’s a great one that I’ve used often.

  9. Place braided challah loaves on a parchment lined baking sheet. Cover with plastic wrap and let rise for another 30-45 minutes. 

  10. When there is 10 minutes left in the final proofing time, preheat the oven to 375°F. Brush the tops of the challah with egg wash and sprinkle with salt, poppy seeds, za’atar, etc. 

  11. Bake for 20 minutes, rotate the pans, and bake for another 15 minutes until challah is deeply golden brown. 

Pesto Challah Snails

Yield: 3 large snails

Ingredients:

1 batch challah dough, recipe above

1 cup fresh pesto

egg wash, for brushing

grated parmesan cheese, optional

Procedure:

  1. Follow challah steps #1-5 in the recipe above.

  2. After the bulk proof, turn the challah dough out onto a lightly-floured work surface and divide into three equal parts.

  3. Working with one piece of dough at a time, roll out into a 12x10” rectangle, about 1/2” in thickness. Use a spoon or an offset spatula to spread 1/4 cup of pesto in an even layer over the dough, reaching all the way to the edges. Then, starting with the horizontal edge in front of you, begin to roll the dough into a tight spiral to form a log and pinch the edges to seal. Take one end of the log and begin twisting it into itself to form a spiral and tuck the edge underneath. Transfer to a parchment-lined baking. sheet, cover, and let rest for 30 more minutes. Repeat with the other two pieces of dough.

  4. Preheat oven to 375° F. When the spirals are finished resting, brush the tops with a little beaten egg and sprinkle with parmesan cheese. Bake for 30-35 minutes, rotating the pans halfway through, until challah is deeply golden.

Print Friendly and PDF

Peanut Butter Oat Breakfast Bars

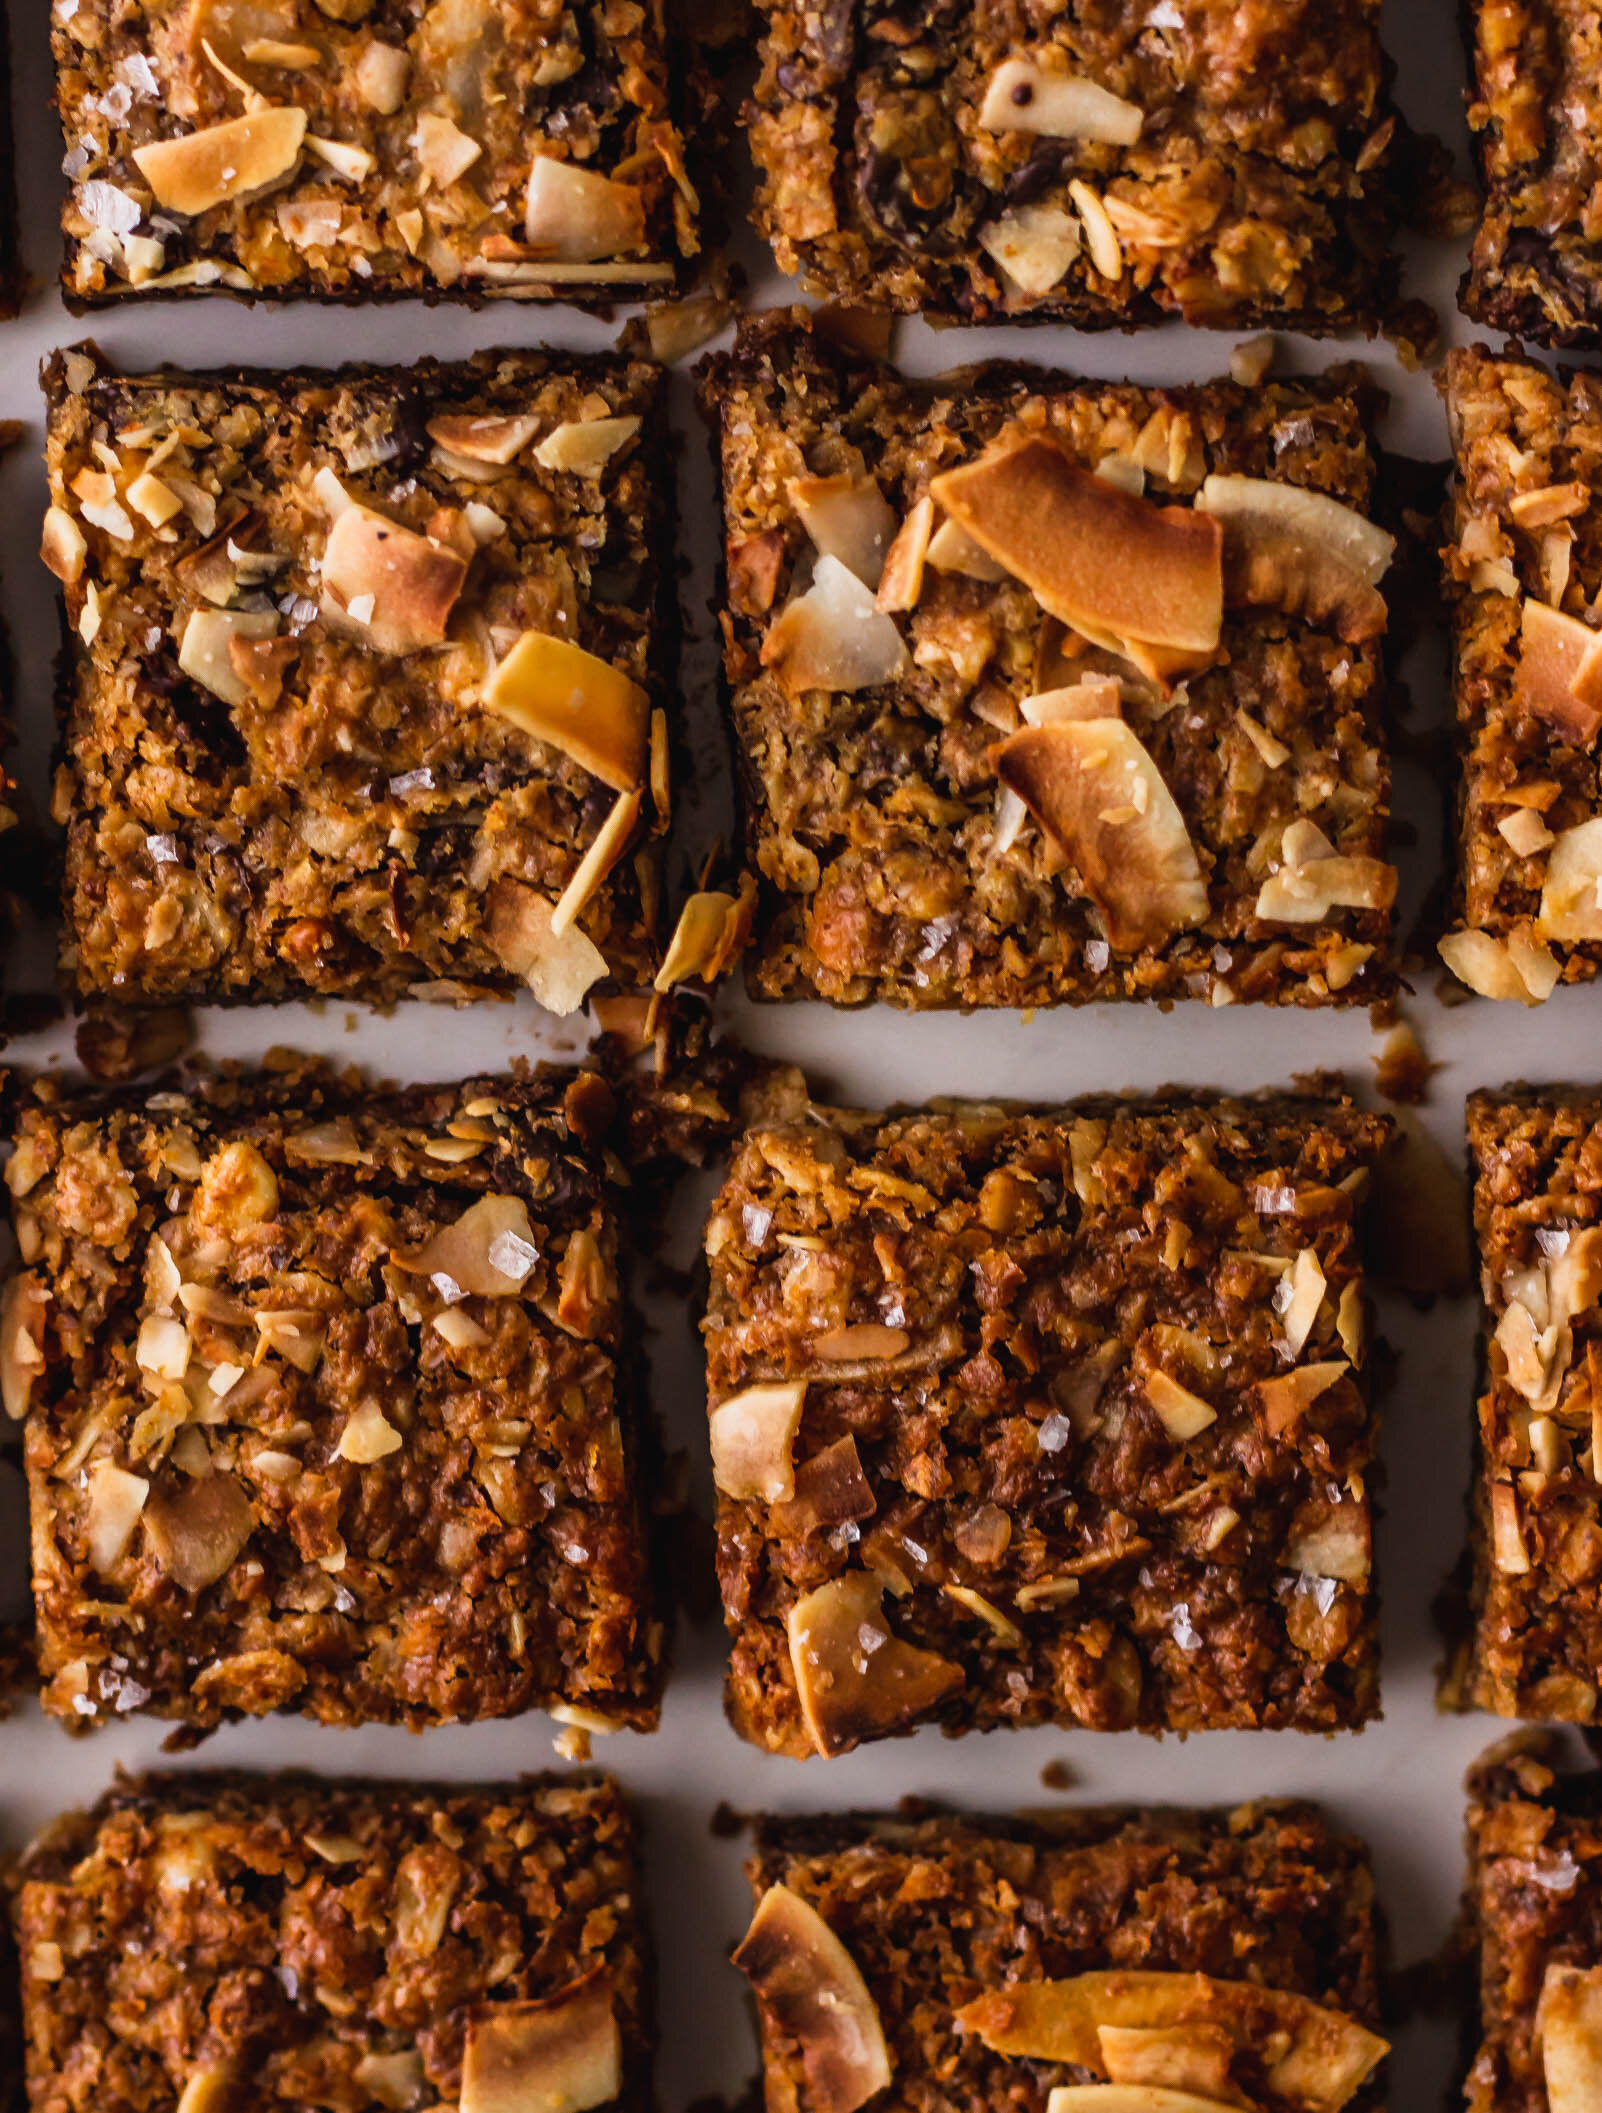
Gluten free, vegan peanut butter oat bars are great for breakfast or an afternoon snack. Filled with nuts, oats, and chocolate and topped with flaky salt, they are endlessly adaptable, healthy, and use ingredients you probably already have in your pantry.

closecorner2.jpg

I’m very picky when it comes to bakeries. A lot of American bakeries rely on sugar alone as flavor and, due to the volume of production, most treats are mediocre at best. That being said, there are a few bakeries who produce exceptional breads, pastries, and treats. They focus on quality over quantity and charge appropriately for their labor, allowing them to invest in skilled bakers and high-quality ingredients. Stopping by one of these rare bakery gems is an absolute delight. One of my very favorite bakeries is Wild Love Bakehouse in Knoxville, Tennessee. It’s a small cafe where natural light streams through the floor to ceiling windows, where you can watch the bakers knead and laminate dough through glass walls, where people gather at picnic tables watching kids run up and down the grassy lawn, where the coffee is always perfect and the croissants are always flaky. It’s a community spot through and through.

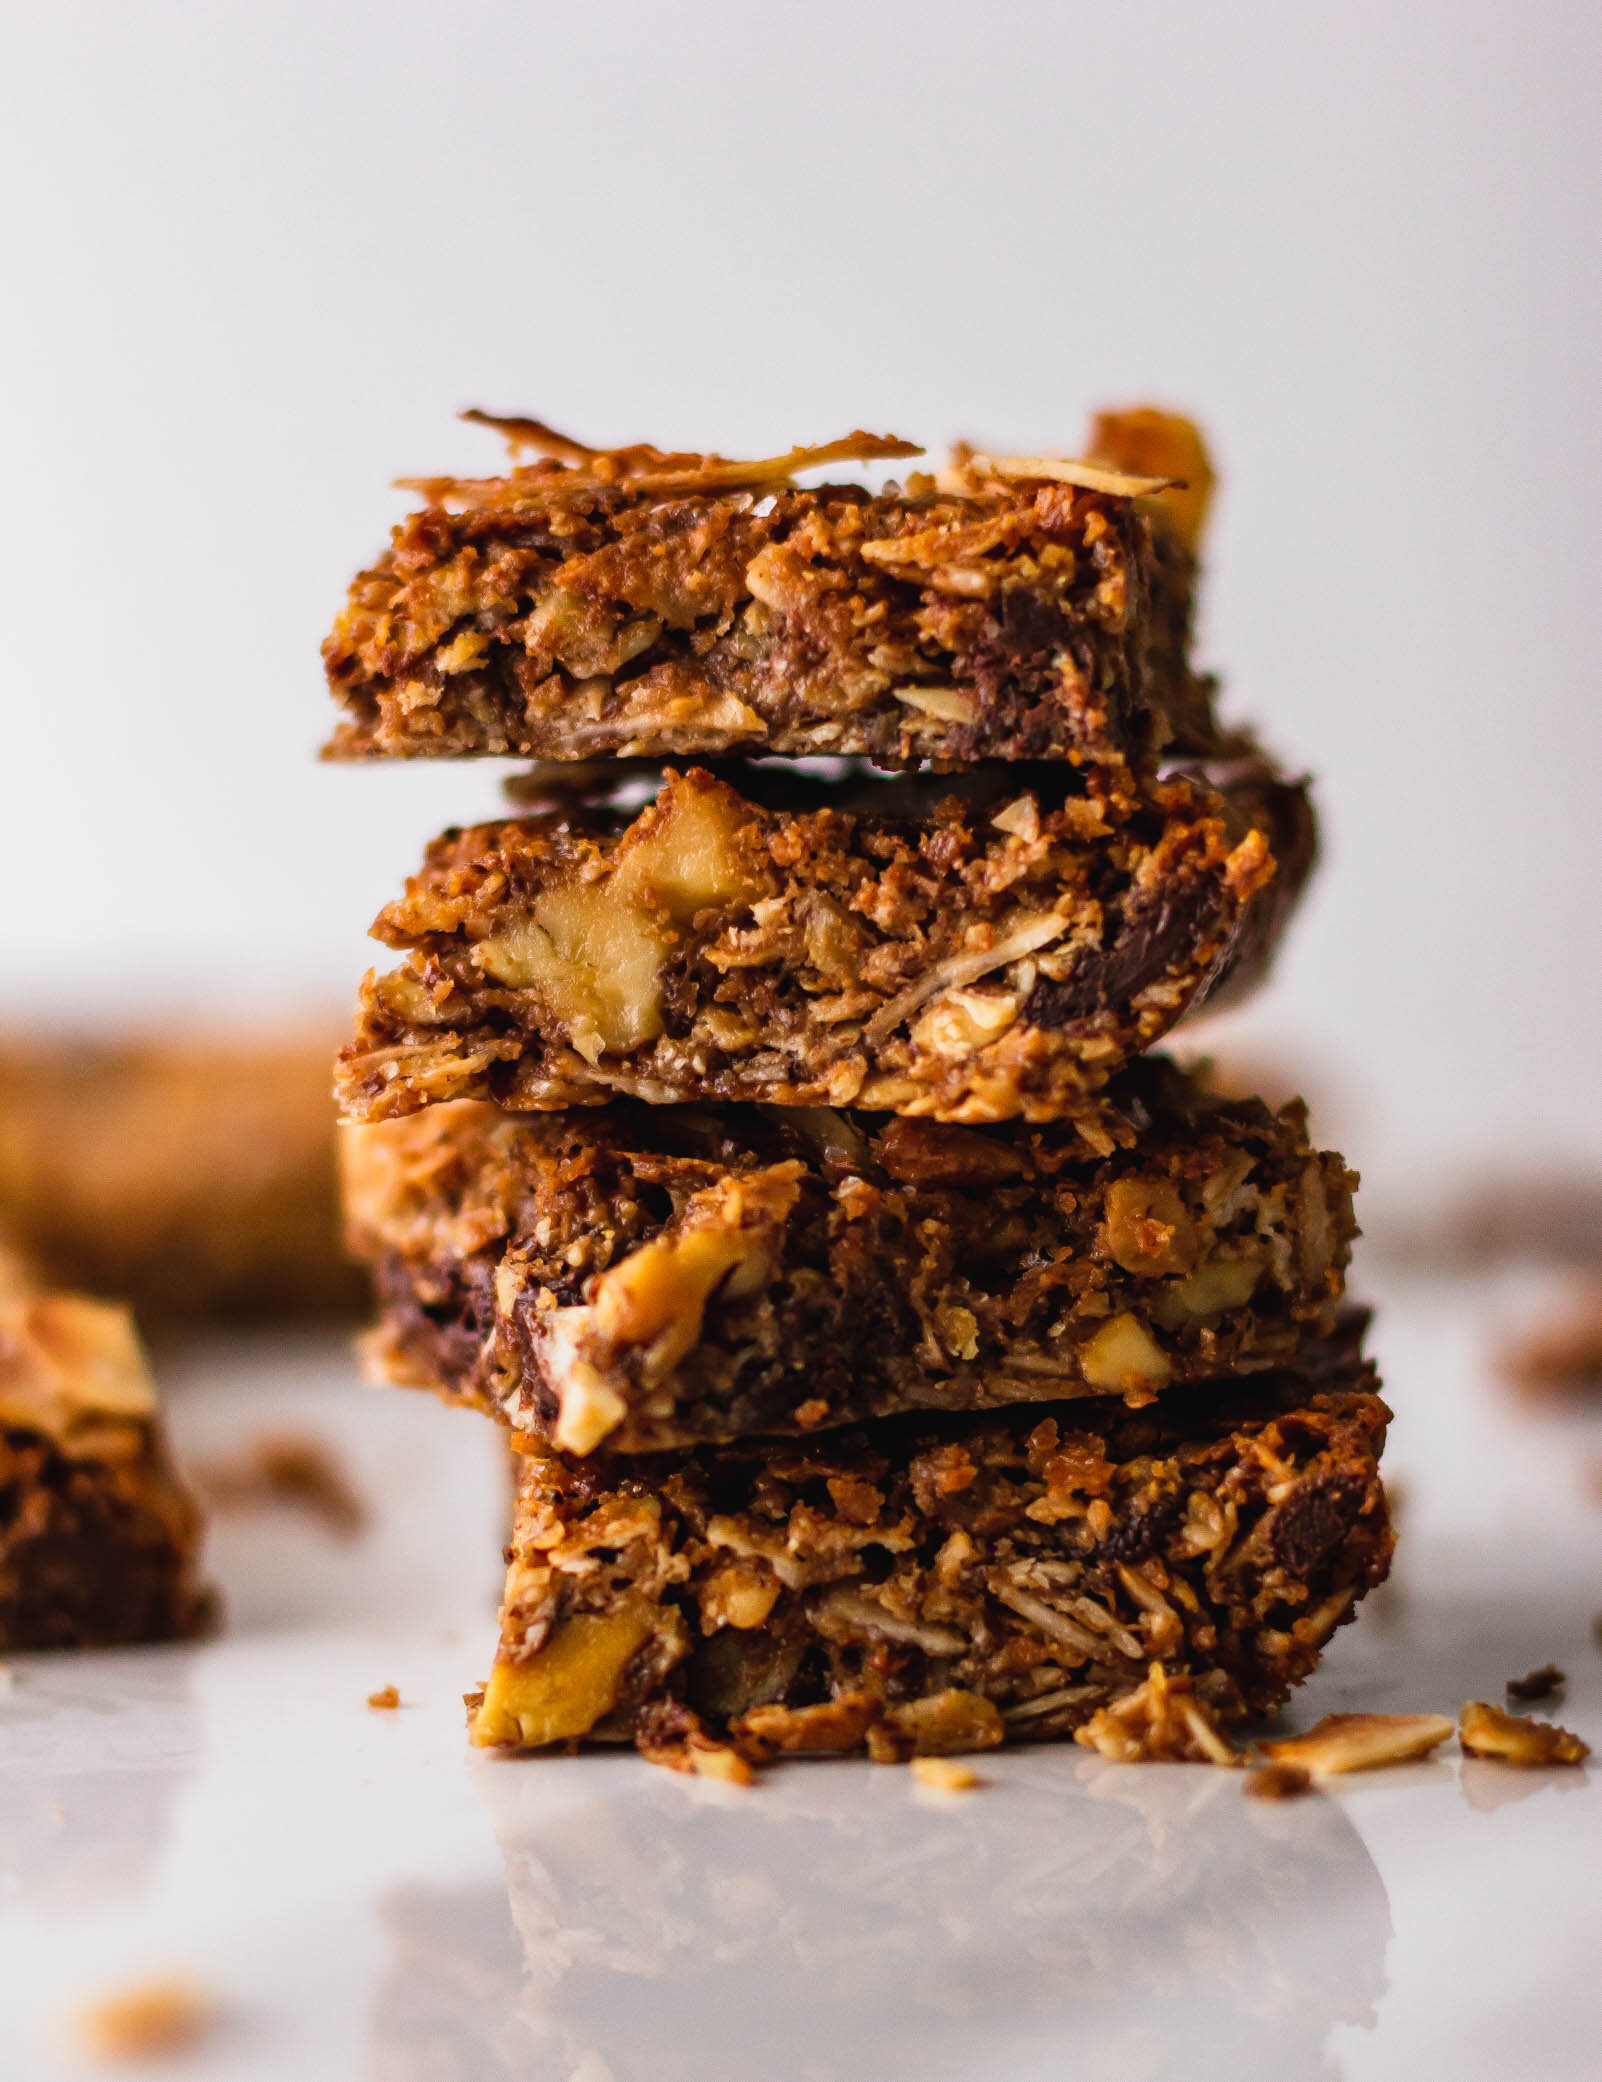
All summer, we would spend mornings before work or days off huddled around those picnic tables, drinking iced coffees and littering the table with croissant crumbs and Wild Love quickly became one of the friends I would miss upon my return to Florida. Everything that they make is great, from the chocolate croissants to the sausage biscuits, but it was their peanut butter oat bar that surprisingly stole the show. The peanut butter oat bar is the only gluten free baked good offered, so they sell out fast. They are thick squares, double the size of a brownie. Oats, nuts, and chocolate chips are bound together by peanut butter to create a cookie-like protein bar that will keep you full until lunch. And, of course, the tops are littered with a smattering of flaky salt, which you know if you’ve been around this blog for any amount of time is the fastest way to my heart.

singleslice4.jpg

making homemade granola bars

When I came back home to Florida and could no longer drive 3 minutes down the street for my peanut butter bar fix, I started working on my own. These can pass as breakfast or dessert, or both and will keep in the fridge for the whole week. If you are trying to stay away from refined sugars, try substituting coconut sugar for brown sugar. Feel free to make them your own, using whatever mix-ins you’d like, but make sure you don’t forget the salt! To make them vegan, just make sure to use vegan chocolate chips!

Yield: one 9x13" pan
Author: Anna Ramiz
Peanut Butter Oat Breakfast Bars

Peanut Butter Oat Breakfast Bars

Prep time: 15 MinCook time: 30 HourTotal time: 30 H & 15 M
Gluten free, vegan peanut butter oat bars are great for breakfast or an afternoon snack. Filled with nuts, oats, and chocolate and topped with flaky salt, they are endlessly adaptable, healthy, and use ingredients you probably already have in your pantry.

Ingredients

  • 1 3/4 cup rolled oats
  • 3/4 cup ground flaxseed
  • 1/2 tsp ground cinnamon
  • 1/2 tsp kosher salt
  • 1/3 cup light brown sugar*
  • 1/2 cup coconut oil, melted
  • 1/2 cup maple syrup
  • 1/3 cup almond butter
  • 1/3 cup peanut butter
  • 1 T vanilla extract
  • 1/2 cup walnuts, toasted
  • 1 cup dark chocolate pieces
  • 1/2 cup coconut chips, toasted

Instructions

  1. Preheat the oven to 350° F. Line a 9x13” baking dish with parchment leaving about an inch overhang and set aside.
  2. In the bowl of a food processor, combine 3/4 cups rolled oats and flaxseed. Pulse until oats are coarsely ground and resemble the consistency of bread crumbs. Transfer the mixture to a large bowl and add the remaining 1 cup whole rolled oats, cinnamon, and salt.
  3. Place chopped walnuts on a small baking sheet and toast for 5-7 minutes, until nutty and fragrant. In the last 2-3 minutes of toasting, add the coconut chips. Remove from the oven when everything is lightly browned and let cool while you mix the wet ingredients.
  4. In a medium bowl, combined melted coconut oil, maple syrup, brown sugar, vanilla extract, and nut butters. Whisk until smooth and homogenous.
  5. Pour combined wet ingredients into the dry ingredients and fold with a rubber spatula until well mixed and a crumbly batter has formed. Fold in the walnuts, toasted coconut, and chocolate.
  6. Pour the mixture into the prepared pan and use a rubber spatula or your hand to press down into an even layer. Bake for 25-30 minutes, rotating the pan halfway through the baking time, until golden brown. Remove from the oven, sprinkle with flaky salt, and let cool in the pan for at least an hour. (The longer you let them cool, the more likely they will hold together). If you want to speed this up, when the pan has cooled mostly, you can transfer it to the refrigerator.
  7. When you are ready to slice, grab the parchment paper sides and gently lift the bars out of the pan. Slice into even squares and share with a friend!

Notes:

If you are trying to stay away from refined sugars, try substituting coconut sugar for brown sugar.


To make these vegan, make sure to use vegan chocolate chips in place of regular chocolate chips.

Did you make this recipe?
Tag @gatheredatmytable on instagram and hashtag it #gatheredatmytable