

A Very Good At-Home Pizza Dough
/
For someone who makes it almost weekly, I get very grouchy about homemade pizza. Without a wood-burning pizza oven, it just is never the same as the good stuff you get at restaurants. Sure it’s easy and you can top it with whatever you like, but I’m almost always disappointed at the lack of charred edges and those dough bubbles created by the blast of hot air. Nevertheless, I press on and continue to make pizza at home, because in the grand scheme of things, it really isn’t bad.
I’ve struggled for the last few years to find a dough recipe that is better than and just-as-easy-as the refrigerated dough in the Publix bakery shelves. Every recipe that I’ve tried worth anything requires an overnight proof and I just am not put-together enough to think about what I want for dinner an entire day ahead. A lot of doughs come out too bread-y for my taste and my jaw gets sore chewing each slice. Some create a dough that more closely resembles a cracker. It’s been a rough time, y’all.

Yet, I’ve persevered and I’ve finally created a pizza dough that checks off all of my boxes. 1) It can be made same-day, though if you are exceptionally good at planning ahead, you can definitely cold-proof this overnight for a little more flavor development. 2) It yields a crust that’s not too thick and not too thin, that falls somewhere in that perfect pizza region. 3) Did I mention it can be made same-day?
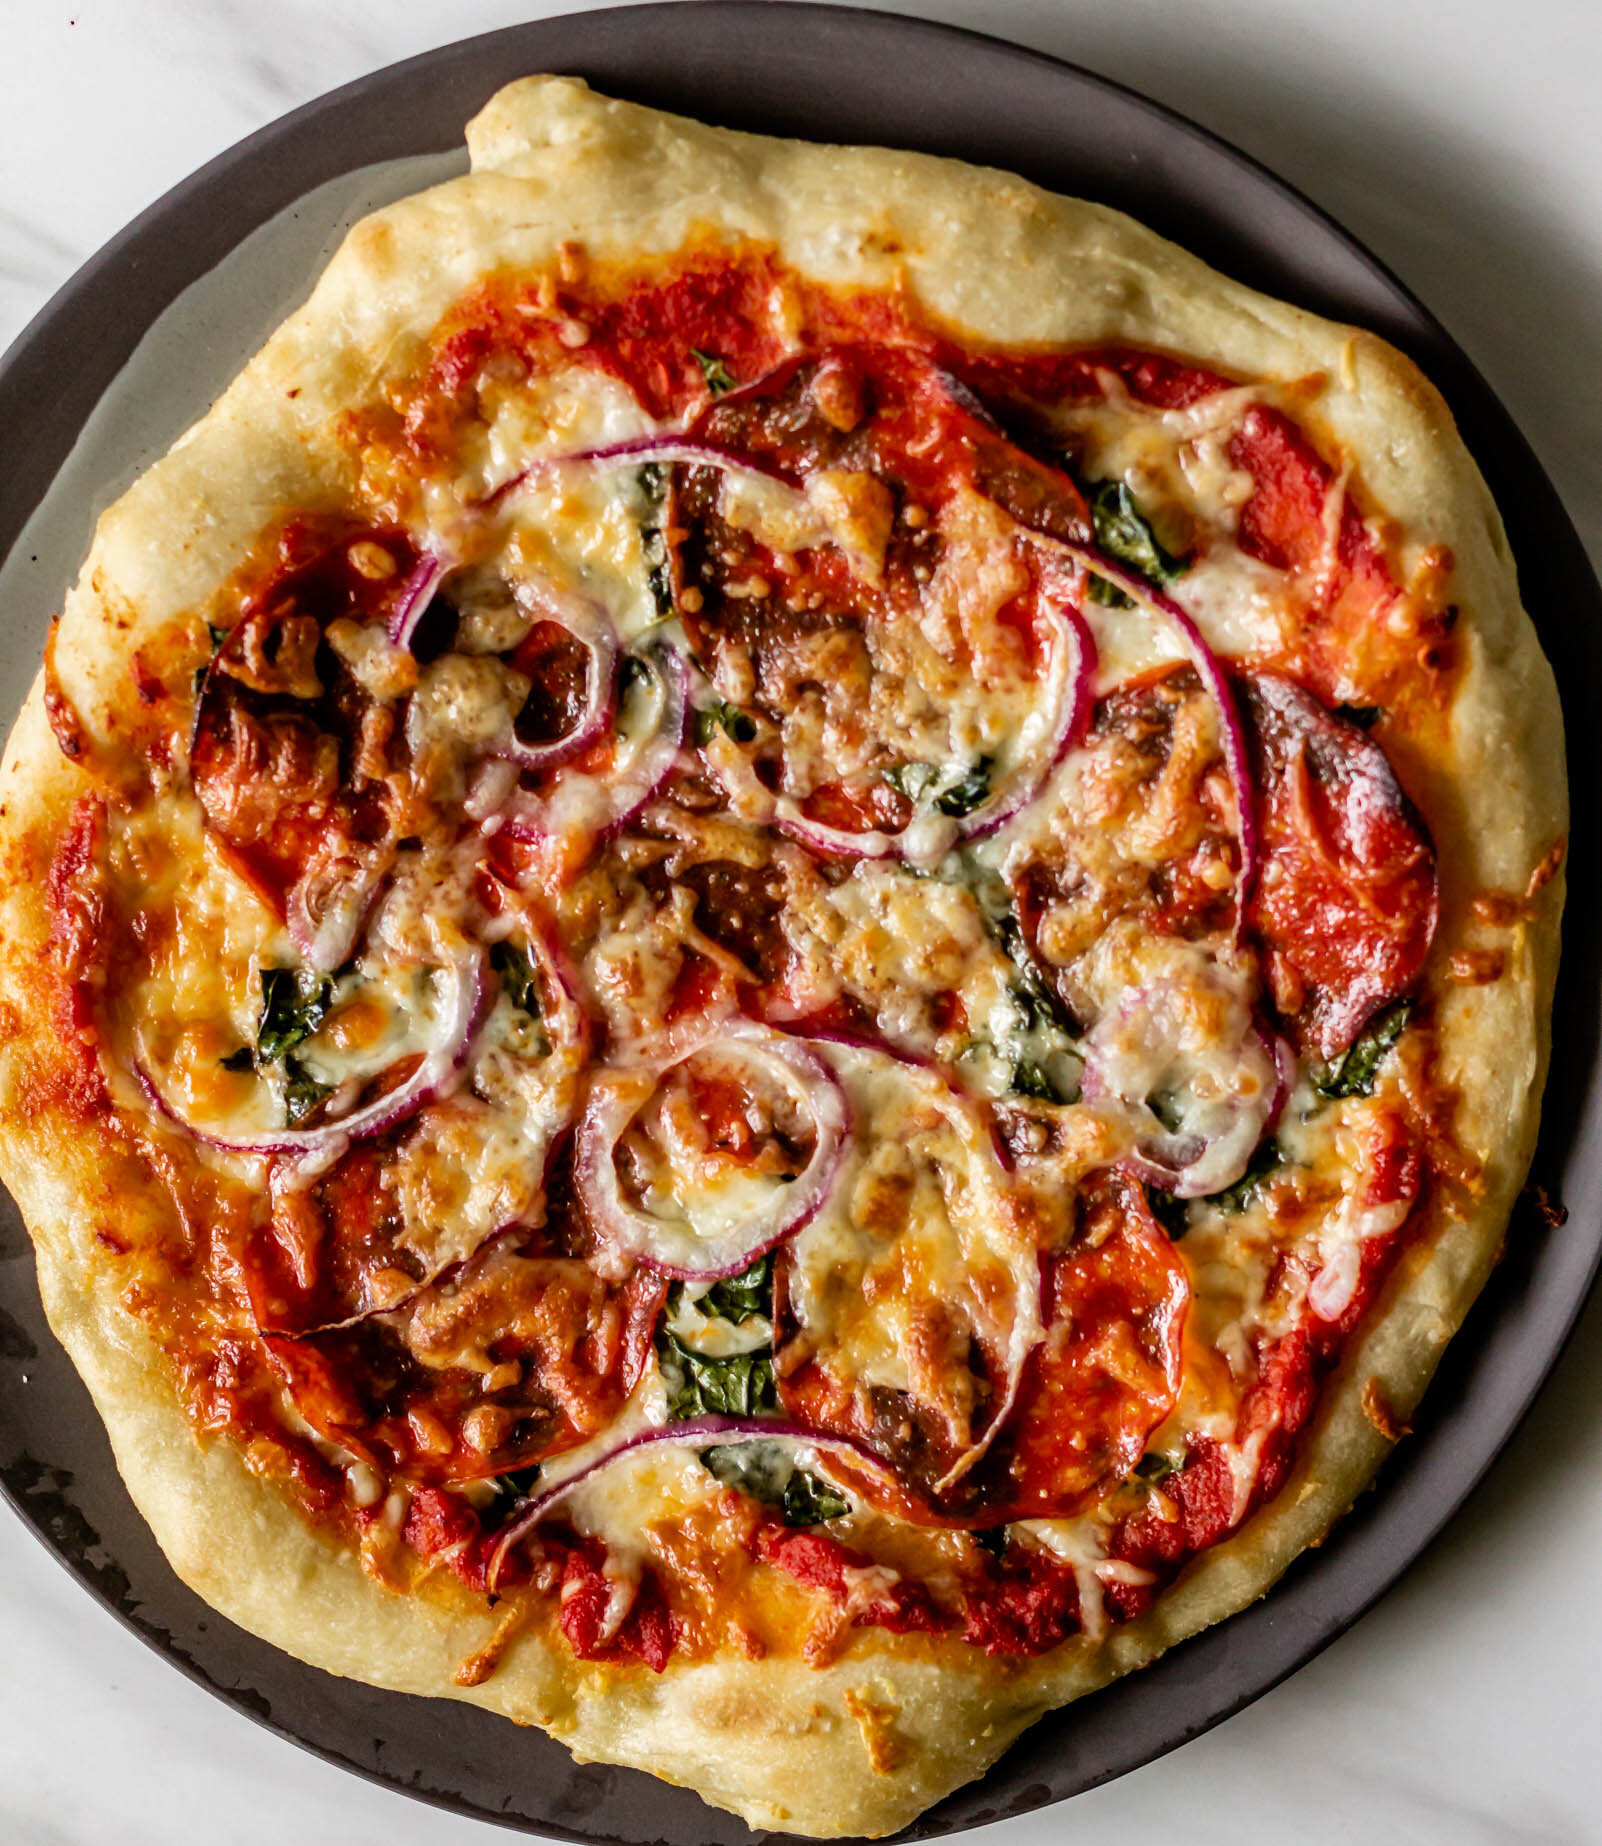
I’m not going to call this “the very best pizza in the world” or anything like that, because that would be a lie. The very best pizza is often proofed for at least 24 hours and baked in a 700° F pizza oven, but I don’t have those kind of resources so this is simply “a very good at-home pizza dough”. It’s for Friday nights when you want pizza but don’t want to go out and weeknights where you have lots of leftover veggies that just need to be thrown into a heap and covered in cheese and called dinner. A very good, very easy pizza dough fit for your home kitchen.
A few practical notes: Depending on the type of baking pan you use, bake the pizza between 450° F and 500° F, or as hot as your oven and pan can handle. I’ve also found that par-baking the crust is essential or you’ll end up with slightly burnt toppings and a soggy middle. Stretch your dough onto your baking sheet, brush it with a little olive oil, and pop it in the oven for 5-7 minutes, until its just beginning to golden. Then top it with your sauces/cheese/veggies/etc and let it continue baking until everything is melted and the bottom is golden brown and crisp. Every oven runs a little differently, so I would give it 10 minutes with toppings and then check it every 5 minutes or so after that.

A Very Good At-Home Pizza Dough
makes 1 lb of dough (or 14” pizza)
Ingredients
270 g all purpose or 00 flour*
1 tsp active dry yeast
pinch of sugar
188 g warm water
1 tbsp olive oil
2 1/2 tsp kosher salt
Procedure
In the bowl of a stand mixer fitted with the dough hook attachment, combine warm water, pinch of sugar, and active dry yeast. Stir gently and let rest until foamy, about 5 minutes.
When the yeast has proofed, add the olive oil, followed by the flour. Mix on low speed for 2-3 minutes, until all of the flour has mixed in and a sticky dough is beginning to form. Cover the bowl and let rest for 15-20 minutes at room temperature.
After the dough has rested, turn the mixer on low and gradually add the salt. Increase mixer speed to medium-high and knead for 3-5 minutes, until the dough begins to pull away from the sides of the bowl and an elastic dough begins to form.
Turn the dough onto a well-floured work surface, dust the top with a little more flour and use your hands to gently shape the dough into a ball. Place the dough ball into a well-oiled bowl, cover with plastic wrap, and let proof at room temperature for 1 1/2-2 hours, until swollen and puffy, almost doubled in size.
After the dough has completed it’s first proof, turn it out onto a lightly-floured work surface. Use your hands to punch the dough down a bit and then shape it into a smooth, round ball. Place the ball seam side down on your surface, dust the top with a bit of flour, cover, and let rest for another 2-3 hours, until pillowy. To test if the dough is ready, gently press your finger into the dough. If the imprint fills back in halfway slowly, it is sufficiently proofed. If it fills back in completely very quickly, continue to proof the dough. Alternatively, you can transfer the dough back to the refrigerator before the second proof and let it cold proof overnight. Let the dough come to room temperature before shaping and baking.
When you are ready to bake, preheat your oven to 450°. Gently stretch the dough into a circle on a pizza pan, brush with a bit of oil and par-bake for 6-8 minutes, until beginning to turn golden brown. Remove from oven, top with your desired toppings and then continue to bake for 10-15 minutes until the bottom of the crust is crispy and brown and all of the toppings are sufficiently baked.
*Notes: 00 flour is a finely-ground Italian flour that comes from durum wheat. It’s protein content is similar to all purpose flour, so they are interchangeable here, but if you’re able to seek out a bag of the 00, you’ll find your crumb just a little lighter and will give you a chewier crust with less of a chance of tearing while you’re stretching. I can always find 00 flour at Whole Foods and Fresh Market, or you can easily order it online.


alon shaya’s pitas

briolata

herb focaccia
