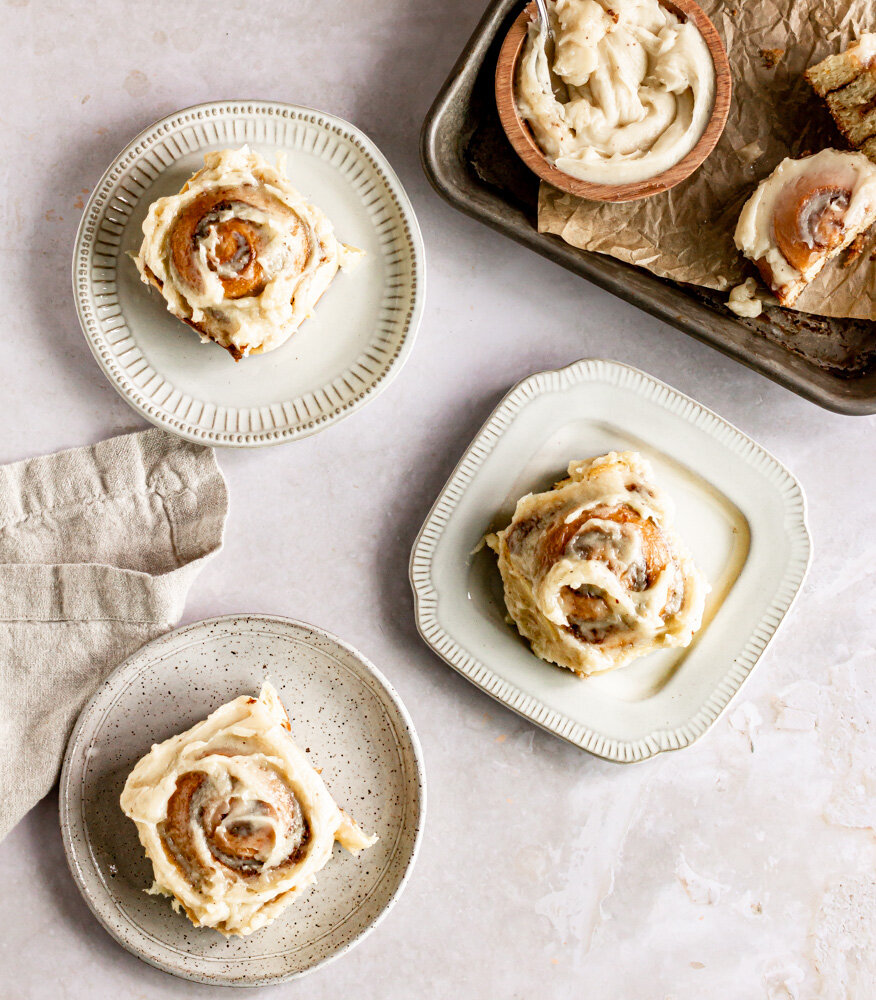
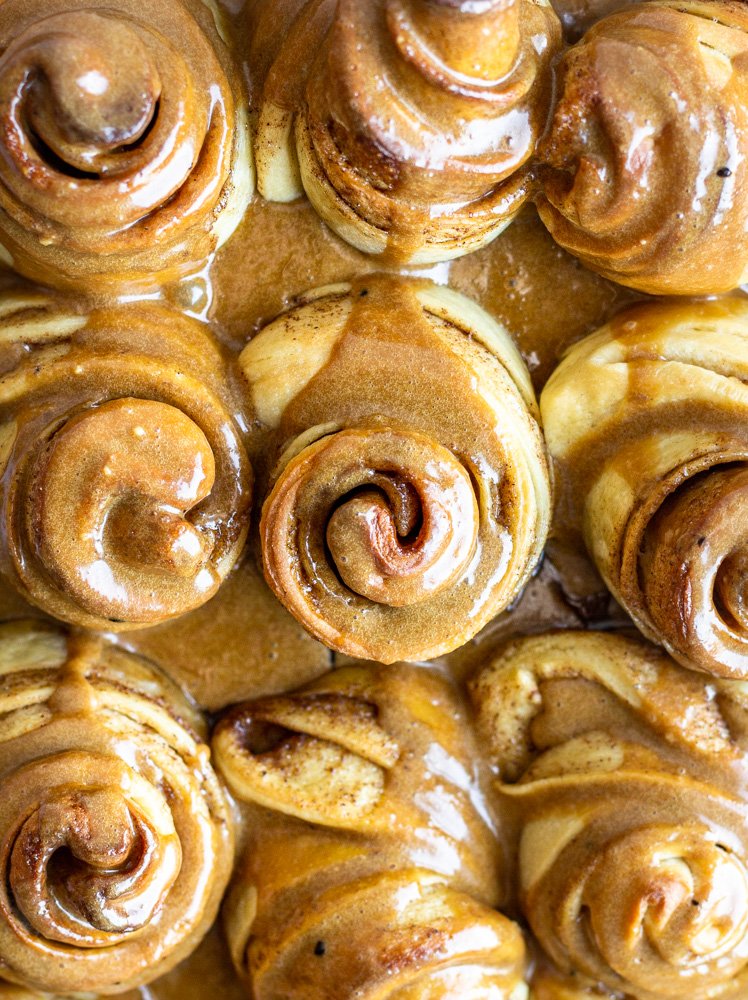
Coffee Cinnamon Buns
/Soft, pillowy sweet dough filled with cinnamon sugar and topped with a coffee glaze.
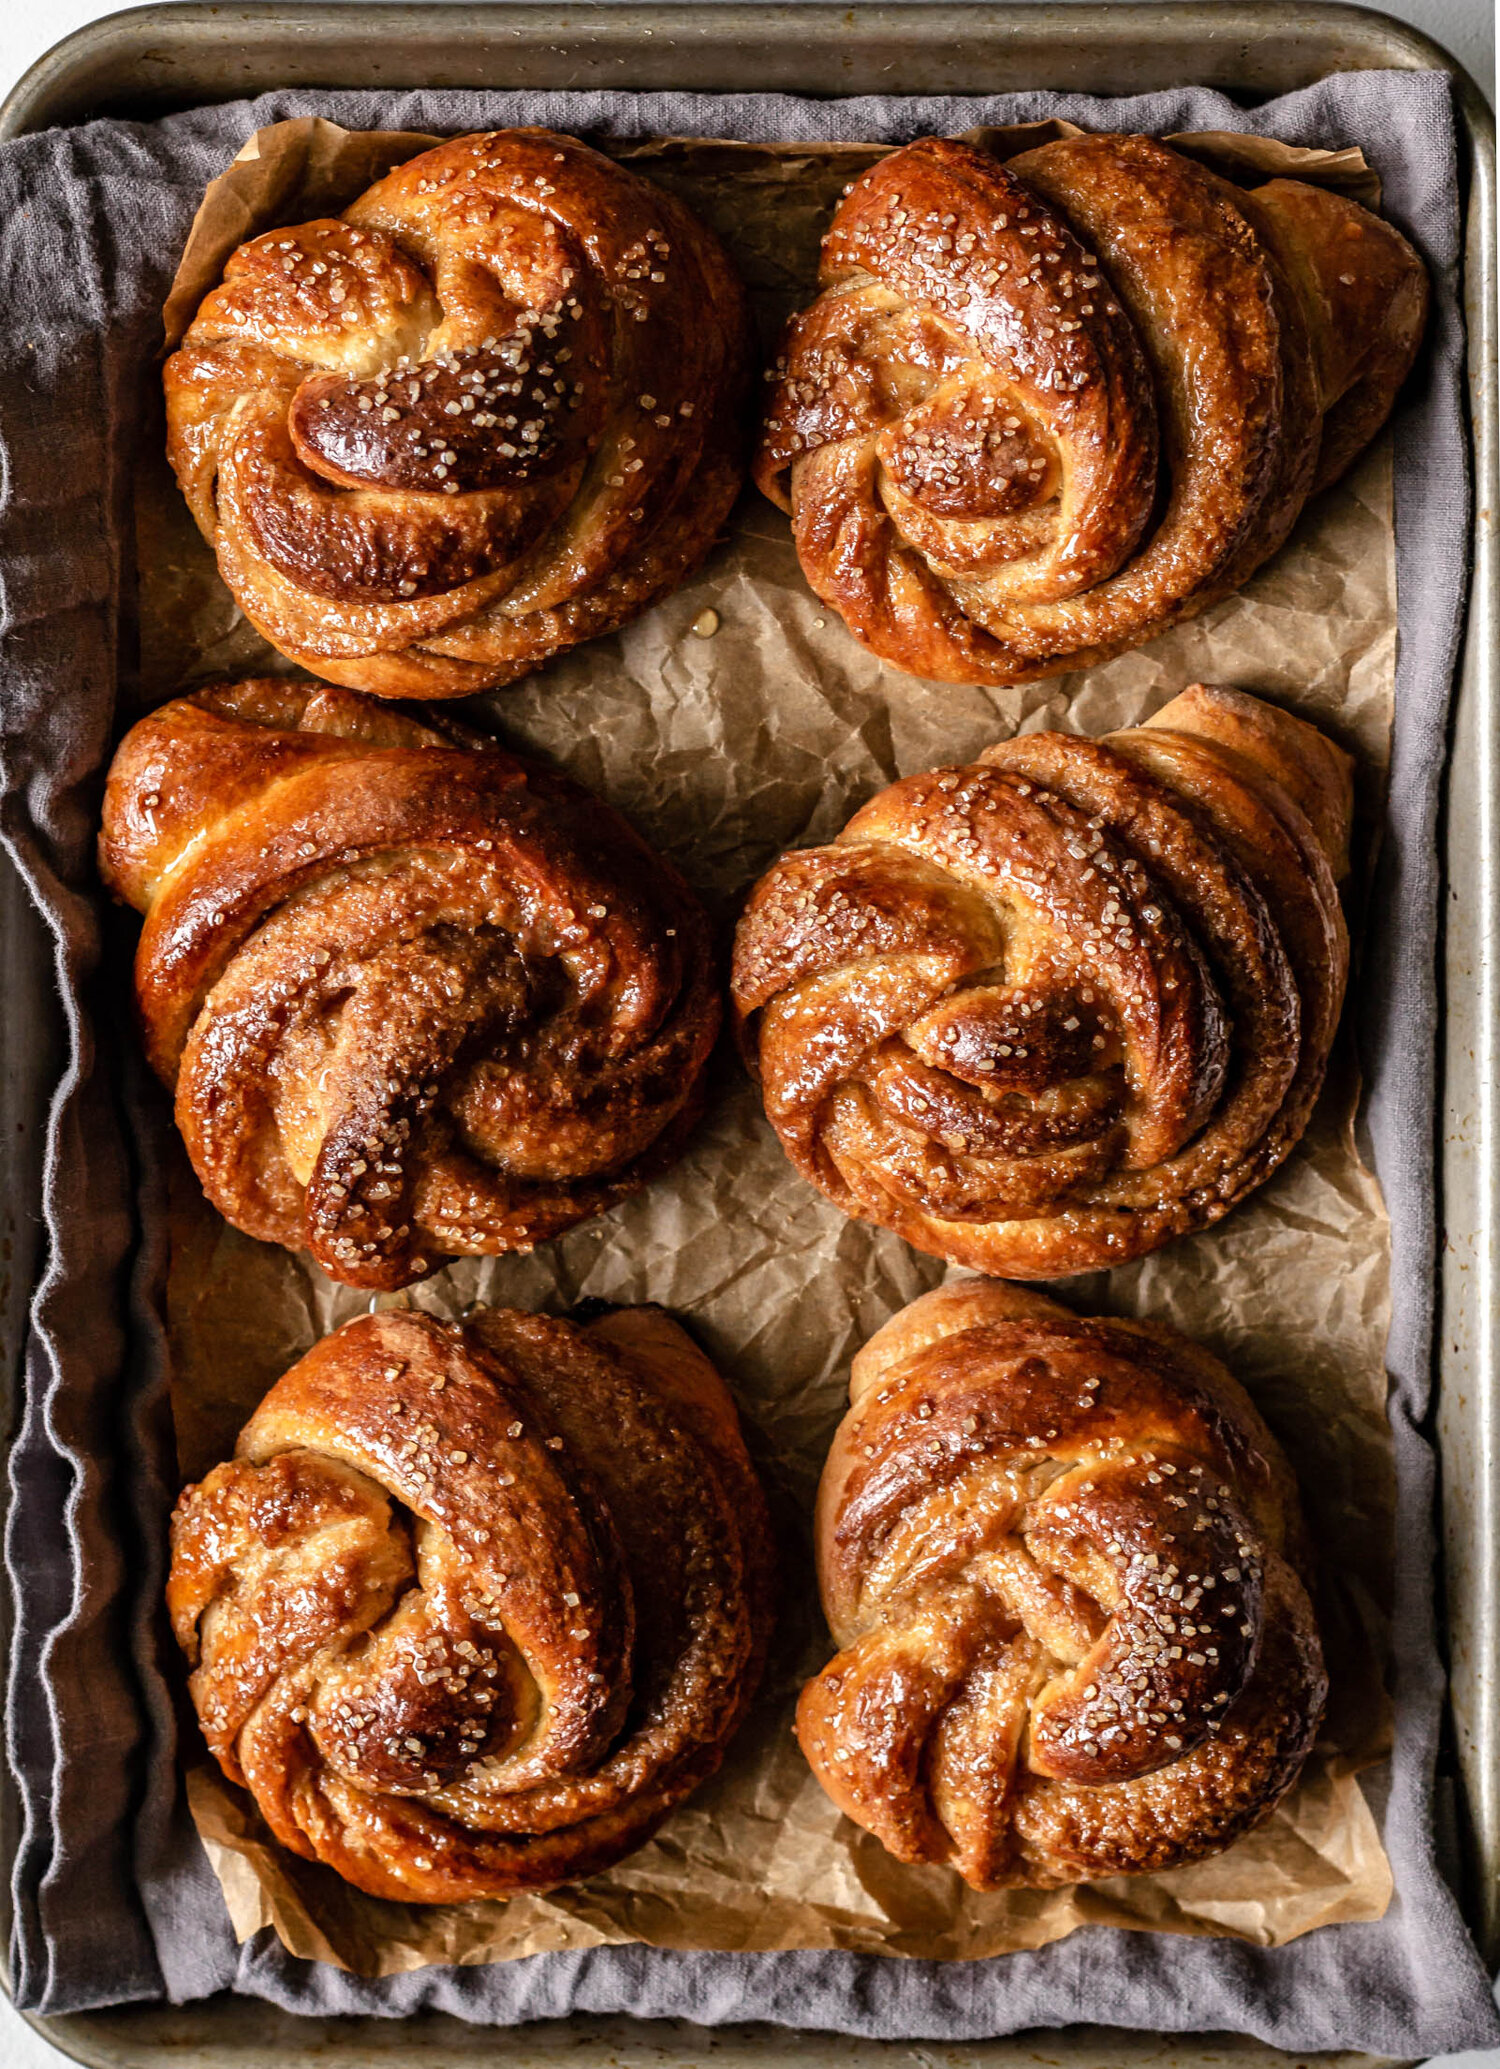
I felt like the biggest baking nerd creating this recipe last week. This was a completely unplanned recipe, born out of a serious cinnamon roll craving. I couldn’t get the idea of pillowy, soft sweet dough, filled with cinnamon sugar and twisted into delicate knots out of my head and so I found myself, sitting in front of my computer last week creating a sweet dough spreadsheet. I have a bunch of sweet dough recipes—you can check out my Browned Butter Spelt Cinnamon Buns, Tahini Orange Cinnamon Rolls, and Einkorn Pecan Sticky Buns if you don’t believe me—but they all vary slightly and I wanted to create the perfect sweet dough ratios. I compiled all of my sweet dough recipes into one very organized document, converted everything to baker’s percentages, and then decided what ratios I wanted to use for this recipe. Lo and behold, the perfect sweet dough was born.
The final dough has a fairly high enrichment percentage (milk, butter, and eggs) which makes it moist and soft, perfect for spinning and swirling and rolling into these coffee cinnamon buns.

the dough
This dough is a simple, enriched sweet dough with a high ratio of milk, eggs, and butter. It’s made brioche-style and we start by proofing the yeast in the warm milk. Then the eggs, flour, sugar, and salt, are added and mixed to form a thick dough. With the mixer running on a lower speed, softened butter is incorporated a little at a time, before the mixer speed increases and the dough kneads for a decent amount of time—until it’s smooth and elastic, with a strong network of gluten strands.
The dough rests at room temperature until doubled in size and then there are two options for shaping and the second proof. Option #1: Punch the dough down and transfer it to the refrigerator for an overnight cold proof. In the morning, let the dough warm up slightly, roll it, fill it, and shape it, and then let the buns proof for another 30 minutes or so before baking. Option #2: After the first proof, go ahead and roll, fill, and shape the dough and then transfer the cinnamon buns to the refrigerator for their overnight proof. Give them about an hour at room temperature before baking. You can adapt this recipe to fit your schedule.
the filling and frosting
Because I wanted the dough to be the star, we leaned into simplicity for this recipe. A very classic cinnamon, sugar, and butter filling is smeared over the dough before shaping and I topped them with a strong coffee glaze making them really perfect for lazy weekend mornings.


Coffee Cinnamon Buns
Ingredients
- 140 g (1/2 cup +3 tbsp) buttermilk, warmed
- 10 g (2 3/4 tsp) active dry yeast
- 1 egg
- 1 egg yolk
- 50 g (1/4 cup) granulated sugar
- 345 g (2 3/4 cup) all purpose flour
- 3 g (1 tsp) kosher salt
- 100 g (7 tbsp) unsalted butter, softened
- 56 g (4 tbsp) unsalted butter, softened
- 100 g (1/2 cup) brown sugar
- 2 tsp ground cinnamon
- 1 tsp ground cardamom
- 1/4 of a nutmeg pod, grated
- 1/2 tsp kosher salt
- 70 g (1/3 cup) heavy cream
- 1 tbsp instant coffee
- 120 g (about 1 cup) powdered sugar
Instructions
- Combine warmed buttermilk and yeast in the bowl of a stand mixer fitted with the dough hook attachment and let sit for about 5 minutes, until foamy.
- While the yeast is proofing, combine sugar, flour, and salt in a medium bowl.
- When the yeast is foamy, add the egg and egg yolk and whisk to incorporate. Add the dry ingredients and begin kneading on medium speed for 1-2 minutes, until all of the flour has been incorporated and a dough begins to form.
- With the mixer running, add the butter a tablespoon or so at a time. When all of the butter has been added, increase the mixer speed to medium high and knead for 5-6 minutes, until the dough is smooth and elastic.
- Scrape down the sides of the bowl, cover, and let proof at room temperature for an hour to an hour and a half, until the dough has doubled in size.
- Punch the dough down and transfer to the refrigerator for about 30 minutes, just to make the dough a little easier to work with. **see notes for alternate proofing instructions**
- While the dough is chilling, combine butter, brown sugar, cinnamon, cardamom, nutmeg and salt and stir to form a smooth paste.
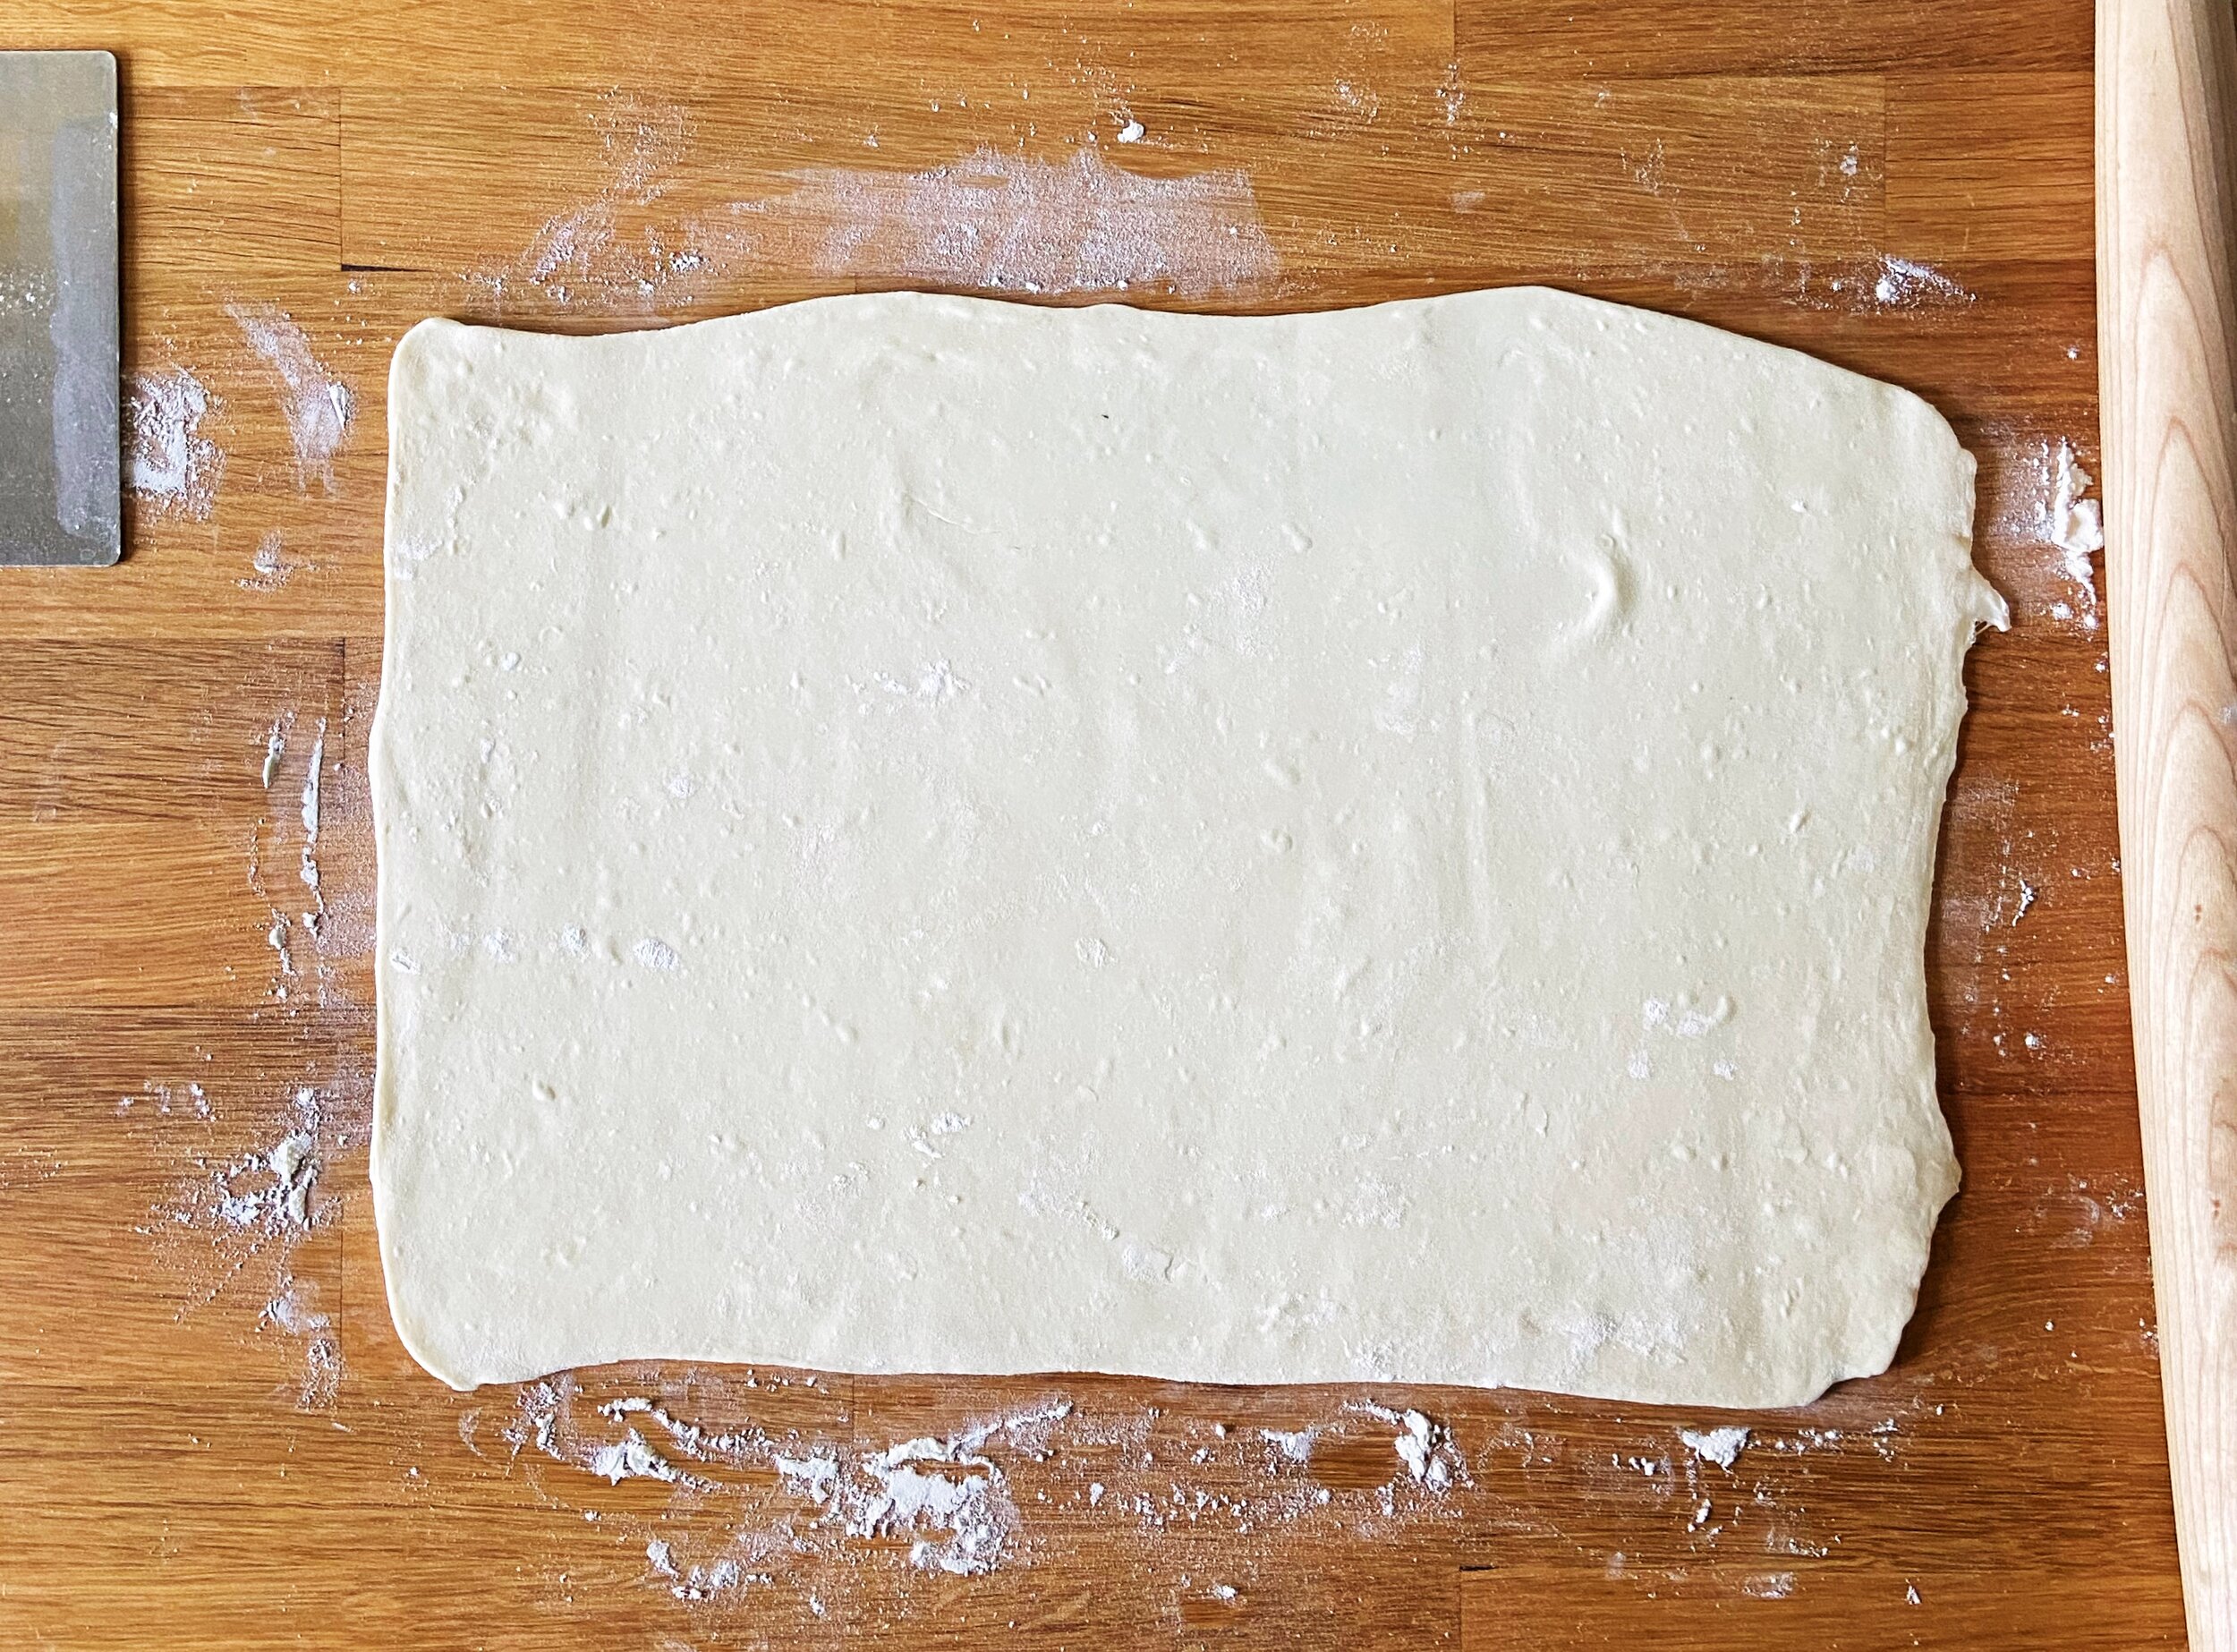
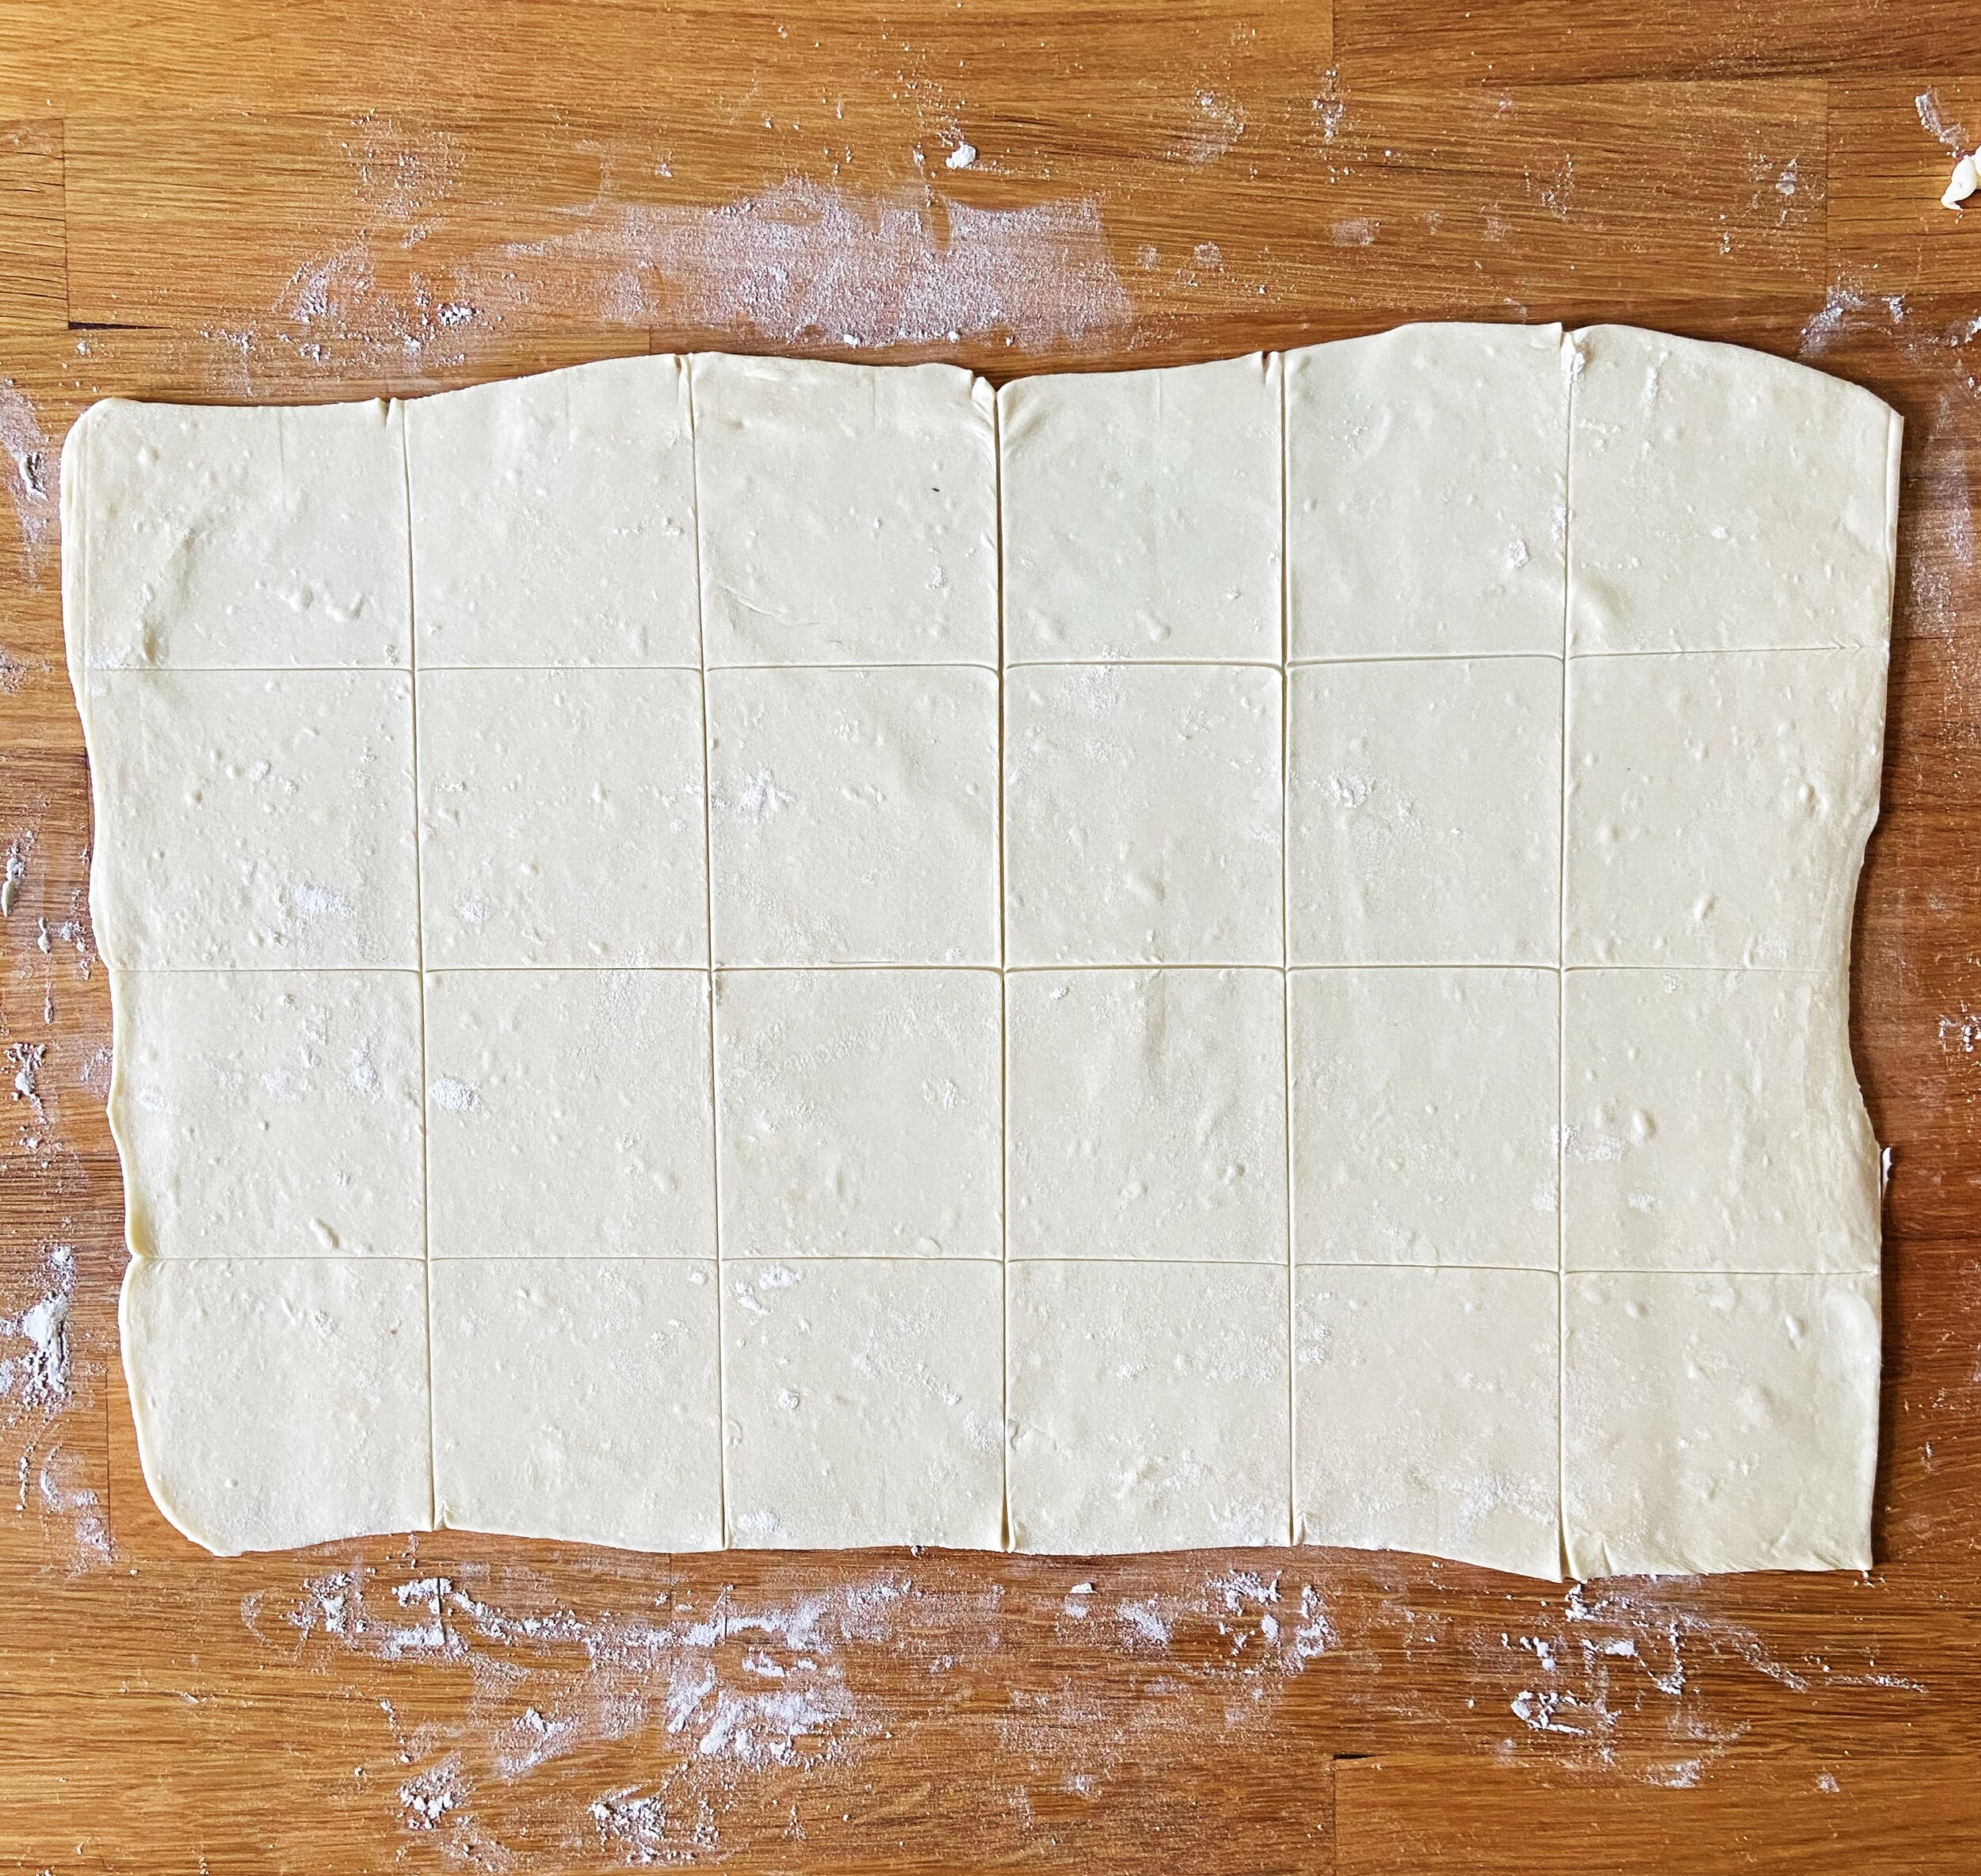
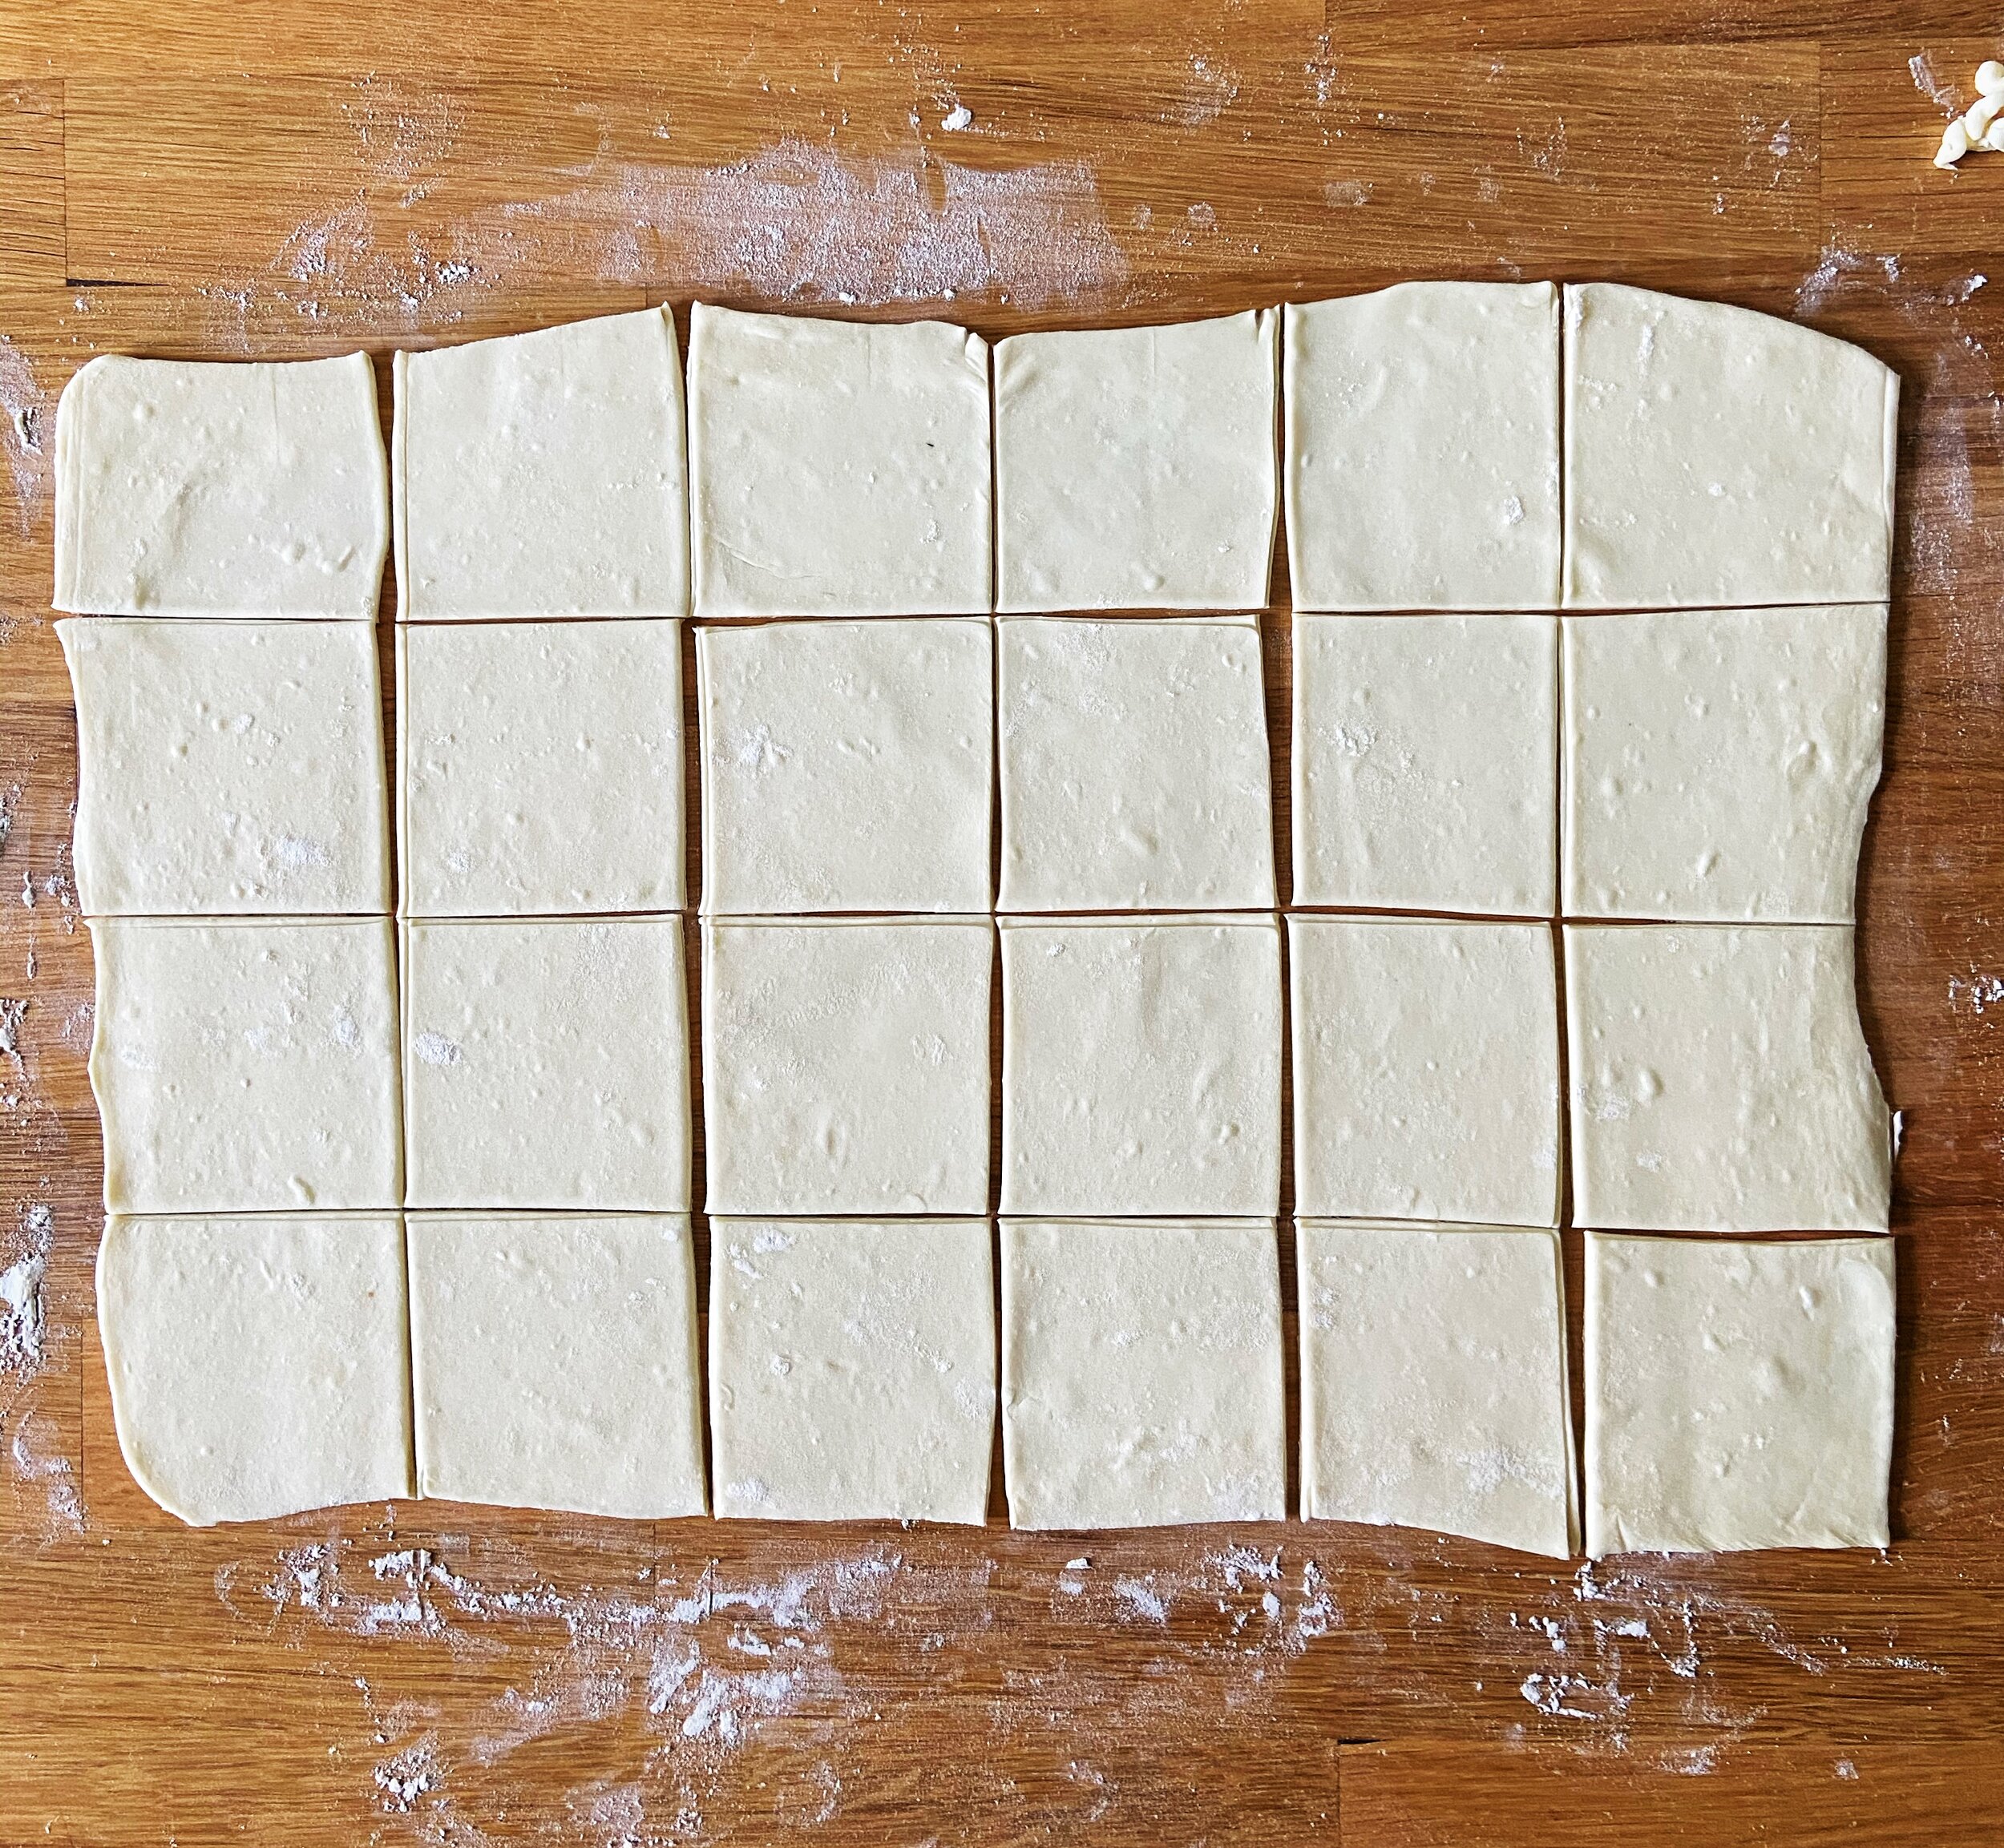
- Turn the dough out onto a lightly floured work surface and rolled into a 12x18” rectangle.
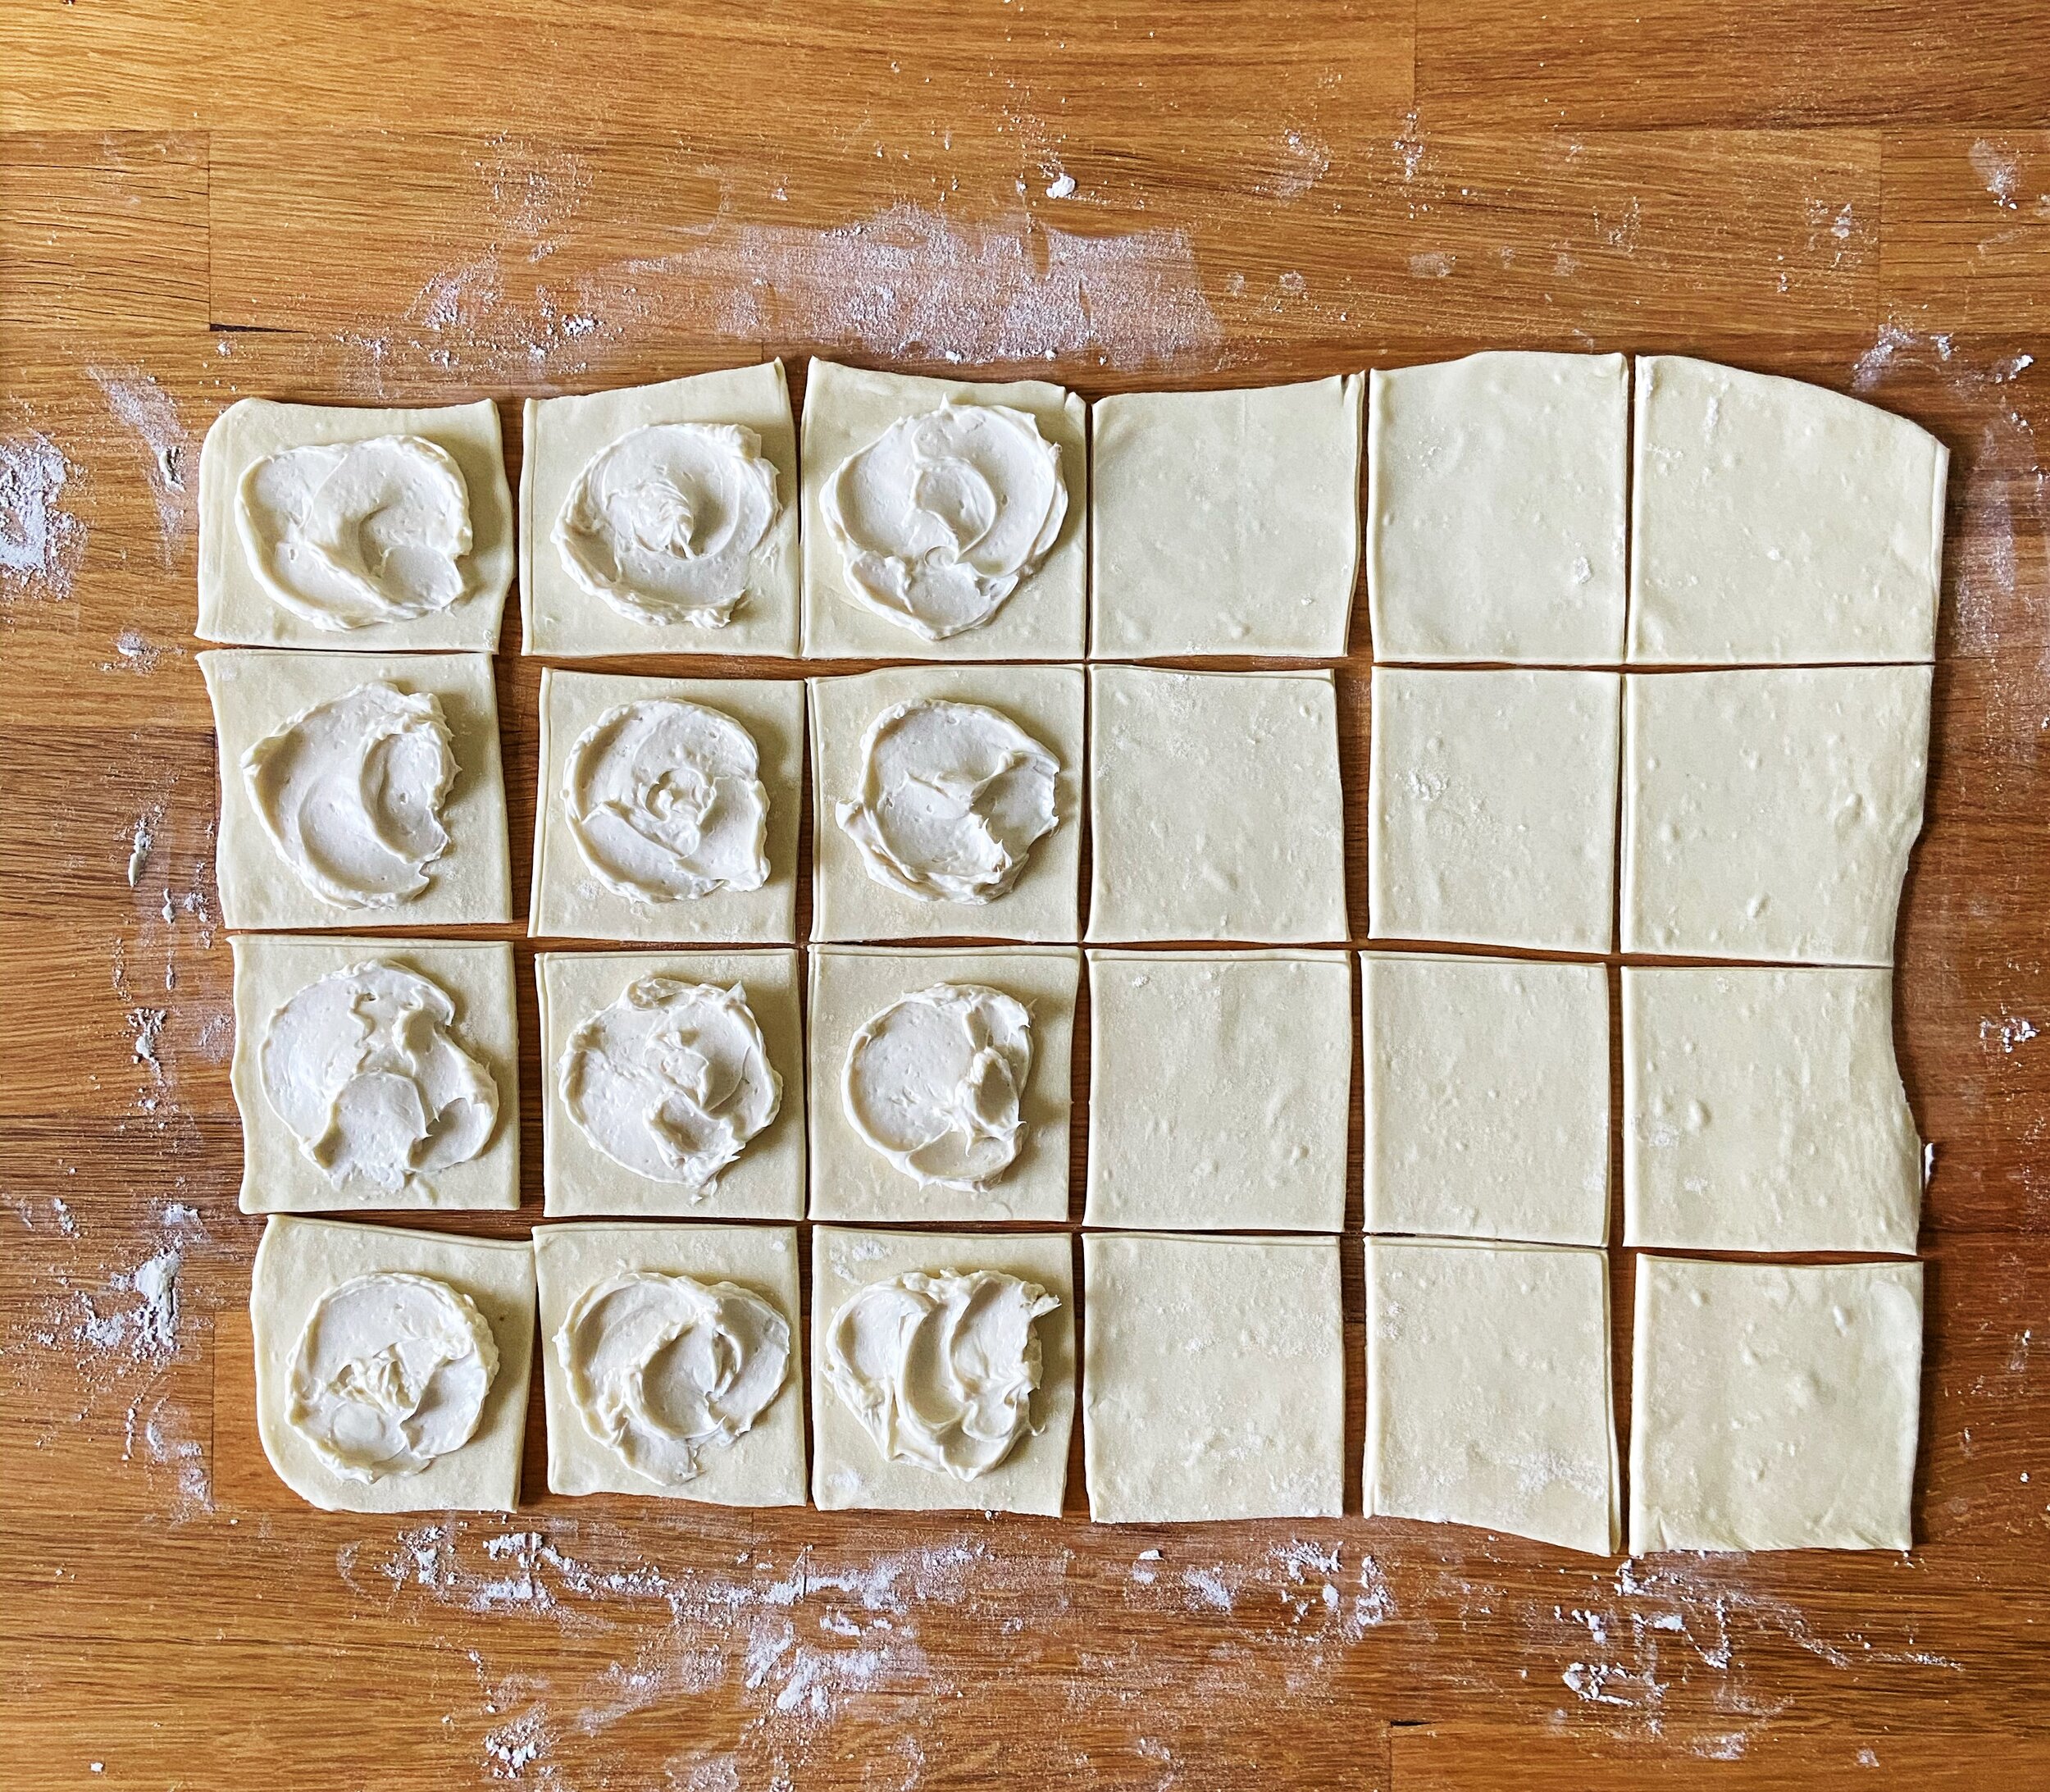
- Smear the cinnamon butter mixture over the center and right two-thirds of the dough.
- Fold the left third of the dough into the center and then fold the right third over the dough into the center as well (like folding a letter, but horizontally).
- Turn the rectangle 90° and roll out a little, just to stretch it about an inch vertically.
- Cut the dough into 12 strips. Roll each strip up like a snail and tuck the end under the center of the bun.
- Place on a parchment lined baking sheet and cover with plastic wrap. Place in the refrigerator overnight, or about 12 hours.
- When you’re ready to bake, preheat to the oven to 375° F and take the cinnamon buns out of the refrigerator. Remove the plastic wrap and cover loosely with a towel. Let rest for about an hour, until they come to room temperature.
- Bake for 18-20 minutes, until deeply golden.
- While the buns are baking, make the coffee glaze. Combine heavy cream and instant coffee in a small saucepan and bring to a simmer to dissolve the coffee. Transfer to a measuring cup and whisk in the powdered sugar until smooth.
- Pour the glaze over the warm cinnamon buns and serve immediately.
Notes
**For alternative proofing instructions, see the blog post above!