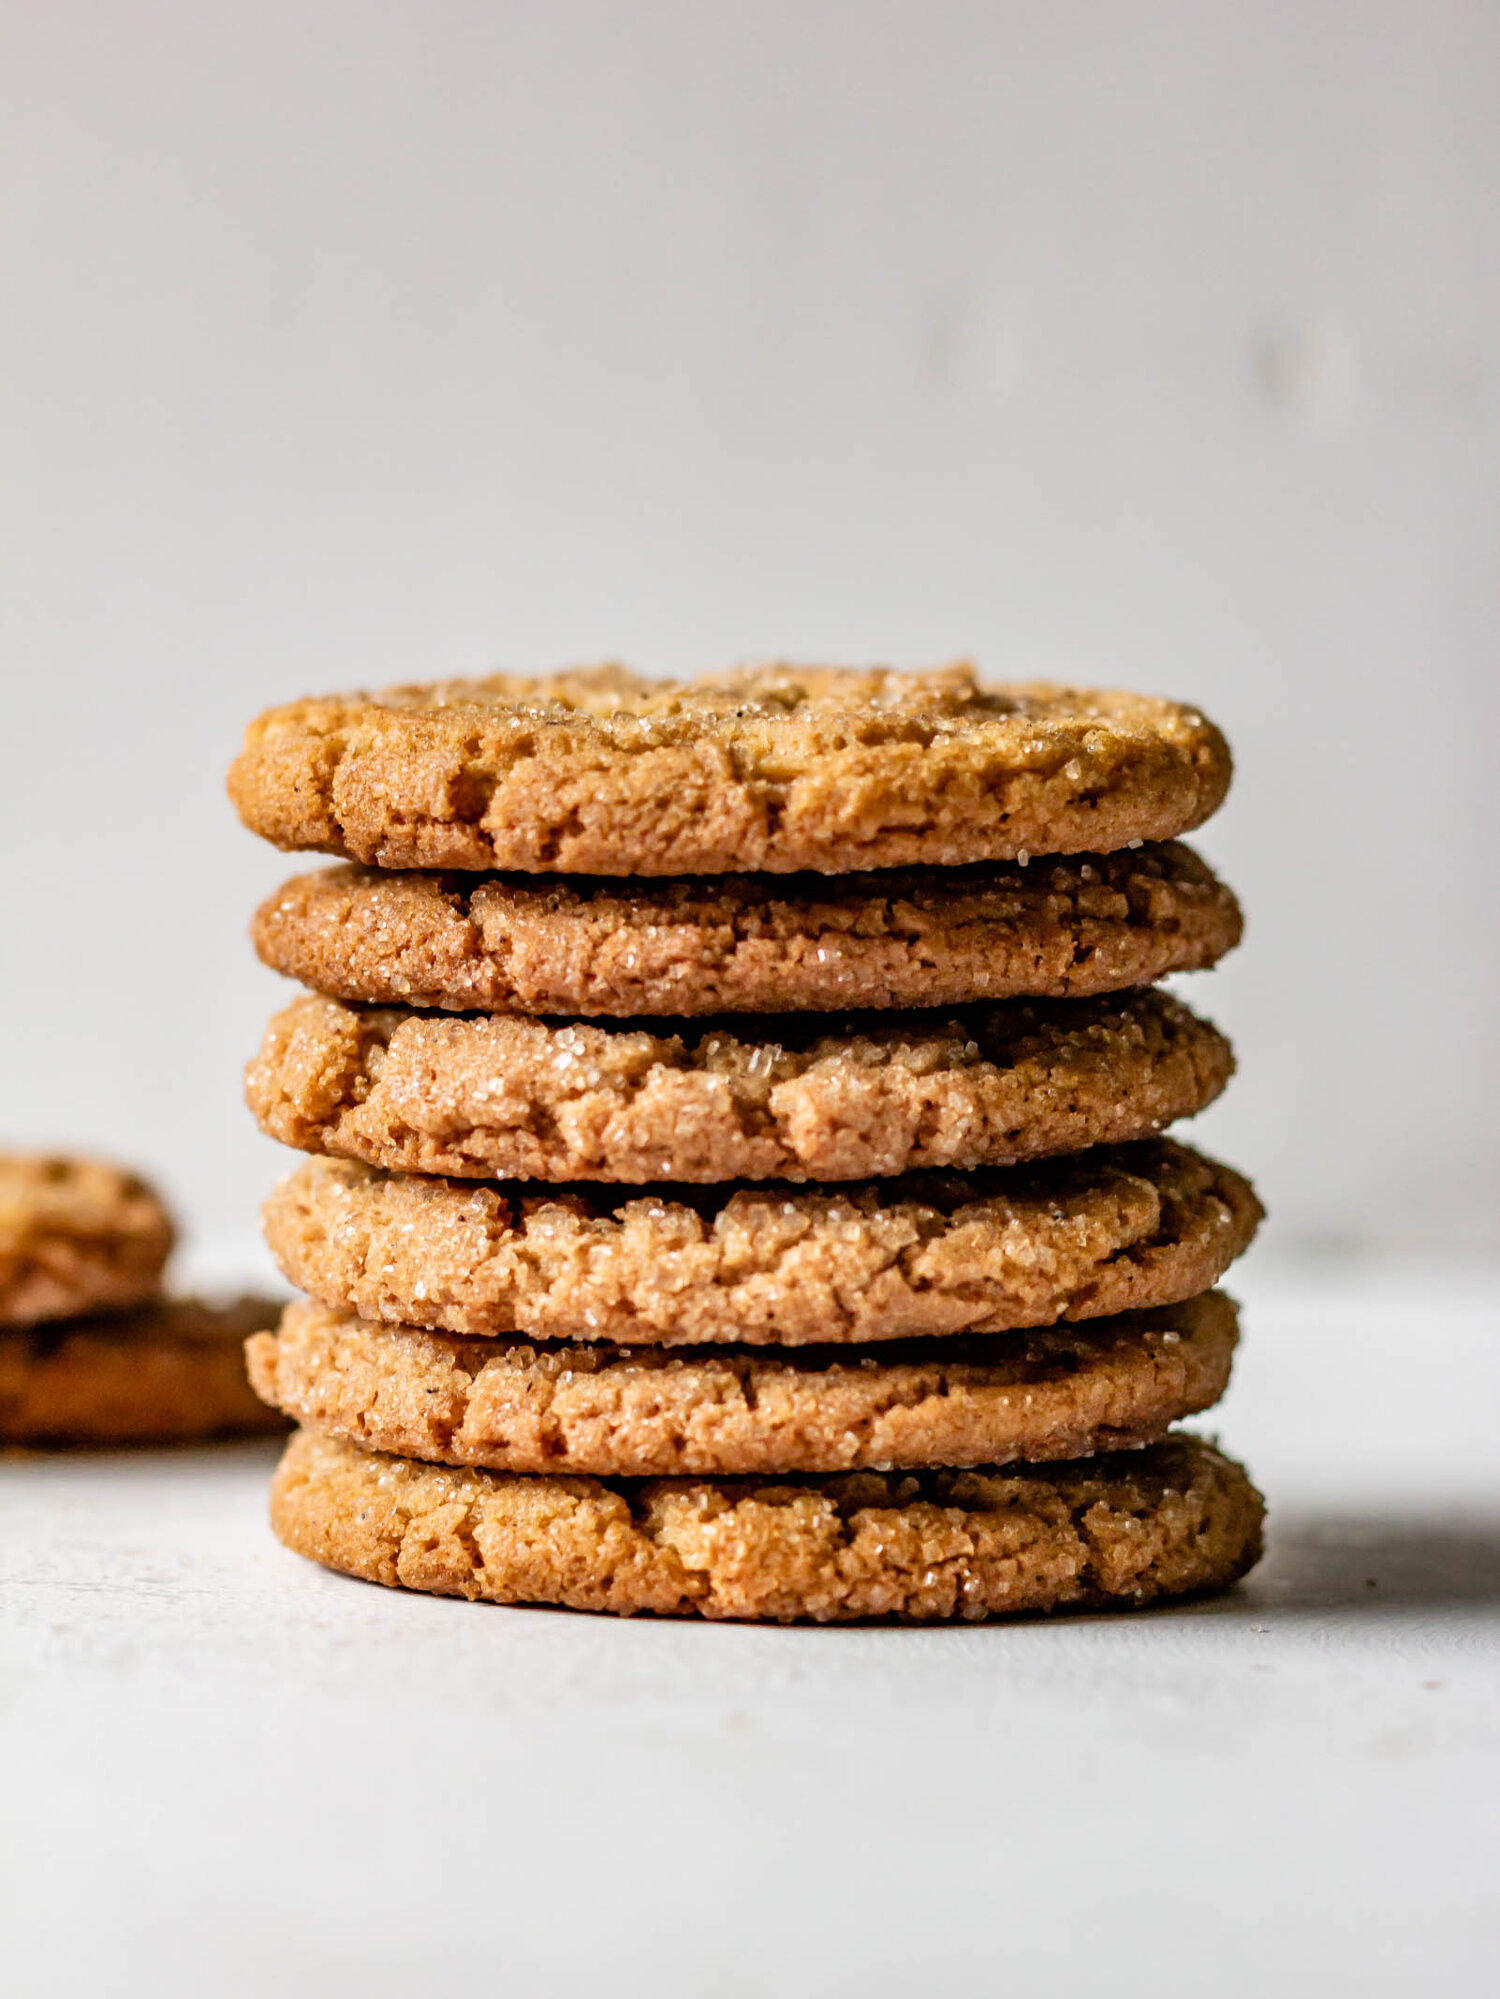
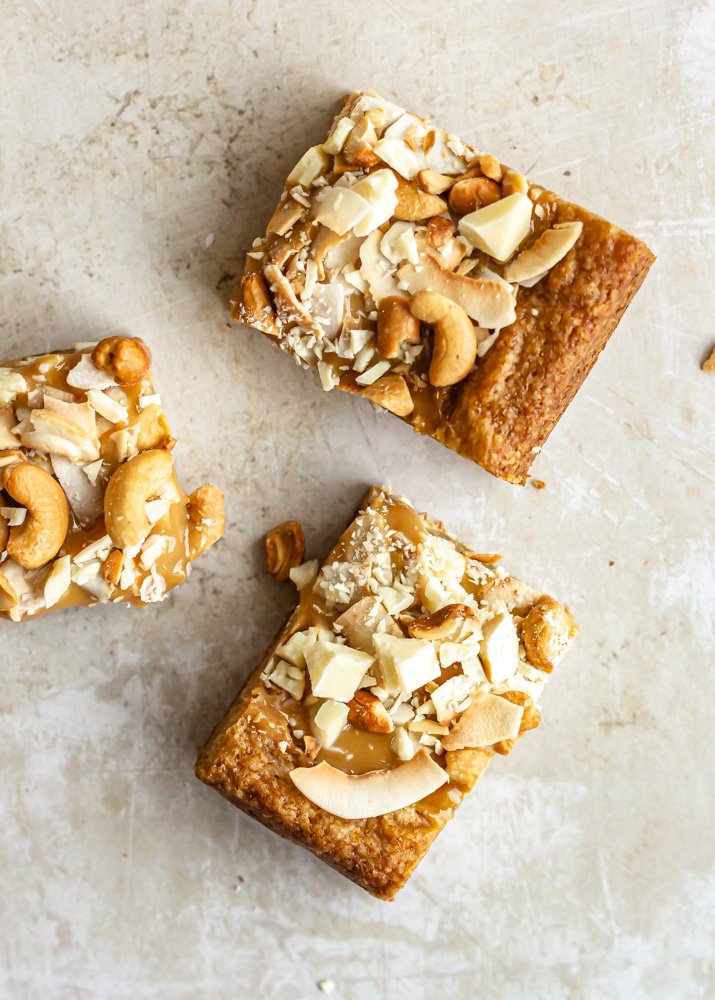
Caramel Coconut Cashew Blondies
/These nutty blondies are studded with creamy white chocolate and topped with a super simple homemade dulce de leche, toasted coconut, and crunchy cashews.
Does anyone else feel like they just need a vacation?
Maybe it’s the former teacher in me, but come June 1st, I have the hardest time motivating myself to do anything because it’s summertime, baby! This year, I feel that longing for rest at an exponential rate. We took a quick little anniversary trip to NYC at the beginning of the month and then I got sick when we got home. Because I was out of commission for a few weeks, playing catch up has just been the worst. I’ve been scrambling to finish all of my client work before deadlines and at the end of the day, I’m just wiped and I need a break.
I would love to hide away on a tropical beach with a book, tuning out the world entirely for a bit so that I can actually re-charge. Unfortunately for me, that’s not in the cards this summer so I may just be turning off my social media accounts and making these loaded tropical-esque blondies—I’ll take it.

caramel coconut cashew blondies
The idea for this recipe started as “hawaiian cookie bars” scribbled in my notebook. I was thinking white chocolate, macadamia nuts, maybe a little coconut—flavors that made me feel like I was on an island or at the very least, hanging out the Disney Polynesian Resort.
Trader Joe’s was fresh out of macadamia nuts when I was recipe testing and I needed something sticky to bind it all together, so we settled on cashews and dulce de leche.
Kind of like a clean-out-the-pantry cookie bar, these are simple and easy and a real crowd pleaser. We start with a brown sugar blondie layer, studded with chopped white chocolate. Then, homemade dulce de leche (so easy, I promise) is poured over the top, and the bars are finished with toasted coconut, toasted cashews, more white chocolate, and a little pink salt.
A quick chill really helps the dulce de leche firm up, but I honestly don’t mind sticky caramel dripping down my hands so skipping it is also an option. Make a batch, share with friends, and pretend like you’re on vacation.


Caramel Coconut Cashew Blondies
Ingredients
- 1 (14 oz) can sweetened condensed milk
- 2 cups (240 g) all purpose flour
- 3/4 tsp baking powder
- 1/2 tsp baking soda
- 3/4 tsp kosher salt
- 3/4 cup (170 g) butter, melted
- 2 eggs
- 1/4 cup (57 g) buttermilk, at room temperature
- 1 tbsp vanilla extract
- 1 1/2 cup (300 g) brown sugar
- 8 oz white chocolate, chopped
- 2.5 oz cashews, toasted
- 1 cup (2 oz) coconut, toasted
- 3 oz white chocolate, chopped
- 1/2 tsp pink salt
Instructions
- Make the dulce de leche: Remove all paper wrapping from the can of sweetened condensed milk. Place in a medium saucepan and cover with water until the can is completely submerged. Bring to a simmer and simmer for 2 hours, adding more water as needed to keep the can submerged the entire time. Use tongs to remove the can from the water and place on a towel to cool completely, at least 4 hours, before opening. The dulce de leche can be made ahead and stored in a sealed container in the refrigerator for up to one week.
- Preheat the oven to 325° F and line a 9x13” baking dish with parchment paper.
- In a medium bowl, whisk together flour, baking powder, baking soda, and salt. Set aside.
- In a large bowl, whisk together the melted butter, eggs, buttermilk, and vanilla until smooth and homogenized. Add the brown sugar and whisk until to combine.
- Add the dry ingredients to the bowl with the wet ingredients and stir with a rubber spatula or wooden spoon until all of the flour has been incorporated. Add the chopped white chocolate and stir again to disperse. Transfer to the prepared baking pan and smooth into an even layer.
- Bake for 25-30 minutes, until the top is golden brown and the edges are deeply browned. Cool in the pan for about 30 minutes.
- Spread the dulce de leche in an even layer over the surface of the blondies and then sprinkle with toasted cashews, toasted coconut, and chopped with chocolate. Transfer to the refrigerator and let chill for at least an hour.
- Sprinkle with pink salt, slice, and serve
Notes
A quick note on making homemade dulce de leche: Be extra careful when removing the hot can from the simmering water. I like to use tongs to lift the can out of the water and then I let it cool down on a kitchen towel. Let the dulce de leche cool COMPLETELY or it will explode hot caramel when you open in. I would give a minimum of 4 hours, but recommend longer. Better safe than sorry!