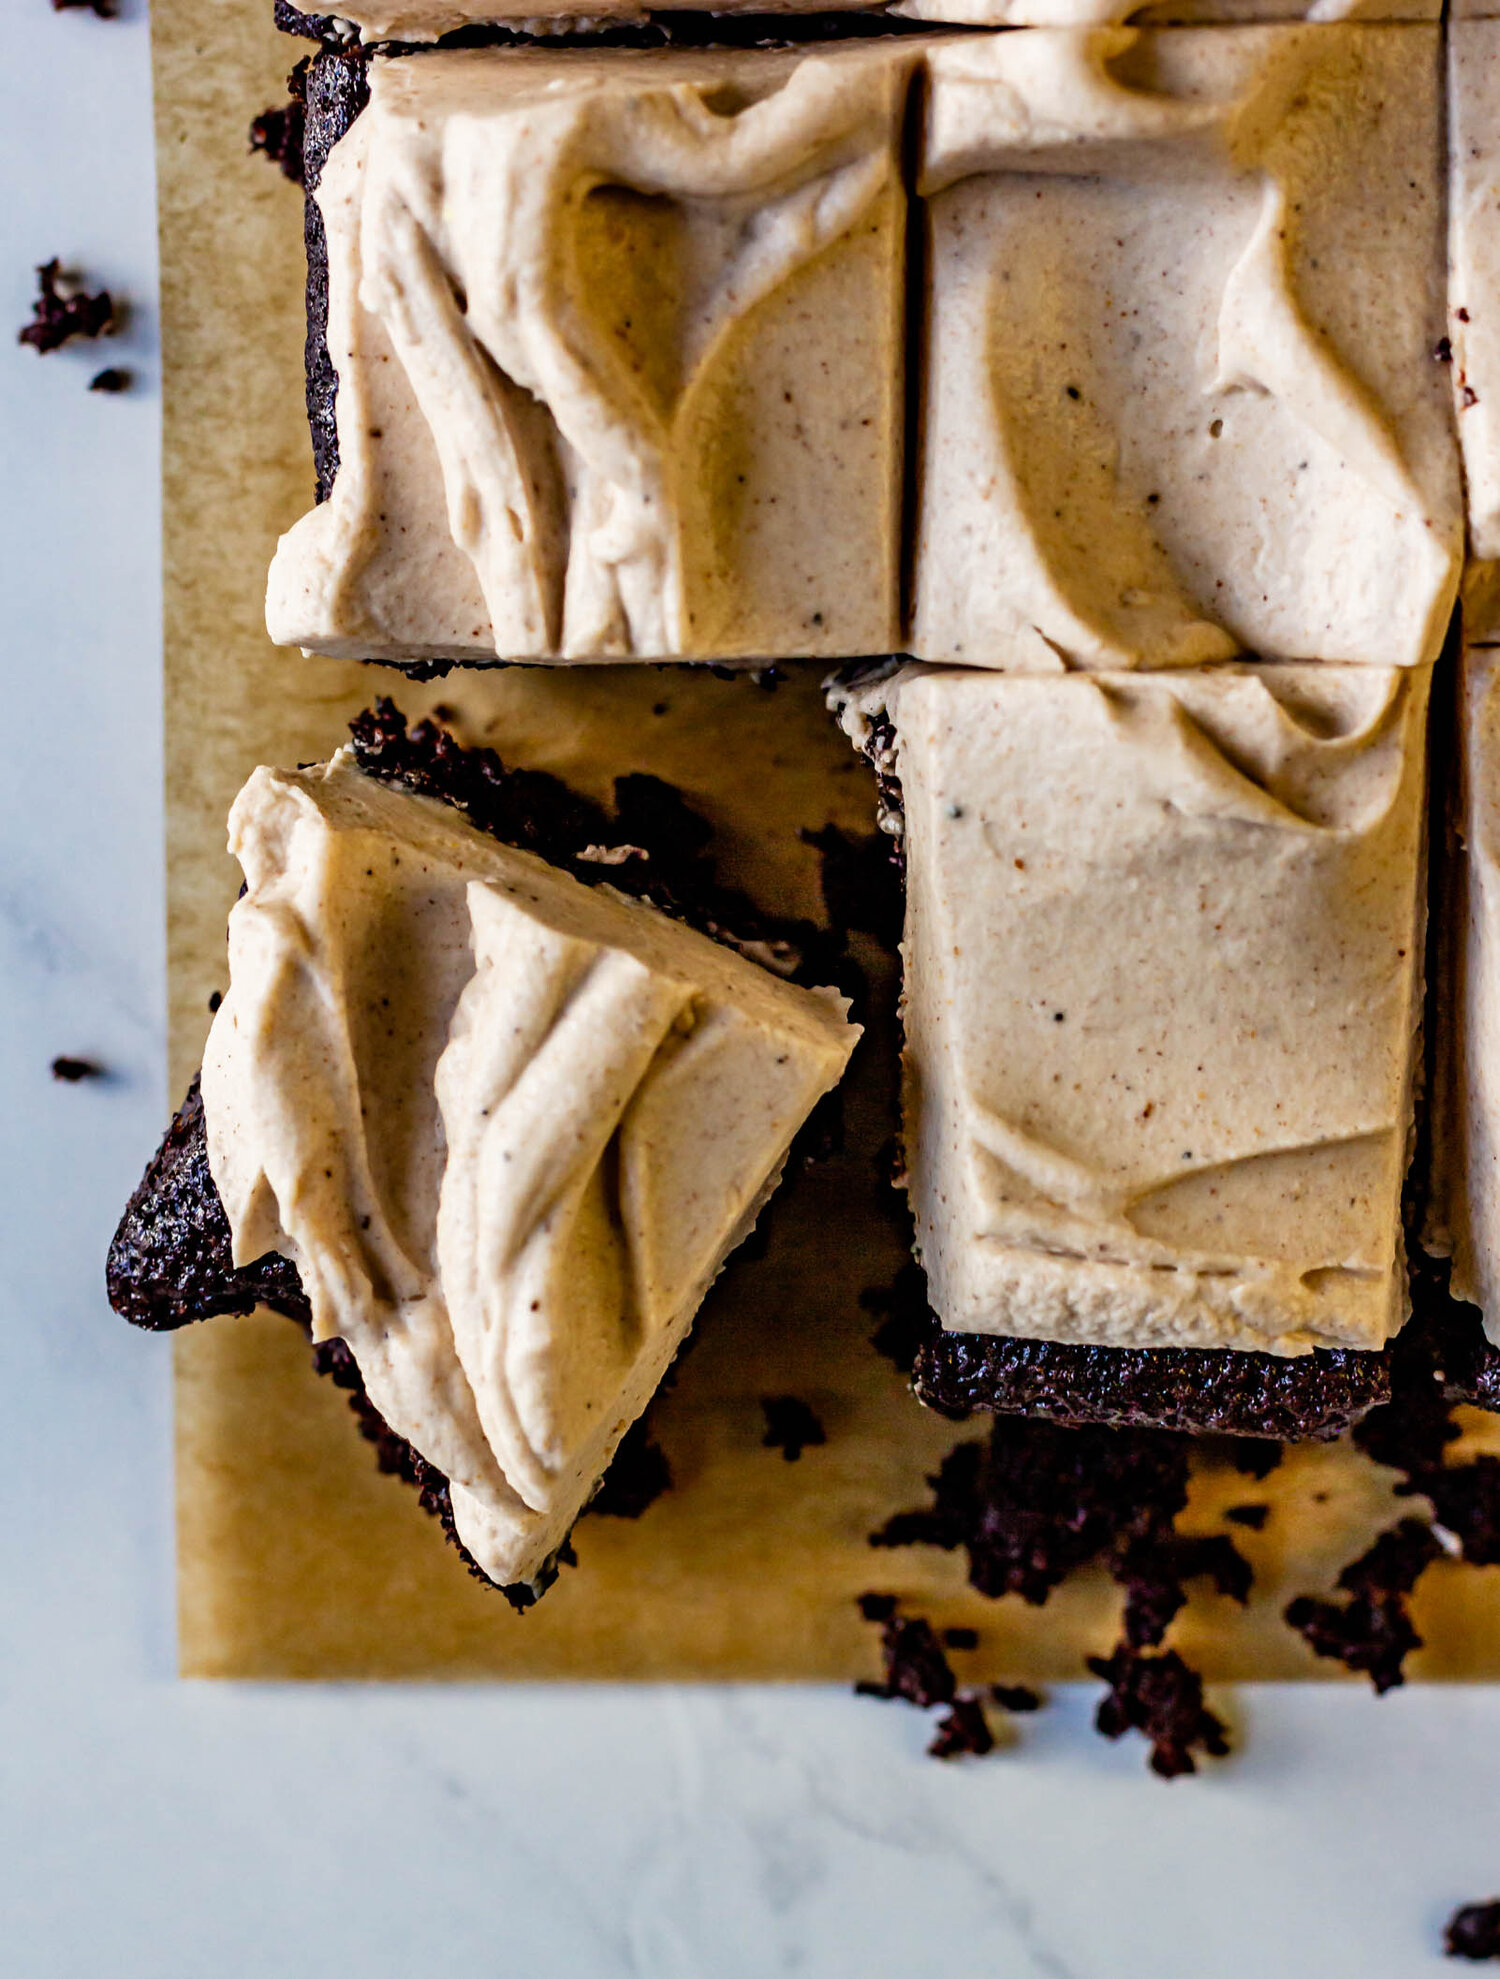
Olive Oil Granola Fruit Crisp
/A very easy, accidentally vegan summer fruit crisp recipe. Bright summer berries are topped with crunchy olive oil granola and then baked until bubbly.

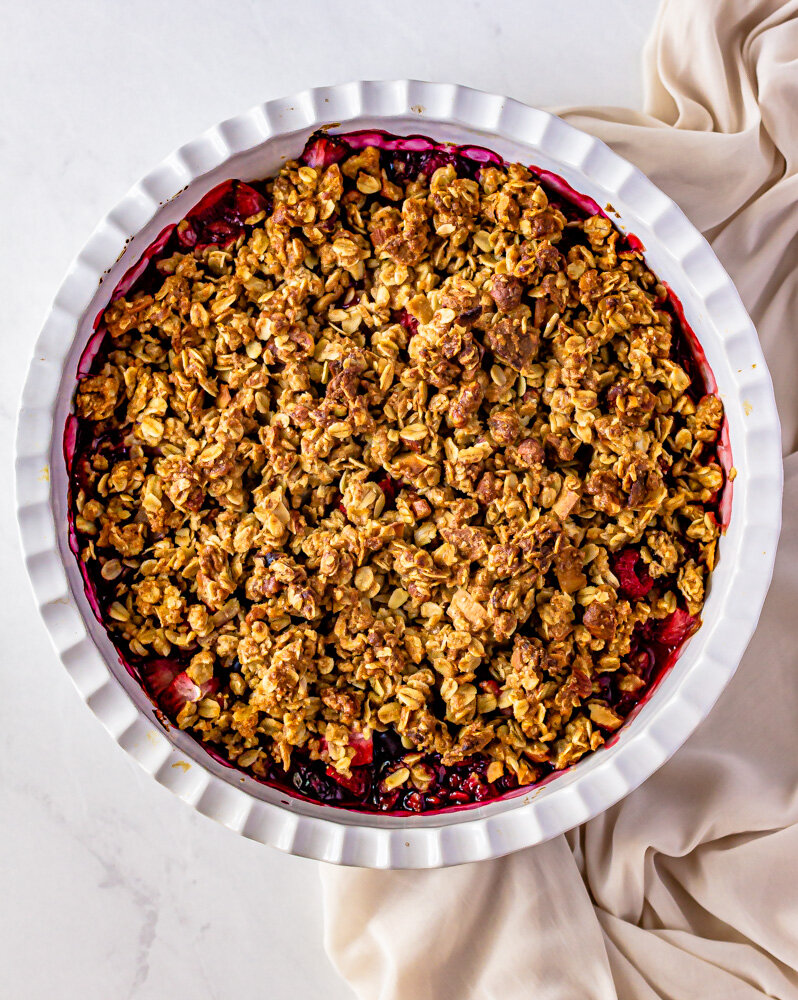
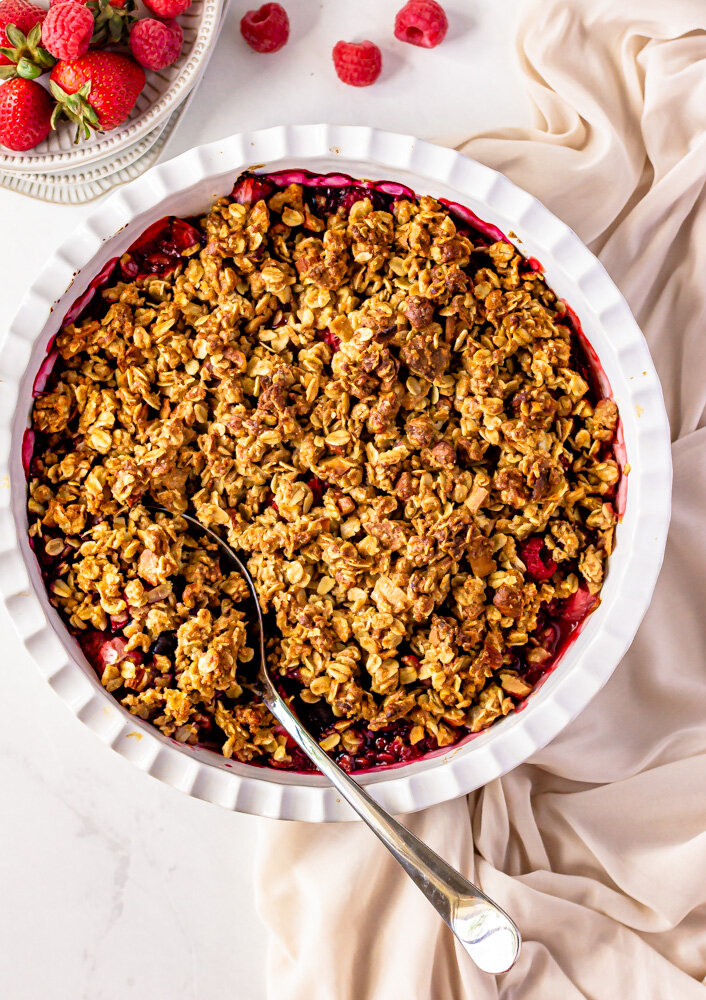
summer berries and an olive oil granola fruit crisp
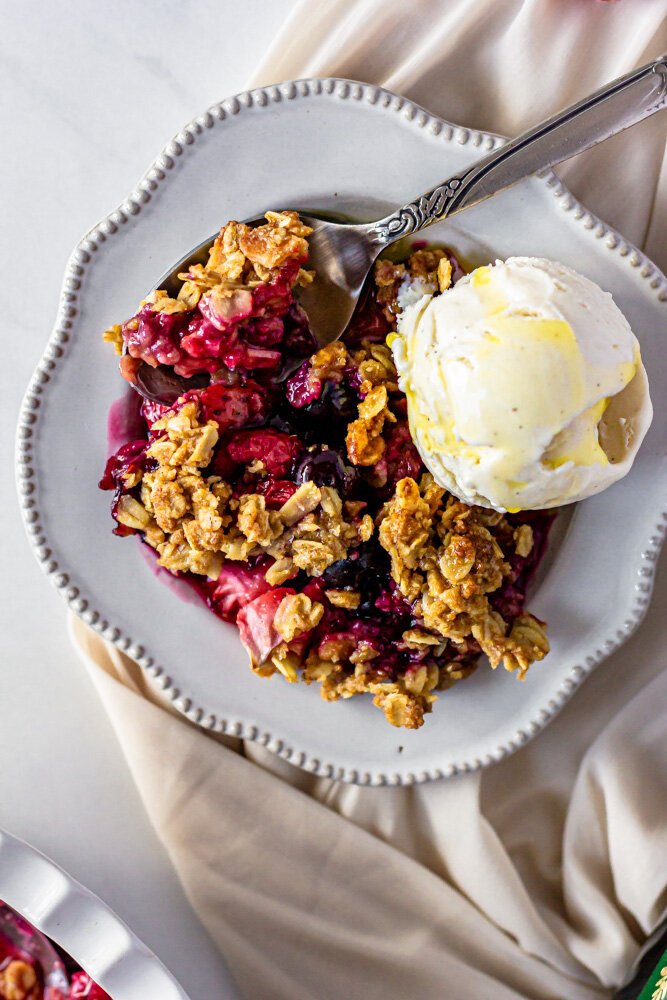
I have three criteria for summer desserts. 1) FRUIT! Give me all the berries, cherries, and stone fruit that the season has to offer. 2) Simple is better- I want easy, toss together, pantry recipes that can be made quickly, adapted easily, and shared with a crowd. 3) Topped with ice cream. All good summer desserts should be able to be topped with a big scoop of ice cream.
Lucky for us, today’s new recipe meets all of our stringent summer dessert criteria. This olive oil granola fruit crisp, is ridiculously easy to mix together, is accidentally vegan and can very easily be made gluten-free. The crumble topping is so versatile and you can use it with any of your favorite fruits, and fruit crisps and vanilla ice cream go together like PB&J.
what is a fruit crisp
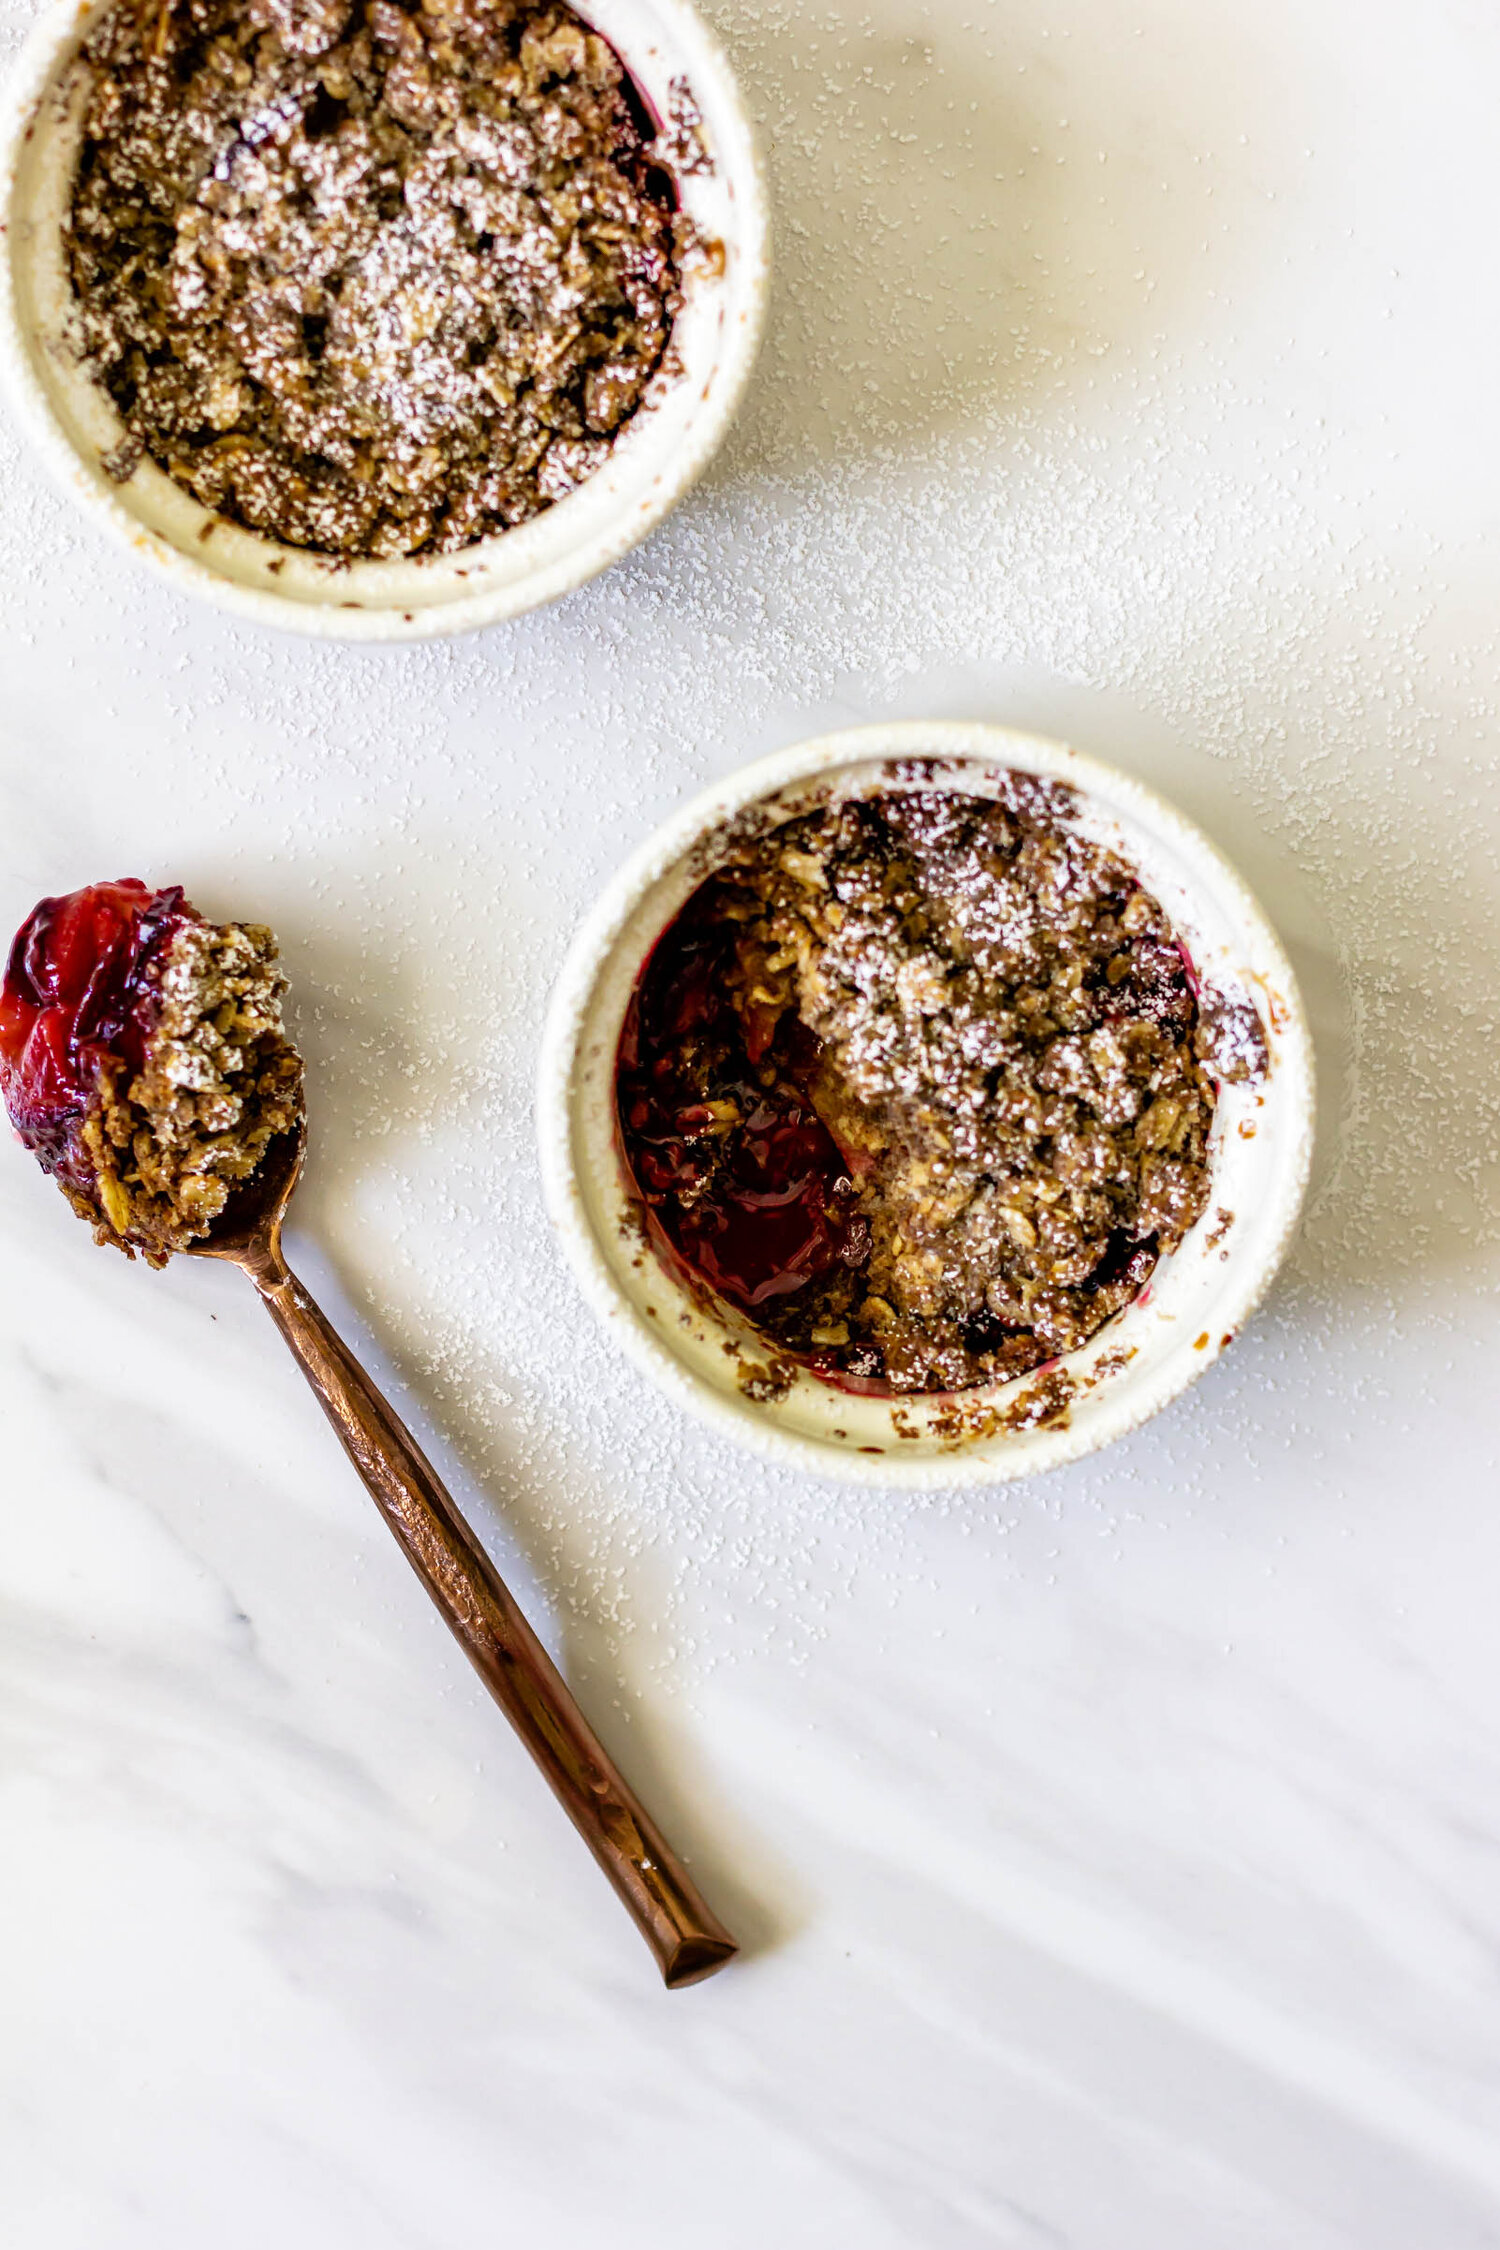
When it comes to a baked fruit dessert (ie. cobblers, crisps, crumbles), it’s all about the topping. According to my personal dictionary of dessert words, the definitions for each are as follows: cobbler- fruit topped with a biscuit or cake like topping (this would include a liquid ingredient, like buttermilk or heavy cream, in the recipe), crumble- fruit topped with a thick, streusel like topping (when developing recipes, if I include cold butter, I generally consider it a crumble), and crisp- a lighter streusel topping, generally with oats and some sort of nut.
Again, these are my personal working definitions and opinions may vary (we haven’t even included buckles and clafoutis!). Ultimately, a fruit crisp consists of fresh summer fruit topped with a lighter, crunchy layer, making it 100% okay to eat this for breakfast.
how to make an olive oil granola fruit crisp
You guys know how I feel about olive oil in baking. I was actually thinking about it the other day and I think that olive oil might be my number 1 favorite baking ingredient. It’s ridiculously versatile and I just love the tiny, savory quality it gives to sweet recipes. It’s the simplest way I know to elevate a recipe.
For the crisp topping, olive oil and maple syrup (you could use honey) are whisked together and then poured over a bowl of granola-esque goodies—oats, walnuts, coconut, brown sugar. There is a touch of flour in this recipe, which helps to bind everything together, but you could easily substitute buckwheat flour or a cup-for-cup gluten free flour. Everything is tossed together until just moistened and then spooned over some macerated berries. It’s baked until crispy and golden and bubbly, then topped with vanilla ice cream, a glug of olive oil, and a pinch of flaky salt.
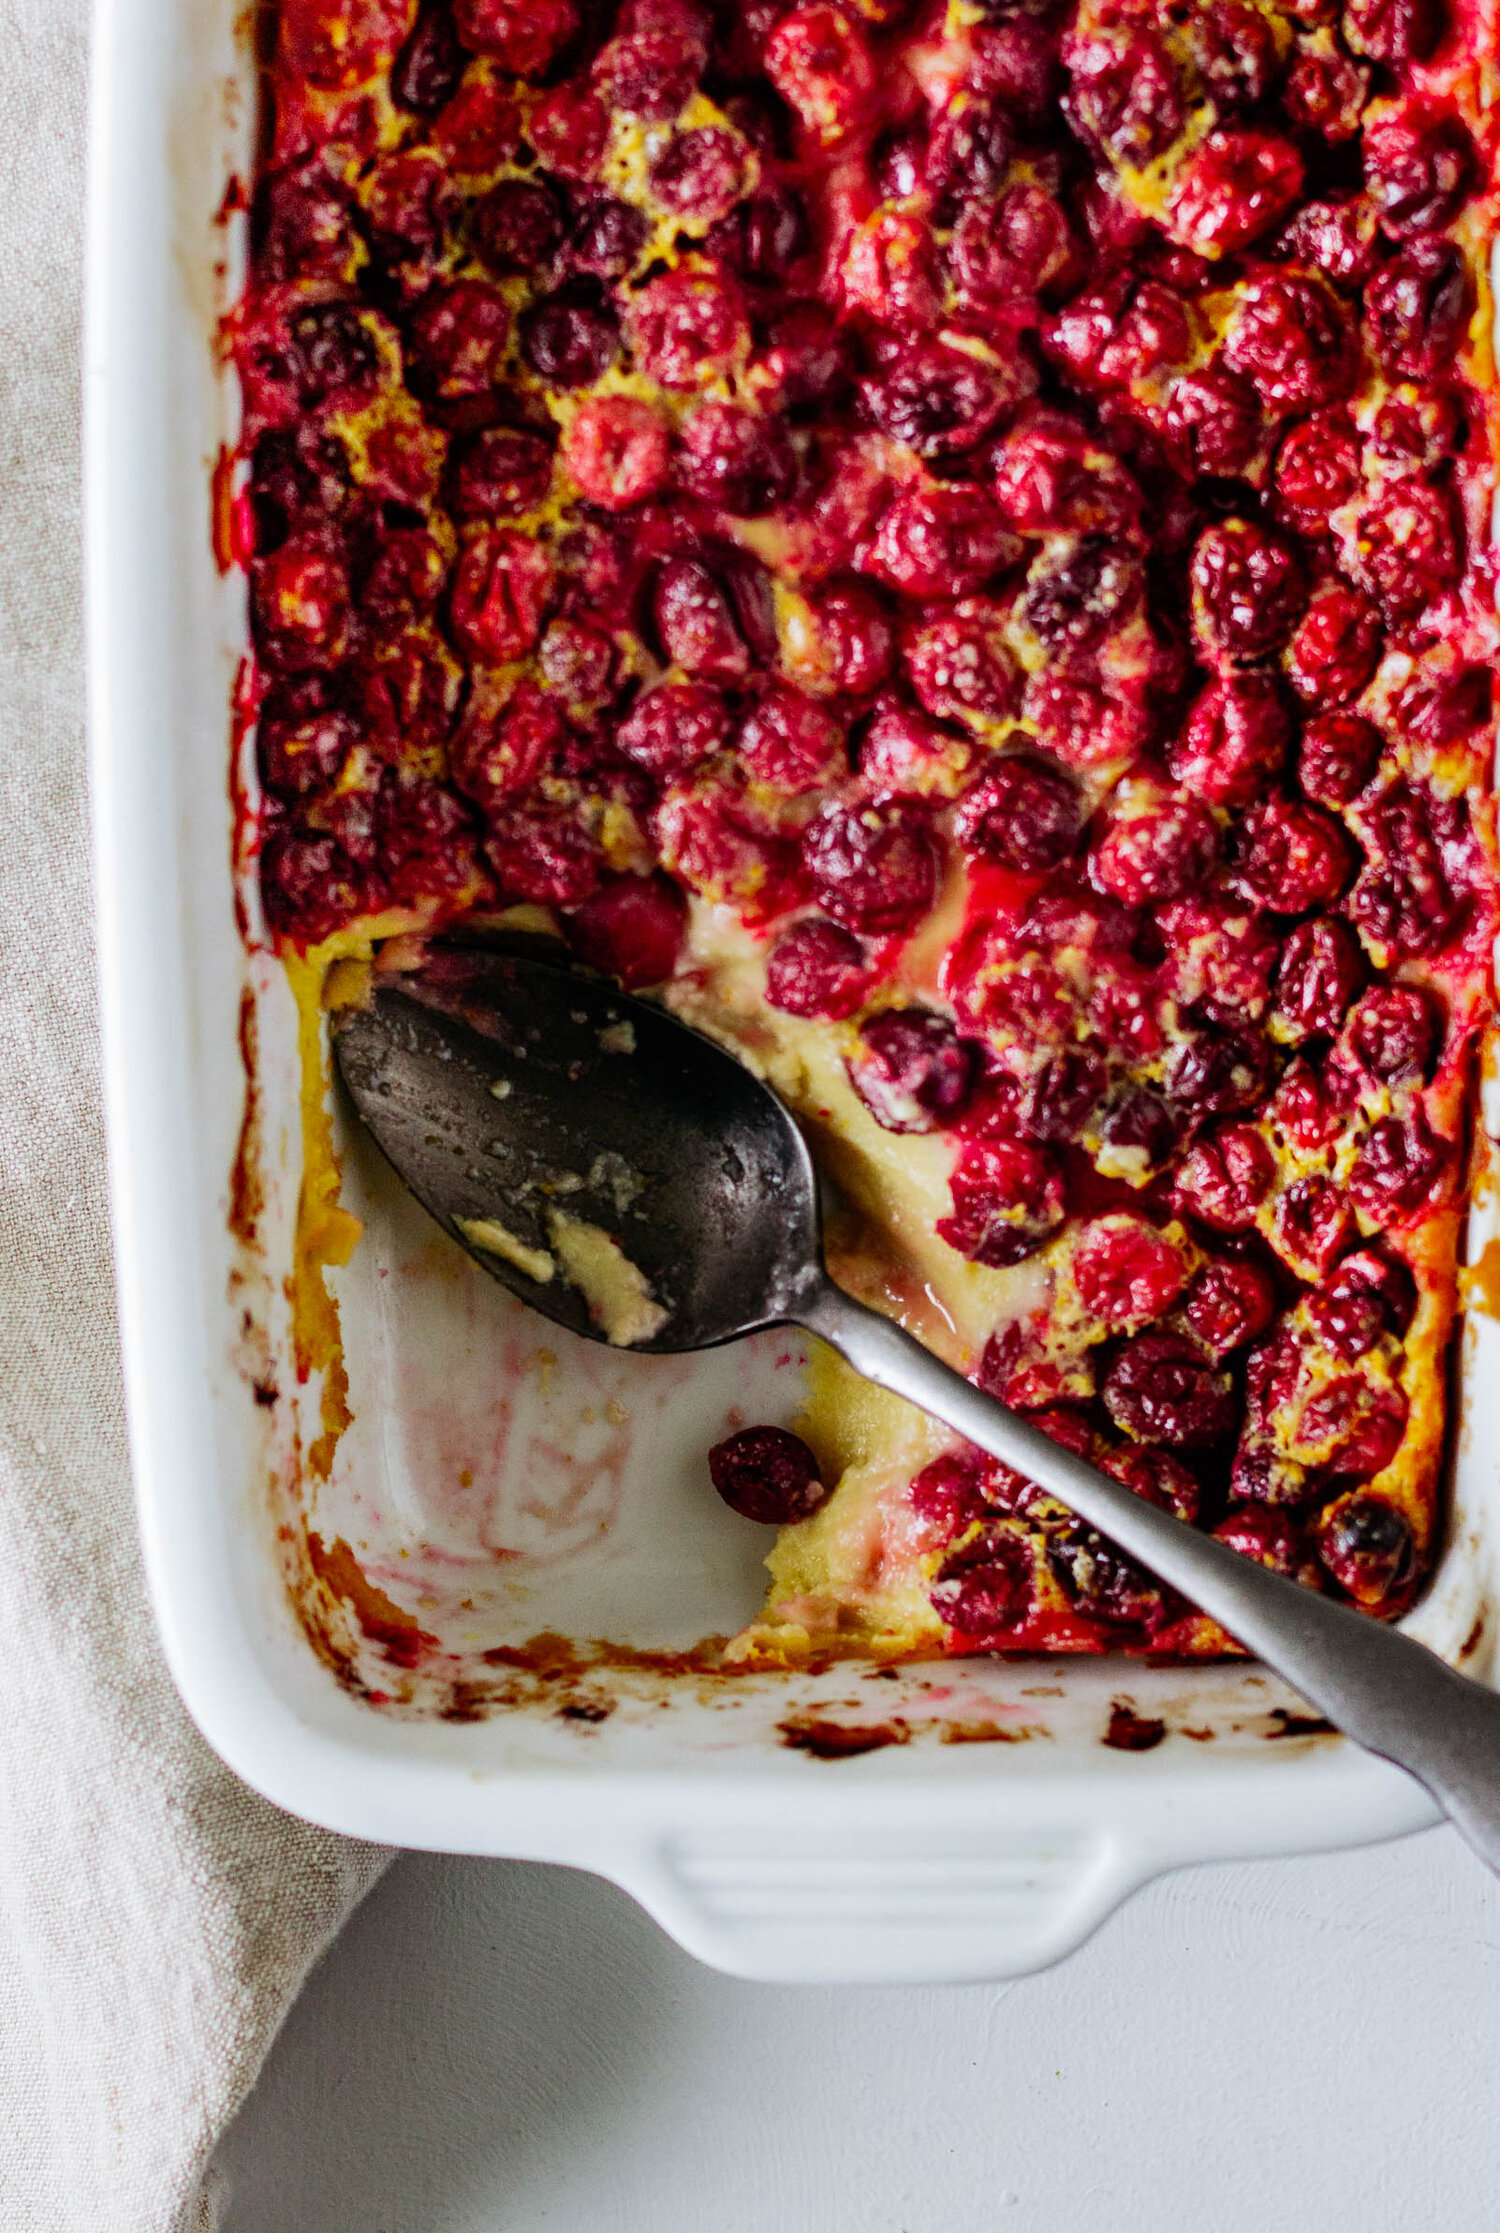
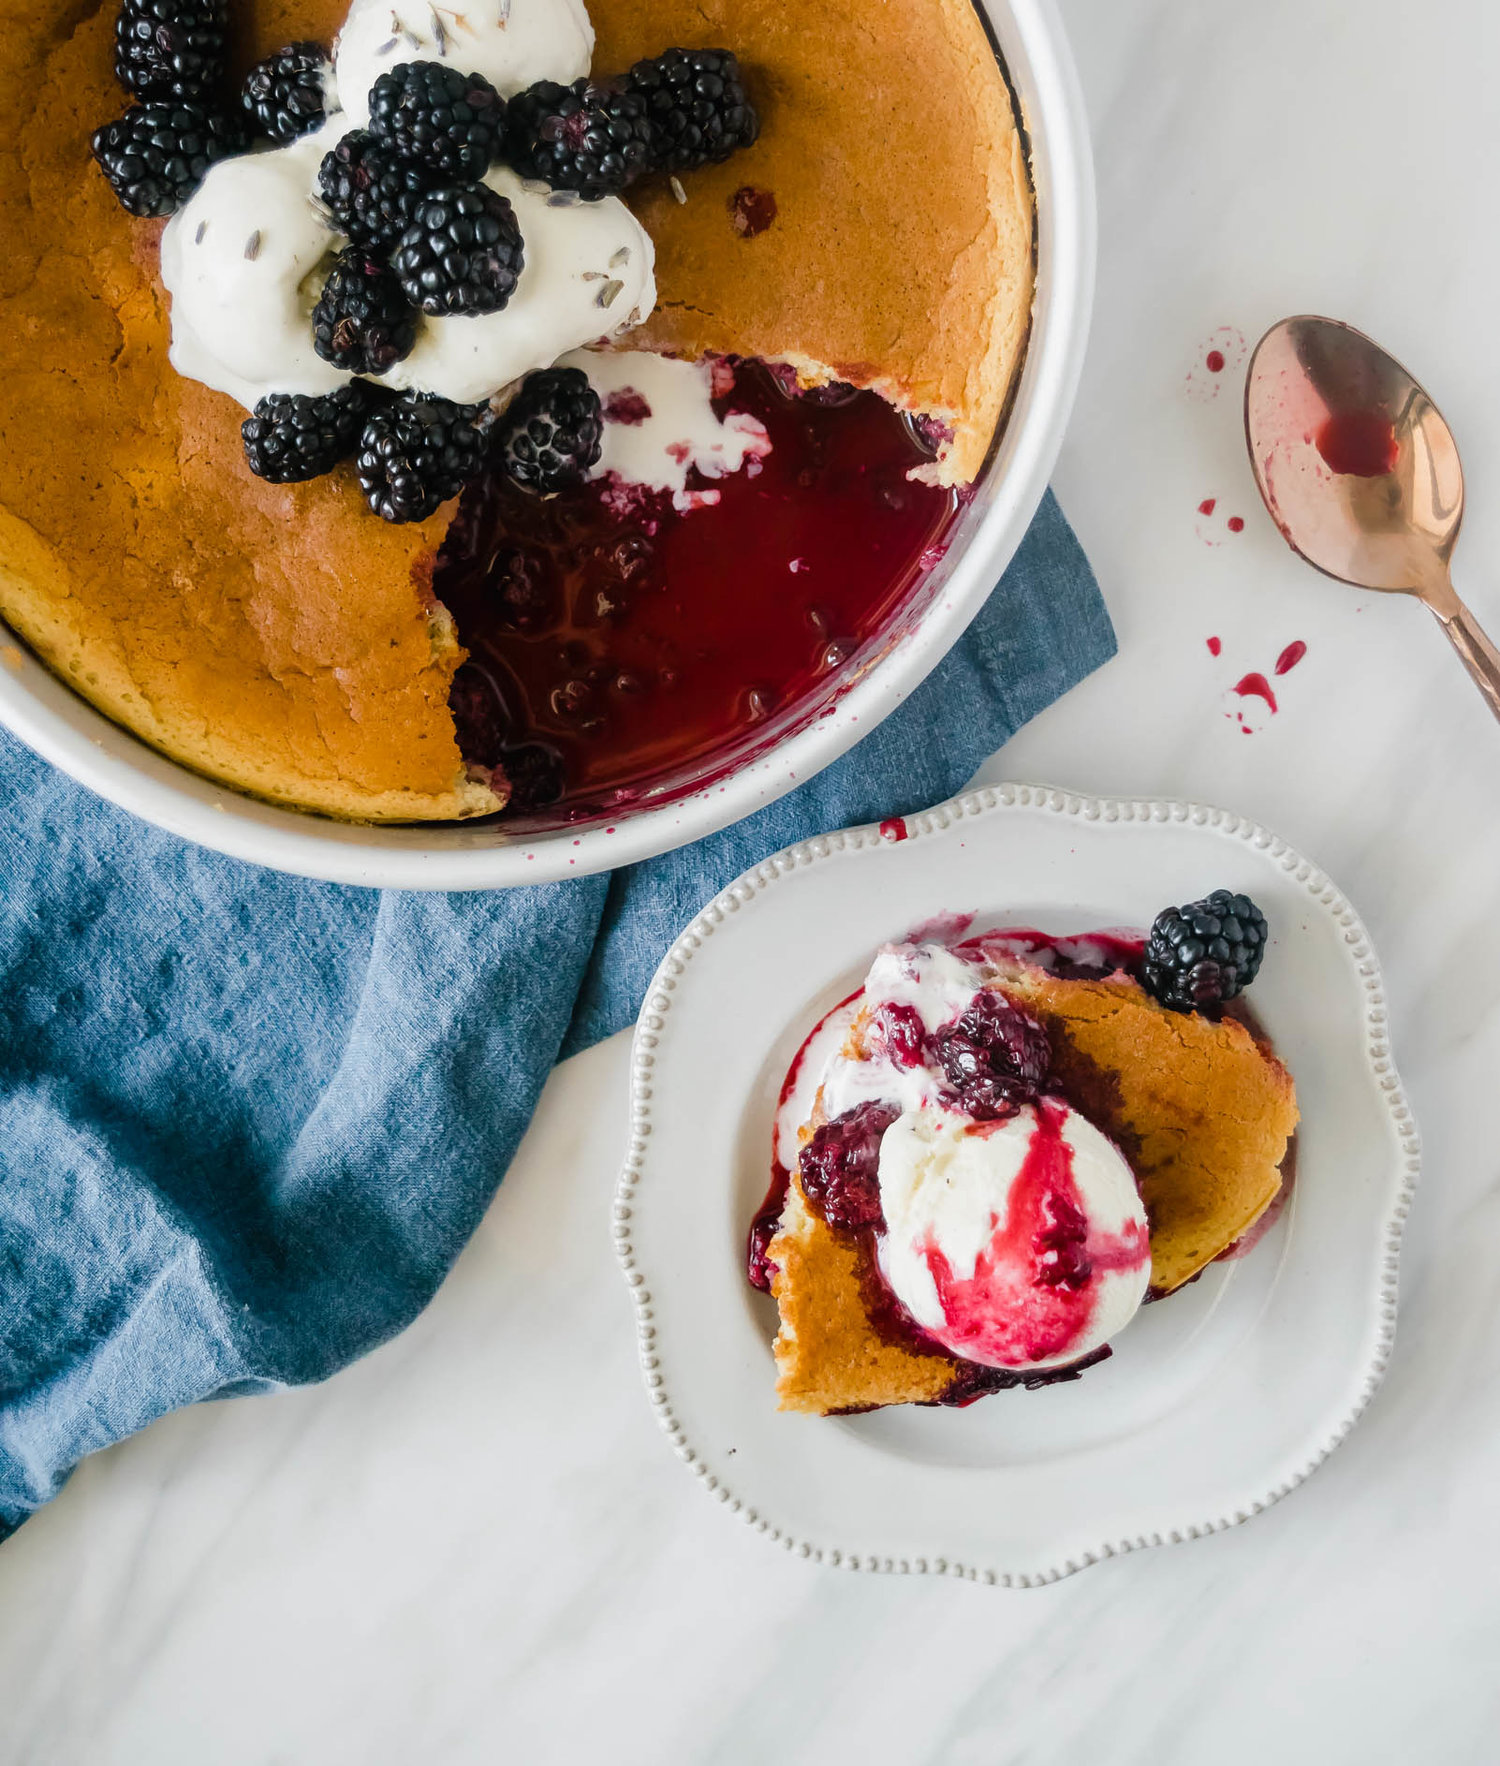
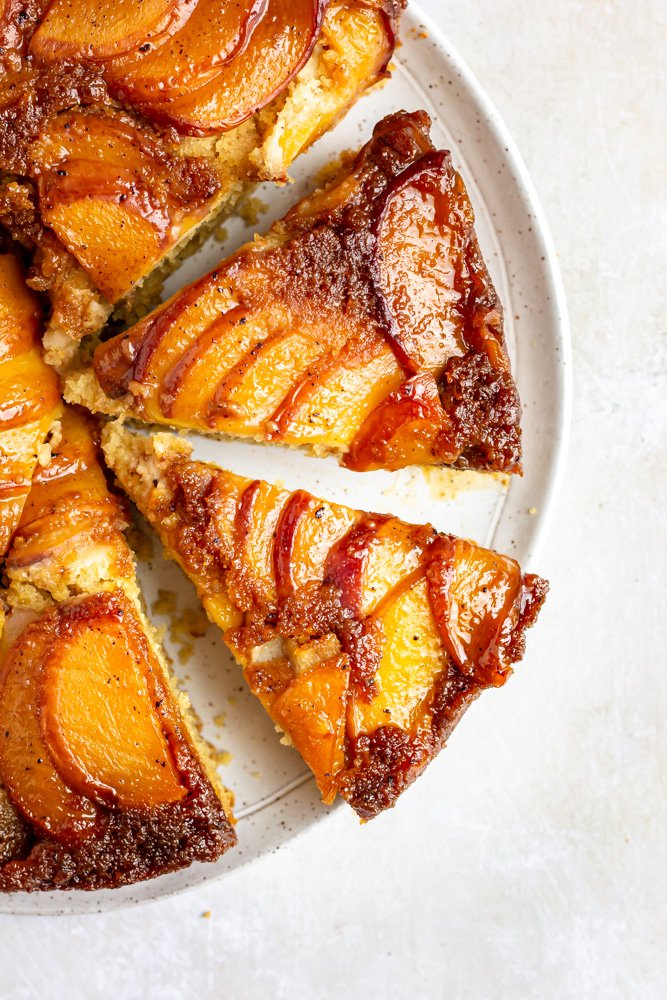
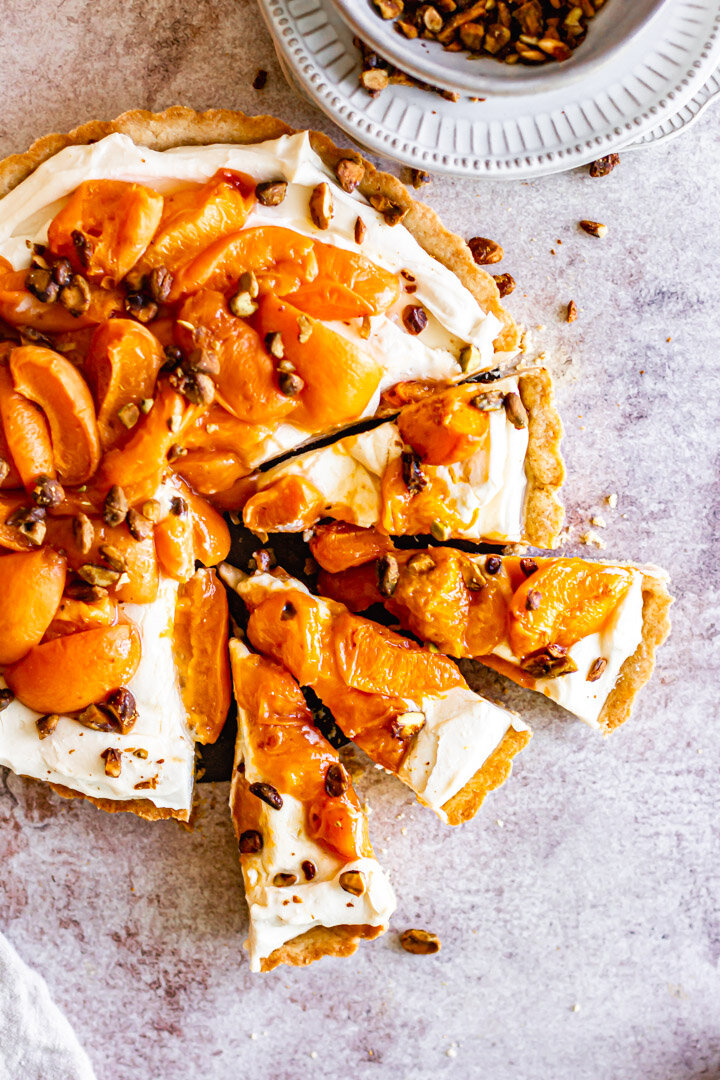
You can very easily use another fruit, like peaches or cherries or nectarines. I recommend eating this outside for maximum summer vibes.

Olive Oil Granola Fruit Crisp
Ingredients
- 1 lb fresh strawberries, quartered
- 6 oz fresh raspberries
- 6 oz fresh blueberries
- 1/4 cup granulated sugar
- 2 tbsp cornstarch
- Juice of 1/2 of a lemon
- 1 cup rolled oats
- 1/2 cup all purpose flour
- 1/4 cup brown sugar
- 1/4 tsp ground cinnamon
- 1/4 tsp kosher salt
- 6 tbsp high-quality, fruity olive oil
- 2 tbsp maple syrup
- 1/2 cup toasted walnuts, roughly chopped
- 1/4 cup shredded coconut
Instructions
- Preheat the oven to 350° F.
- In a small bowl, whisk together granulated sugar and cornstarch to break up any clumps.
- Place fruit in a large bowl and toss with sugar and cornstarch mixture. Add lemon juice and toss to coat. Let macerate while you prepare the topping.
- In a large bowl, whisk together oats, flour, brown sugar, cinnamon, salt, walnuts, and coconut. In a smaller bowl, whisk together olive oil and maple syrup until combined. Add the olive oil and maple syrup to the dry ingredients and use a rubber spatula to stir well, until everything is moistened.
- Pour fruit into a deep 9” round baking dish. Place crumble topping in an even layer on top of the fruit and bake for 40-45 minutes, until fruit is bubbly and topping is deeply golden brown. Let cool for 15-20 minutes, and then serve warm with vanilla ice cream and a drizzle of olive oil.