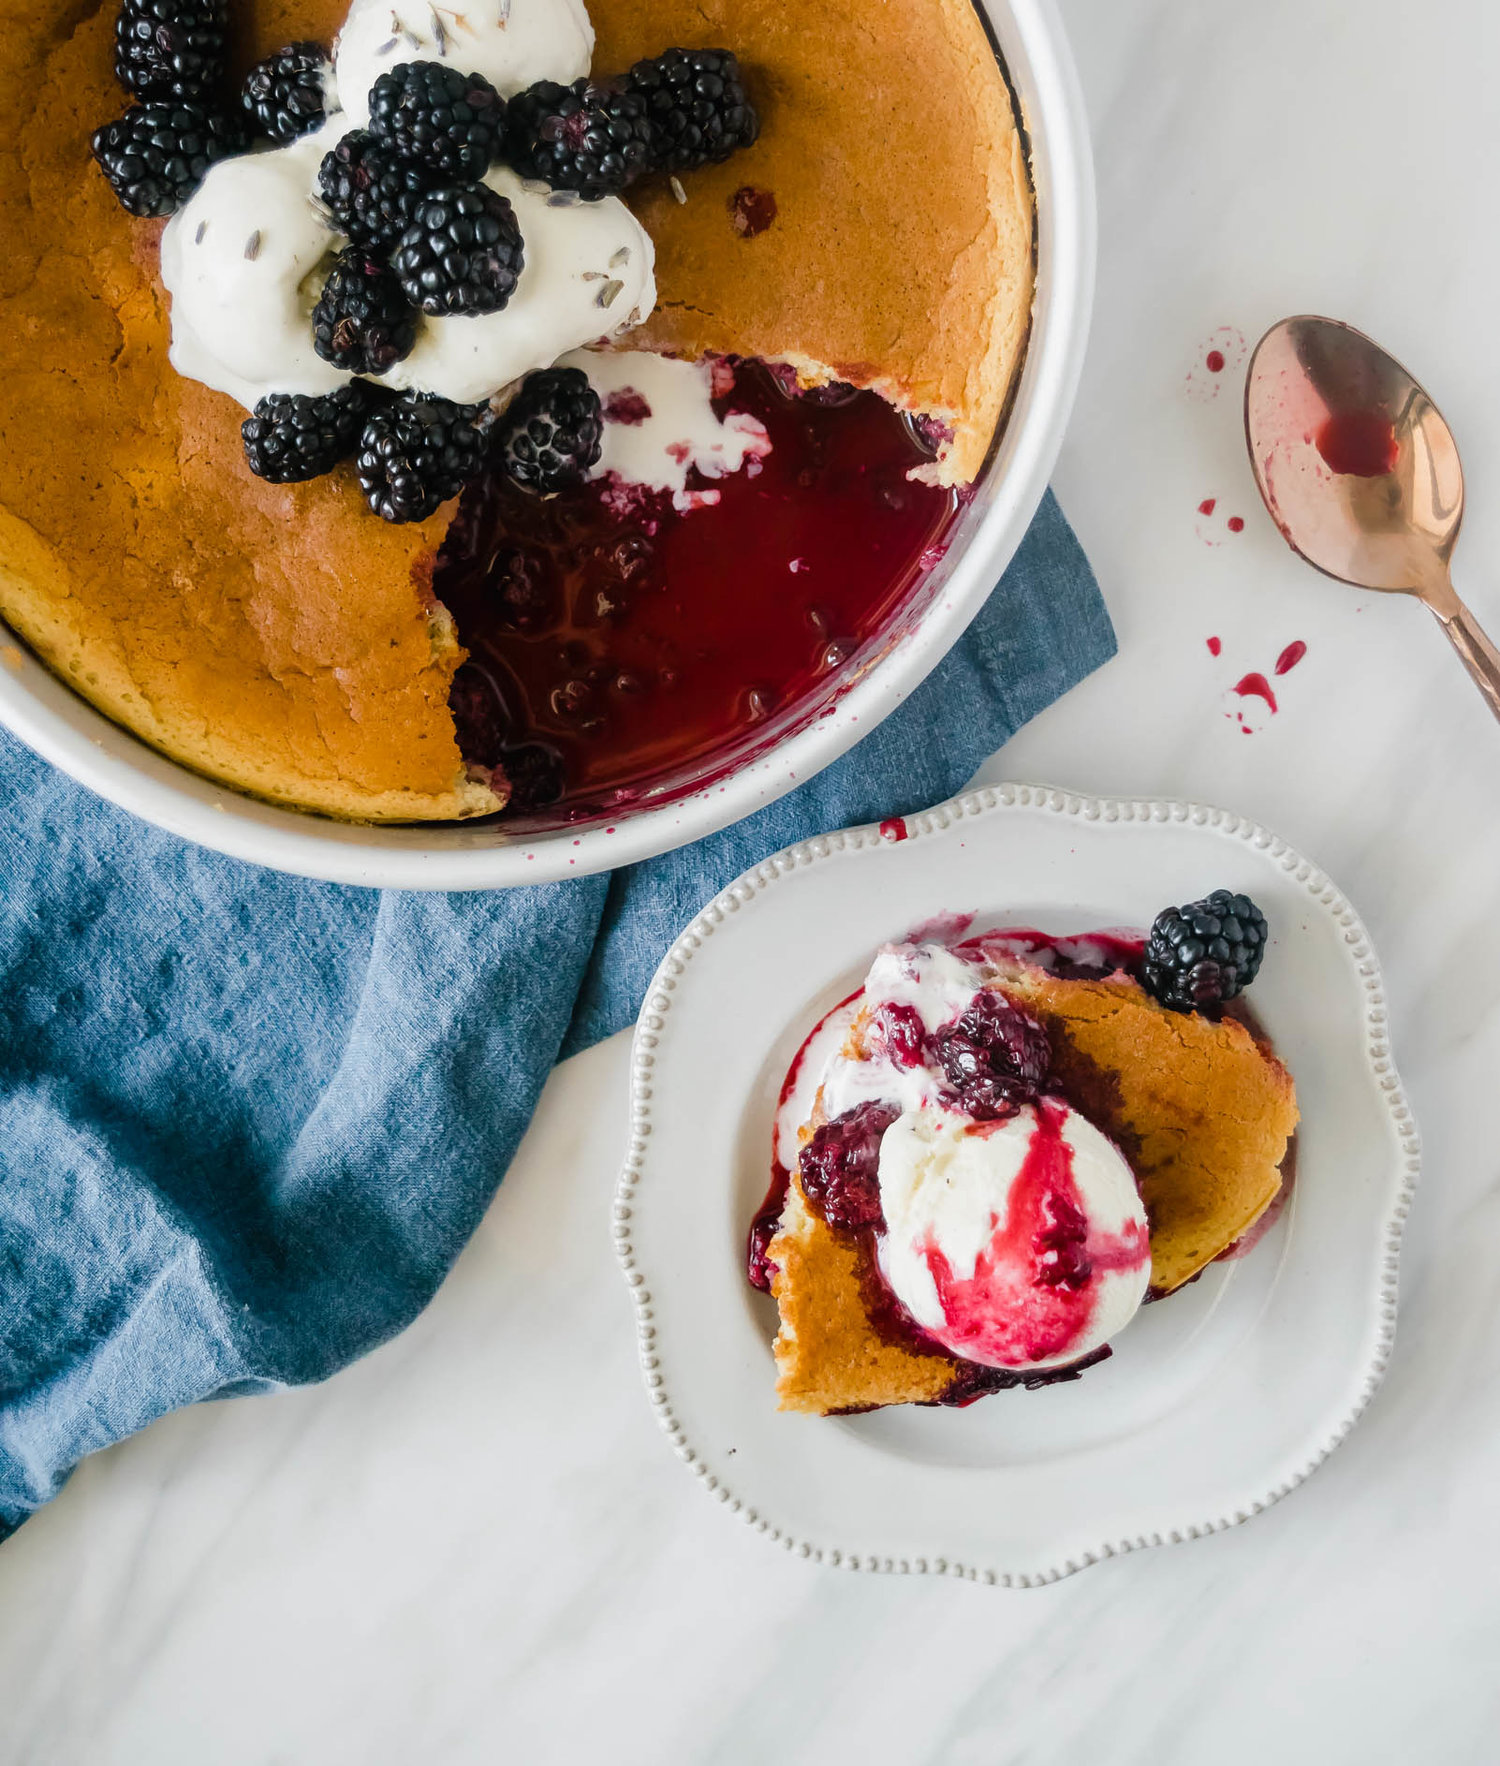
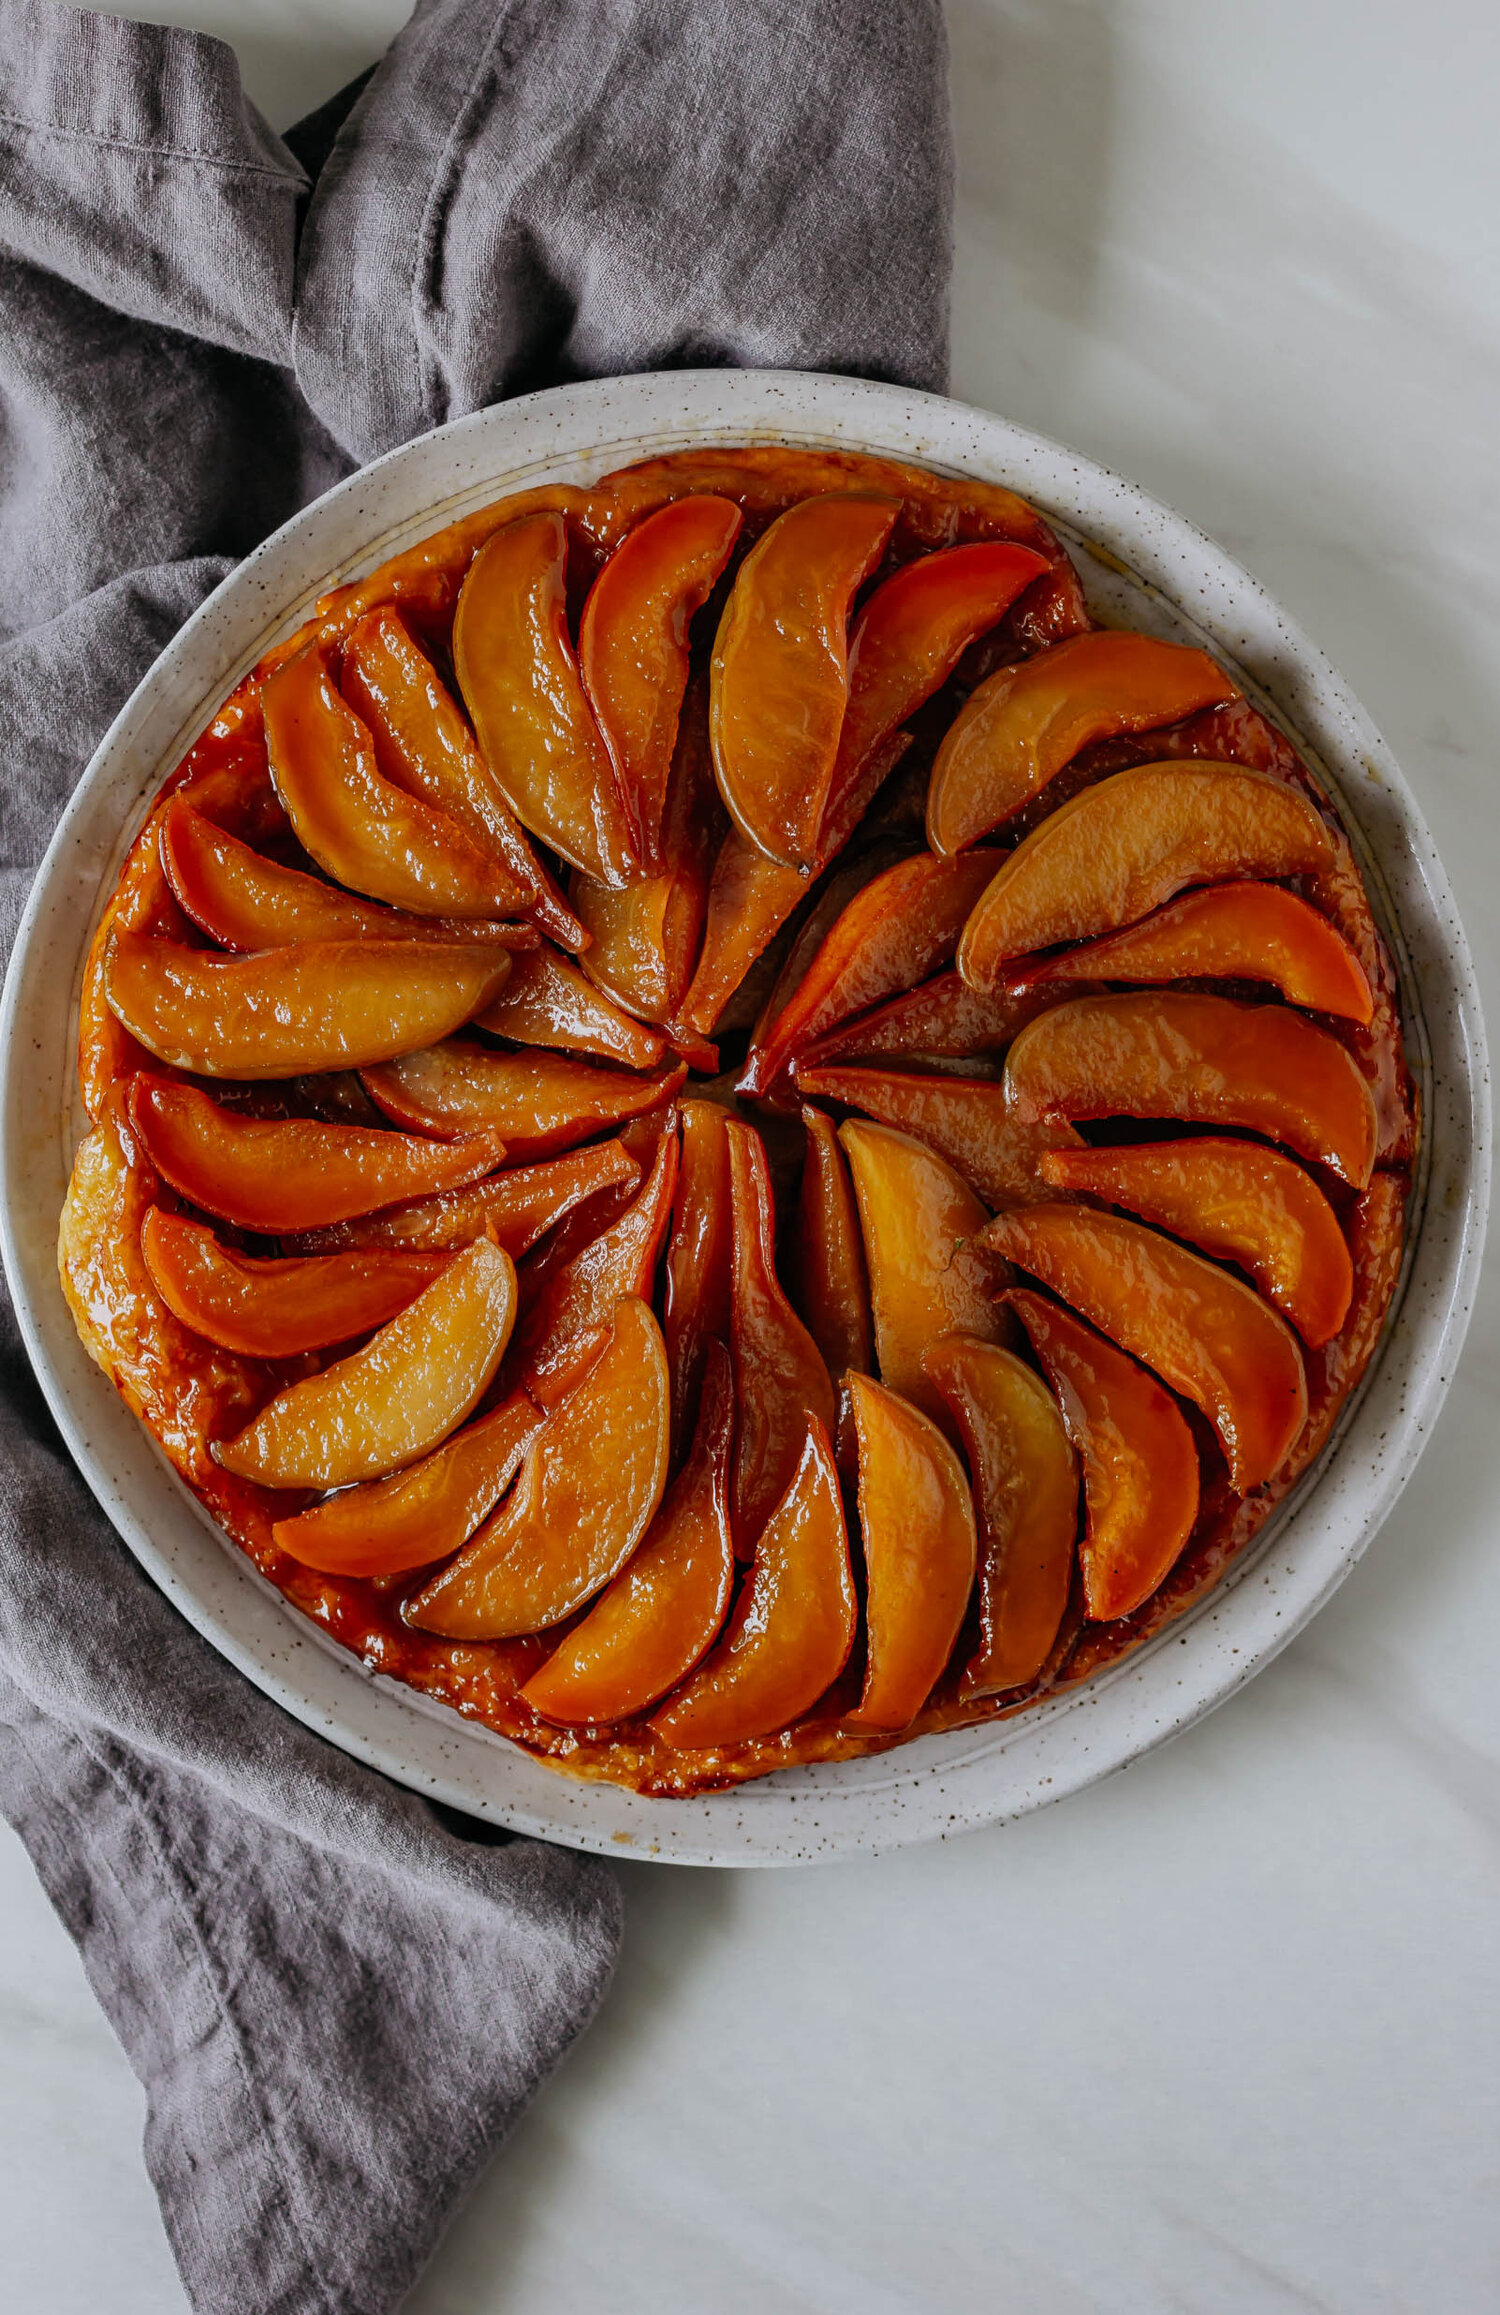
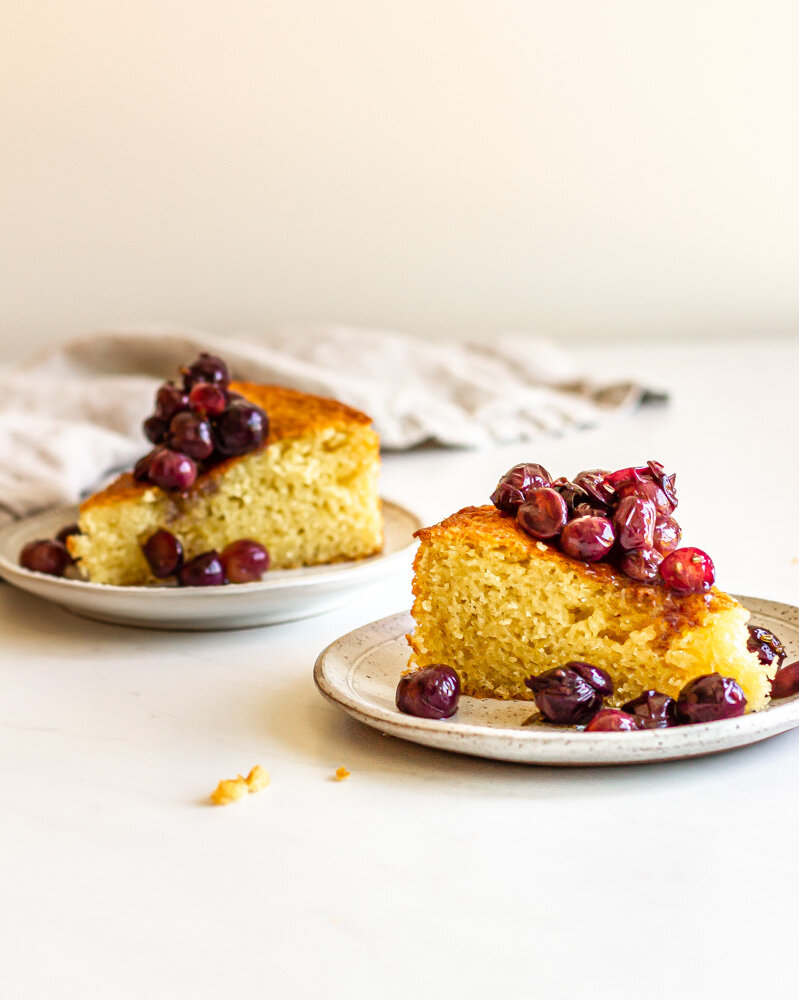
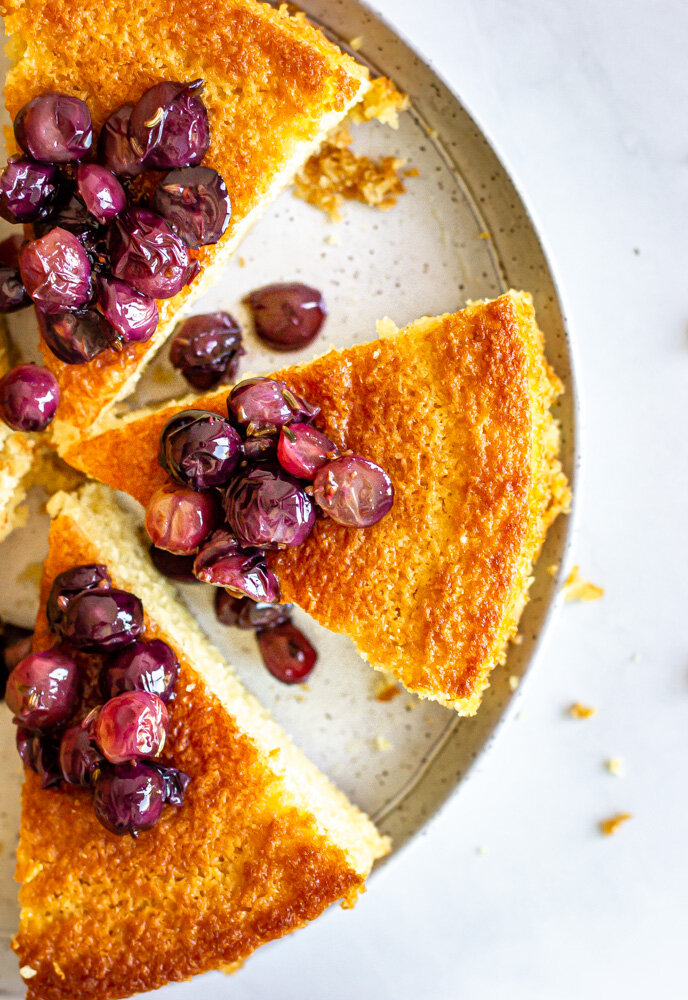
Roasted Grape and Olive Oil Cake
/A classic lemon olive oil cake, topped with bright, late summer grapes, roasted with brown sugar and fennel.

Baking with grapes is just so much fun. All through pastry school, we never touched grapes. We used lots of berries, created a bunch of cakes with bananas, and even played with tropical fruits like mango, pineapple, and passionfruit. But grapes, those were basically for snacking and really nothing else. The idea of creating desserts with grapes truly did not even cross my mind until I was working on the pastry team at Blackberry Farm. We were the most spoiled pastry chefs in the world and would daily get garden deliveries from both the farmers at the resort and other local farmers in the area. Produce deliveries were the highlight of the day and we’d smoosh together (obviously pre-COVID) around cardboard boxes of warm summer strawberries and peaches, snacking as we cleaned them and transferred them to sheet trays (where we would continue to snack off of them all through service…half of the good produce made it into desserts, the other half went straight into our bellies.
Then, in early August, our daily berry haul started to turn into grapes. We got baskets of dark, seedy concord grapes and moon grapes that looked like baby eggplants. They made the most stunning colored sorbets and were worked them into all kinds of desserts on the menu. My mind was blown. But then I returned home where I was greeted with sad, grocery store grapes meant for lunch boxes. Until we moved to Minnesota.
I’ve talked before about our cute little co-op across the street literally bursting with local, seasonal produce. I walked in a few weeks ago to find little satchels of bright, seasonal concord grapes lining the shelves and it took every single ounce of my willpower not to bring them all home with me that very minute. I did, however, start brainstorming about this little cake recipe.

how to make a roasted grape cake
For this cake, I really wanted to grapes to shine so we made them the focal point. A very simple, lemon olive oil was the perfect canvas for our little grape babies. We make the cake by simply whisking together flour, sugar, lemon zest, leavening agents and salt. I added a little semolina flour for a bit of texture, but if you don’t have it, you can just substitute more all purpose flour. Then we mix together the wet ingredients—eggs, buttermilk, lemon juice, and olive oil. The wet ingredients join the dry ingredients and are whisked until the batter is very smooth.
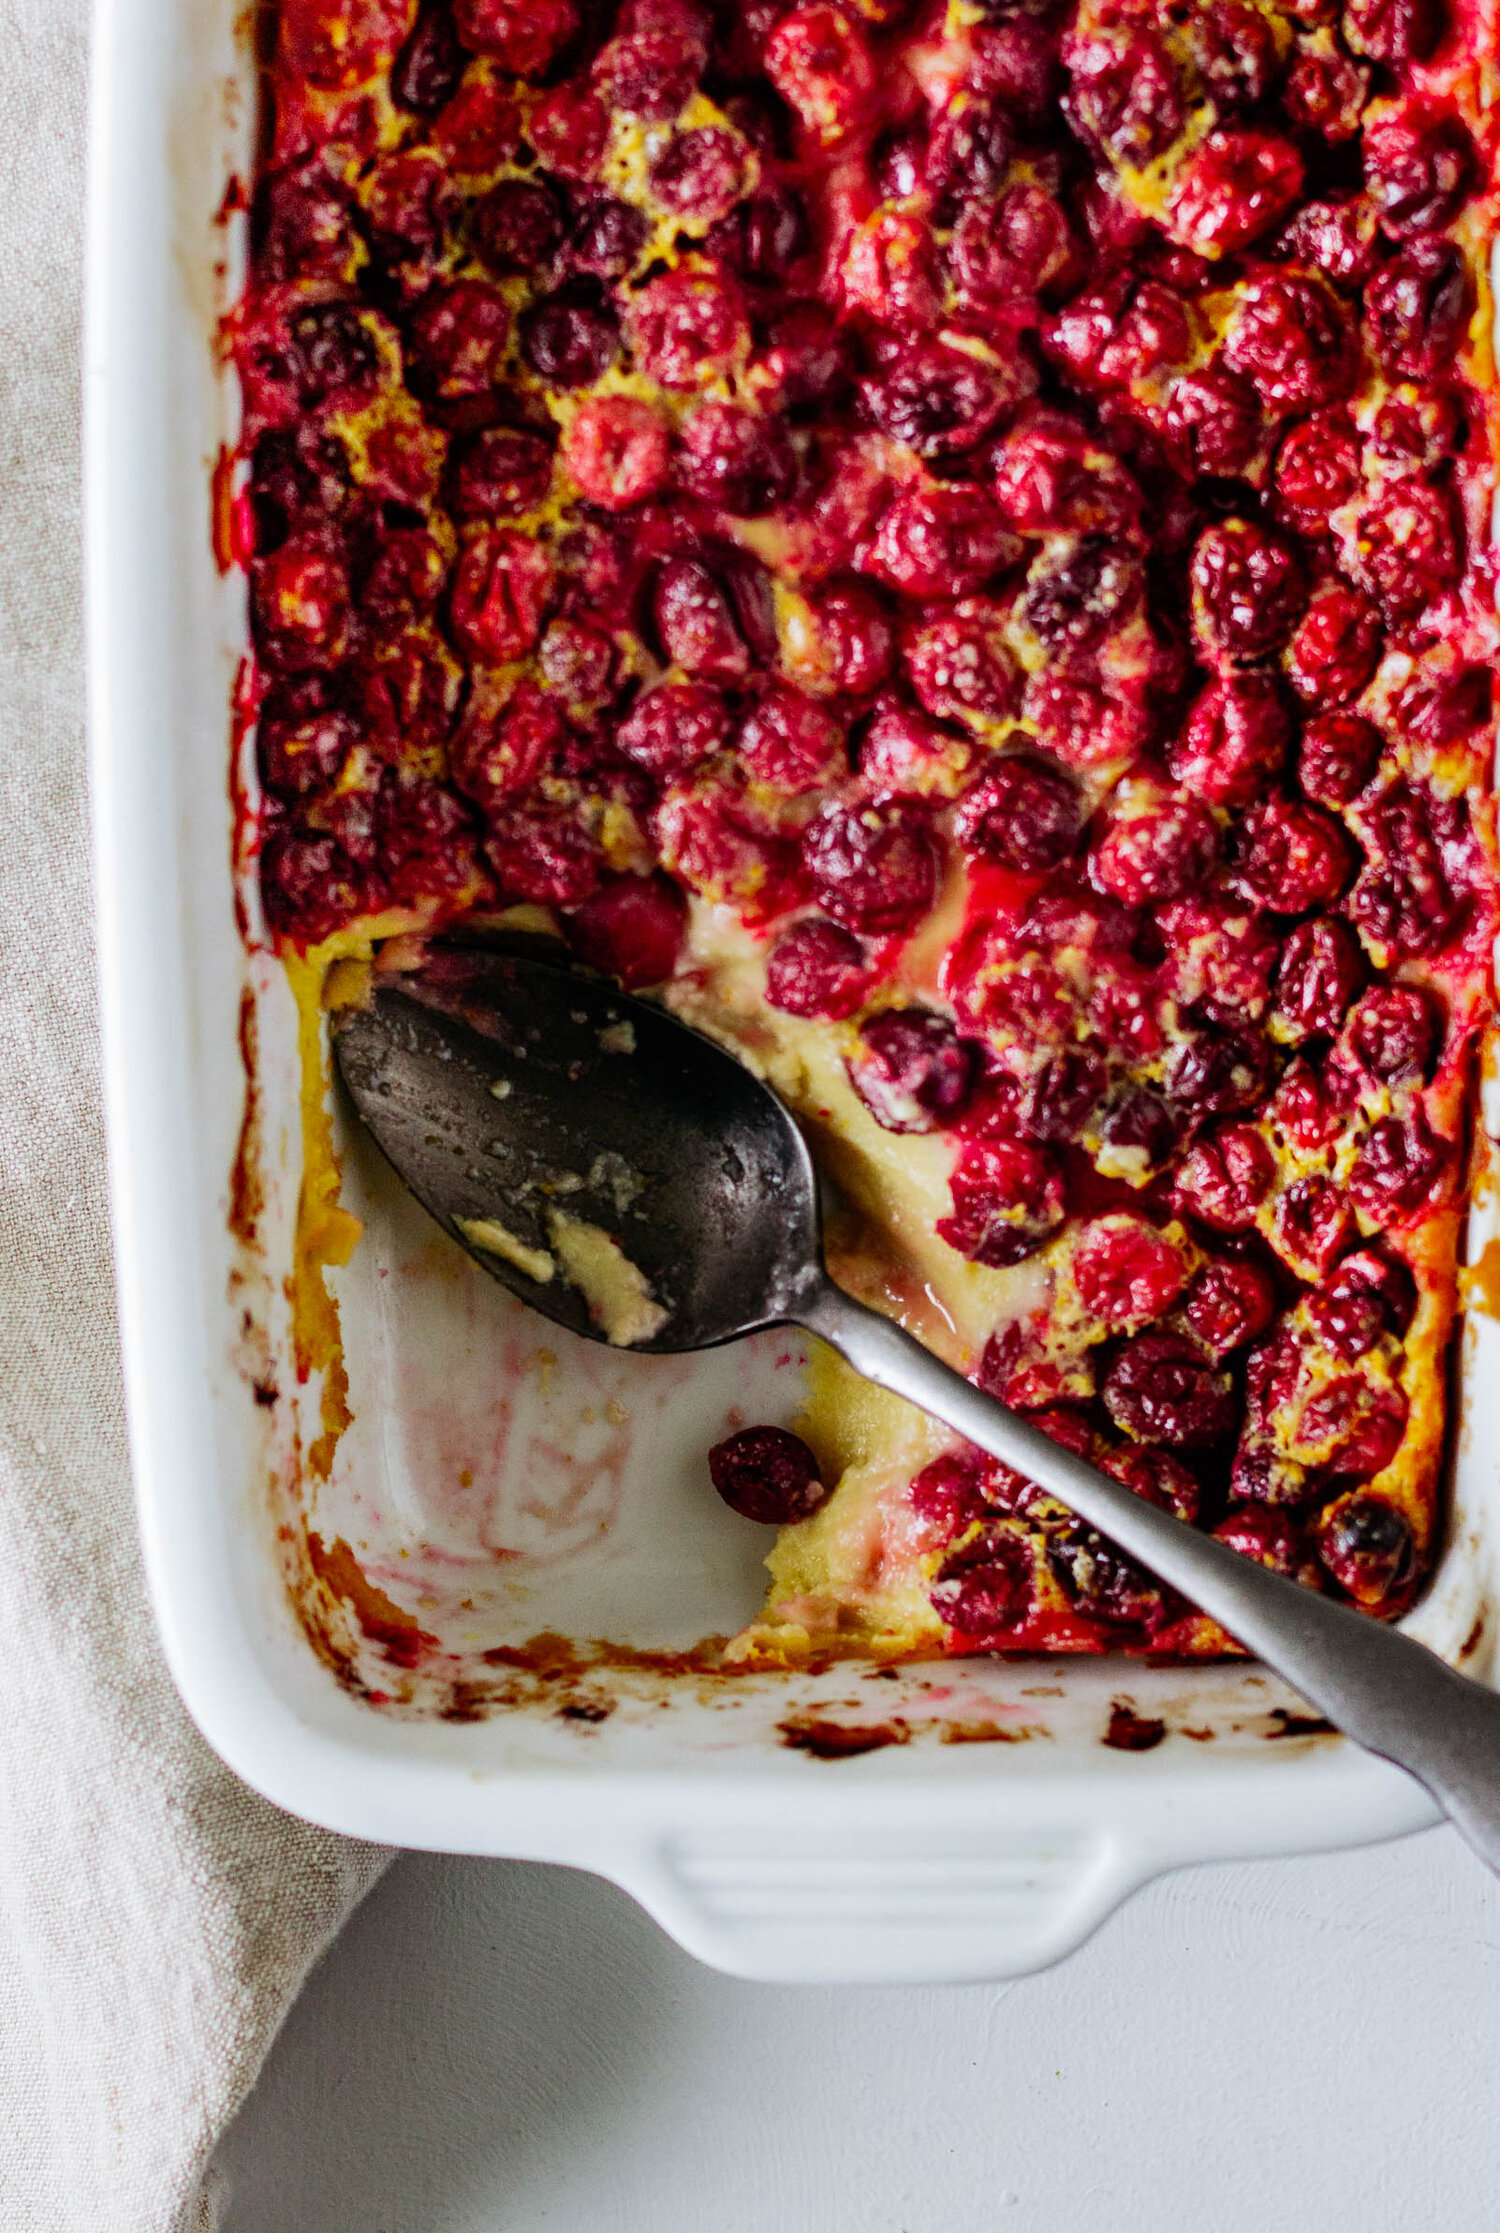
While the cake is baking, we roast the grapes. Simply toss the grapes in brown sugar, some crushed fennel seeds, and olive oil and transfer it to a baking dish. Let the grapes roast until they are beginning to blister and burst (like cherry tomatoes) and the liquid is bubbly. Then spoon the roasted grapes over the cooled and sliced cake and enjoy!
And, if you have any leftover grapes and juices, save them for spooning over ice cream or serving with a dollop of creme fraiche and some shortbread cookies. The flavors in this super simple dessert will impress all your friends, I promise!

Roasted Grape and Olive Oil Cake
Ingredients
- 10 oz (300 g) grapes
- 2 tbsp brown sugar
- 1 tsp fennel seeds
- 2 tbsp olive oil
- 1 1/4 cup (250 g) granulated sugar
- Zest of one large lemon
- 1 1/2 cup (180 g) all purpose flour
- 1/2 cup (80 g) semolina flour
- 3/4 tsp baking soda
- 1 1/2 tsp baking powder
- 1 1/2 tsp kosher salt
- Juice of one large lemon
- 1 cup (200 g) olive oil
- 1 cup (227 g) buttermilk, at room temperature
- 3 eggs, at room temperature
Instructions
- Preheat oven to 350° F.
- Roughly chop fennel seeds and place them in a large bowl. Add the grapes, brown sugar, and 2 tbsp of olive oil and stir to coat. Transfer the mixture to a baking dish and roast for 20-25 minutes, until grapes are soft and have just begun to burst. Remove from the oven and let cool.
- Grease a 9” springform pan with olive oil and line with parchment paper, set aside.
- In a large bowl, combine granulated sugar and lemon zest. Use your fingers to rub the zest into the sugar until well-mixed. Add the flour, semolina flour, baking soda, baking powder, and salt to the sugar mixture and whisk everything to combine.
- In another medium-sized bowl or large glass measuring cup, whisk together olive oil, buttermilk, lemon juice, and eggs until smooth and homogenous.
- Slowly pour wet ingredients into the bowl with the dry ingredients, and whisk until the batter is smooth and no clumps of flour remain.
- Pour batter into your prepared springform pan and smooth into an even layer using a knife or offset spatula. Bake for 45-55 minutes, until the cake is dark golden brown in color, the sides are beginning to pull away from the pan, and the center is set and no longer wiggly. (If the top is getting too brown, but the center is not yet set, you can loosely place a piece of foil over the top to slow down the browning.)
- Let the cake cool completely in the pan before inverting onto a plate. Slice the cake and spoon the roasted grapes over top of each slice.