Chai Snickerdoodles
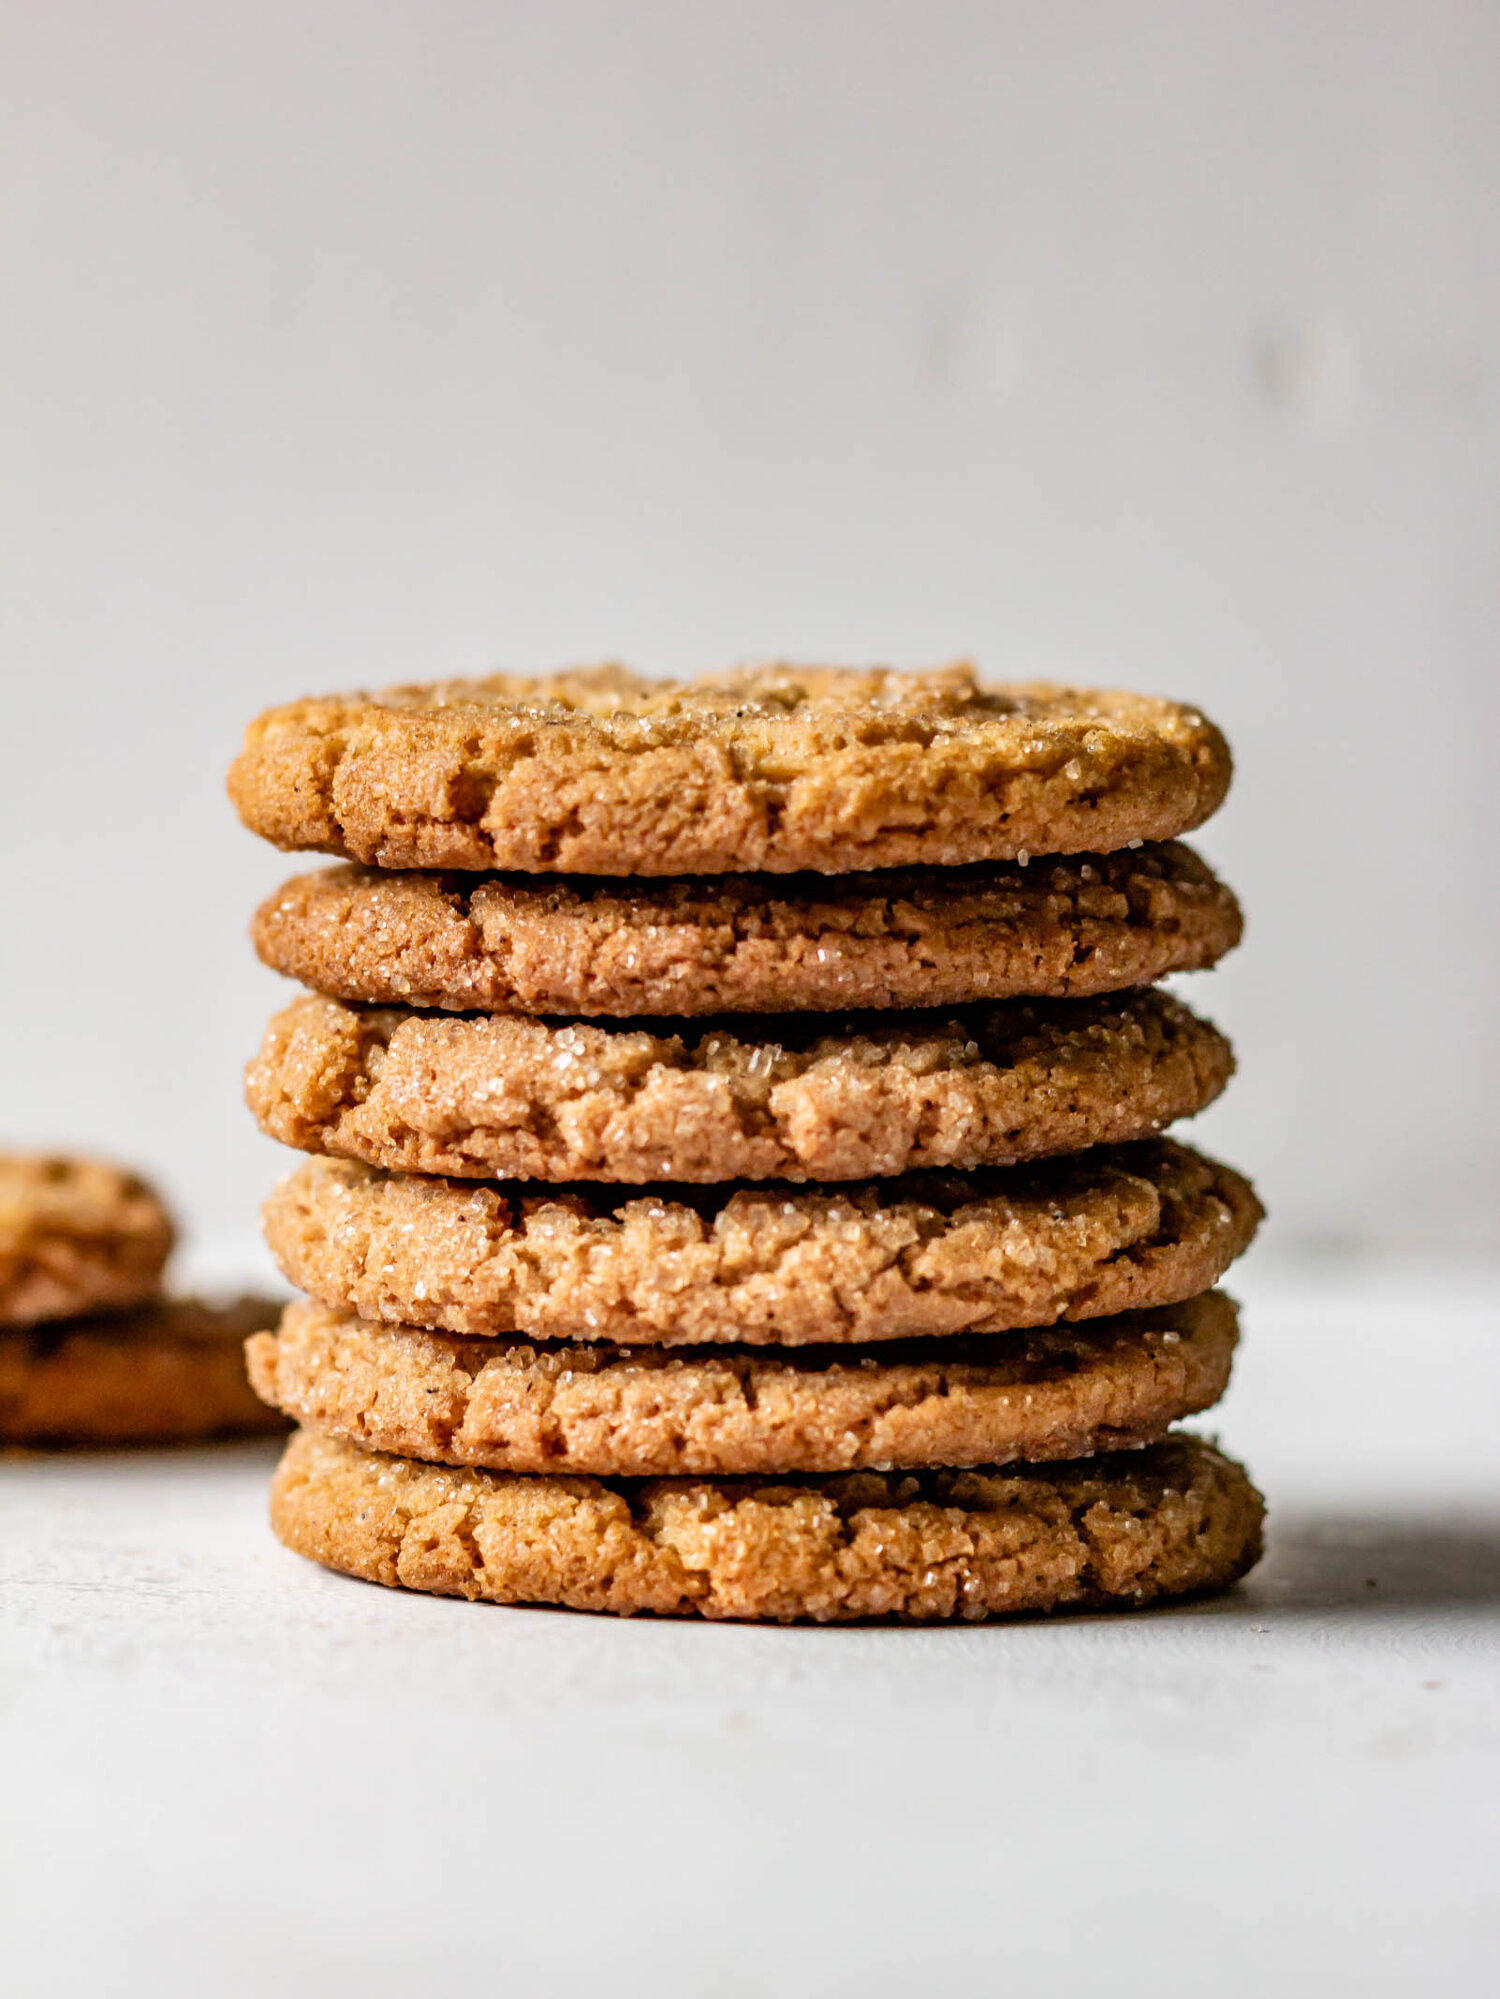
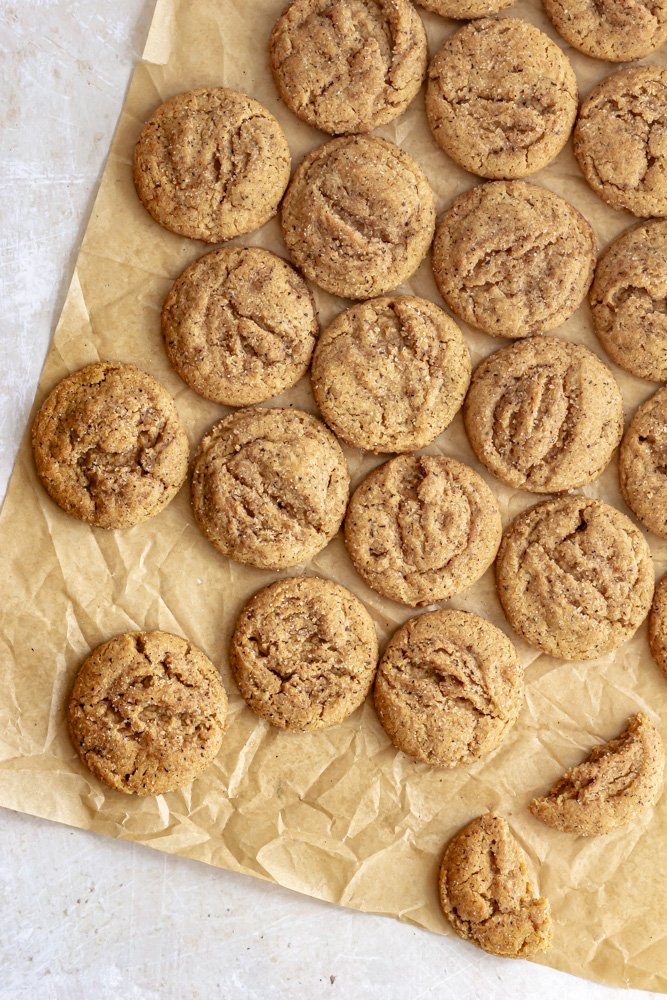
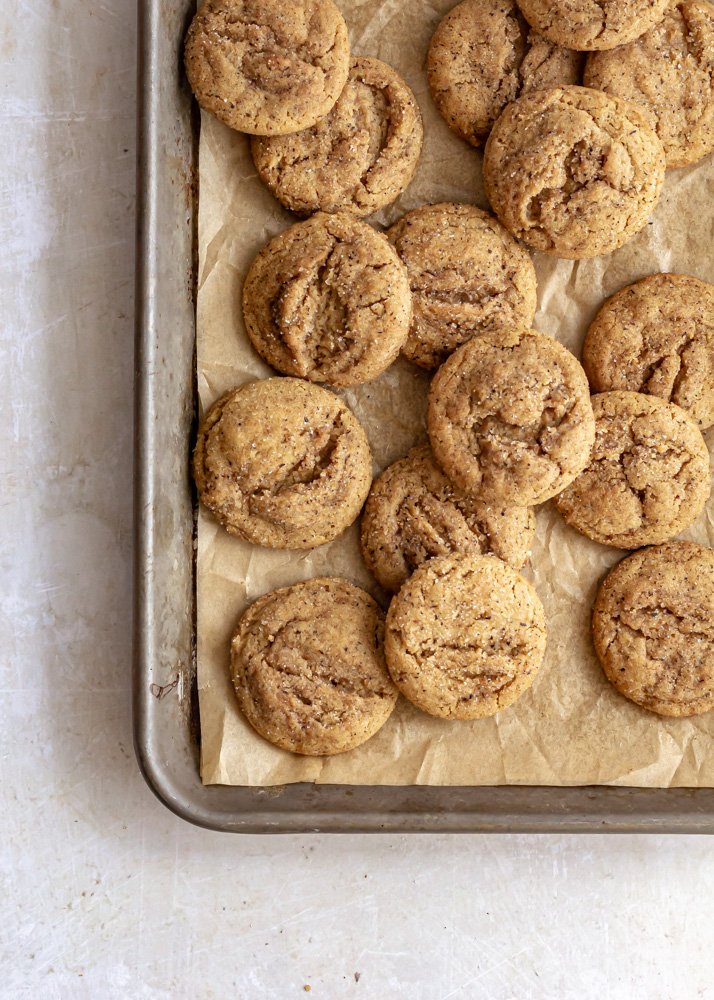
/Warm and cozy homemade chai spice blend and soft and chewy snickerdoodles are a match made in heaven. This simple recipe makes the perfect cookies with crispy edges and pillowy centers.

I’ve been a little quiet on the blog for the past few weeks, but not to worry—I’ve still been cranking out recipes and sharing them with you like a mad woman. In case you missed it, at the beginning of the month, I launched Pastry School 101—a weekly newsletter teaching you creative baking recipes and foundational pastry skills. Each month we will deep dive into technique or ingredient and I’ll break down the science behind the process, give step by step instructions, and lots of tips and tricks for pastry mastery. There will also be two bonus recipes each month that incorporate the featured monthly skill/ingredient and there are places within the publication for where readers can comment/ask questions/chat about each recipe or post. This month, we took a little at whipping eggs (both whites and yolks) made olive oil chocolate mousse, and classic tiramisu, and had a blast. If you aren’t already in our little community, I’d love for you to join us!
But now I’m back and I’ve got cookies for you!
This holiday season, my sister was looking for a winning recipe to bring to her annual Christmas Cookie Party. We were chatting about what kind of cookie she could make and the idea of a spiced chai cookie came to mind. I didn’t have time to test a whole new recipe and get it to her before the party, so I told her to make the chai spice blend from my dirty chai banana bread recipe and make my hawaij snickerdoodles subbing the chai spice in place of the hawaij. My sister reported back that they were winners.
We decided to make another batch together over our Christmas holiday they really were perfect. 100%. No notes. So now I’m sharing them with you.
homemade chai spice blend
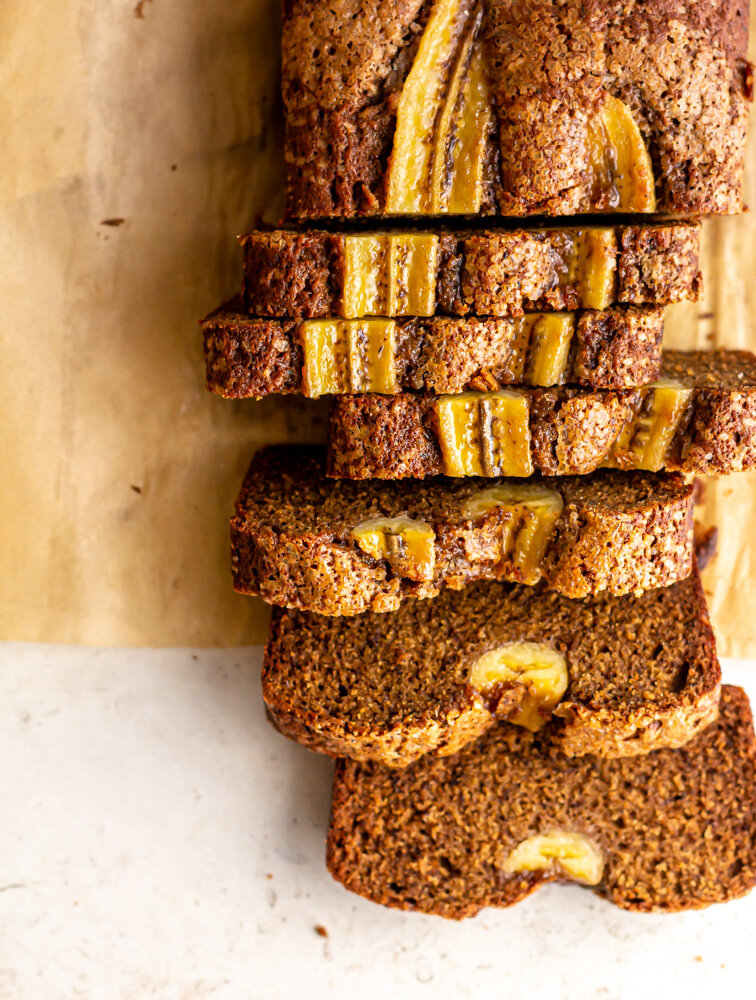
Making a batch of chai spice blend is as simple as stirring together a few spices and keeping it in a jar in your spice cabinet. We’re incorporating ground black tea (from tea bags), a hefty amount of cinnamon, cardamom, and ginger, and lots of supporting characters like cloves and black pepper. This recipe will make more than you need for the cookies so make a batch of banana bread of keep it in pantry for stirring into coffee.
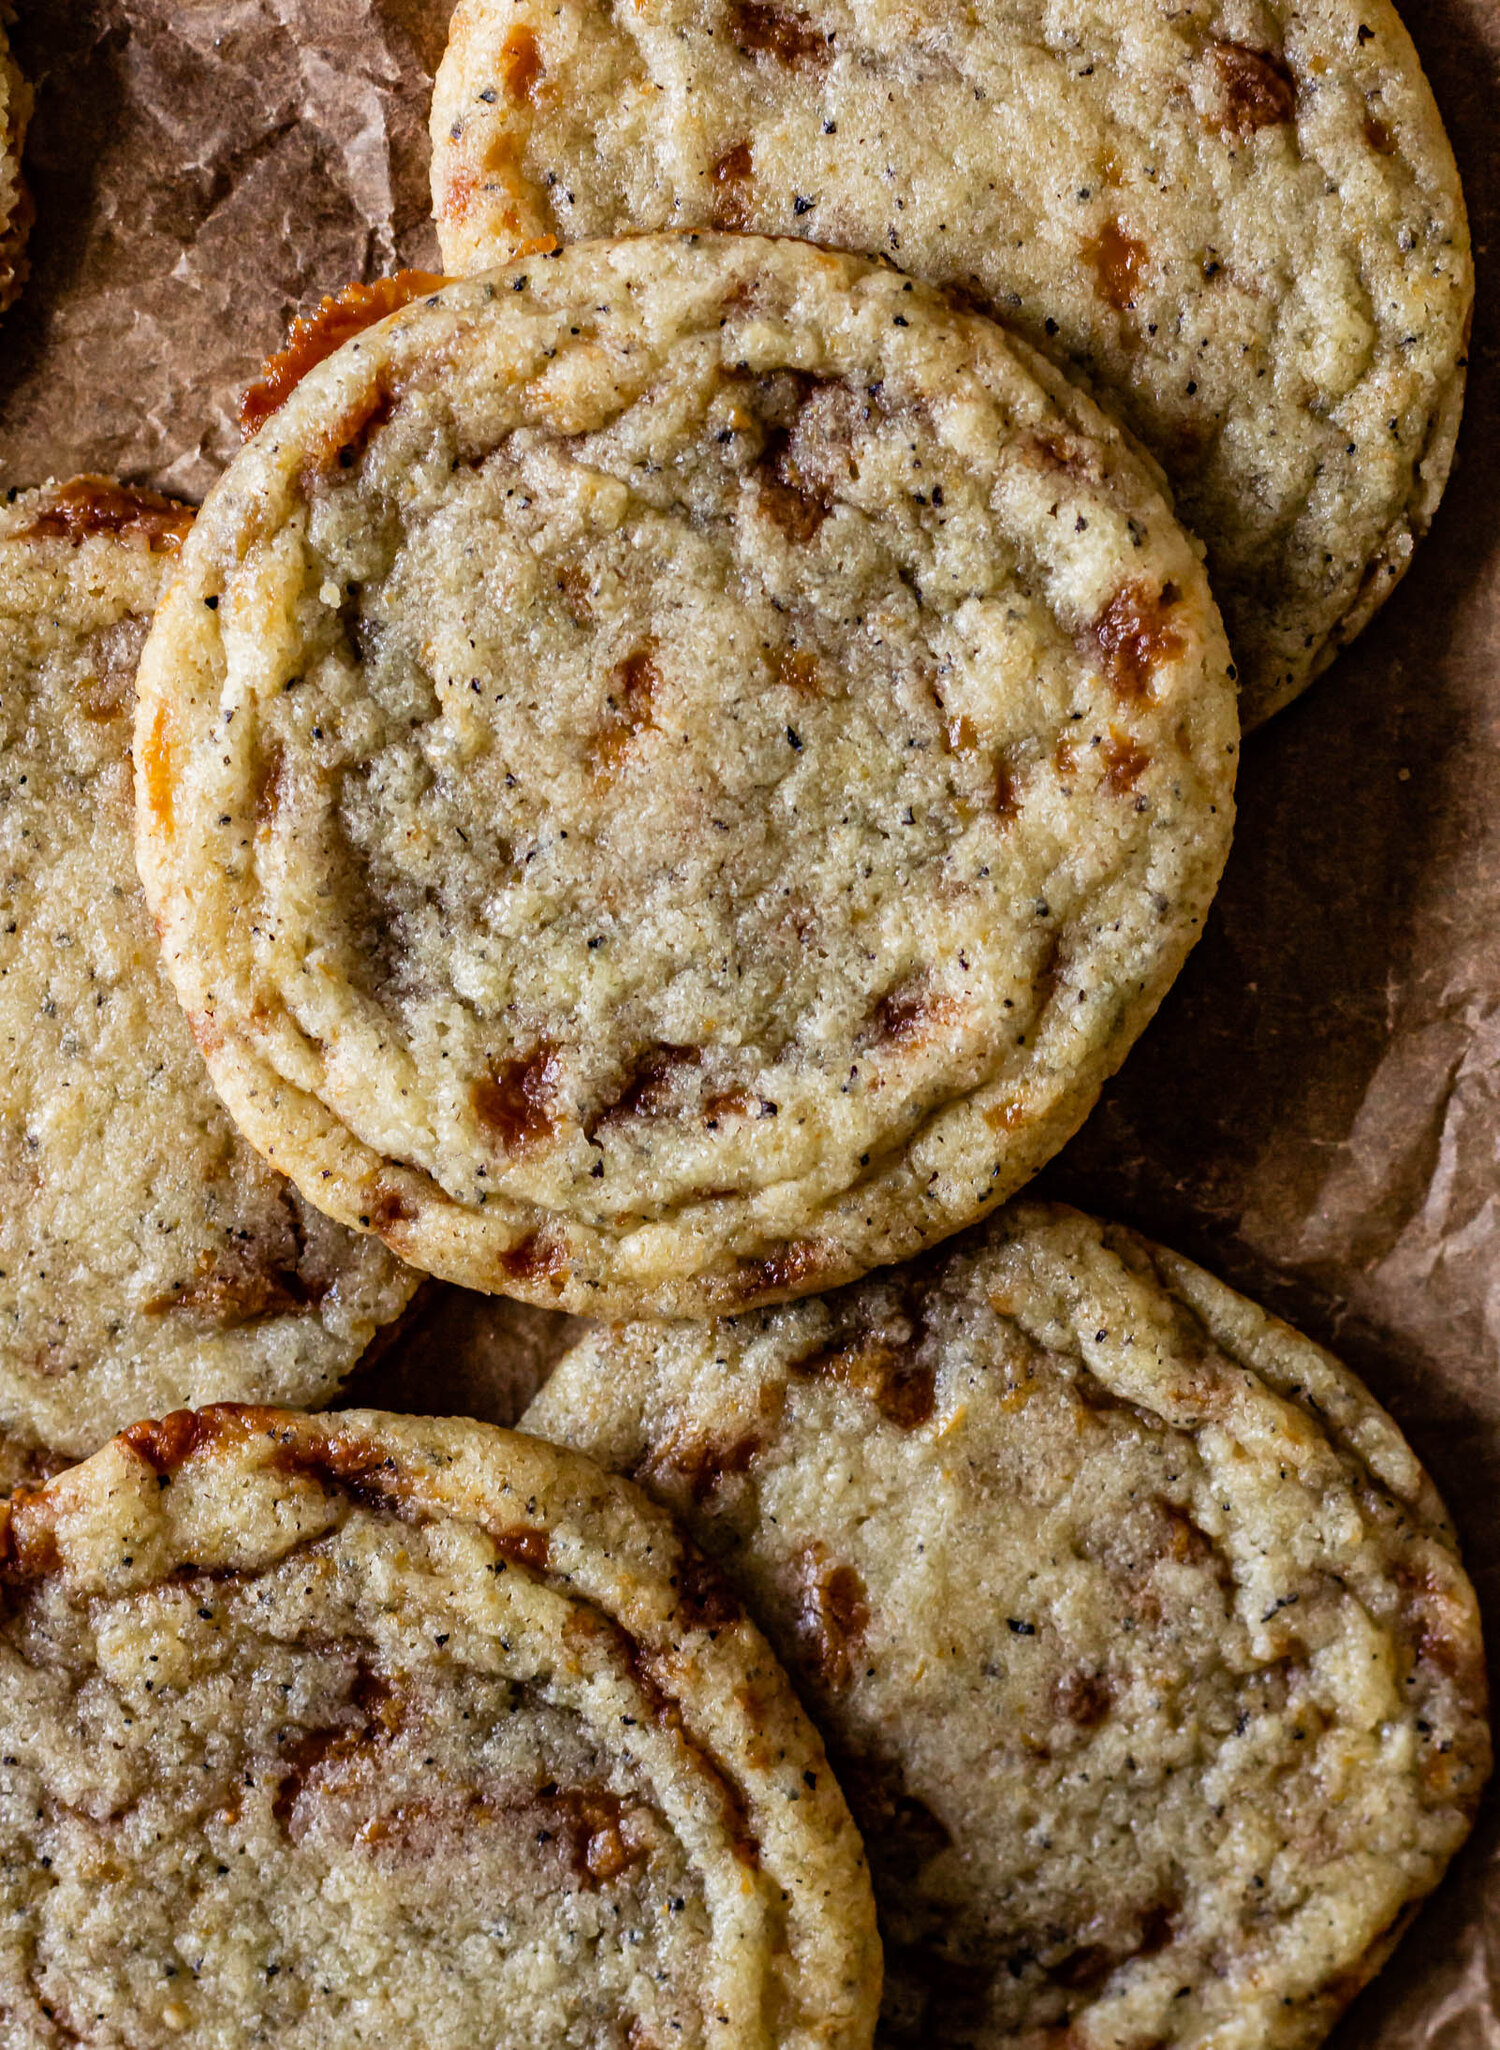
soft and chewy snickerdoodles
I had a reader once tell me that molasses is never used in snickerdoodle recipes, but I love it and I don’t care what anyone thinks. I love love love using molasses in my spiced snickerdoodle recipes for two main reasons:
Molasses is made by boiling, reducing, and concentrating the juice extracted from sugar cane. We know that cooking sugar creates caramelization so when molasses is incorporated into recipes it not only adds sweetness, but a deep caramelized flavor perfect for pairing with warm spices.
Molasses is a type of invert syrup, a scientific balance of fructose and glucose, that in baking, adds sweetness and liquid at the same time. Adding an invert syrup like molasses to a recipe will greatly increase moisture, creating a softer, chewier cookie and extending shelf life.
Otherwise, this recipe is very straight forward. Melted browned butter is mixed with sugars, followed by eggs, vanilla, and molasses, and then dry ingredients are folded in. The batter does need a short chill time (about 30 minutes) in order to hold its shape during baking, and then, like any good snickerdoodle, we roll it in sugar.
One last recipe tip: I’ve made this recipe using a stand mixer, a hand mixer, and just a wooden spoon or a rubber spatula. I’ve found that though it may take a little more elbow greaser, the wooden spoon/spatula mixing method yielded the thickest, softest cookie.

Chai Snickerdoodles
Ingredients
- 3 bags ground black tea
- 2 tsp ground cinnamon
- 1 tsp ground cardamom
- 1 tsp ground ginger
- 1/2 tsp ground all spice
- 1/2 tsp grated nutmeg
- 1/2 tsp ground cloves
- 1/2 tsp ground black pepper
- 2 cups (240 g) all purpose flour
- 1 tsp baking powder
- 1/2 tsp baking soda
- 1/4 tsp cream of tartar
- 3/4 tsp kosher salt
- 1 1/2 tsp chai spice, above
- 1/2 c up (113 g) unsalted butter
- 1 cup (200 g) granulated sugar
- 1/2 cup (56 g) brown sugar
- 1/3 cup (43 g) coconut oil, melted
- 1 egg
- 2 tbsp molasses
- 1 tsp vanilla extract
- 2 tbsp granulated sugar
- 1 tbsp demerara sugar
- 1 tsp chai spice, above
Instructions
- To make the chai spice blend: combine all ingredients in a small bowl and whisk until smooth and well-combined. Transfer to an air tight container to store.
- In a large bowl, whisk together flour, baking powder, baking soda, cream of tartar, salt, and chai spice.
- Place butter in a small saucepan and set it over medium heat. Cook for 6-7 minutes, swirling occasionally until butter is nutty and fragrant with little brown flecks on the bottom. Transfer it to another large bowl and let cool slightly.
- Add the sugar and brown sugar to the bowl with the butter and whisk until wet and sandy. Stream in the coconut oil, followed by the egg, molasses, and vanilla. Whisk vigorously until the mixture is smooth and homogenous.
- Add the dry ingredients to the bowl with the wet ingredients and stir with a rubber spatula until all of the flour is mixed in and no dry streaks remain. Cover the bowl with plastic wrap and chill for 30 minutes.
- When you’re ready to bake, preheat the oven to 375° F and line two baking sheets with parchment paper.
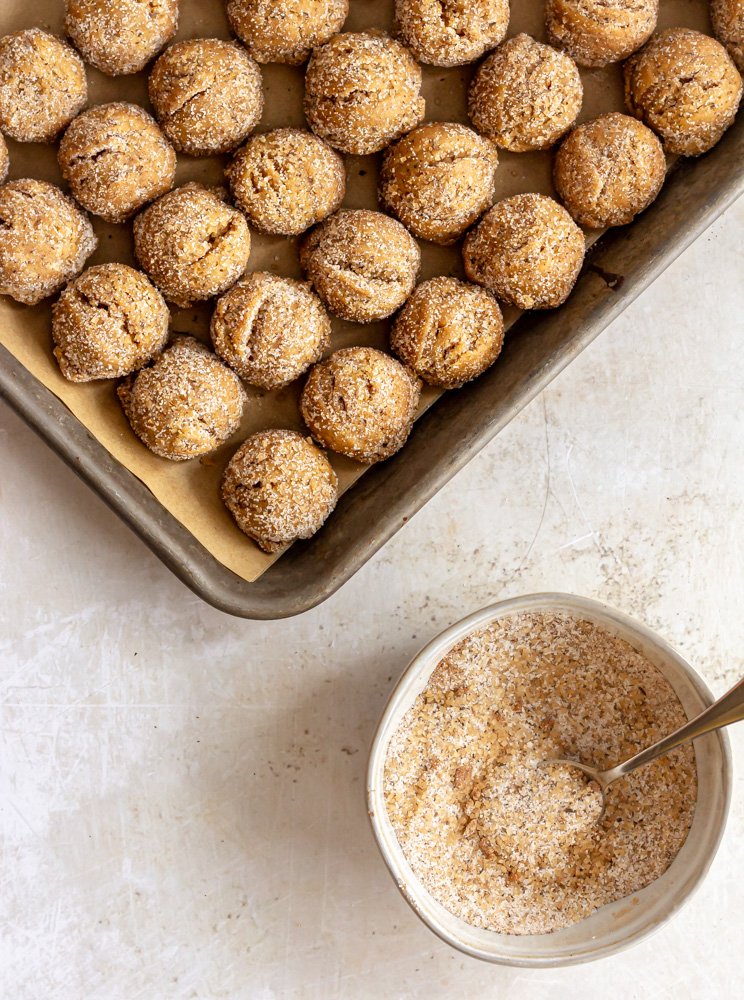
- Stir together sugar, demerara sugar, and chai spice in a small bowl.
- Using a two tsp sized cookie scoop, scoop dough into balls. Roll each ball in the chai sugar and place 1-2” apart on the baking sheet. Bake for 8-9 minutes, just until the edges are lightly golden and the tops of the cookies are dry. Let cool for 5 minutes on the pan before transferring to cooling rack to cool completely.
Notes
The chai spice blend will yield more than is needed for this recipe. Keep the rest in a sealed jar in your pantry and use it to make Dirty Chai Banana Bread or stir into coffee.