Happy Birthday Tahini! [a puppy-friendly petit birthday cake]

dogbirthdaycake13.jpg

Last weekend was Tahini’s first birthday! (And this weekend is Martin’s birthday so maybe I should be writing about how much I love him, but alas, Tahini has taken over our lives completely and this is just the way it is now.) A year ago, I had no idea that a fuzzy little puppy friend was what I needed, but here we are, 365 days later, and I’m very best friends with a rascal-y little dog and I’m not mad about it in the least.

If you know me personally, you know that I am not, and have never been, a dog person. They are fine, I suppose, but I never really wanted one. Martin and I had been talking about maybe adopting a furry friend on and off for years, but never actually considered the idea because 1) I am not a dog person and 2) they seemed like they would cramp my style. Then, the pandemic hit. I was already working from home so cutting off all social interaction was pretty isolating and the idea of adding something to our family started looking a little more appealing. I had very specific criteria if this whole thing was going to happen. Our furry friend needed to be small (but not too small), short-haired, a rescue, a puppy, and the name Tahini had to fit because I’d already picked that out. We spent a few days looking online and had just about given up when Tahini’s sweet baby face was posted on a humane center website and 24 hours later, he was mine {ours, I guess}.

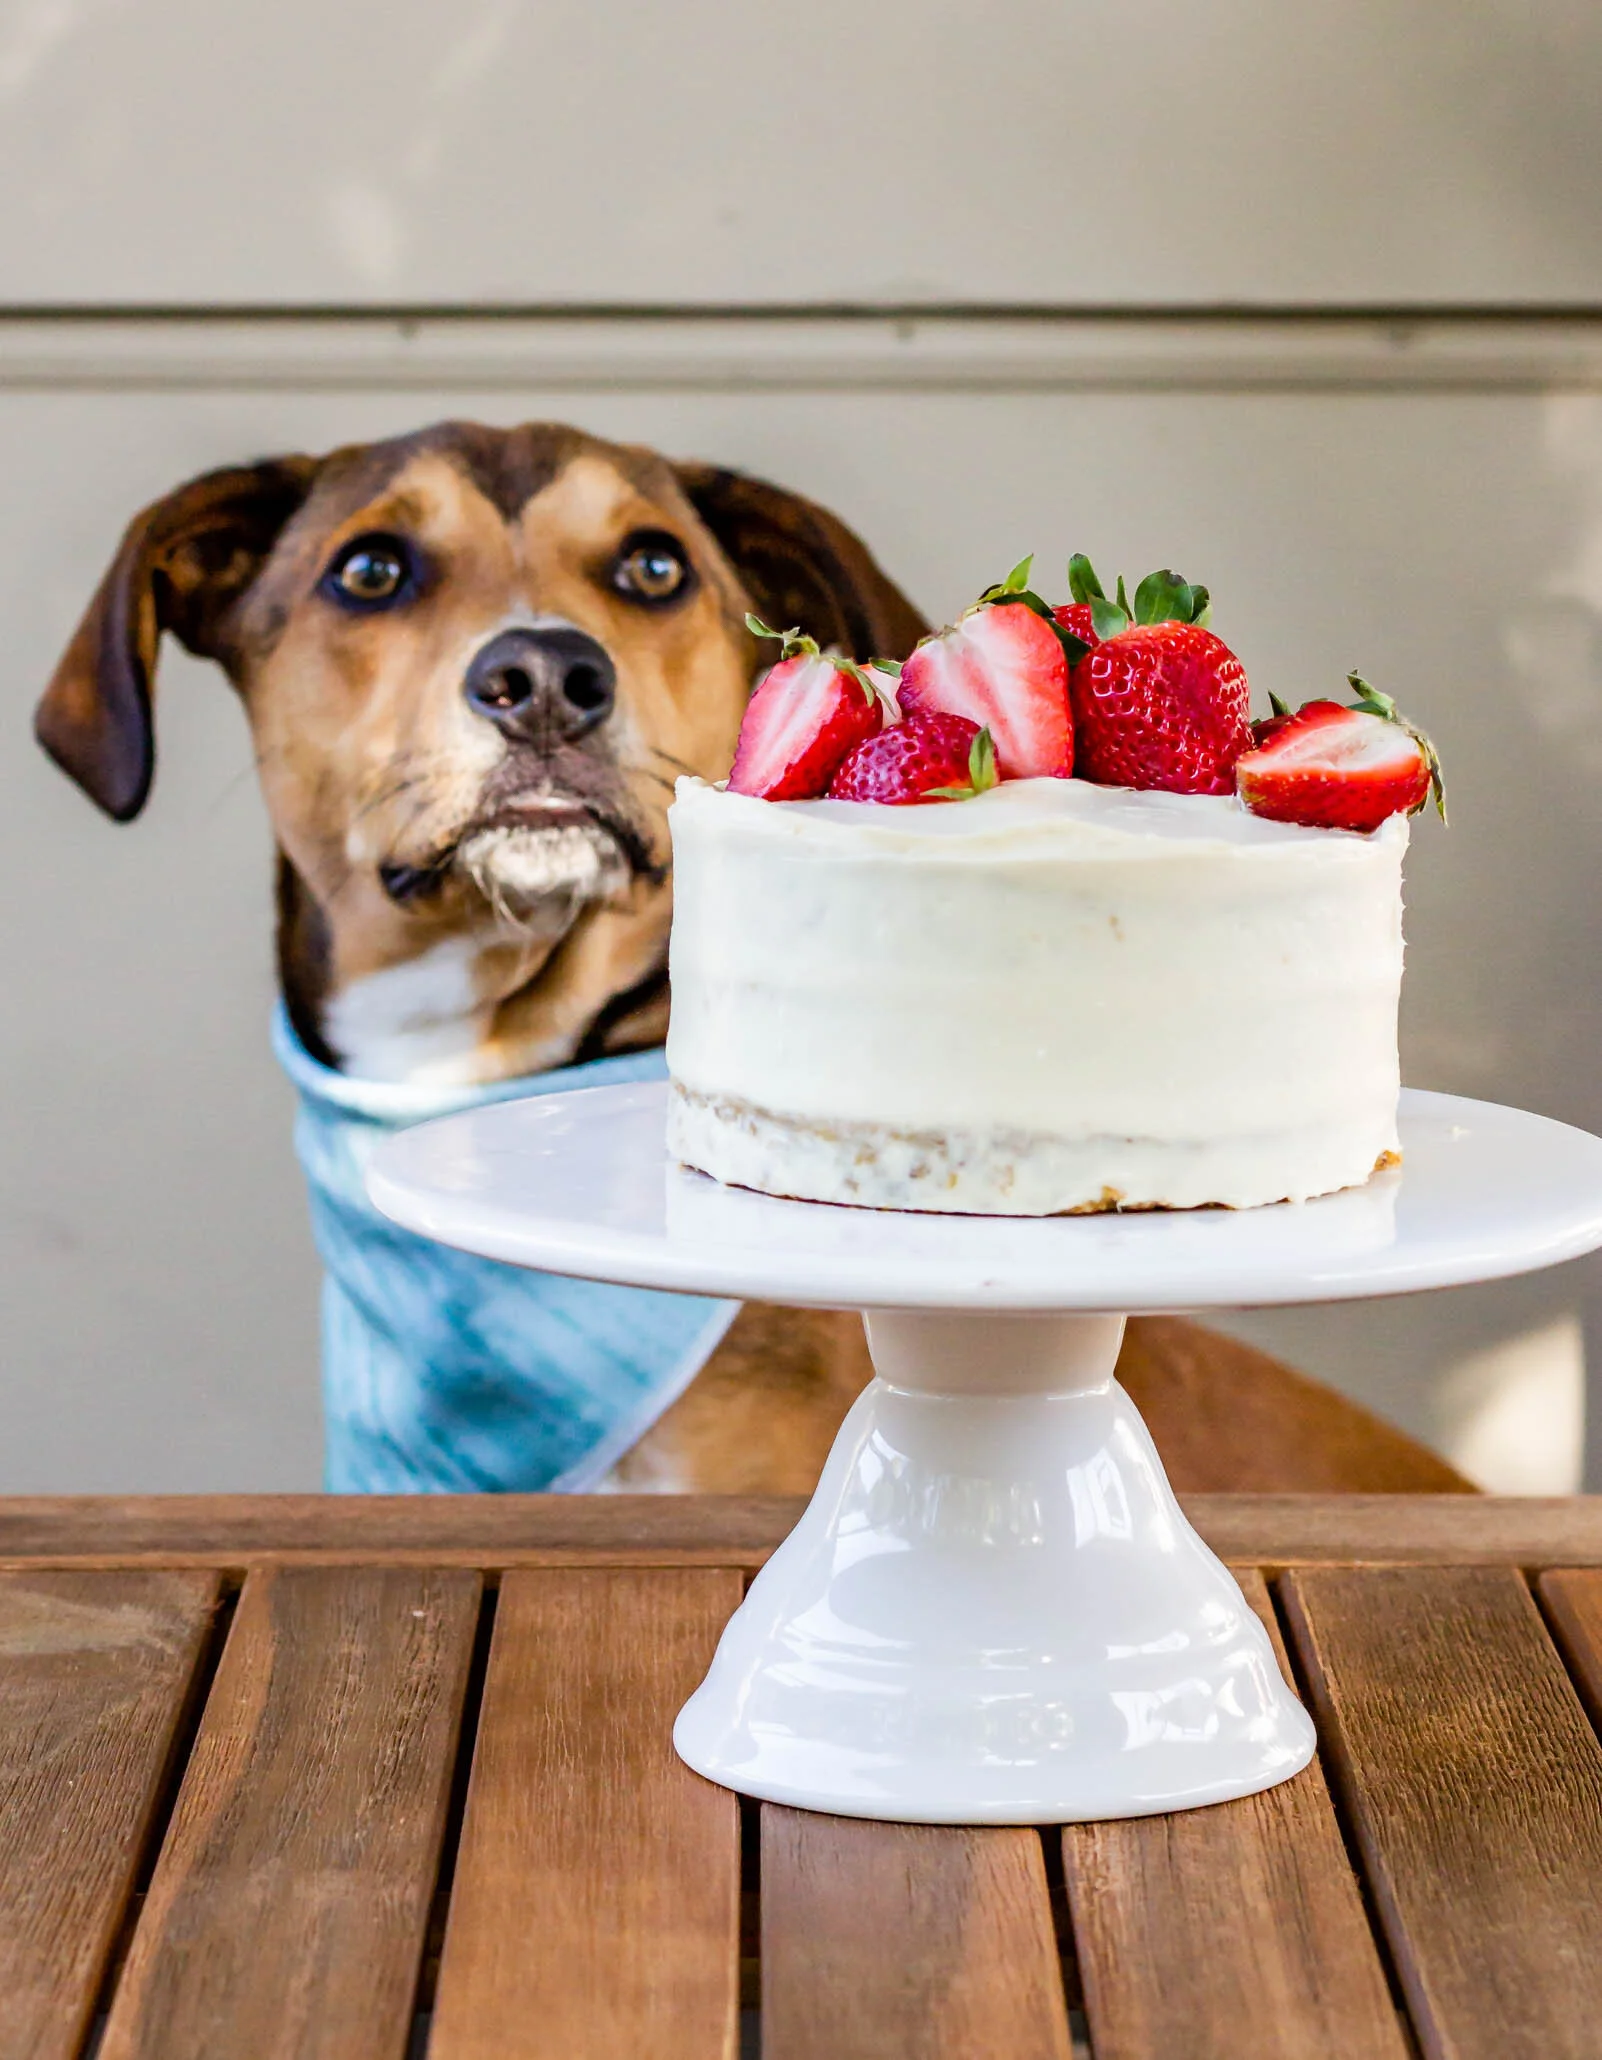
This little boy is the sweetest thing in the world and he has been the perfect addition to our little family. He lets me carry him around on my hip like a small child, he snuggles like a champ, loves to curl up in front of the fireplace, and would spend all day sitting in the sun if he was allowed. He gives sweet little kisses, lets me put citrus bandanas on him on a daily basis, loves strawberries and sardines, and I just can’t remember what life was like before he joined our family. So happy birthday to the sweetest little puppy around!

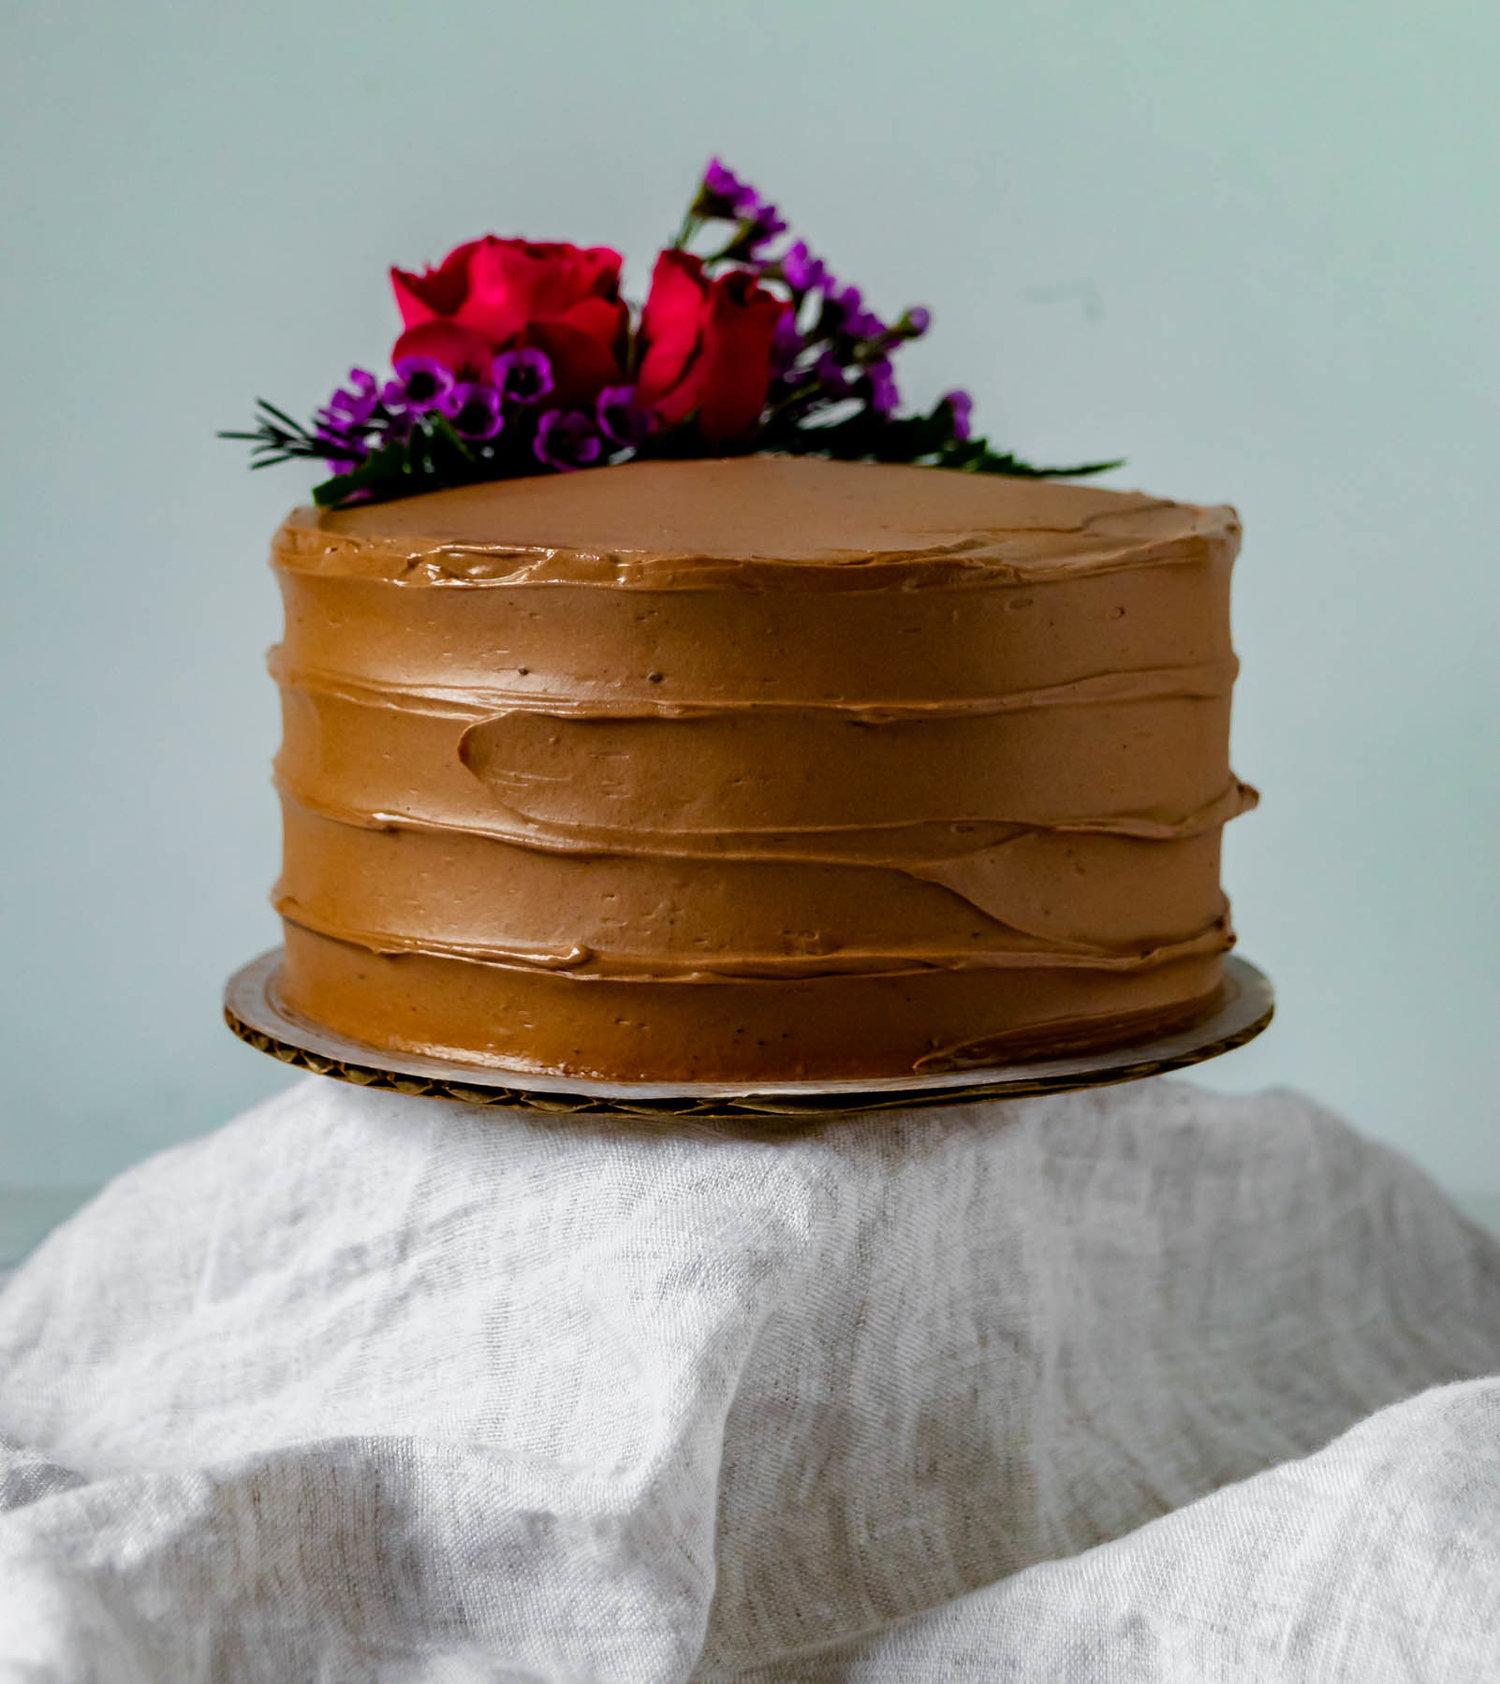
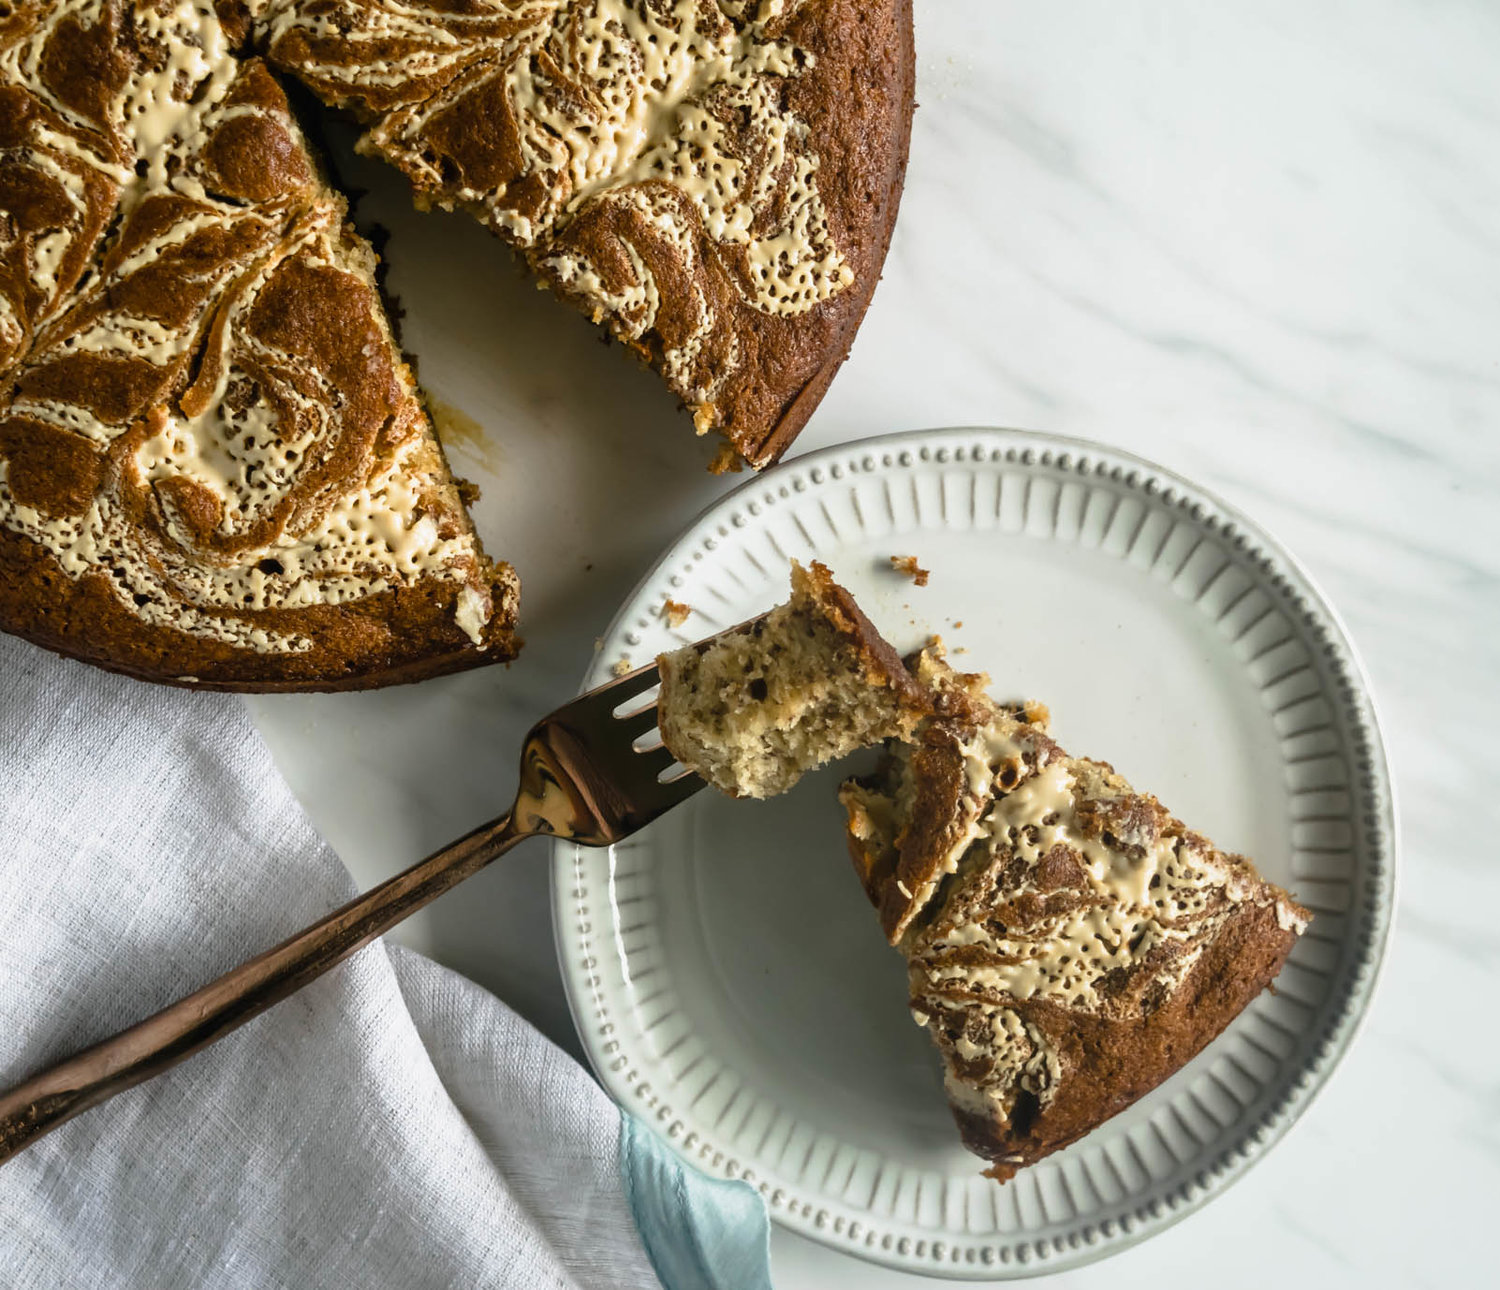
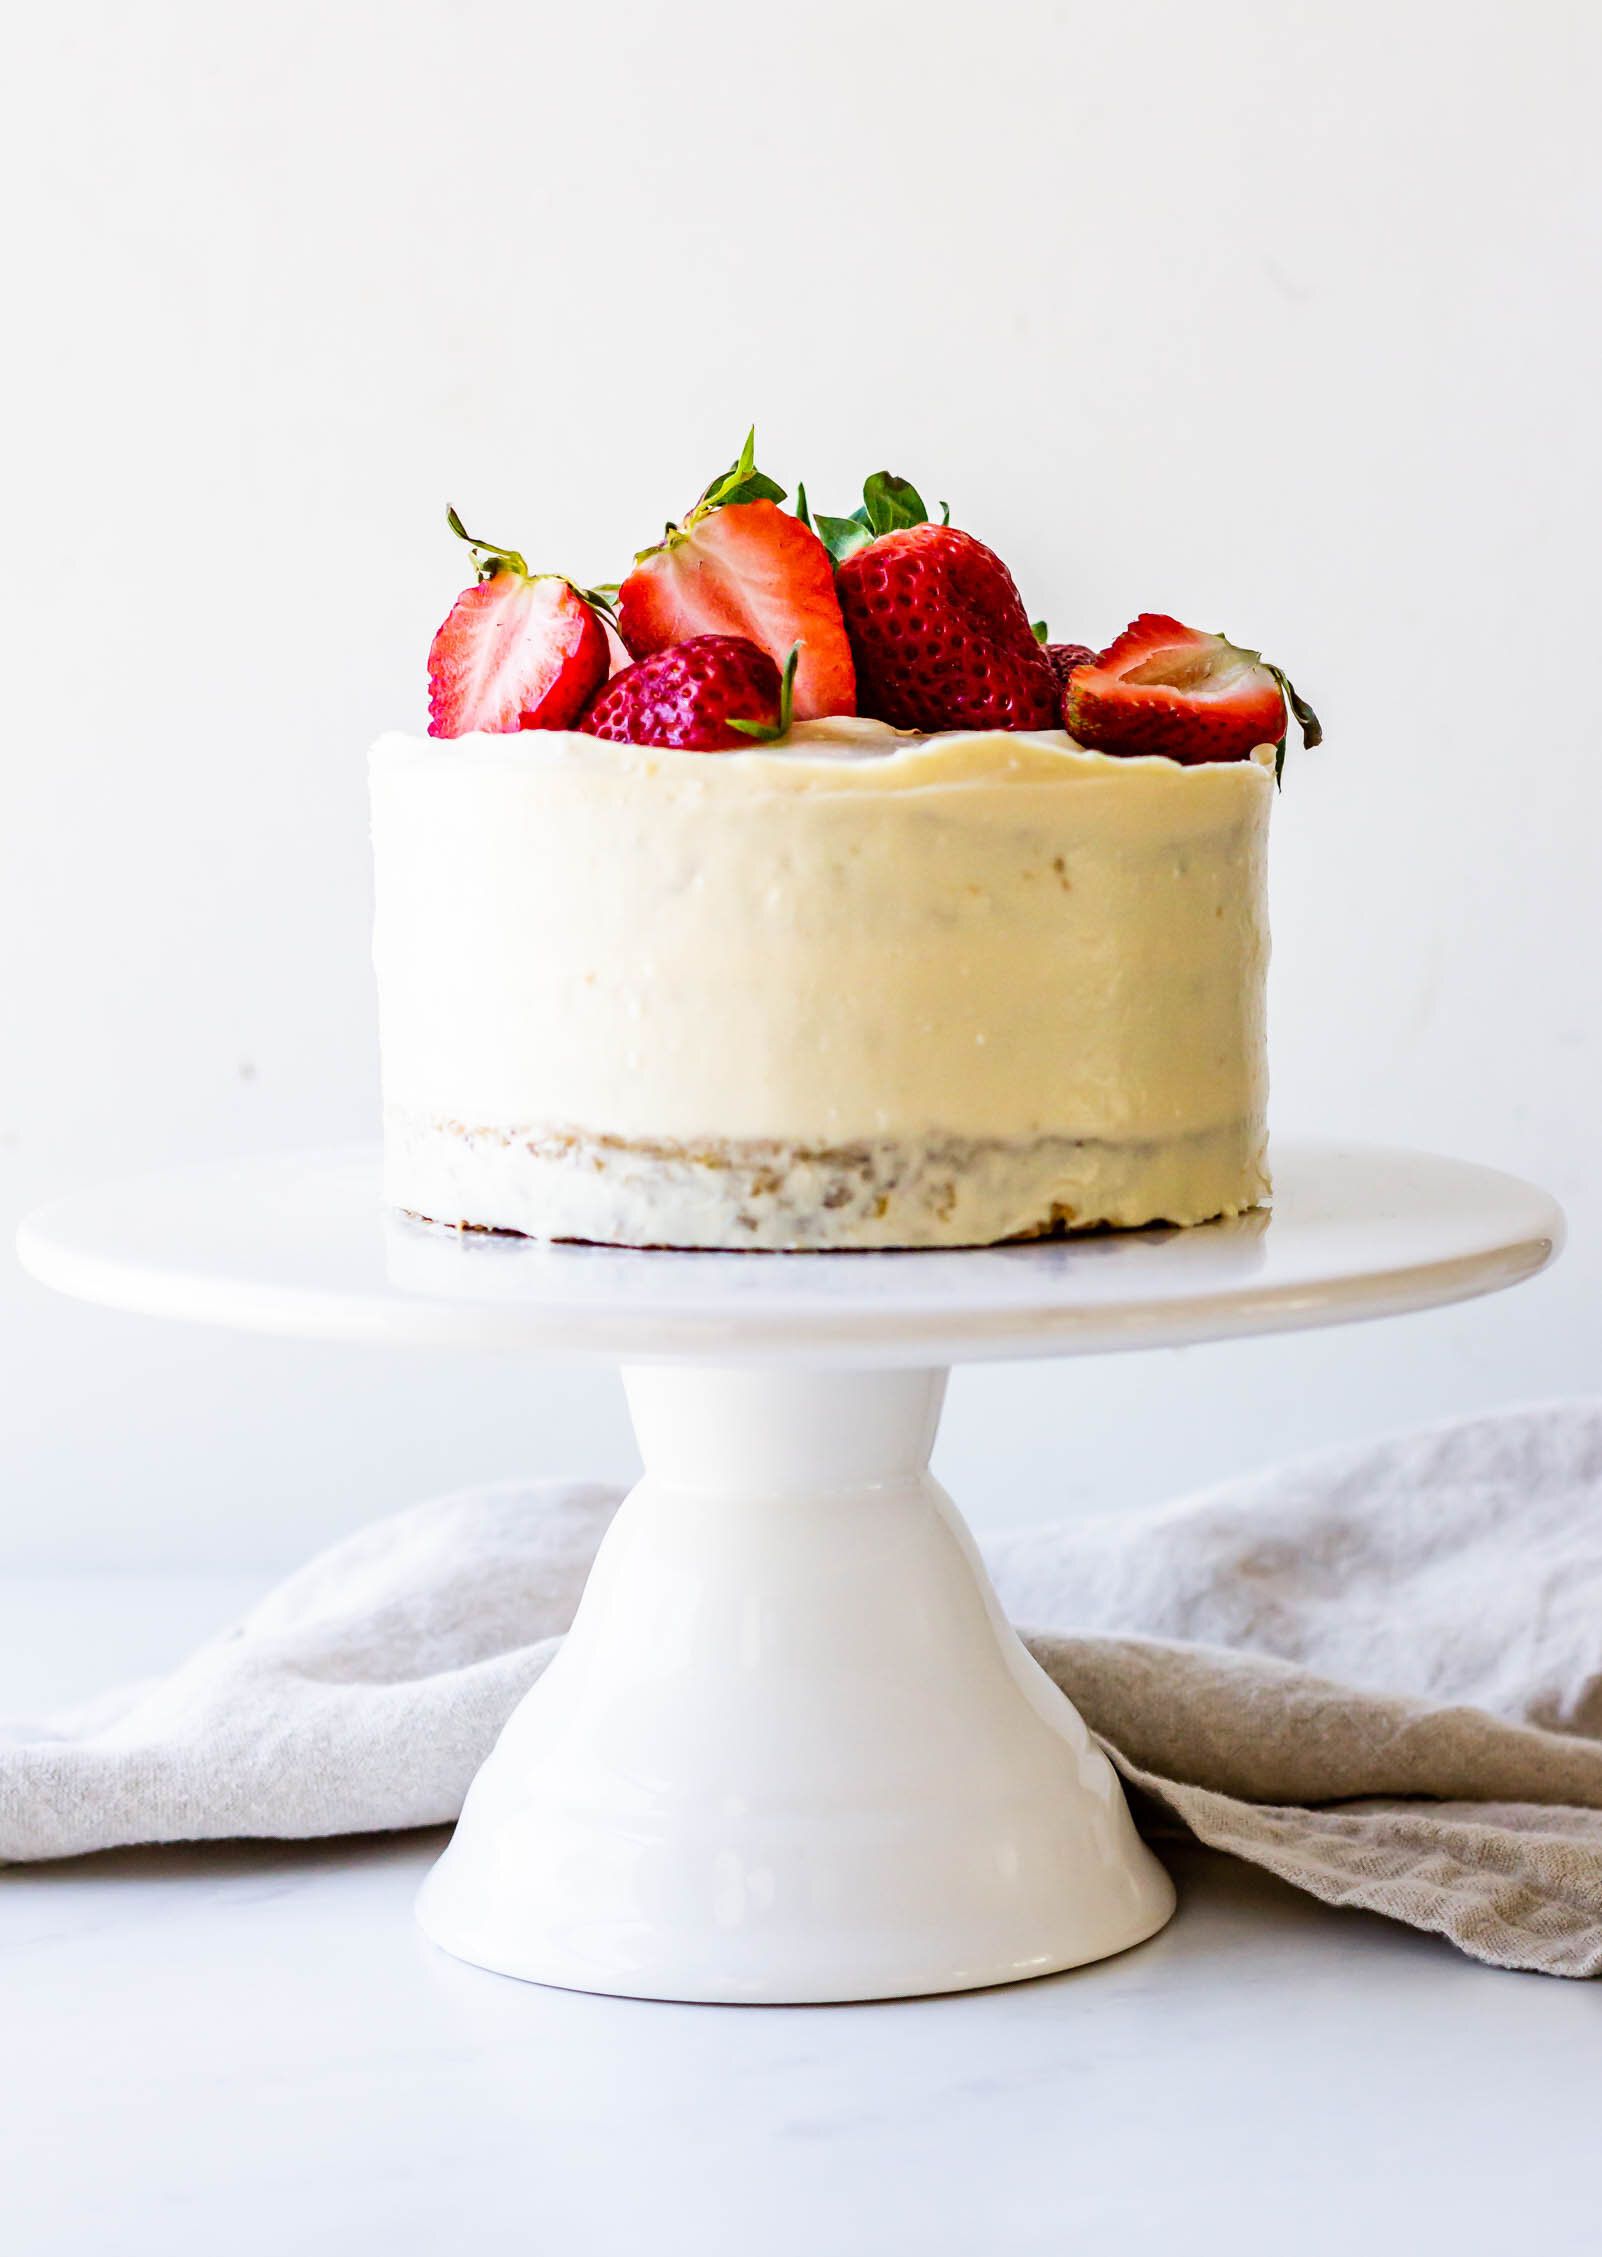
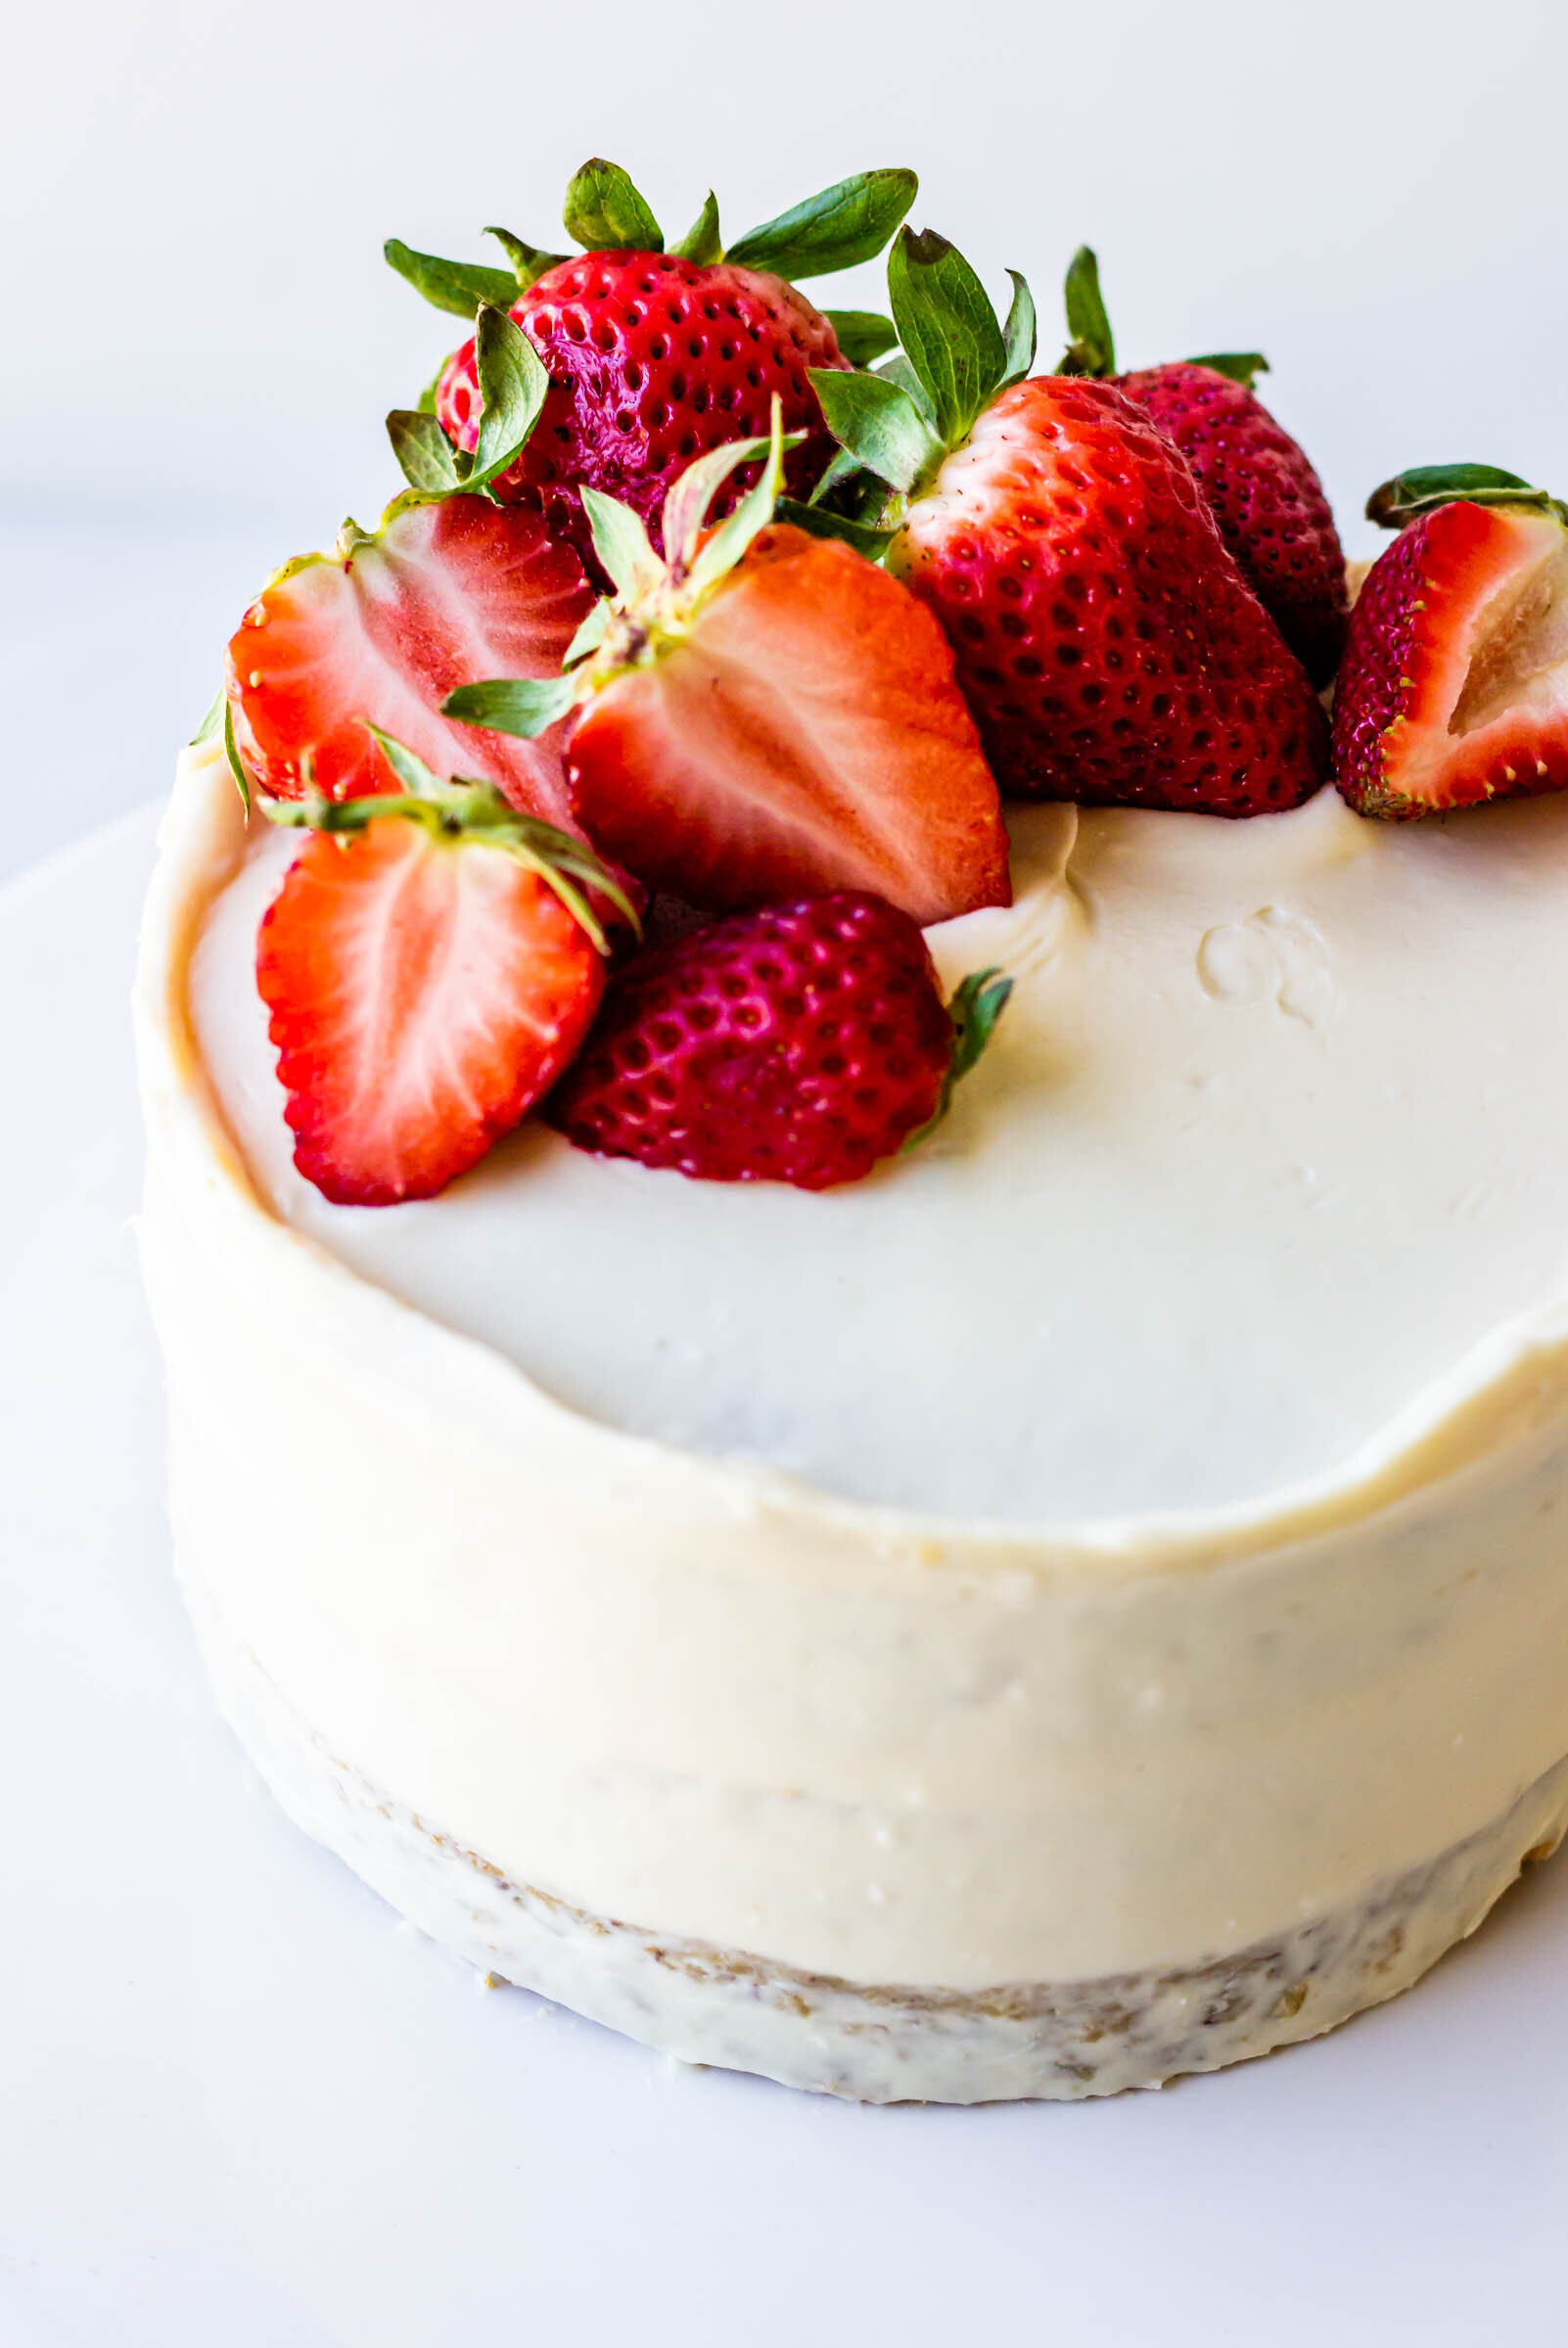
tahini’s dog-friendly birthday cake

And of course, he got his own birthday cake. There are a lot of dog cake recipes out there, but I wanted something that was safe and nutritious for dogs while also being edible and tasty for humans. This petit layer cake is made with bananas, coconut or olive oil, yogurt, honey, an egg, whole wheat flour, and ground oats. The frosting is made of cream cheese, a bit of honey, and of course, tahini. He loved it (because he loves every piece of food put in front of him) and the humans enjoyed it too. :)

Yield: makes one 5" petit layer cake
Author: Anna Ramiz
Tahini's Birthday Cake

Tahini's Birthday Cake

Prep time: 30 MinCook time: 25 MinTotal time: 55 Min
This petit layer cake is naturally sweetened with bananas and honey and is perfect for both our furry friends and their humans.

Ingredients

for the cake
  • 1/3 cup (75 g) coconut oil (melted) or olive oil
  • 1/2 cup (170 g) honey
  • 2 eggs
  • 2 large, ripe bananas
  • 1/4 cup (57 g) plain yogurt
  • 1/2 tsp baking powder
  • 1/2 tsp baking soda
  • Pinch of salt
  • 1 cup (90 g) old fashioned oats
  • 3/4 cup (85 g) white whole wheat flour
for the frosting
  • 8 oz cream cheese, softened
  • 2 tbsp (42 g) honey
  • 2 tbsp (32 g) tahini
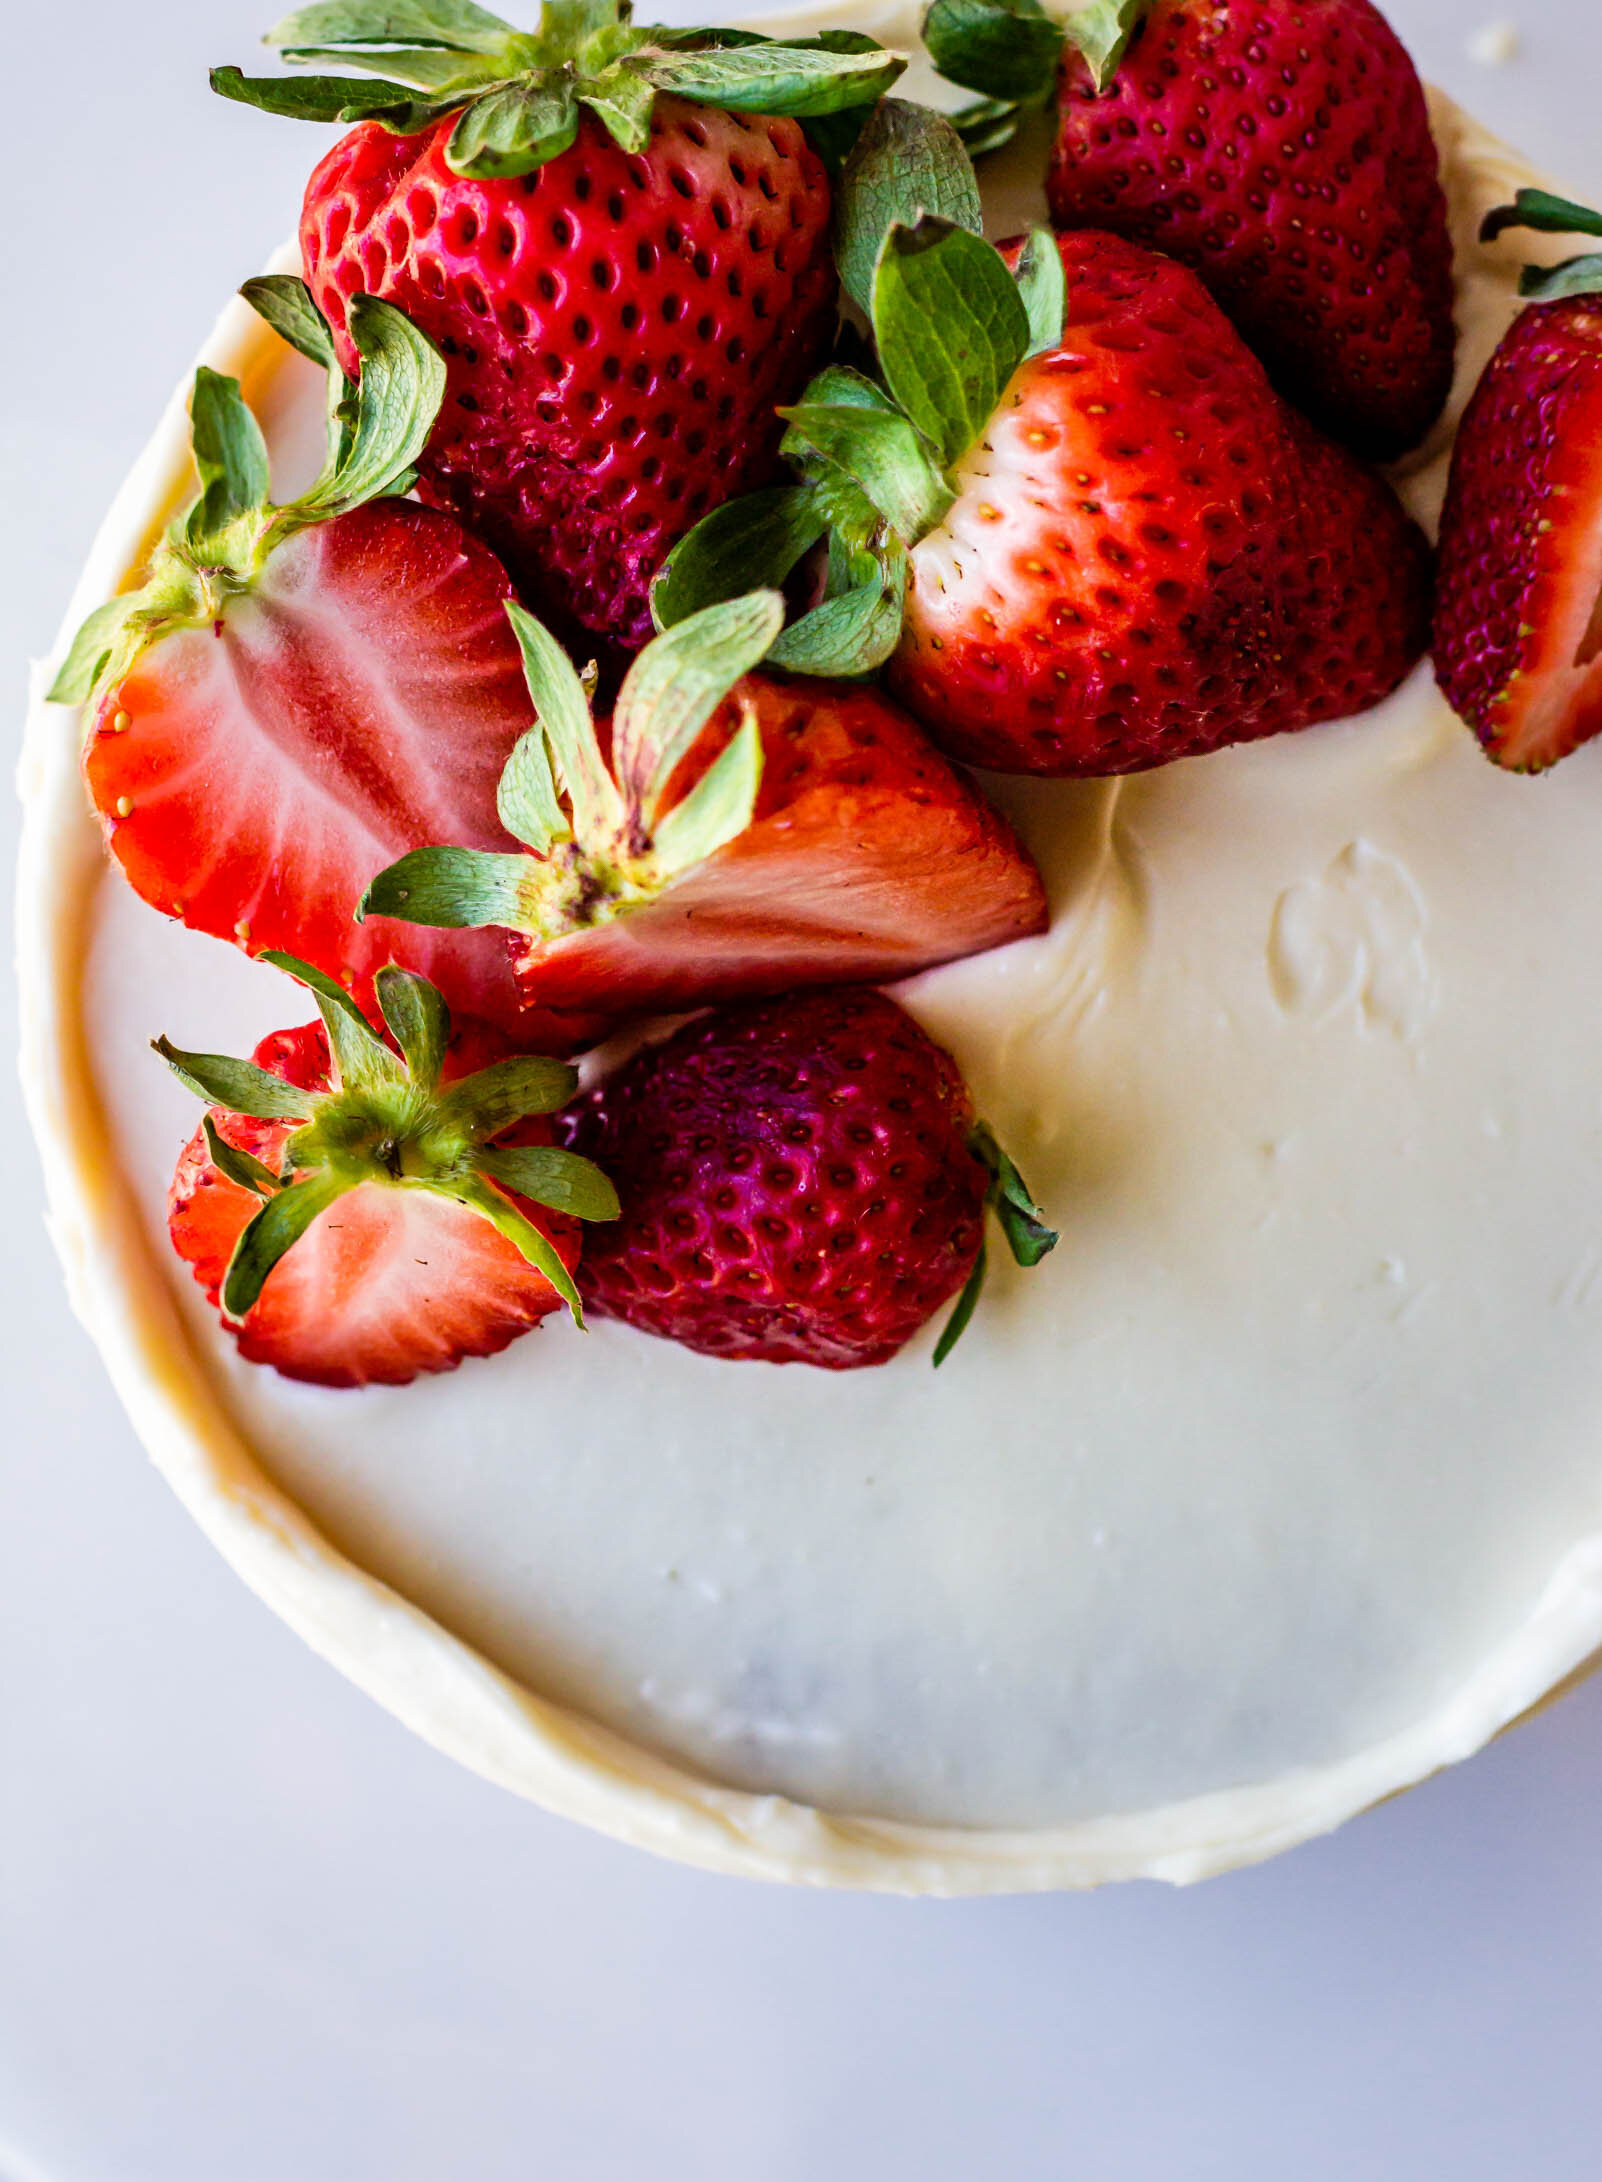
  • fresh fruit, for decorating 

Instructions

  1. Preheat oven to 350° F and line a quarter sheet pan with parchment paper. Set aside.
  2. In the bowl of a food processor, pulse oats until finely ground. Transfer to a medium bowl. Add the white whole wheat flour, salt, baking powder, and baking soda. Gently whisk and then set aside.
  3. In a large bowl, mash bananas. Add the oil, honey, eggs, and yogurt and whisk until mixture is smooth and homogenous.
  4. Add the dry ingredients to the wet ingredients and whisk until just combined and no dry spots remain. Transfer batter to the prepared pan and bake for 20-25 minutes, until cake is golden brown and the sides begin to pull away from the edge of the pan. Cool completely.
  5. When the cake has cooled, invert it onto a cutting board and remove the parchment paper. Use a 5” cake ring to cut two circles and two half circles.
  6. To make the frosting: Beat cream cheese in the bowl of a stand mixer until smooth and fluffy. Add the honey and tahini and beat until well-combined.
  7. To assemble the cake: Place one of the cake circles on a cake stand. Scoop a few tablespoons of frosting on the top and use an offset spatula to smooth into an even layer. Top with the two half-circles, pressed together to make one circle, and add another layer of frosting. Place the final cake circle on top and use the remaining frosting to cover the top and sides of the cake as smoothly as possible. Top with fresh fruit and serve.
Did you make this recipe?
Tag @gatheredatmytable on instagram and hashtag it #gatheredatmytable

Pumpkin Granola Bars

These simple, homemade pumpkin granola bars are the perfect fall snack. They are vegan and gluten-free, filled with warming spices, nuts, and chocolate chunks.

pumpkin granola bars-8.jpg

Are we still in pumpkin season? I feel like there is really no clear beginning and end to the whole pumpkin craze. Is it whenever Starbucks tells us? Pumpkin season starts in August when they begin serving PSLs and ends when they switch to Peppermint Mocha? How are we supposed to know these things? I have no Christmas tree up, so I think it’s fair to continue eating pumpkin over here. At least through Thanksgiving, then we can re-assess.

I have been making some rendition of these pumpkin granola bars for at least five years. My first recipe notebook is a big hardcover one, filled with mostly other people’s recipes I found on the internet and wrote down as I tried them has the date I started it written in the front cover- 1/27/15. We were living in Nashville, I was still teaching full-time, and my business was going to be called “That Baking Lady” (there are little pencil-drawn illustrations of my logo scratched into that first page). These granola bars are the sixth recipe in that book the page has collected its fair amount of chocolate smudges and oil stains over the years. I have no idea where I got this recipe, it’s not really my own, I’ve just adapted and streamlined it over the years, but we’ve been making some version of them in our house every year since.

Filled with pumpkin, chocolate chunks, oats, and pumpkin seeds, these granola bars feel really healthy, while also satiating your dessert cravings. You can easily substitute mix-ins, add extra nuts or dried fruit, and they hold in the fridge, wrapped tightly in plastic wrap for up to a week. These granola bars can also be made vegan if you use maple syrup and dairy-free chocolate, so they make a great holiday baking treat for all of your vegan friends.

Pumpkin Granola Bars
Yield
8
Author
Anna Ramiz
Prep time
10 Min
Cook time
20 Min
Total time
30 Min

Pumpkin Granola Bars

These simple, homemade pumpkin granola bars are the perfect fall snack. They are vegan and gluten-free, filled with warming spices, nuts, and chocolate chunks.

Ingredients

  • 2 cups rolled oats
  • 2 tbsp ground flaxseed, optional
  • 1 tsp ground cinnamon
  • 1/2 tsp ground ginger
  • 1/2 tsp ground cardamom
  • 1/4 tsp ground nutmeg
  • 1/4 tsp ground allspice
  • 1/4 tsp kosher salt
  • 1/2 cup canned pumpkin
  • 1/4 cup loose almond butter
  • 1/4 cup maple syrup or honey*
  • 2 tbsp coconut sugar
  • 1 tbsp vanilla extract
  • 1/2 cup dark chocolate, chopped*
  • 1/3 cup pumpkin seeds, plus more for sprinkling on top
  • flaky salt

Instructions

  1. Preheat oven to 350° F and line a rectangular baking pan (8x8” or 9x9”) with parchment paper. Set aside
  2. In a large bowl, whisk together oats, flaxseed, spices, salt, pumpkin seeds, and chopped chocolate.
  3. In a large measuring cup or another bowl, whisk together pumpkin, almond butter, maple syrup/honey, coconut sugar, and vanilla until smooth and homogenous.
  4. Pour the wet ingredients into the bowl with the dry ingredients and stir together with a rubber spatula until all of the dry ingredients are well-coated.
  5. Pour batter into your prepared pan and use your hands to press into an even layer. Sprinkle with more pumpkin seeds. Bake for 20-22 minutes, until set and the edges are beginning to brown. Sprinkle the bars with flaky salt, and let them cool completely in the pan.
  6. Slice into 8 equal-sized bars, wrap individually, and store in the refrigerator for up to a week.

Notes:

Did you make this recipe?
Tag @gatheredatmytable on instagram and hashtag it #gatheredatmytable

Multigrain Quinoa Bagels with Wild Arugula Cream Cheese

bagelscc4.jpg

How’s everyone feeling in this weird time? Working from home has afforded me a small sense of normalcy, but I have felt my anxiety has heightened in the past few days with every news update or social media post about the virus. I don’t know if this is true for you, but staying calm is a bit difficult for me. I’m naturally predisposed towards stress and I often feel my body tense or my heart rate increase before my brain even has a chance to catch up and process the reason for my nervousness. For me, the temptation is to allow fear to take root, hinging on the words of every doctor, journalist, world leader, etc, until suddenly, I’m enveloped in this suffocating vine of anxiety, without a clue as to the primary fear in the first place. I’m learning to exercise control over my wild thoughts, practice deep breathing regularly, and I’m making efforts to spend time in prayer before I get out of bed each day. I’m also making a lot of bread.

One of the positives to this whole social distancing ordeal is the opportunity to explore new things. We’ve been gifted a little extra time with our spouses and loved ones, a few more minutes for long walks in the sunshine, an hour or two to reorganize the closet, or the chance to test out a new recipe. I’m slowly reminding myself that though we may not know what the next few days or weeks or months hold, my cup still overflows.

bagels7.jpg

Making bagels at home is quite a feat. Home bagels are a hotly-debated issue and I’m not going to tell you that these are as perfect as those famed circles of dough, bathed in that magical Brooklyn water, that you find on the streets of New York. But they are a very good home bagel. There are a few different breads that I firmly believe need the tools available in a production bakery to be successful. For example, I have made baguettes at home multiple times only to be met with utter disappointment. Those long, crispy batons need a high-heat deck oven in order to develop that crispy outer layer. You’ll never convince me otherwise.

Bagels, though, you can make at home. These are made without the use of barley malt because honestly, I was too lazy to try and source it. They use a blend of all purpose and whole wheat flour and have cooked quinoa folded in for a little boost of protein. I had a bounty of wild arugula that I used in the cream cheese, but feel free to use spinach, kale, or even a handful of whatever herbs you have on hand. So this week, take a breath, be kind to yourself and those around you, and make some bagels. (And if for some reason you aren’t into bagels, check out this list of project baking ideas I put together earlier this week.)

Multigrain Quinoa Bagels with Arugula Cream Cheese

Yield: 13 medium sized bagels

Ingredients

for the preferment

2/3 cups (128 g) warm water

2 cups (225 g) bread flour

a pinch of active dry yeast

for the bagels

1 1/3 cup (304 g) warm water

3 cups (385 g) bread flour

1 cup (127 g) whole wheat flour

2 tsp active dry yeast

1 T kosher salt

2 T brown sugar

1 T honey 

preferment, recipe above

1/2 cup (80 g) cooked quinoa 

for boiling and baking:

1 T baking soda 

1 T honey 

1 egg white

for the herbed arugula cream cheese 

8 oz cream cheese, softened

1 cup arugula, spinach, or kale, packed 

1 sprig (6-8 leaves) basil

1/4 cup fresh parsley

1 small clove of garlic 

salt and pepper to taste

Procedure 

to make the preferment 

  1. In a medium bowl, stir together flour, water, and yeast until no flour streaks remain. Cover with plastic wrap and let rest at room temperature for about 2 hours, until preferment is bubbly and slightly risen. 

to make the bagel dough 

  1. In the bowl of a stand mixer fitted with the dough hook, combine warm water, honey, and yeast. Stir gently and let rest for about 5 minutes until yeast is foamy. 

  2. While the yeast is hydrating, combine flours, salt, and brown sugar in a medium bowl. 

  3. Add preferment to water/yeast mixture and mix on low speed for about 30 seconds, until combined. Add dry ingredients and quinoa and knead on medium speed for another 1-2 minutes, until a dough begins to form. 

  4. Turn dough onto a lightly-floured work surface and knead by hand for another 3-4 minutes until dough is smooth and elastic. Transfer dough to a lightly oiled bowl, cover with plastic wrap and let proof in the refrigerator overnight. 

to make the bagels 

  1. Remove dough from the refrigerator and let sit at room temperature for 1-1 1/2 hours. Turn dough onto a very lightly floured work surface and divide into 12-13 equal pieces, weighing about 100 grams each. Roll each piece into a small round. Cover the dough rounds with plastic wrap and let rest for 15-20 minutes. 

  2. After dough has rested, shape the bagels. Stick your thumb through the center of each bagel to create a hole in the center. Place your two index finger in the hole and stretch until the hole is about 2” in diameter. Cover the bagels again with plastic wrap or a clean towel and rest for another 15-20 minutes. 

  3. While the bagels are in their final rest, add baking soda and honey to a large pot of water and bring to a boil. Preheat the oven to 450°F and line two baking sheets with parchment paper. 

  4. Add bagels, two or three at a time to boiling water and boil for 1 minute, flip them, and then boil for 1 minute longer. Remove bagels with a slotted spoon, let drain onto a clean towel and transfer to parchment-lined baking sheets. 

  5. When all the bagels have been boiled, brush the tops of each bagel with beaten egg white and sprinkle with desired seasonings (poppy seeds, everything bagel seasoning, flaky salt, etc). 

  6. Bake bagels in preheated oven for 10 minutes, rotate pans, and bake for another 10 minutes. Let cool completely before slicing and eating. 

to make the cream cheese

  1. Combine arugula, basil, parsley, and garlic clove in the bowl of a food processor. Pulse until broken down into a rough paste. 

  2. Add cream cheese, salt, and pepper and continue to mix in the food processor until everything is evenly combined. Taste, and adjust seasoning as needed. 

  3. Store in an airtight container in the refrigerator. 

Print Friendly and PDF