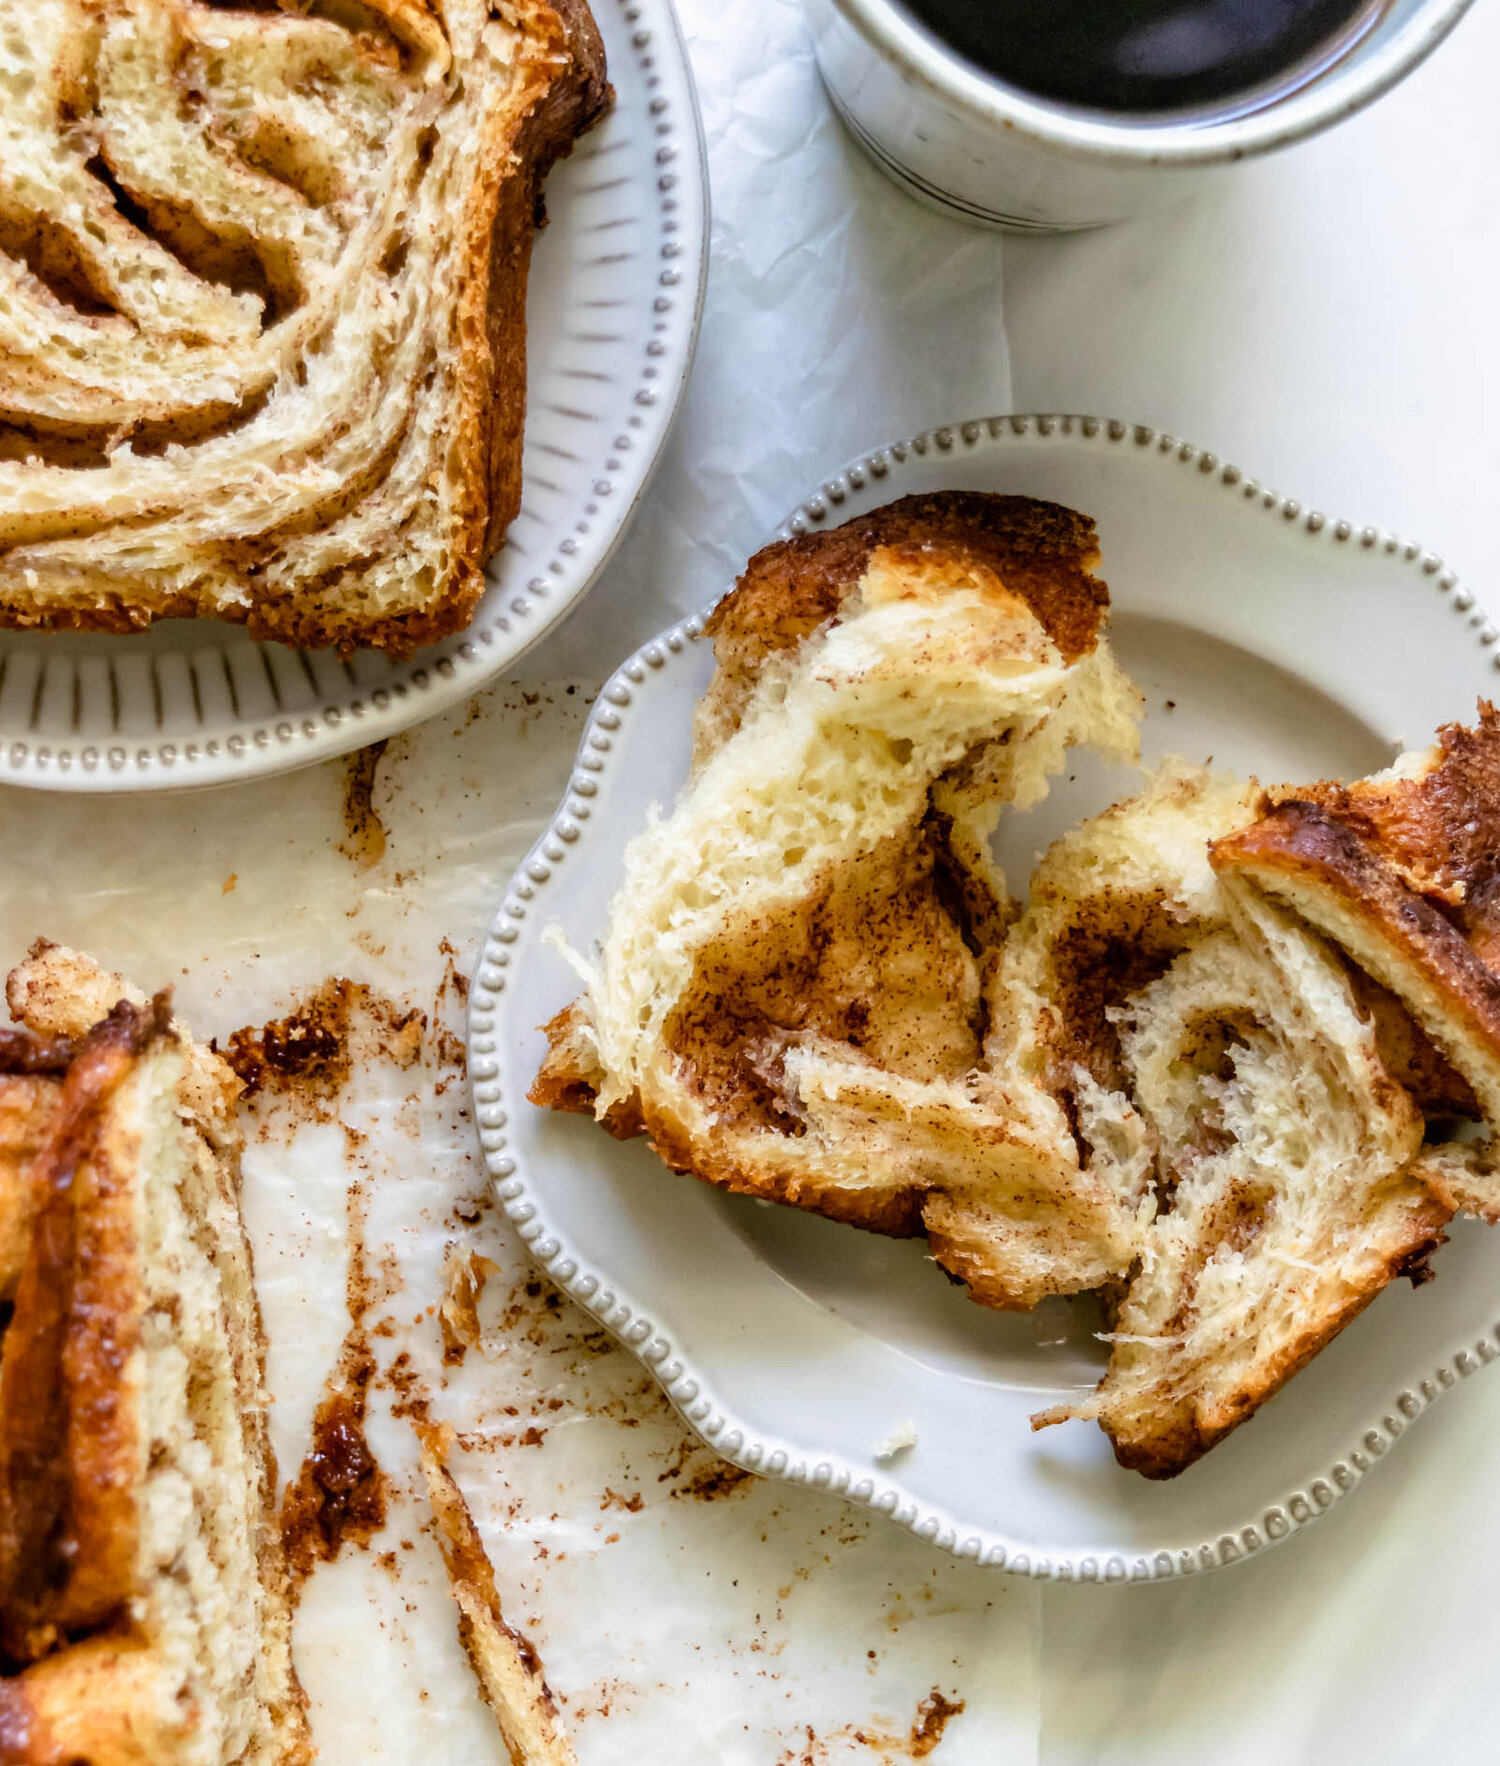
Tahini Orange Cinnamon Rolls with Browned Butter Cream Cheese Frosting
/These warm, buttery cinnamon rolls are filled with cinnamon sugar, tahini, and a bit of orange zest. They are topped with an addictive browned butter and cream cheese frosting.

I am truly, truly soaking up every moment of fall this year. For the first time in a long time, I’m baking cinnamon rolls and drinking apple cider and around me, the leaves are actually changing and the temperature is dropping! In sunny, sweet Florida, fall baking was done from my 90° kitchen, no matter the month, and trees stayed green and palm-y all year long. (I’m not complaining though, because the beach was always close by….just soaking up this new climate while I have it).
In my mind, the number one fall baking project is cinnamon rolls. I have a few different sweet roll type recipes on the blog, but this is the first true and classic cinnamon roll and it is a very good one. They are fairly straightforward and traditional, but you guys know me, so they do have a little tahini mixed into the filling and some orange zest brightens things up. They are finished with a browned butter cream cheese frosting that is one of the best I’ve ever eaten and I wouldn’t judge you one bit for doubling the recipe and keeping some in the fridge for frosting emergencies. You never know.
So let’s dive in!

homemade cinnamon roll dough
This recipe, like a lot most cinnamon roll recipes is made with an enriched, brioche-like sweet dough. Enriched doughs are yeasted doughs that include some sort of combination of eggs, butter, milk, and sugar. A brioche is one that has a very high concentration of eggs and butter and often incorporates milk. It’s exceptionally soft and buttery, but can sometimes be a bit tricky to work with. A sweet dough is basically the same as a brioche dough, but has a lower amounts of butter, eggs, and sugar, and sometimes doesn’t include milk. (If all of this interests you like it does me, Erin McDowell has a great breakdown of enriched doughs that you can read here.)
This dough recipe falls somewhere in the middle of the the brioche-sweet dough spectrum. It doesn’t have quite as much butter as some of my other brioche recipes (like this Cinnamon Swirl Brioche and this Chocolate Tahini Brioche Babka), but it does incorporate buttermilk and decent amount of eggs. It’s also made in a brioche-style of mixing.
Yeast and buttermilk start us off. Then dry ingredients and eggs get added and kneaded into a shaggy dough, before softened butter is added cube by cube. Using a stand mixer is pretty important here since brioche undergoes a pretty extensive kneading process (made a bit stickier by all of the butter). Because this dough is enriched, all of those additions like sugar, eggs, milk, and butter get in the way of gluten formation. This means that it’s going to take a bit longer for sufficient gluten formation to form—a stand mixer makes this so much easier!
chilling the dough
I will forever preach cold-proofing. Cold proofing is simply allowing your dough to complete a long rise in the fridge in order for flavor to fully develop. It’s something that bakers and pastry chefs always do that is often skipped over in home-baking style recipes and I think it makes a really big difference in your final product. If are absolutely pinched for time, you can skip the overnight cold proof (see the recipe notes), but I highly recommend you don’t. The difference is a cinnamon roll where flavor comes from the dough, the filling and the frosting as opposed to one where the filling and frosting takes spotlight and the dough is just a cinnamon-sugar vessel. Try it once for yourself and taste the difference!

filling and frosting
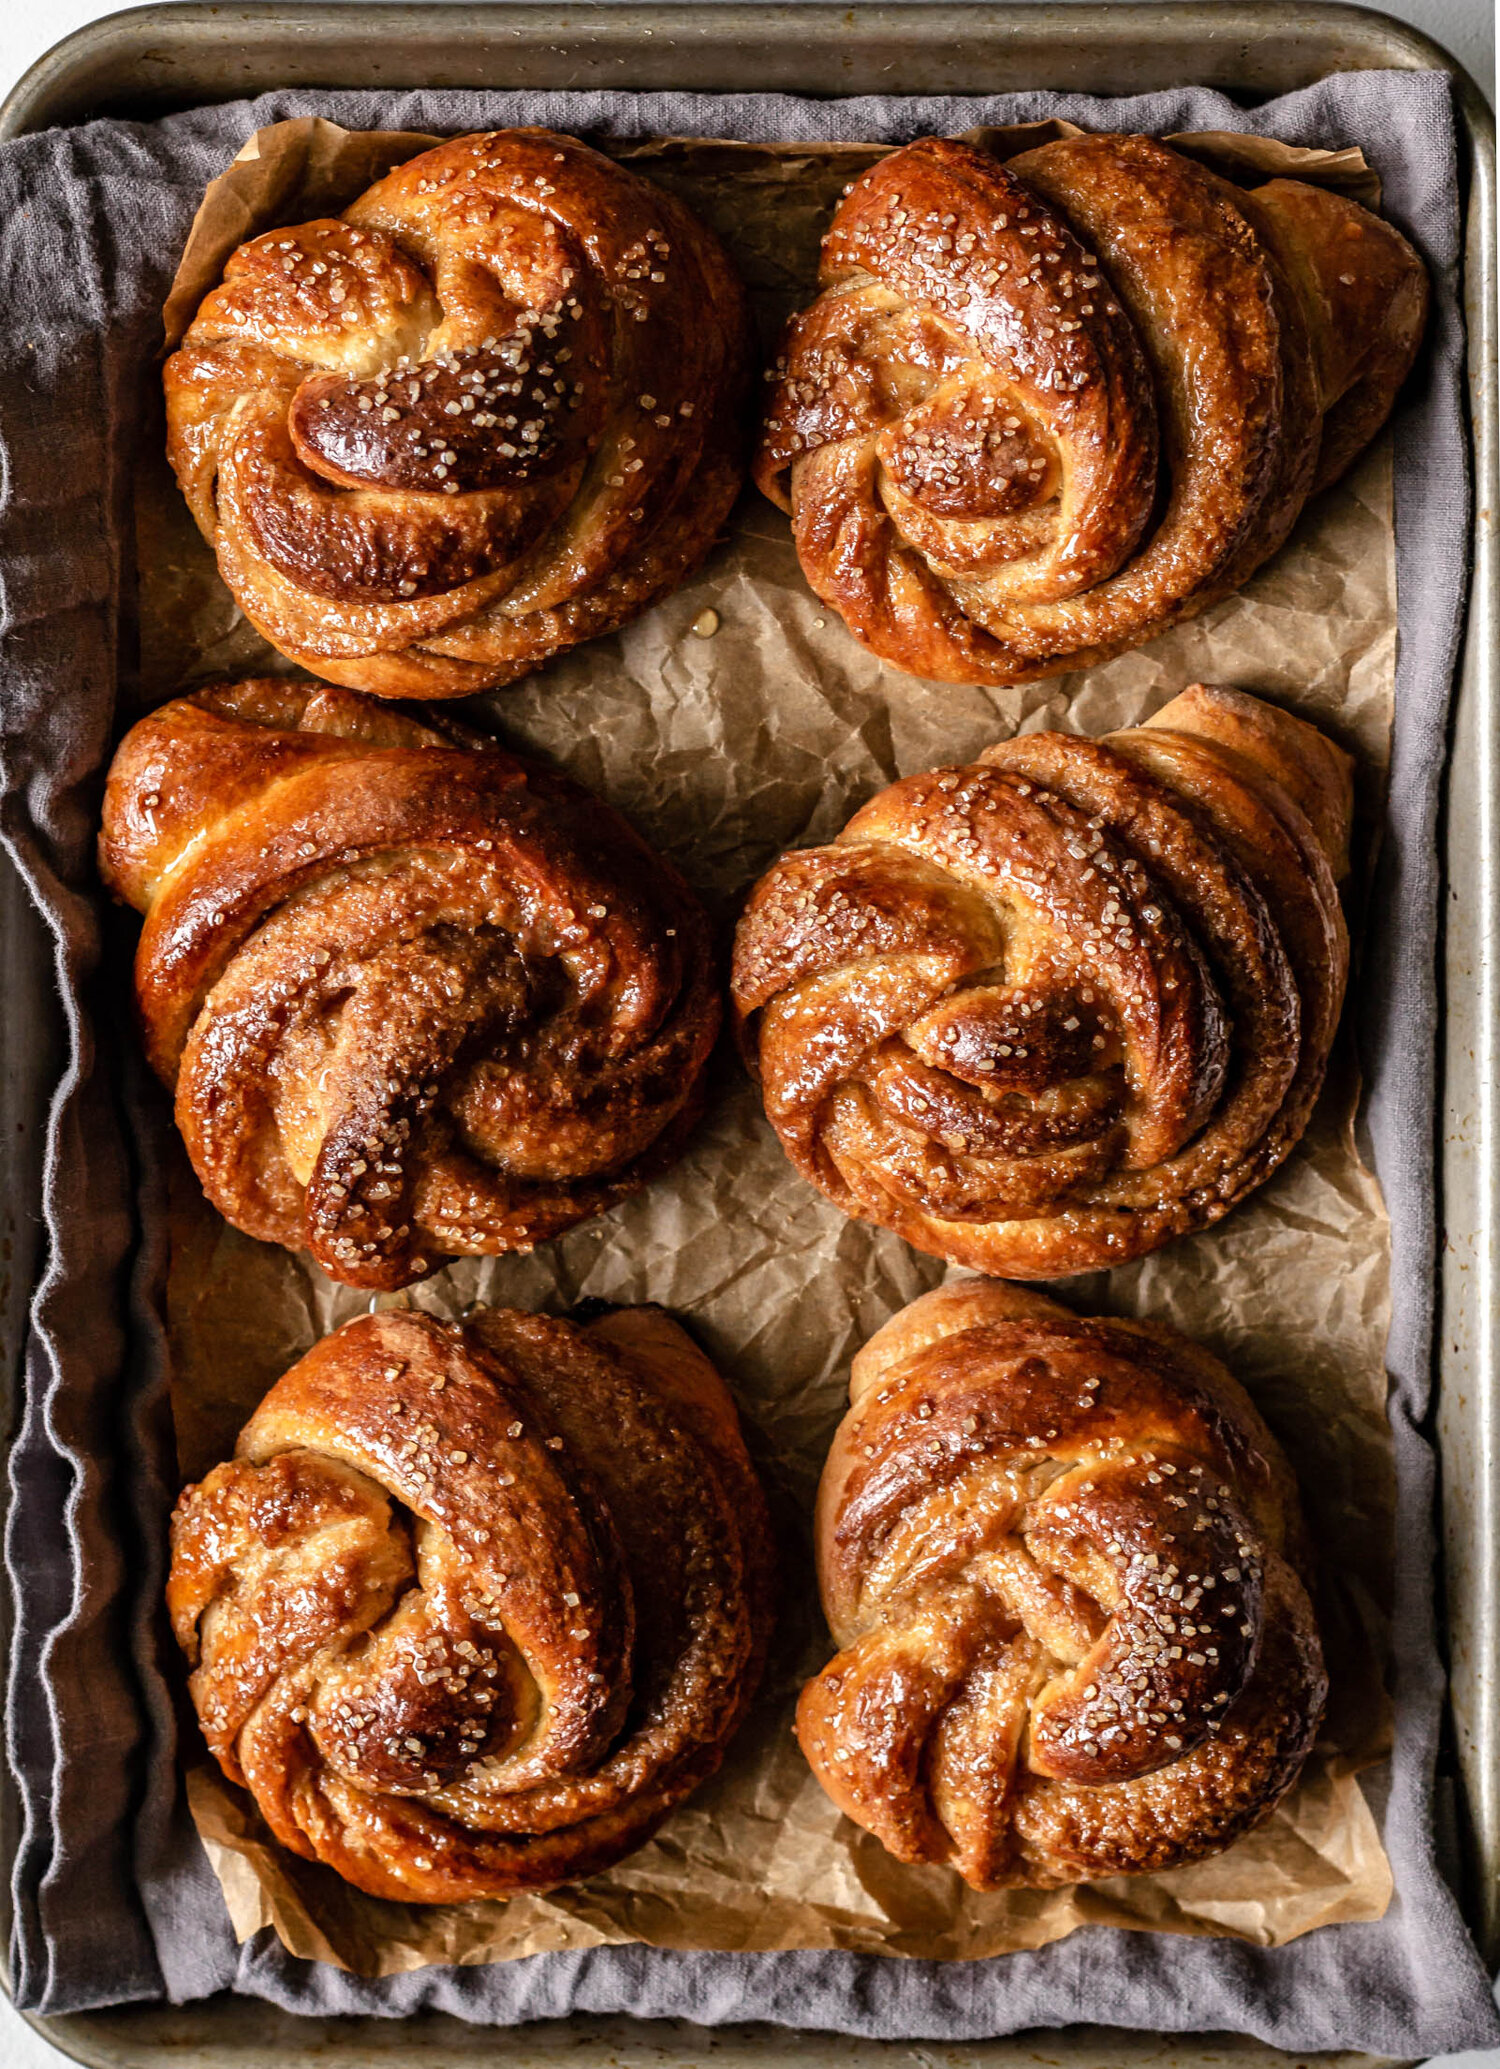
The rest of this cinnamon roll recipe is familiar. The dough is rolled out and filled with a cinnamon, butter, tahini, spice mixture. It is rolled and shaped into a tight log and cute little swirls are sliced, proofed, and baked.
The frosting is a real show-stopper. Brown some butter, chill it, and then beat it into a classic cream cheese frosting. Swoop it all on top of warm cinnamon rolls so that oozes down into the crevices and then eat them immediately with lots of coffee and soak up all that autumnal goodness.

Tahini Orange Cinnamon Rolls with Browned Butter Cream Cheese Frosting
Ingredients
- 70 g (1/3 cup) buttermilk
- 2 tsp active dry yeast
- 345 g (2 3/4 cup) all purpose flour
- 40 g (2 tbsp + 1 tsp) granulated sugar
- 1/4 tsp kosher salt
- Zest of one orange
- 2 eggs
- 113 g (1/2 cup) unsalted butter, softened
- 4 tbsp unsalted butter, softened
- 10 g tahini
- 1/2 cup brown sugar
- 1 1/2 tsp cinnamon
- 1 1/2 tsp cardamom
- Zest of one orange
- Pinch of salt
- 113 g (1/2 cup) unsalted butter
- 8 oz cream cheese, softened
- 1 1/2-2 cups powdered sugar*
- 1 tsp vanilla extract
- Pinch of salt
Instructions
- Heat buttermilk until warm to the touch. Combine warmed milk and yeast in the bowl of a stand mixer fitted with the dough hook. Let proof for about 5 minutes, until foamy, while you prepare the rest of the ingredients.
- In a medium bowl, combine all purpose flour salt, and sugar. Set aside.
- Lightly beat eggs and then add them to the mixer with the milk and yeast. Stir with a rubber spatula to gently combine.
- Add the dry ingredients to the liquid and begin mixing, starting on low speed and gradually increasing speed, for 2-3 minutes, until a thick dough begins to form.
- With the mixer running on medium-low speed, add the softened butter, one tablespoon at a time, until incorporated. Once all of the butter has been added, increase the mixer speed to medium-high and knead for 6-7 minutes, until a smooth, elastic dough has formed. Turn the dough onto a work surface and knead by hand for another minute and then shape the dough into a ball. Place the dough ball into a greased bowl, cover, and let proof at room temperature for 1 1/2 hours, until swollen and almost doubled in size.
- After the dough has completed its first proof, punch it down and cover the bowl tightly with plastic wrap. Transfer to the refrigerator and chill overnight, or approximately 12 hours*.
- Stir together all filling ingredients to form a smooth paste.
- Remove the dough from the refrigerator and let rest at room temperature for 30 minutes.
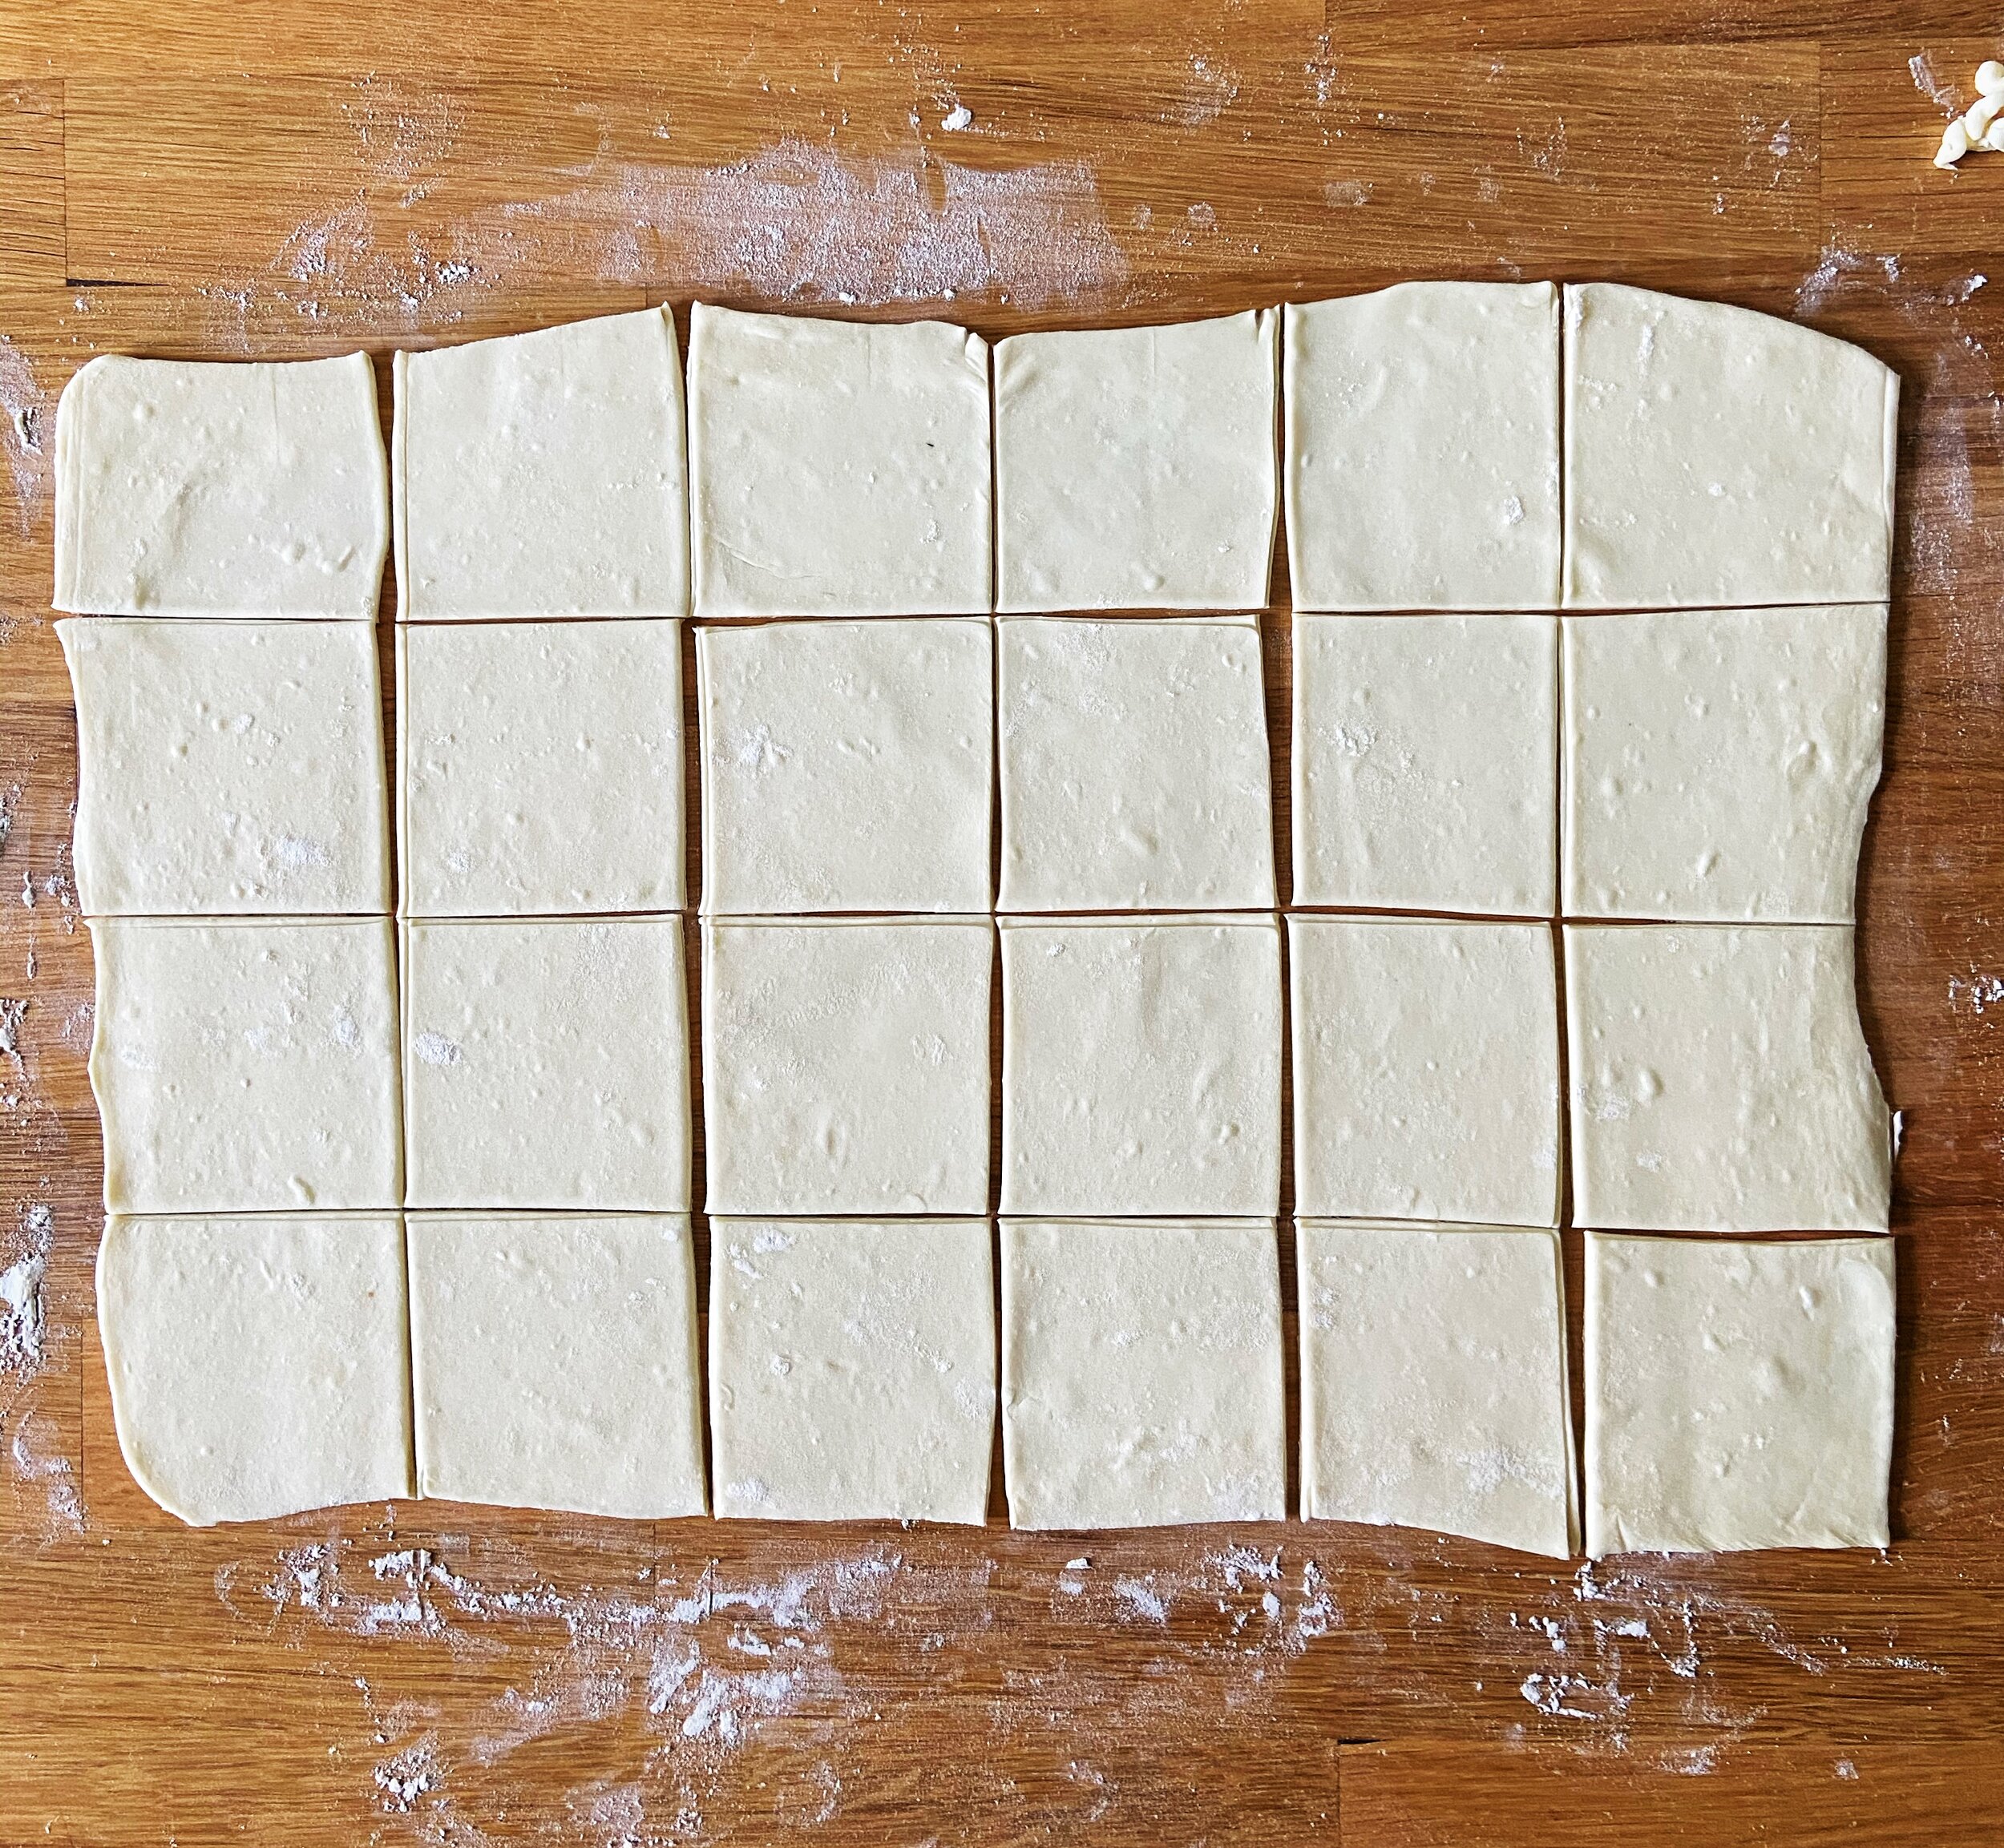
- Turn it out onto a lightly floured work surface and roll out into a large rectangle, approximately 1/4” thick and about 16”x20”.
- Dollop the filling over the dough and use an offset spatula to spread it into an even layer, reaching all the way to the edges of the dough.
- Starting from one of the long edges, tightly roll the dough into a log. Use a serrated knife to slice the log into 12 equal pieces. Places rolls cut side down in a 9x13” baking dish. Cover and let proof again for 1-1/2 to 2 hours, until rolls are puffy.
- Bake at 350° F for 30-35 minutes, until deeply golden. Let cool slightly and then frost while warm.
- Place butter in a small saucepan and cook over medium heat for 6-7 minutes, until nutty and fragrant and little brown bits appear at the bottom of the pot.
- Transfer browned butter to the fridge and let cool completely.
- Place cooled browned butter and softened cream cheese in the bowl of a stand mixer fitted with the paddle attachment. Beat until smooth and well combined.
- Scrape down the sides of the bowl and add the vanilla, salt, and powdered sugar. Continue mixing for 1-2 minutes, until light and fluffy.
- Spread over warm cinnamon rolls and serve!
Notes:
- If you are pressed for time, you can skip the overnight rest in the fridge and substitute it with a 30 minute chill. Completing a long cold proof helps flavor develop in enriched doughs like this one, so I HIGHLY recommend that you work it in, if possible, but it can be skipped if needed.
- The sweetness of a frosting is highly subjective, so I recommend starting with a lower measurement of powdered sugar, tasting as you go, and adding more bit by bit until you reach your ideal sweetness level. If at any point, the frosting gets too thick, you can loosen it with a teaspoon or two of heavy cream or milk.