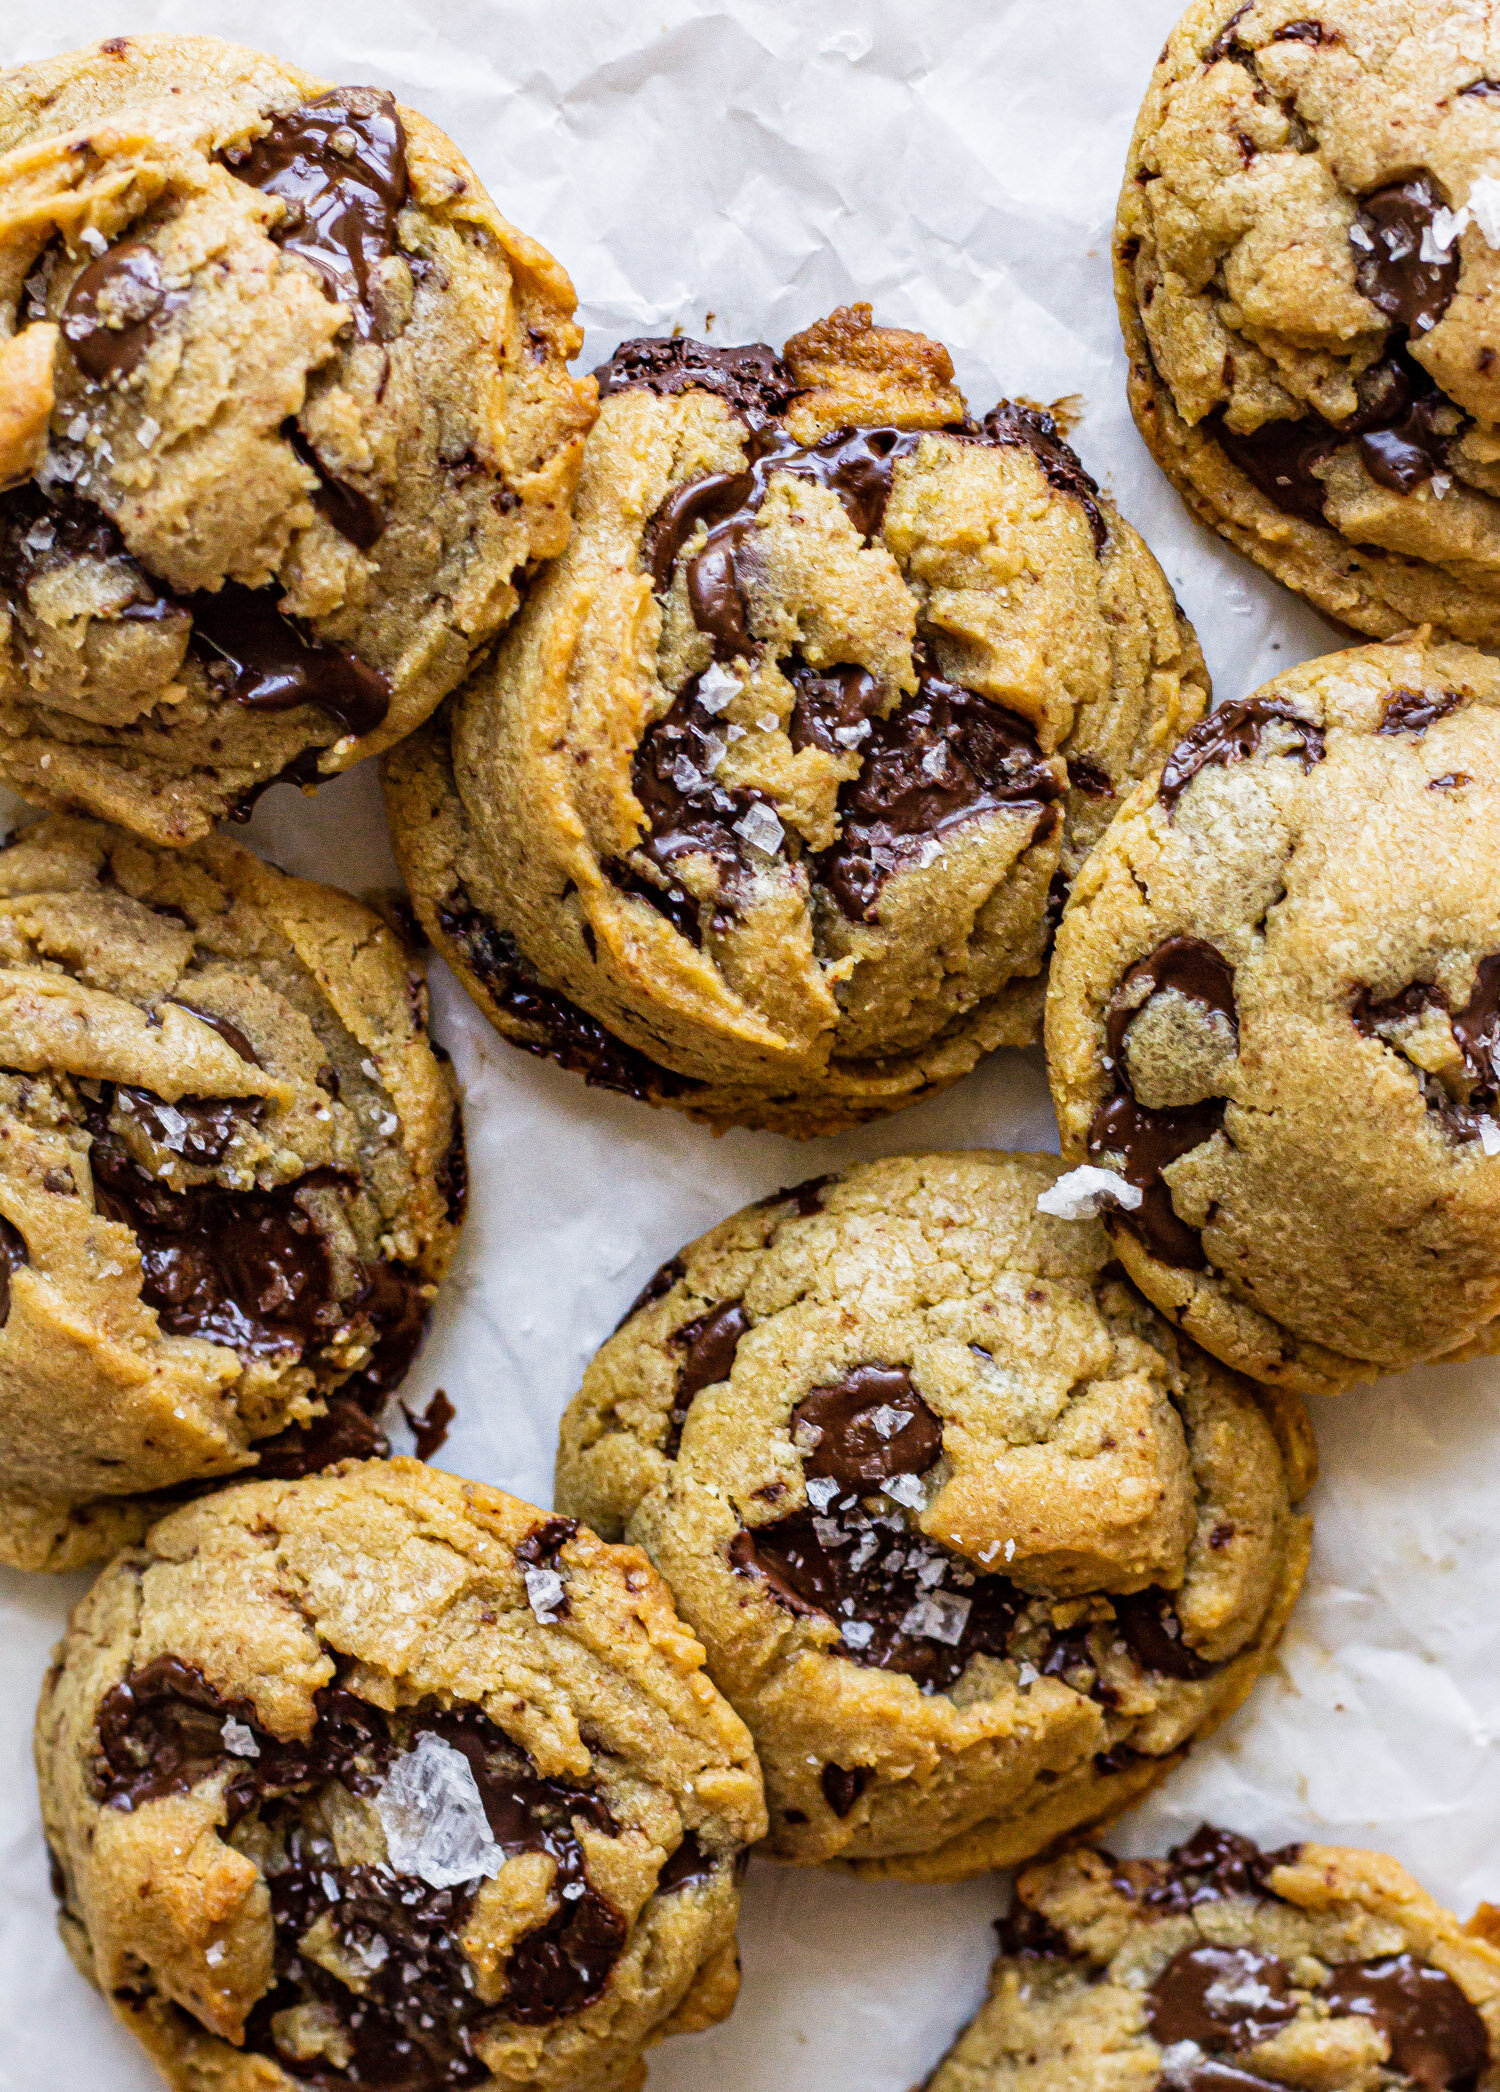
Pineapple Cheesecake Bars
/These simple pineapple cheesecake bars feature browned butter, a coconut cookie crust, and swirled fresh pineapple compote flavored with garden herbs.

Guys, I am so so excited to share this recipe with you! Vanilla bean, pineapple sage, and pineapple jam. Browned butter cheesecake filling. Coconut cookie crust. These easy cheesecake bars have it all! I developed this recipe completely on a whim about a month ago and I’ve literally been counting down until I had the opportunity to share them with you because I just know you’re going to love them as much as I do.
It all started because I had a slowly-softening pineapple sitting on my counter leftover from a styled client shoot. I needed to do something with it before it rotted and time was running out. I also noticed that my pineapple sage plant was having a moment out in the garden, bushy and beautiful and green. I like the idea of creating desserts with fun word play, so a pineapple + pineapple sage jam was born. It’s sweet and floral and a really lovely complement for a tangy, cream cheese filling.
cooking with pineapple sage
You all know how much I LOVE using herbs in my desserts and pineapple sage is a fun one. It’s a tender herb, often planted in gardens to attract hummingbirds and butterflies, with bright red blossoms and vibrant green leaves. The leaves have a distinctive, fruity pineapple-like smell, while the flavor is bright and herbaceous. If you don’t have or can’t find pineapple sage, you could easily substitute another herb like lemon verbena, mint, or basil. Or you could leave it out completely and make a vanilla pineapple jam that would still be delicious.

making the perfect cheesecake
Making the perfect cheesecake really comes down to two key factors: temperature and mixing. Cream cheese NEEDS to be at room temperature so that it will beat properly, into a smooth paste, rather than clump together. The other ingredients (butter, eggs, cream) should also be the same temperature as the cream cheese so that everything is able to homogenize properly.
When making cheesecake batter, scrape down the sides and bottom of your bowl often. This will help ensure that there are no sneaky cream cheese clumps clinging to the bowls that will leave you with lumpy batter. It’s also important to whisk together your sugar and cornstarch before adding it to the batter. The sugar granules will help break up the starch clusters in the cornstarch, making it easier to incorporate into a smooth batter.
how to make pineapple cheesecake bars
Start off by making an easy pineapple jam. Cubed pineapple, brown sugar, lots of vanilla, and pineapple sage and lemon verbena leaves (or mint or basil, see above) are combined in a saucepan. Bring it to a boil, then reduce the heat and let it simmer for 20-30 minutes, until pineapple is soft and sticky. Cool completely.
While the jam is cooling, we make our coconut cookie crust. I love using Maria Cookies because they are a favorite in our house and I almost always have a package on hand, but you could use graham crackers, gingerbread, or another shortbread cookie. Pulse cookie crumbs, coconut, and sugar in a food processor and then stir in melted butter until everything is moistened. Press the crust into a pan and set is aside while you work on the batter.
Brown some butter in a small saucepan and then let it cool off in the fridge until it reaches room temp and starts to solidify a bit. Using a hand mixer or a standing mixer, beat your cream cheese to soften. Add the sugar and cornstarch, followed by the eggs, heavy cream, and vanilla. SCRAPE DOWN THE SIDES OF THE BOWL A LOT. Add your softened browned butter and beat until your cheesecake batter is luscious and smooth. Pour it into your cookie crust and dollop pineapple jam over the top. Use a skewer to swirl the jam in and then bake your cheesecake bars until they are set with just a slight wiggle in the center. Chill those babies and then snack on them all summer long.


Pineapple Cheesecake Bars
Ingredients
- 2 cups diced pineapple
- 1/4 cup brown sugar
- 1/2 tsp vanilla powder (or 1 tsp vanilla extract)
- 1 sprig (about 8 leaves) lemon verbena*
- 4 large leaves of pineapple sage*
- 3 tbsp unsalted butter
- 16 oz full-fat cream cheese, softened
- 3/4 cup (150 g) granulated sugar
- 2 eggs
- 3 tbsp heavy cream
- 1/4 tsp kosher salt
- 1 tsp vanilla extract
- 1 1/2 tsp cornstarch
- 5 oz cookie crumbs (such as graham crackers, Maria Cookies, or other shortbread)
- 1/4 cup shredded coconut
- 2 tbsp granulated sugar
- 4 tbsp melted butter
Instructions
- Combine all ingredients in a large saucepan and set over medium heat. Bring to a boil, and then simmer for 20-30 minutes, until sugar is completely dissolved, pineapple has softened, and jam has slightly thickened. Remove from heat and cool completely.
- Preheat the oven to 325° F.
- In the bowl of a food processor fitted with the blade attachment, combine cookie crumbs, coconut, and sugar. Pulse for 30 seconds until combined.
- Transfer to a bowl and stir in the melted butter until coated and sufficiently moist. Press into an even layer in a parchment-lined 9x13 pan. Set aside.
- Place butter in a small saucepan set over medium heat and cook, swirling occasionally, for 6-7 minutes, until fragrant and flaked with little brown spots. Transfer to a bowl and place in the refrigerator to cool completely.
- In a small bowl, whisk together sugar and cornstarch.
- In the bowl of a stand mixer fitted with the paddle attachment, beat the cream cheese until smooth. Scrape down the sides of the bowl, and add the sugar/cornstarch mixture. Cream for about 2 minutes, until light and fluffy. With the mixer on low speed, add the eggs, one at a time, followed by the heavy cream, vanilla extract, and cooled browned butter. Switch the whisk attachment and whip until very smooth and no lumps remain.
- Pour the cheesecake batter over the crust and use an offset spatula to smooth into an even layer.
- Dollop the pineapple jam over the top of the cheesecake and swirl with a knife or skewer.
- Bake for 30-35 minutes, until set. Cheesecake should barely jiggle when shaken. Let cool to room temperature and then cover and chill for at least 12 hours. Slice and serve.
Notes:
If you don't have lemon verbena or pineapple jam (they are a bit difficult to find), you could substitute them with another bright herb, like mint or basil. You could also choose to leave them out completely.