Pear Tarte Tatin
/
I’m back with another new Christmas dessert recipe for you for Day 5 of 12 Days of Christmas Desserts. In case you haven’t quite figured it out yet, I love all things French. When I was little, my aunt used to go to Paris on a regular basis and when any of us cousins turned 12, she took us with her. I vividly remember my 8 year-old self seeing pictures and hearing stories from my cousin’s first French getaway and counting down the days until my 12th birthday. Unfortunately, we moved from North Carolina to Florida later that year and life got in the way and coordinating trips to Paris fell to the wayside. But 20 years later, my time came. My generous aunt packed us up and we spent 10 days in Aix-en-Provence, a region in the South of France, celebrating our birthdays (because we share the same birthdate) and it was really all I imagined my first trip to France being. Then last year, Martin and I spent a few days wandering the streets of Paris and Bordeaux and I began shopping for French real estate. I once listened to a podcast interview with Dorie Greenspan where she said that the first time she walked off of the plane in Paris, she thought to herself "I could have been born here” and I feel that deeply in my soul.
But since Europe doesn’t yet recognize Martin’s professional licenses and I currently do not make enough money off of my writing to support us living overseas, I’ve resigned myself to reading David Lebovitz books and eating steak frites, and drinking lots of wine. Oh, and making French pastries.
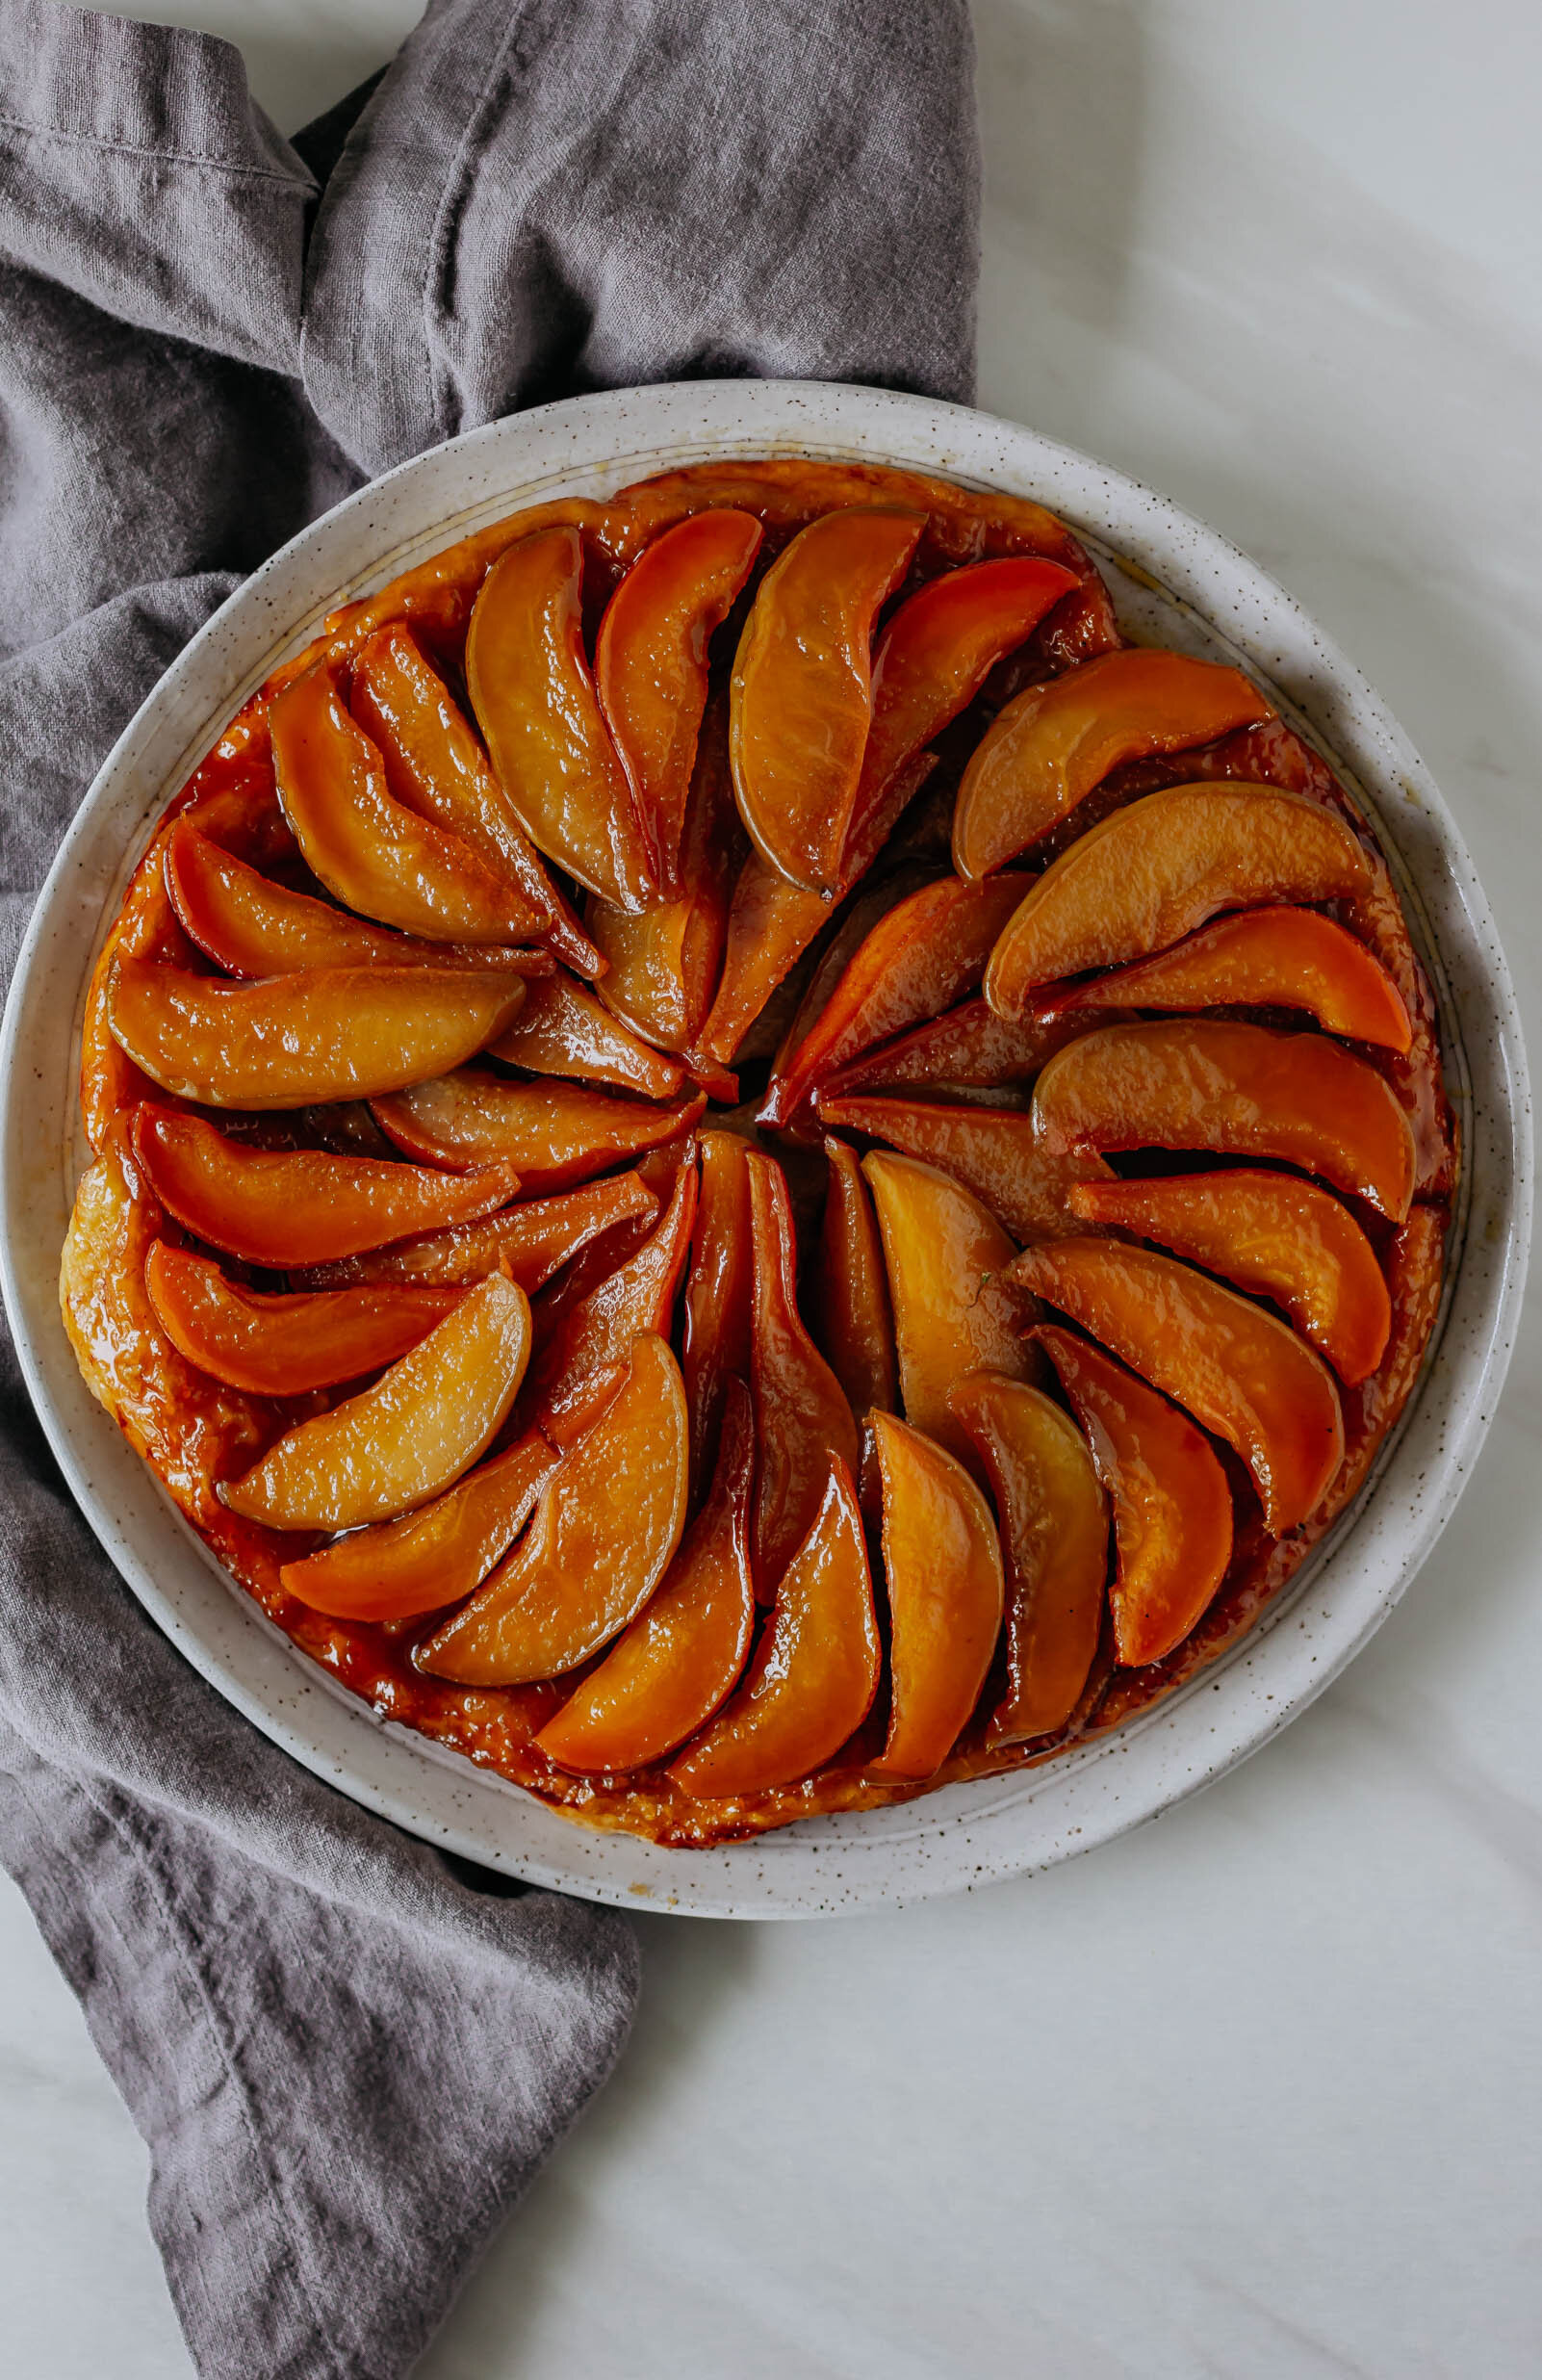
Tarte Tatin is a very classic French dessert and it’s somewhat of an upside-down tart. It’s often made with apples, but I had some really beautiful pears in my most recent Misfits Market box that were begging to be snuggled in puff pastry. It’s really a fairly simple recipe, once you know what you are looking for. I did a lot of tarte tatin research in creating this recipe and all of the recipes that I found really don’t differ much. I very slightly adapted one from Deb Perlman at Smitten Kitchen, who had slightly adapted her recipe from the most-talented Susan Spungeon.
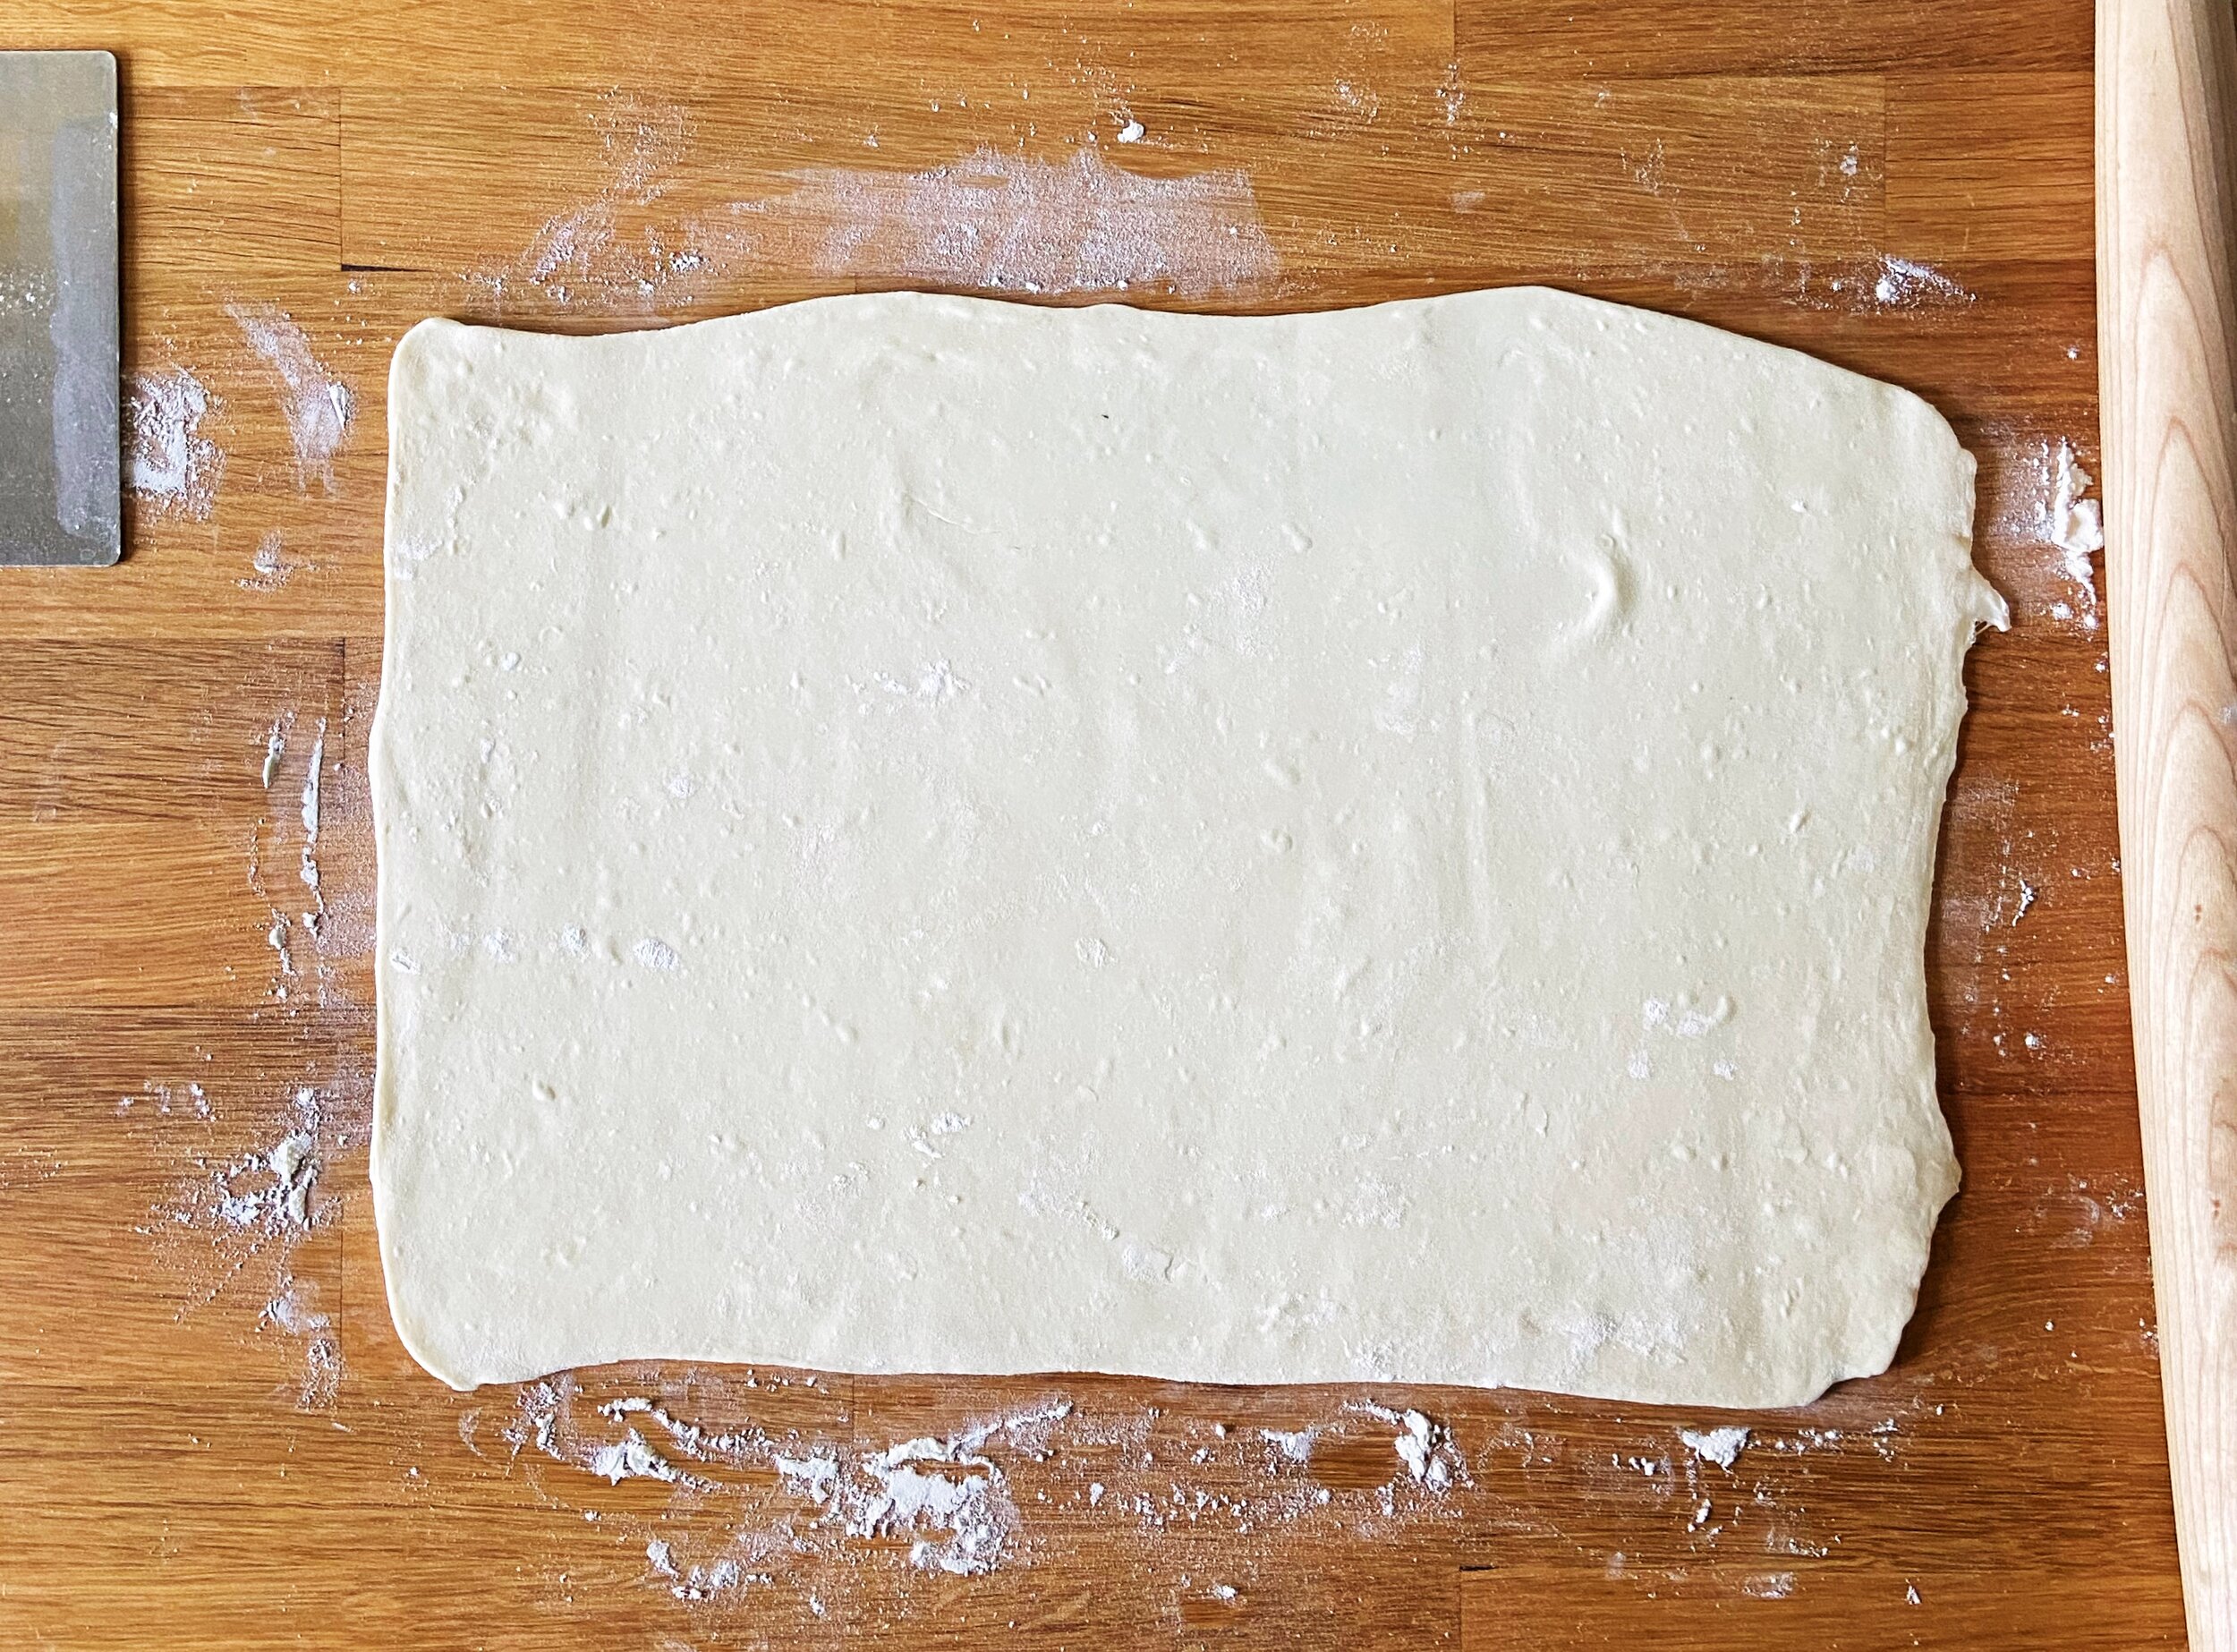
I found that the easiest way to make the caramel is by using a large, deep skillet where you can easily see the color of the sugar as it cooks and then transfer everything to a cast iron for baking. You can use store-bought puffy pastry or make your own, I have a recipe with step-by-step instructions here. The most important thing is to let the pastry cool completely (30-60 minutes) before inverting it to keep from having to clean up a sticky, caramel mess.
Pear Tarte Tatin
makes one 10” skillet
slightly adapted from Deb Perlman who adapted from Susan Spungen
Ingredients
4 tbsp (55 g) unsalted butter
3/4 cup (150 g) granulated sugar
Juice of 1/2 of a lemon
2 tbsp dark rum
1 sheet puff pastry, store-bought or homemade
6 pears, each sliced into eighths
Procedure
Place your cut pears into a large bowl and squeeze the juice of half of a lemon over top of them. Toss to coat and then set aside.
Pour sugar in an even layer in the bottom of a large skillet. Turn the heat to medium heat and cook, without stirring until sugar begins to dissolve and turn golden. When all of the sugar has dissolved, you may swirl the pan once or twice. Cook until a deep amber color.
When the sugar is a deep brown liquid, whisk in the butter. The mixture will bubble and sputter, but that’s ok, keep whisking. Once the butter is melted, whisk in the rum.
Add the pears to the caramel and stir to coat. Cook over medium-low heat for 20-25 minutes, stirring occasionally, until pears are softened and caramel is bubbly.
Use tongs to arrange the pear slices in an even layer in the bottom of a 10” cast iron skillet (or deep pie plate) and then pour the remaining caramel over the top. Set aside to cool for 10 minutes.
While the pears are cooling, preheat the oven to 400° F.
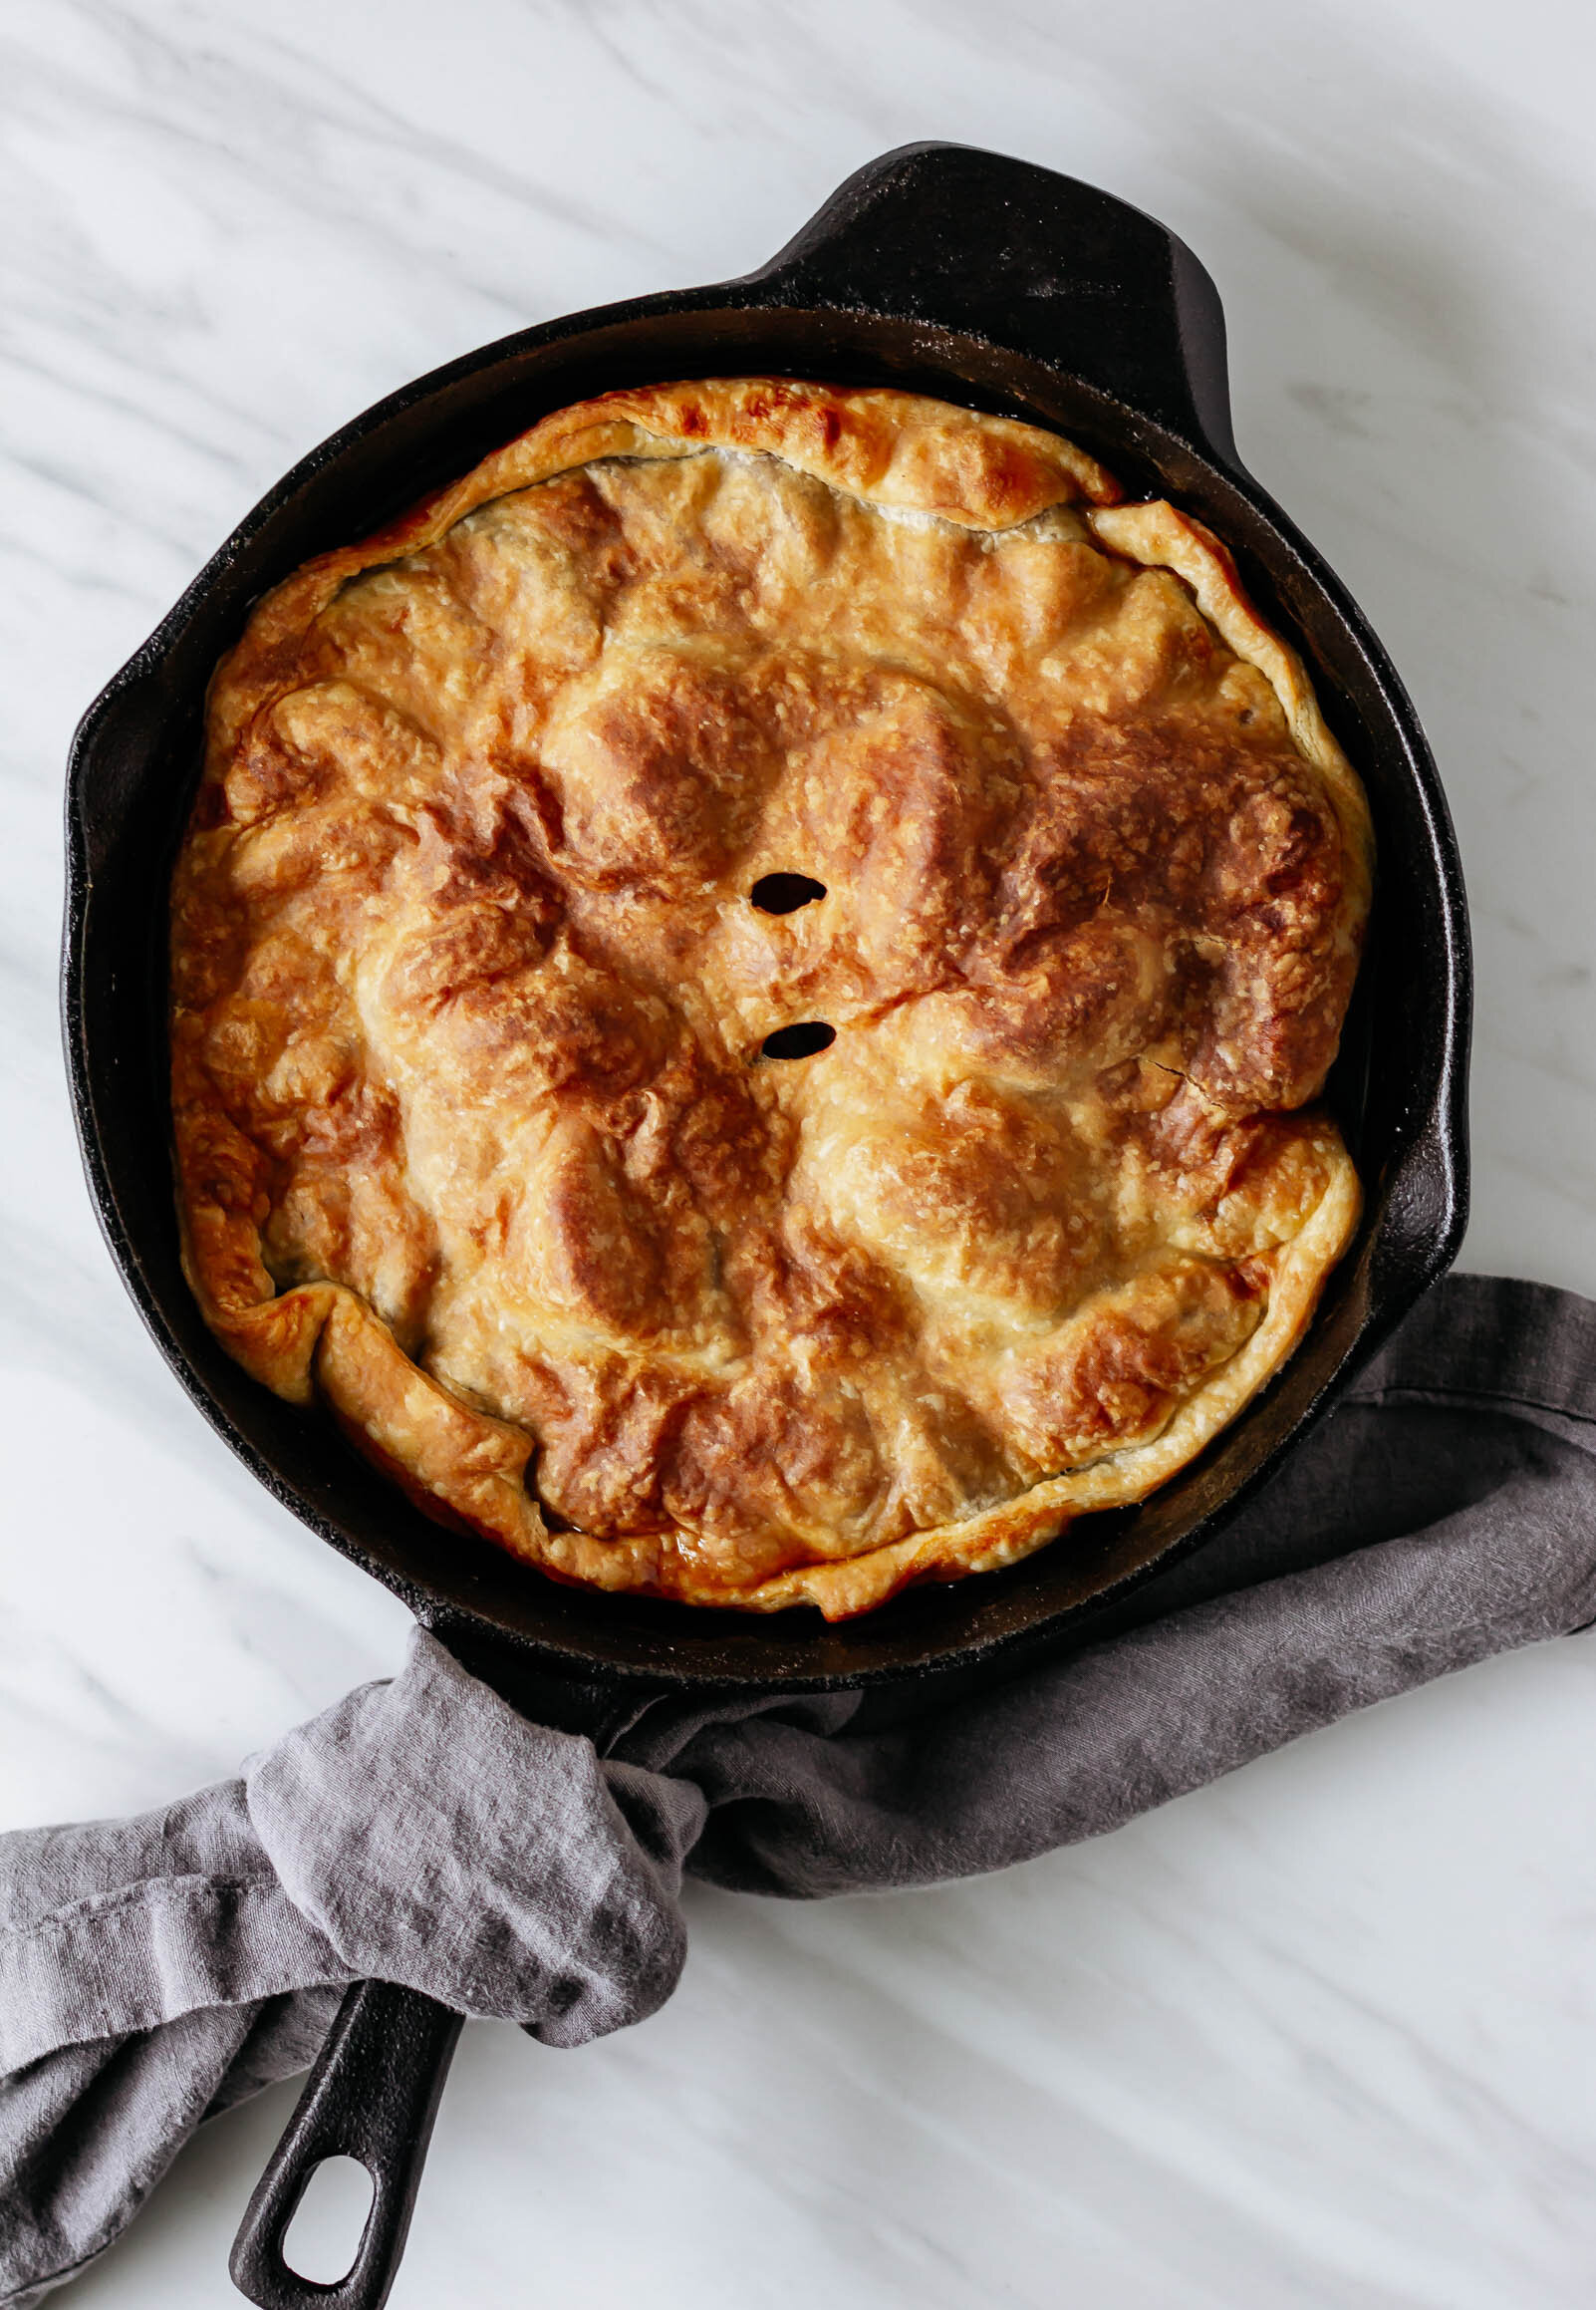
Roll your sheet of puff pastry out into a circle just larger than the skillet and trim the edges. When the pears are mostly cool, gently lay the puff pastry over the top of the skillet and slice a small hole in the center to let steam escape.
Bake for 25-30 minutes, until pastry is deeply golden and caramel is bubbling.
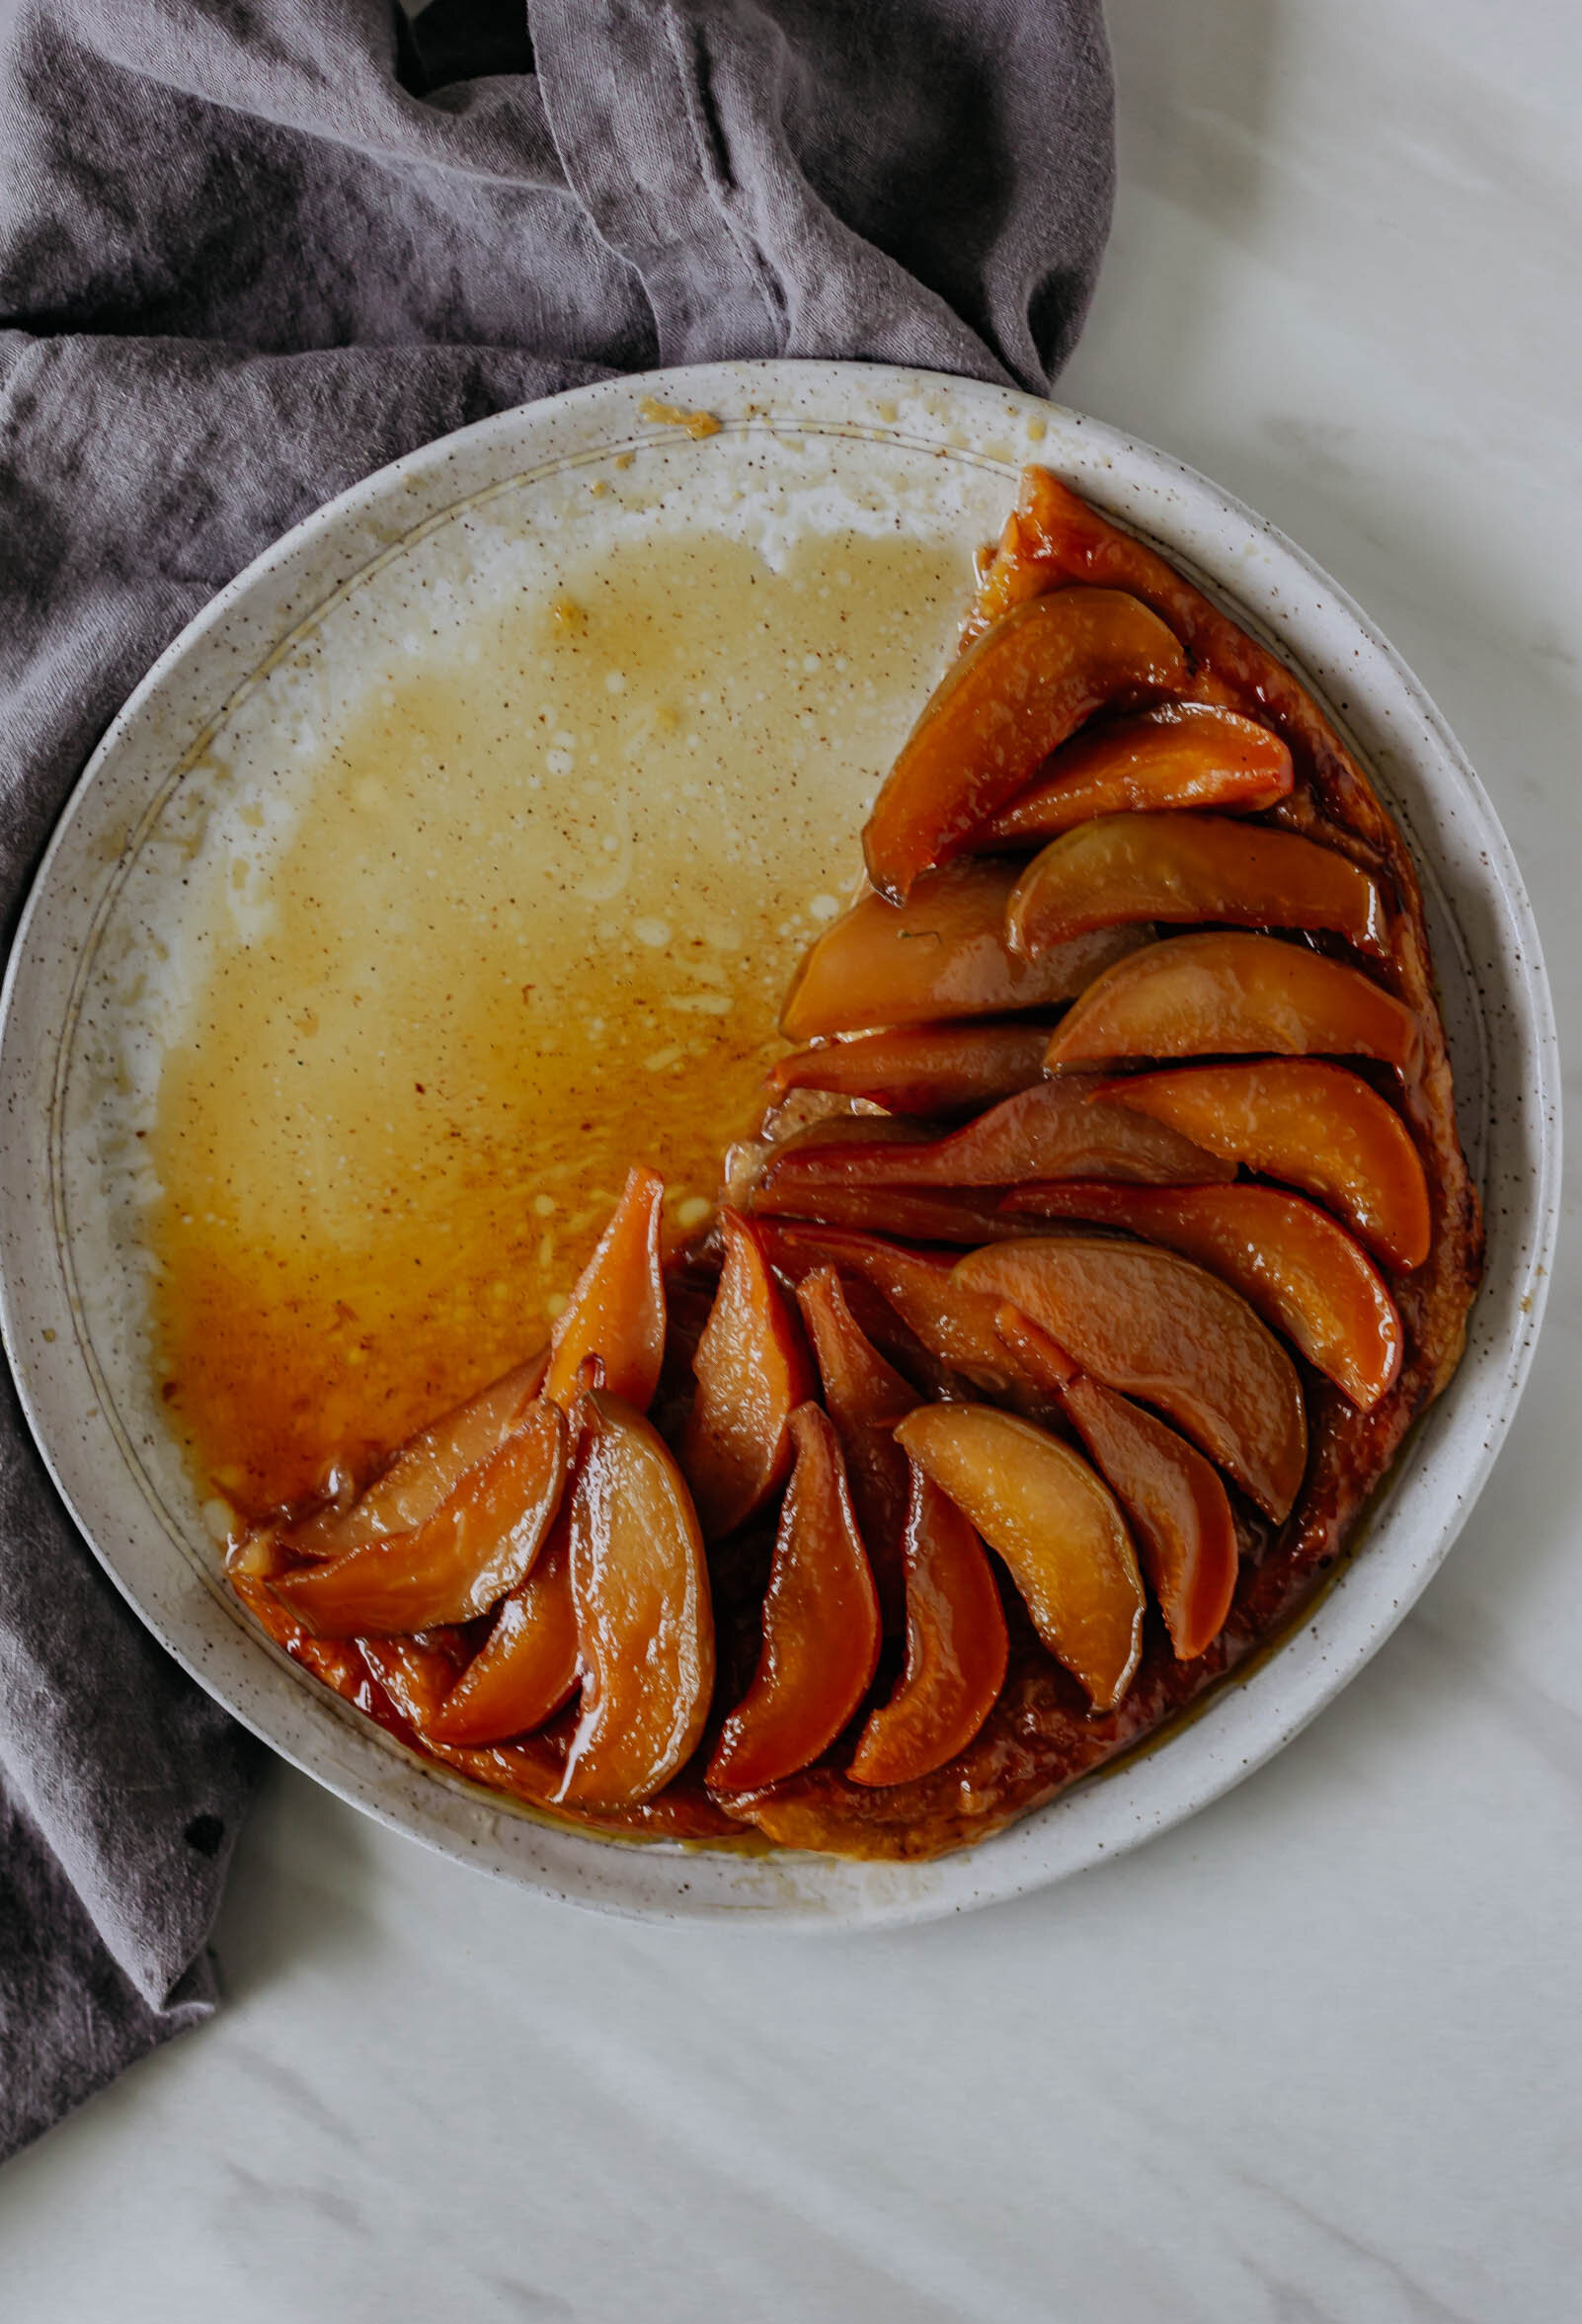
Let the tarte tatin cool completely in the skillet (at least 30 minutes) before carefully inverting onto a plate or serving dish.


puff pastry how-to

browned butter and nectarine upside down cake
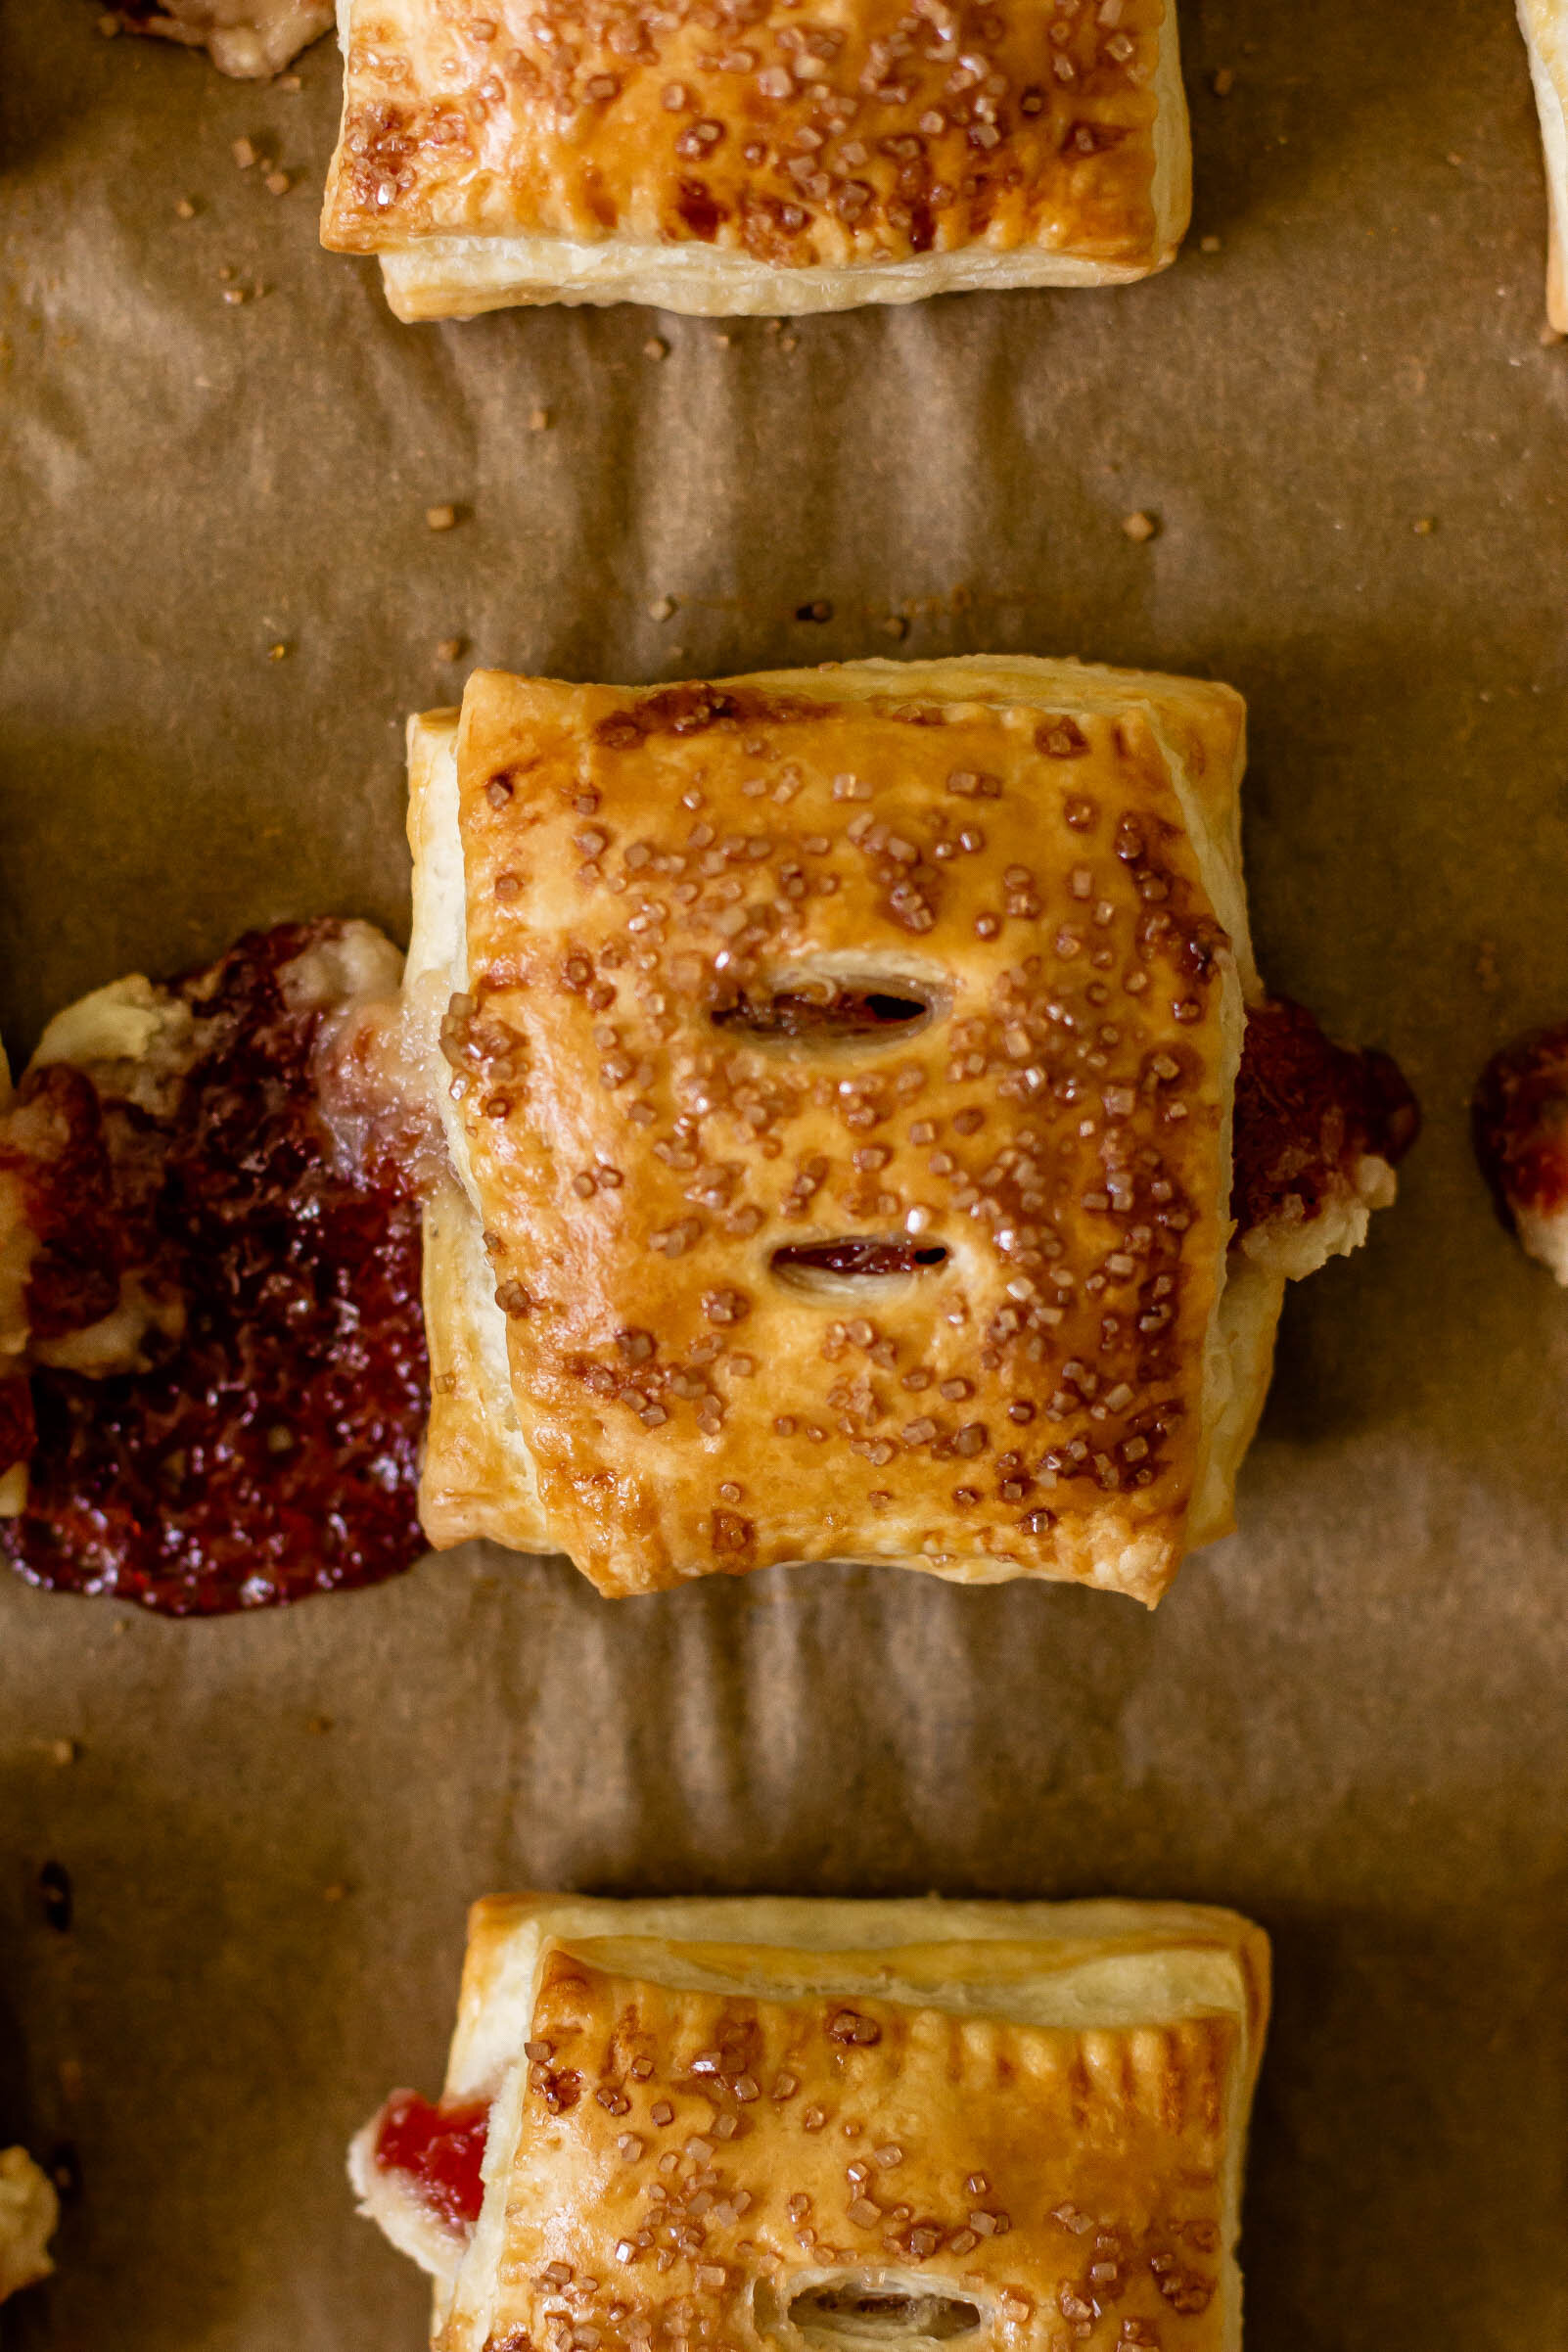
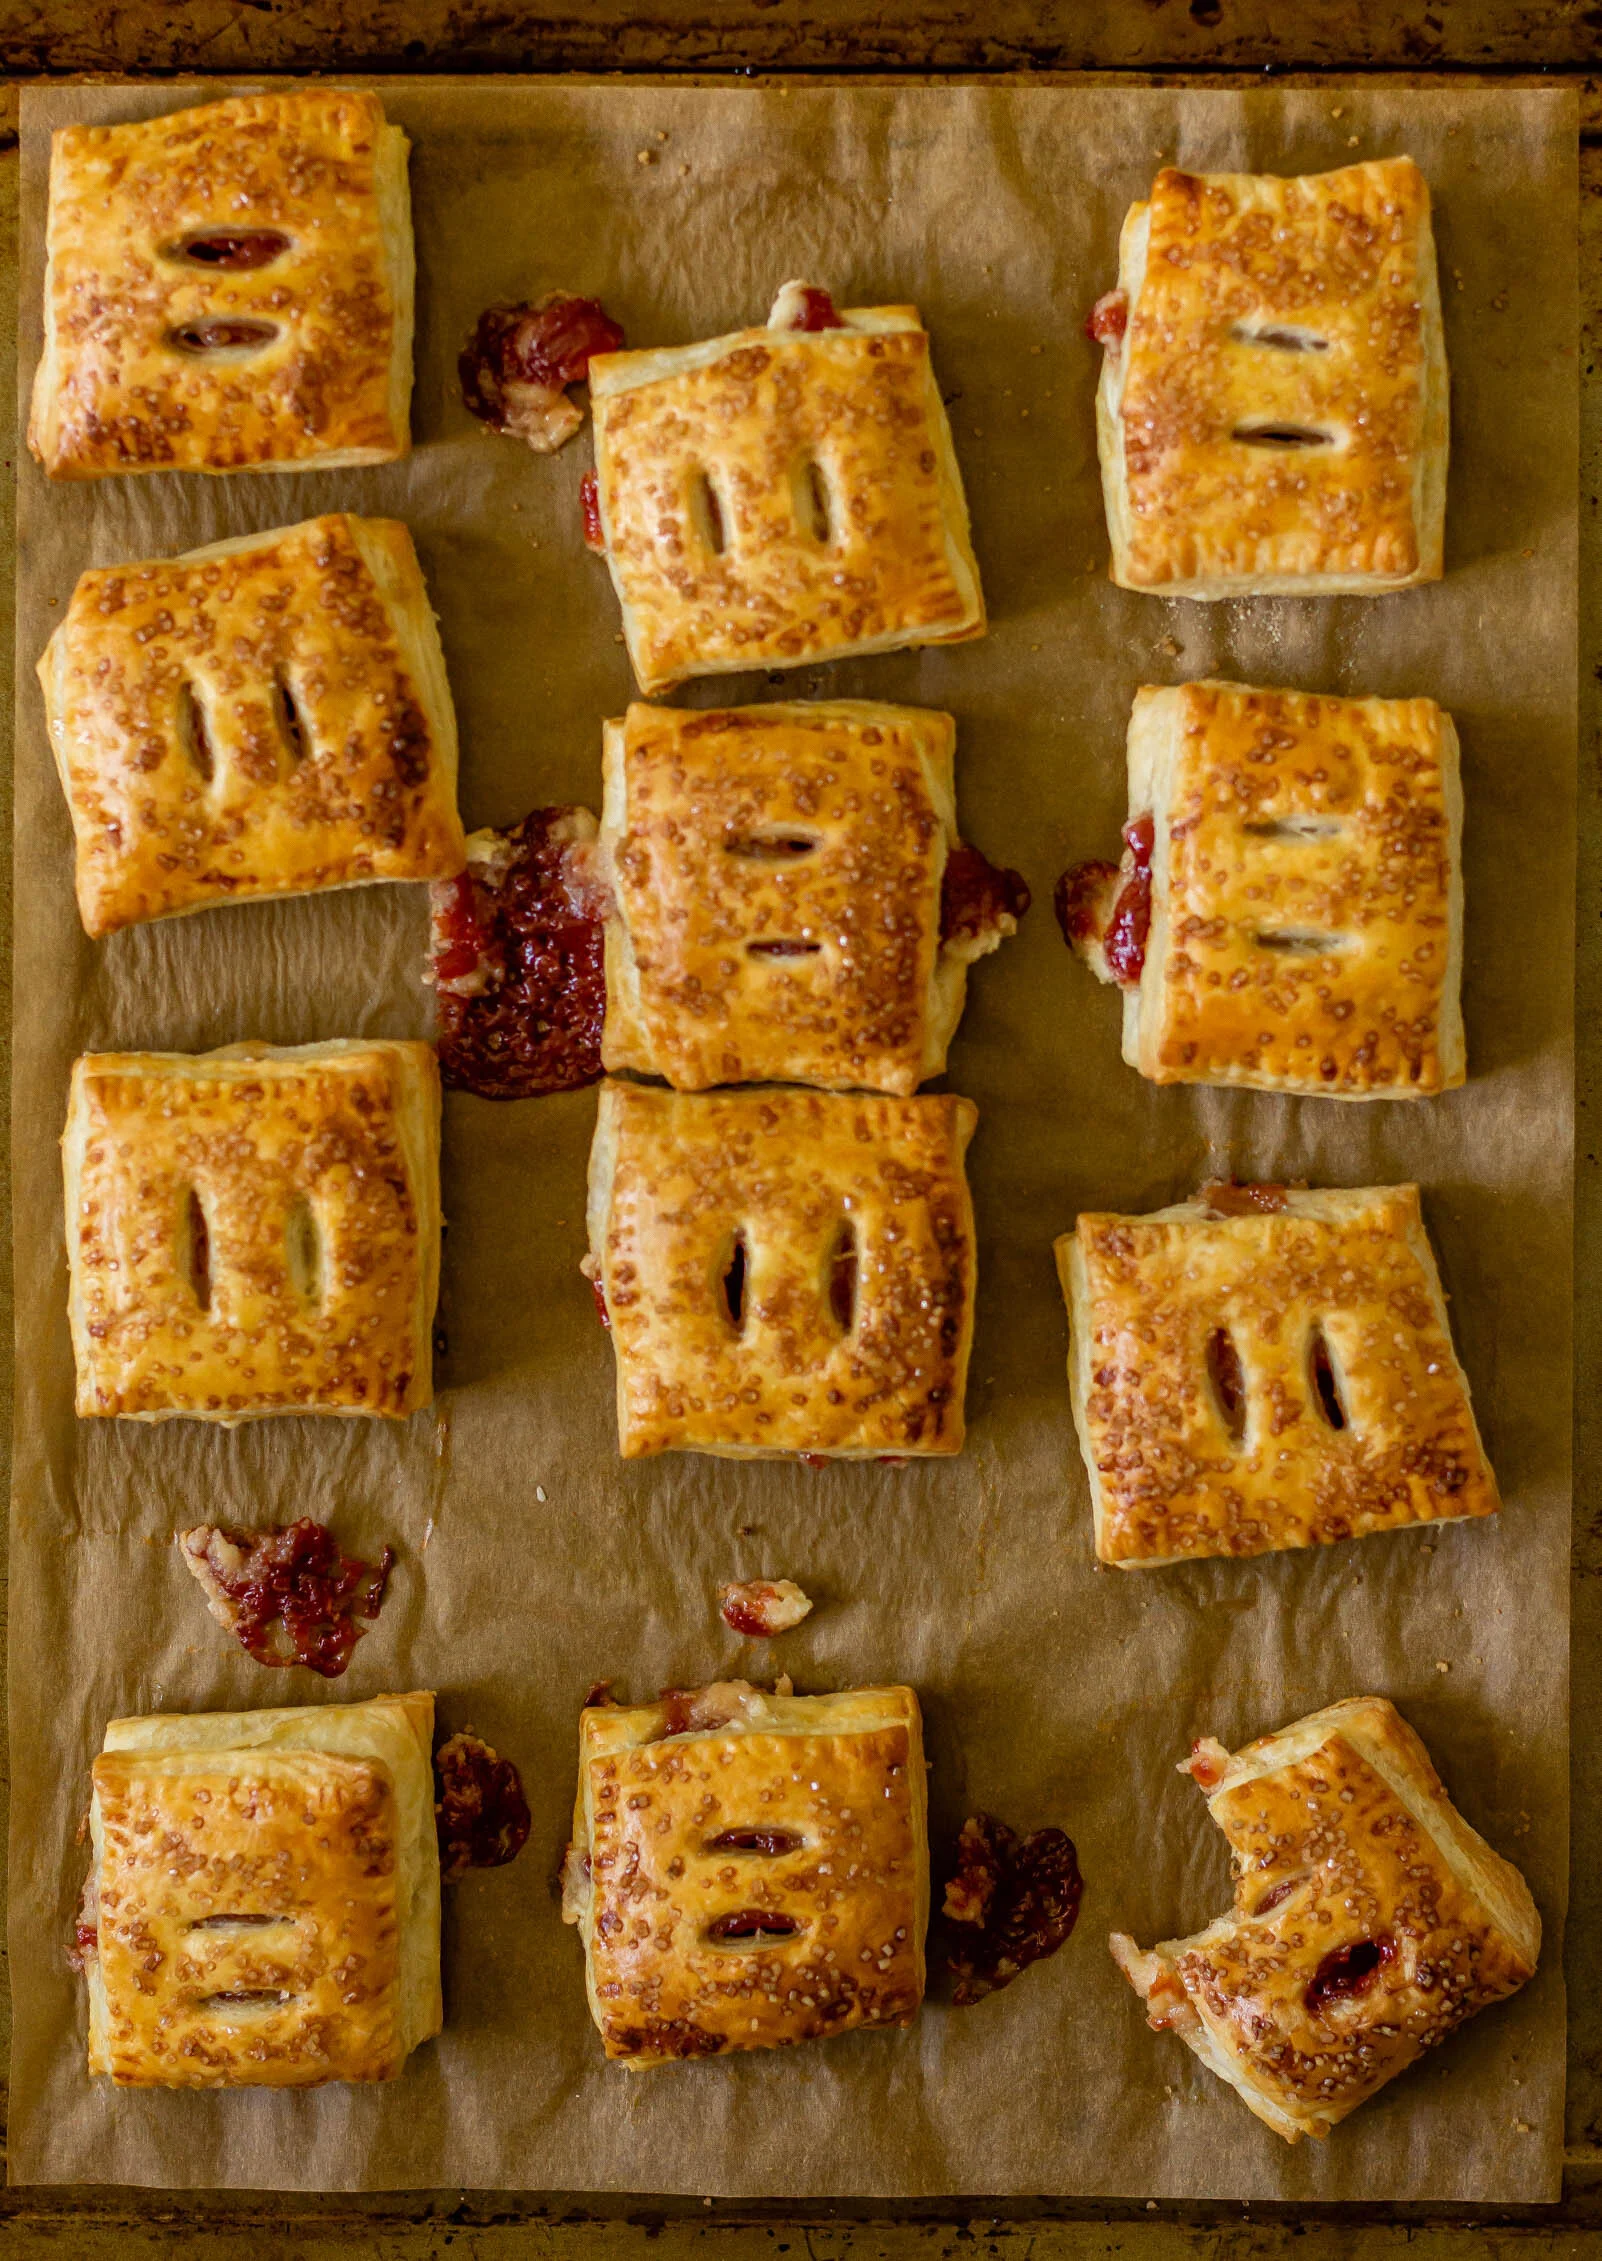
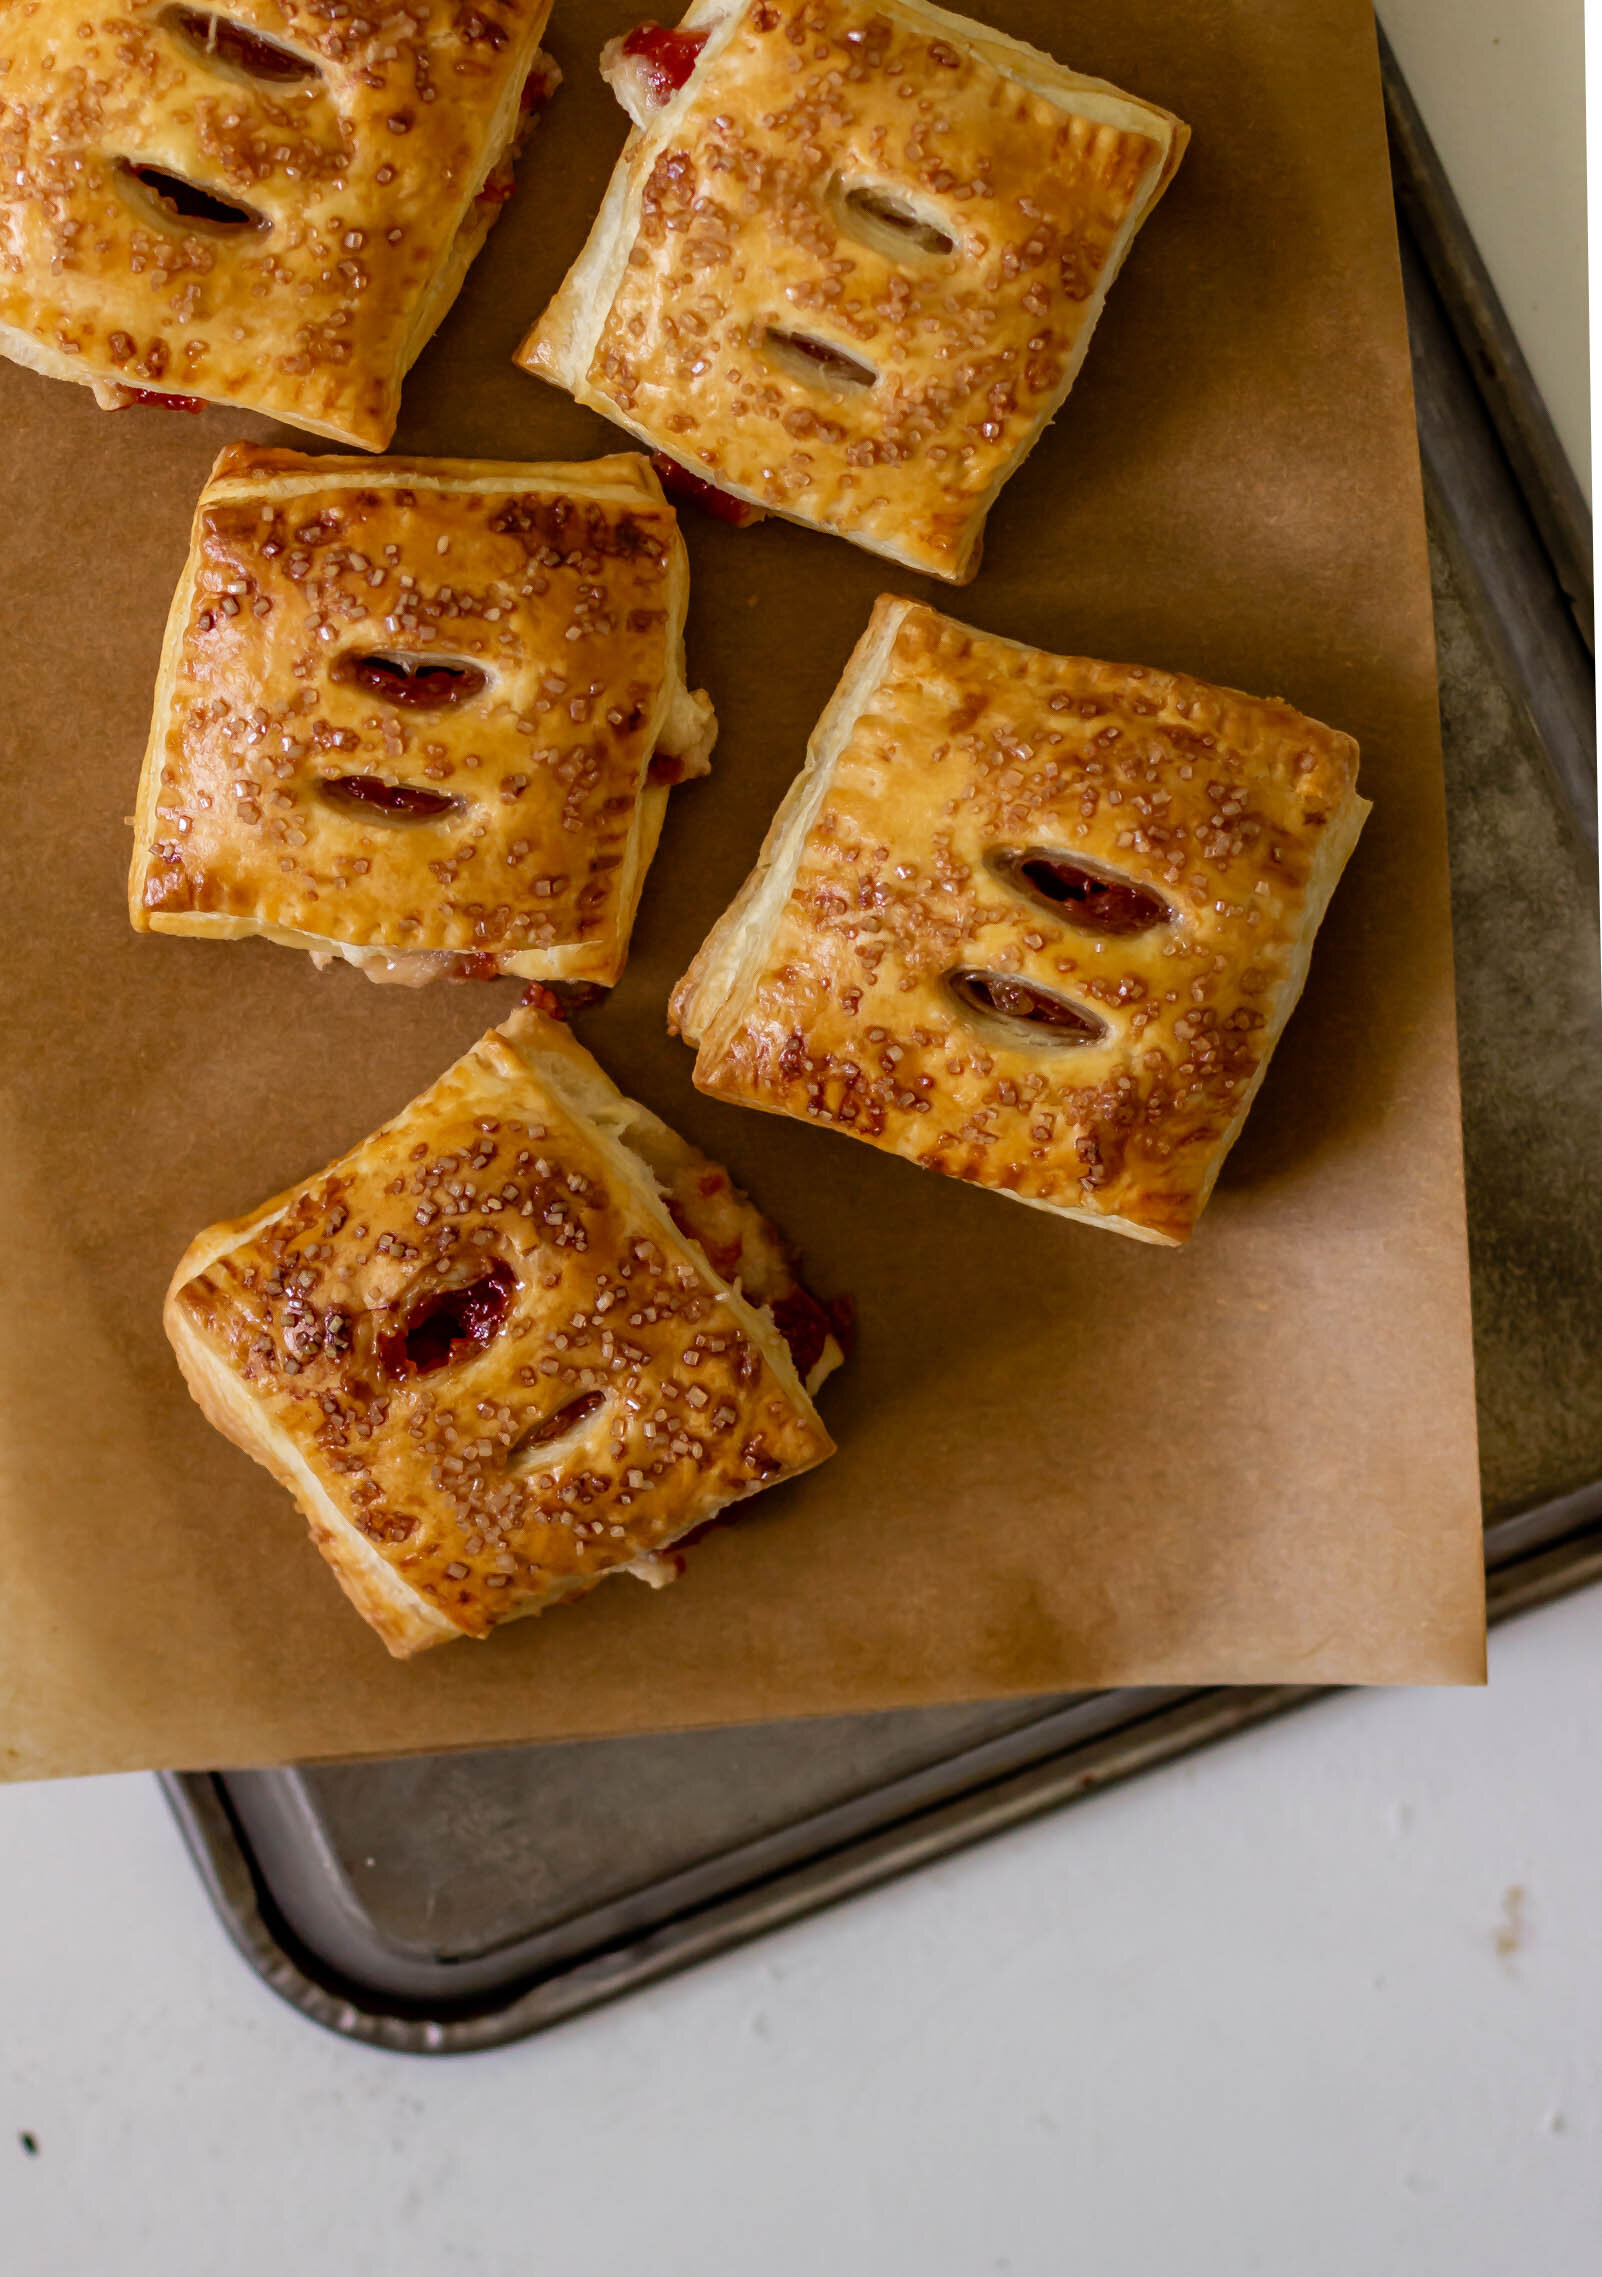
guava and cheese pastelitos