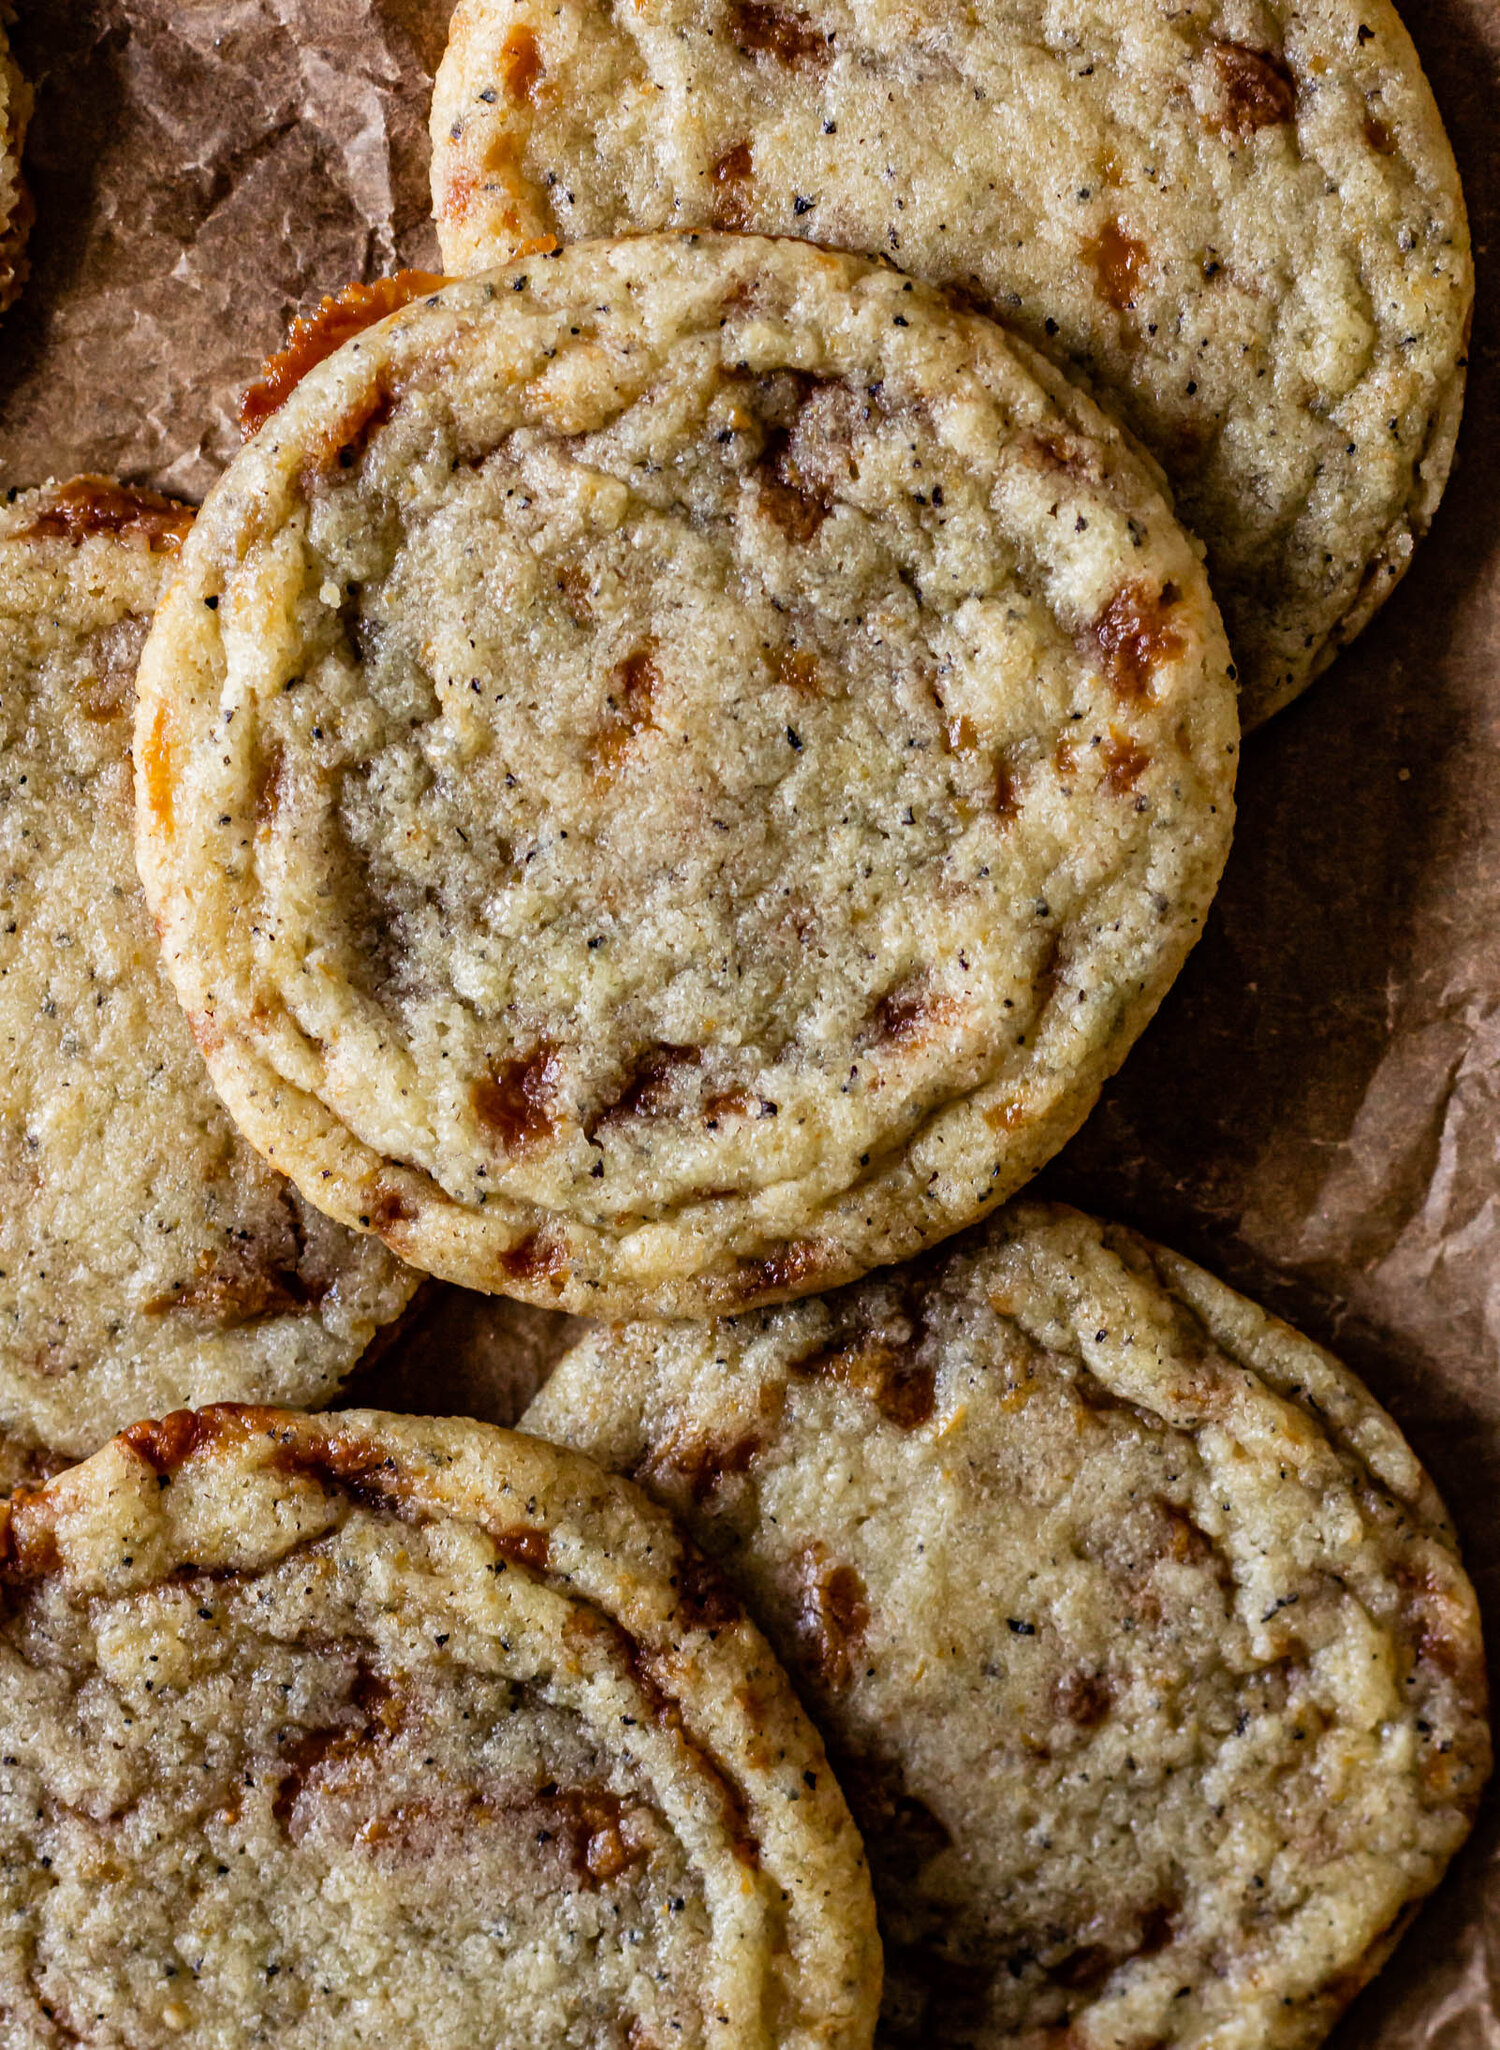
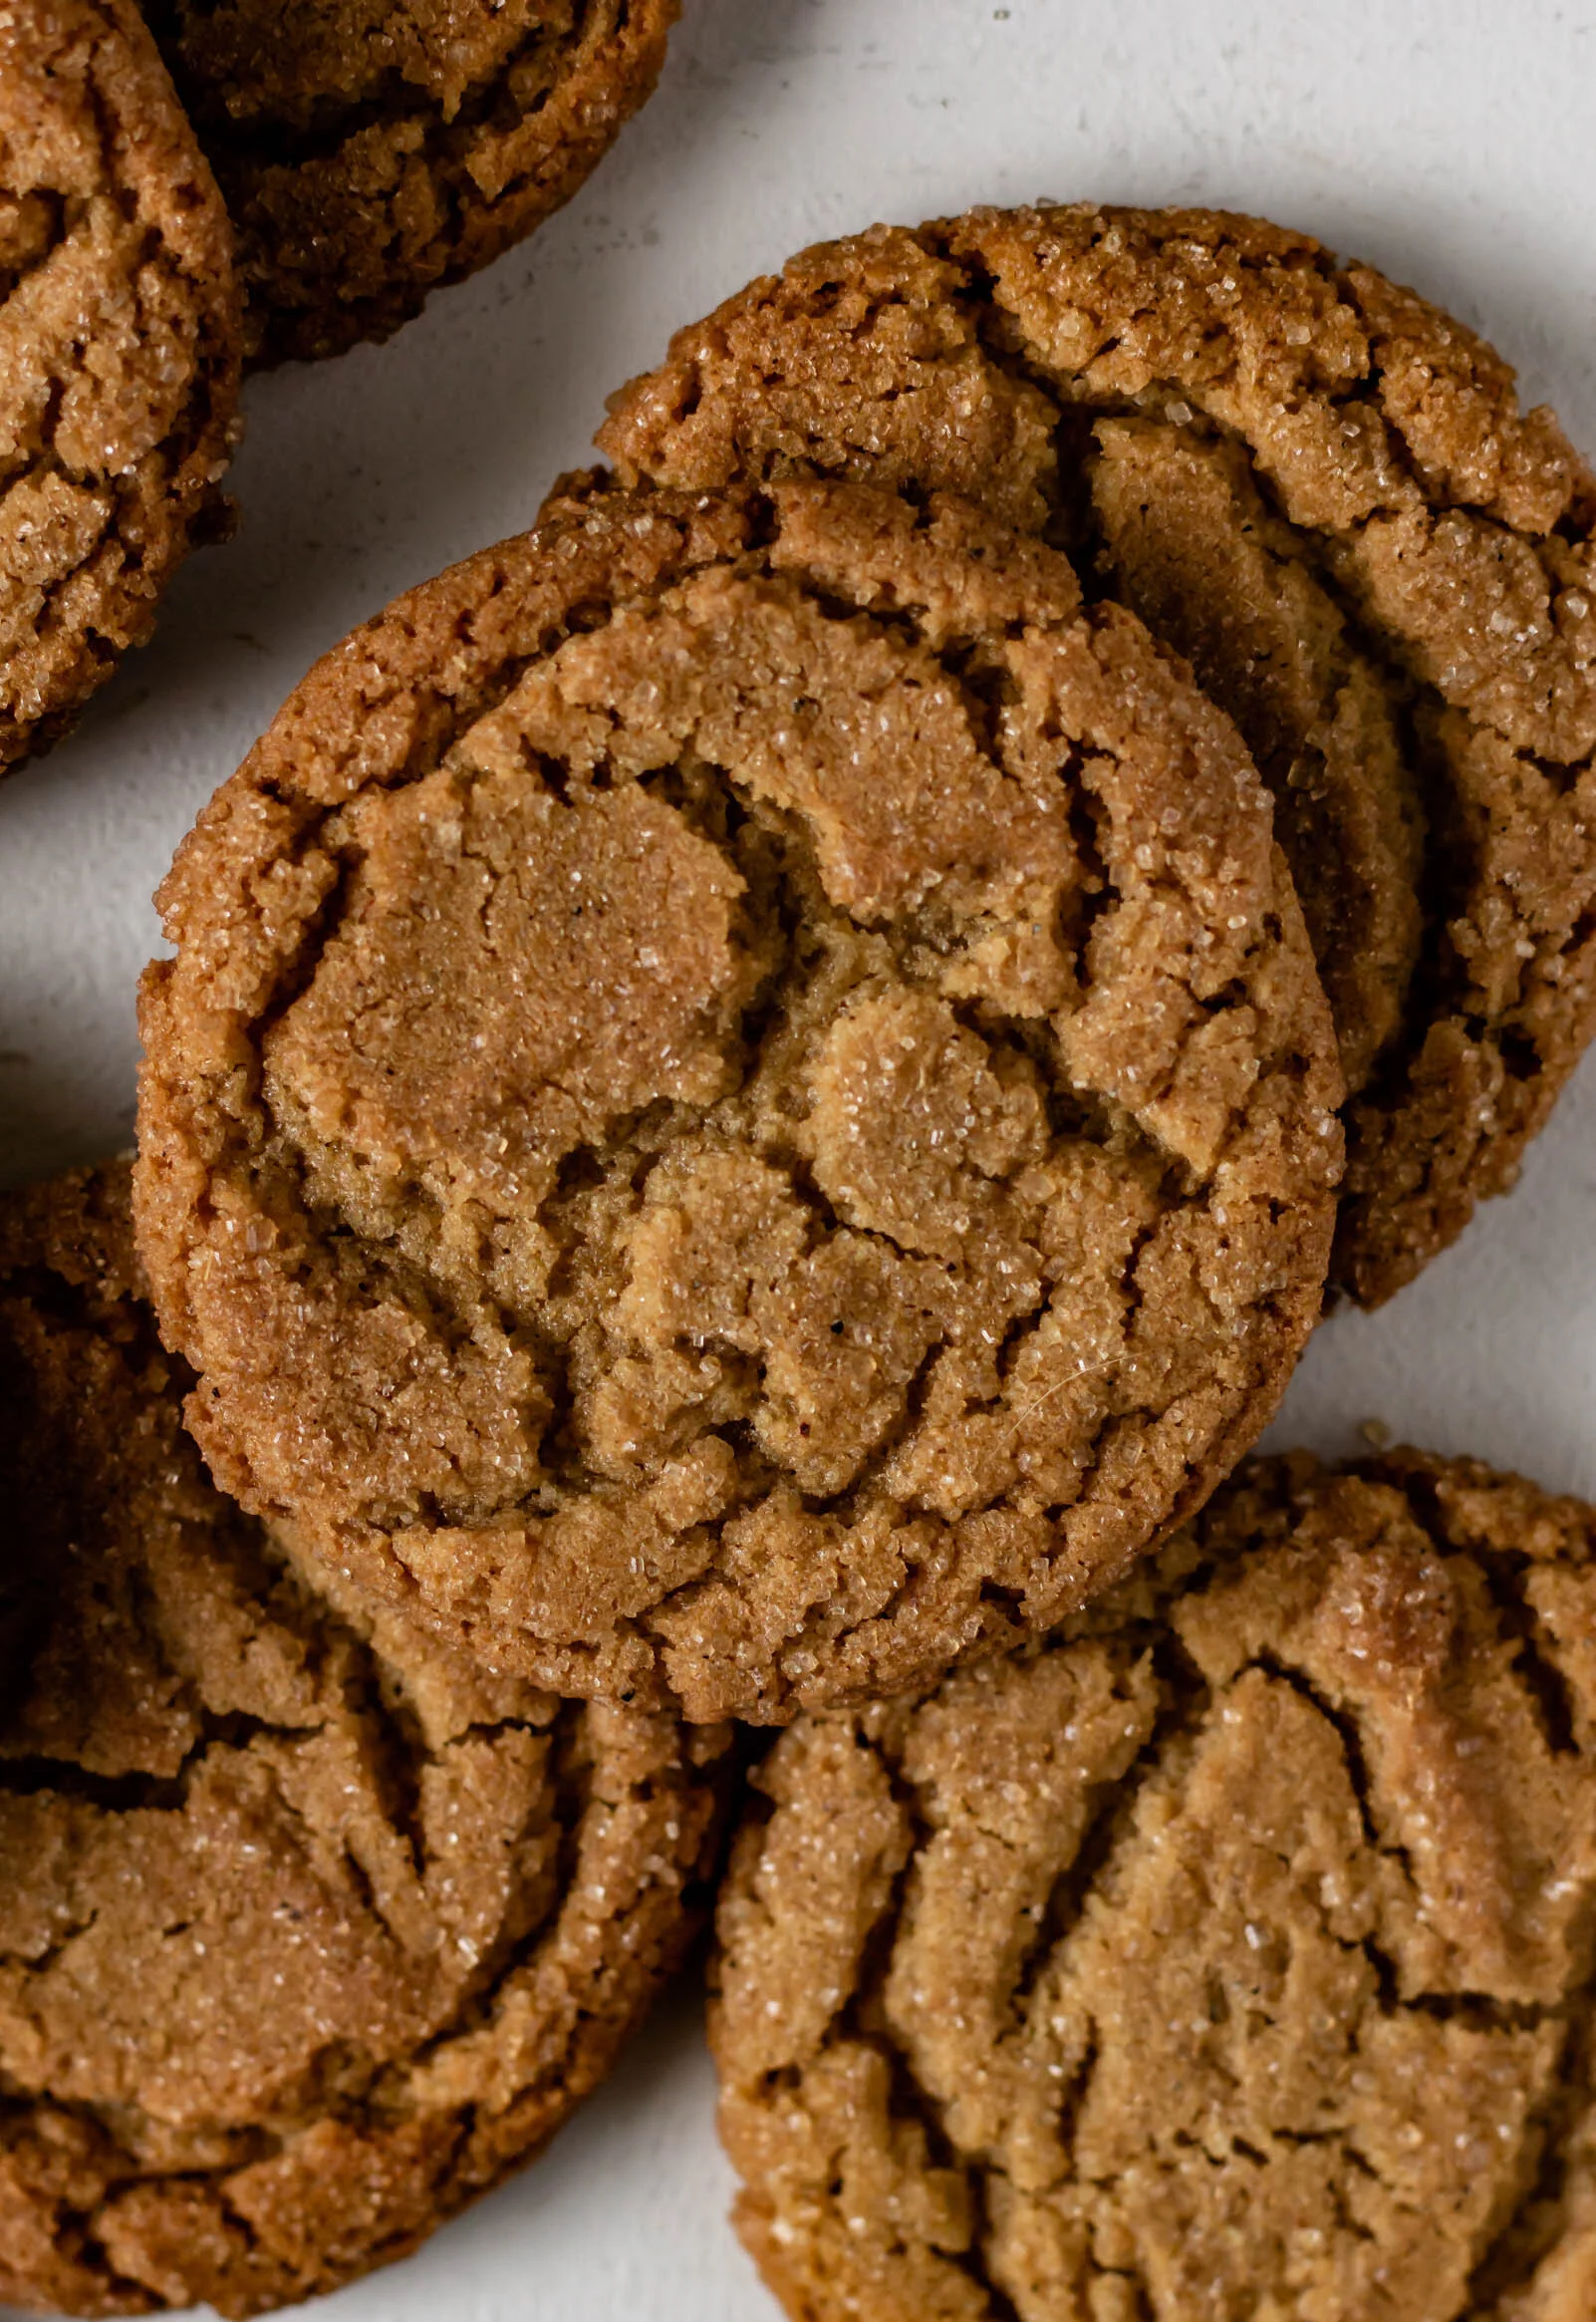
Hawaij Snickerdoodles
/An autumnal spin on the classic snickerdoodle. This easy snickerdoodle recipe features a homemade hawaij spice blend, sticky molasses, thin crunchy edges and soft chewy centers.
This past weekend, Tahini and I made a short trip to South Florida to host a small, socially-distanced baby shower for my sister-in-law, Laura. Laura and I met 10 years ago this month at a sorority rush event during my sophomore year of college and we became best friends right away. It took us about five minutes to realize that we were going to be great buddies and so began a lifetime of sleepovers and cookie baking. And then, lucky for us, I met Laura’s brother, Martin, and we fell in love and got married and now Laura is my real-life sister and it’s a really wonderful set-up. All of this to say, my best friend and sister is having a baby this year and that makes this new addition to our family a little extra special for me.
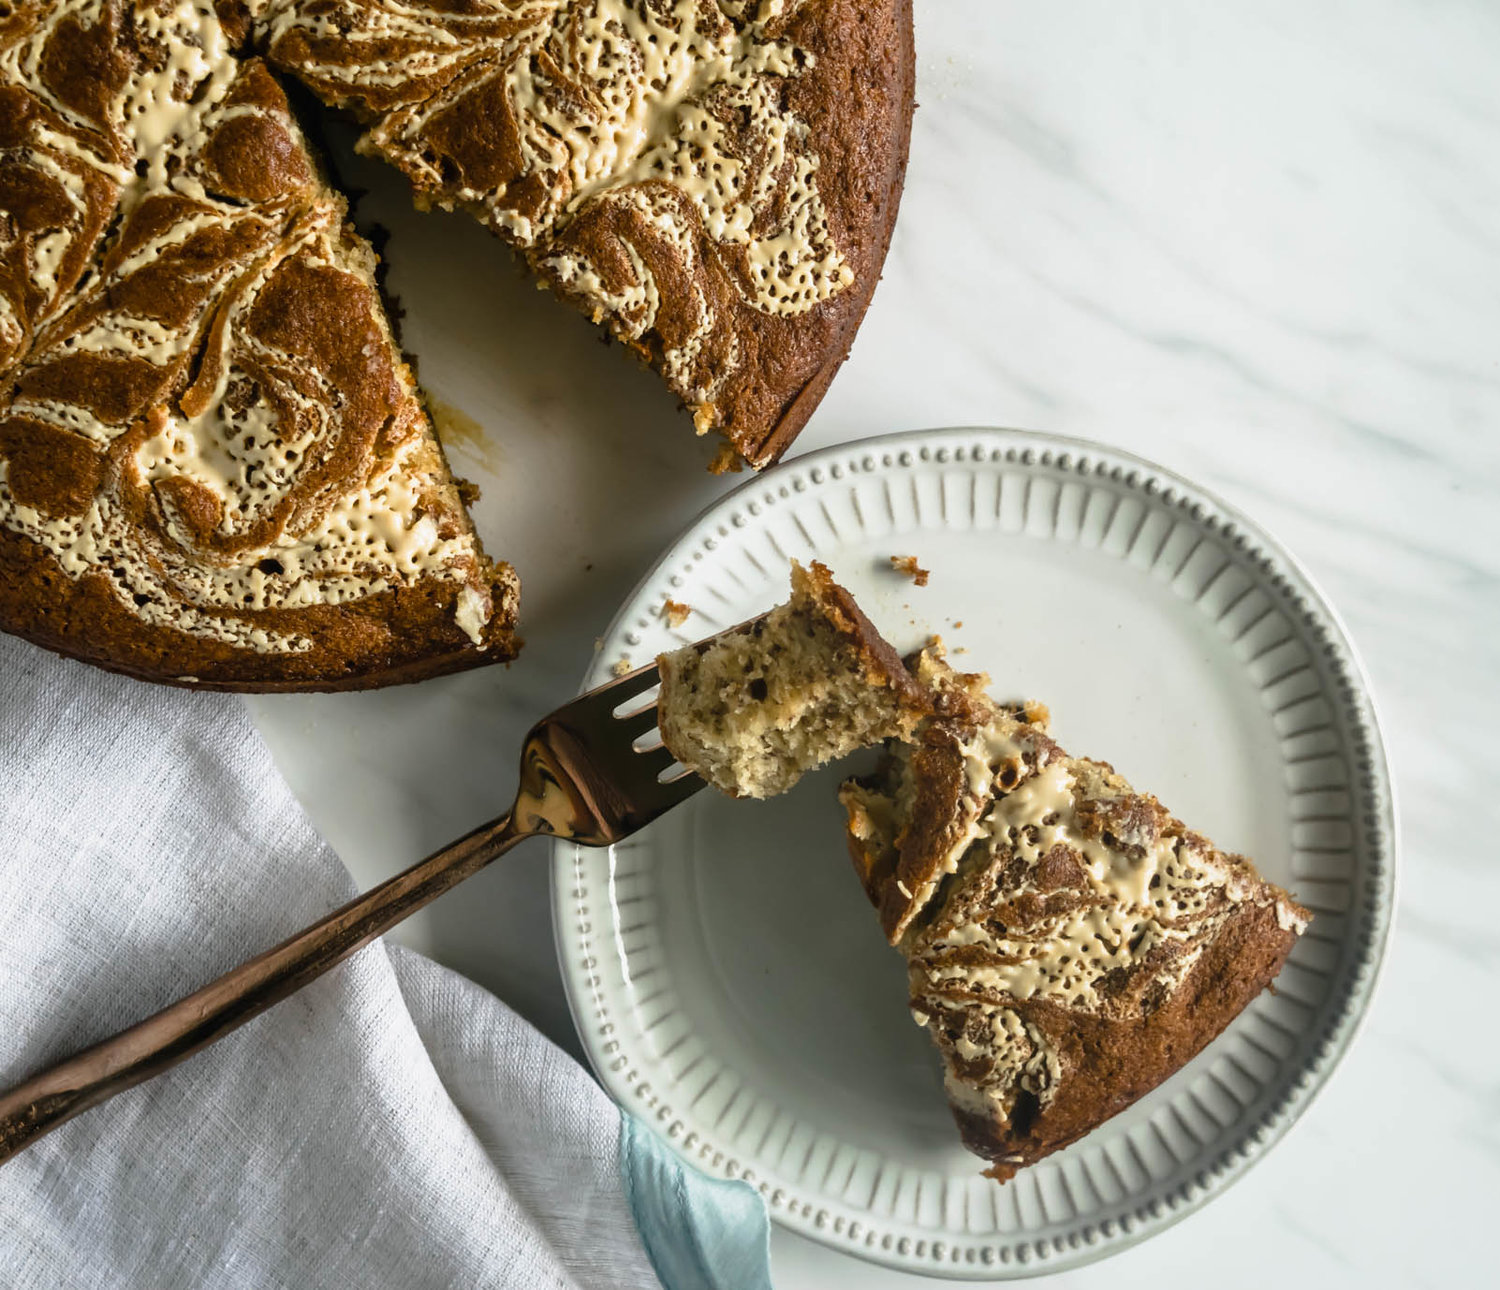
The shower itself was pretty low-key, so we wanted the food to reflect that same vibe. I made one big, grazing counter filled with fruits, veggies, dips, jams, charcuterie, cheeses, and lots of hunks of bread. We had sparkling lemonade and I made a chocolate cake with caramel ganache frosting that almost sweated off the sides on the three hour drive down south, but we covered it up with flowers which did an excellent job masking the saggy sides of the cake. And then I made these Hawaij snickerdoodles which taste like a dusting of fall and everyone was very into them.
Hawaij (pronounced ha-why-udge) is a Yemeni spice blend that is used in all sorts of dishes, from meats and soups to desserts and coffee. The spices tend to vary depending on the usage of the blend and the word Hawaij actually means “mixture” in Arabic so I think that gives a bit of freedom in the makeup. I first discovered hawaij in Molly Yeh’s book Molly on the Range, and started keeping some around the house to grind with my coffee beans in the mornings. I’ve very lightly adapted her version with the addition of coriander and will occasionally add a crank or two of black pepper. It’s the perfect spice blend to make your snickerdoodles a little more interesting and my cousin says that these cookies taste like cinnamon toast crunch which feels like a win in my book.


Hawaij Snickerdoodles
Ingredients
- 1 tbsp ground ginger
- 1 tbsp ground cardamom
- 1/4 tsp ground nutmeg
- 1/4 tsp ground cinnamon
- 1/4 tsp ground cloves
- 1/8 tsp ground coriander
- 2 cups (240 g) all purpose flour
- 1 tsp baking powder
- 1/2 tsp baking soda
- 1/4 tsp cream of tartar
- 3/4 tsp kosher salt
- 1 1/2 tsp Hawaij spice blend
- 1 cup (200 g) granulated sugar
- 1/2 cup (56 g) brown sugar
- 1/2 cup (113 g) butter
- 1/3 cup (43 g) olive oil
- 1 egg, at room temperature
- 2 tbsp molasses
- 1 tsp vanilla extract
- 2 tbsp granulated sugar
- 1 tbsp demerara sugar
- 1 tsp Hawaij spice blend
Instructions
- To make the spice blend: combine all of the spices in a small bowl and whisk together.
- Place butter in a small saucepan and set over medium heat. Cook, swirling every minute or so, until butter is foamy and beginning to brown, about 6 minutes. Remove from heat and transfer the butter to the bowl of a stand mixer and let cool to room temperature.
- Meanwhile, whisk together flour, baking powder, baking soda, cream of tartar, salt, and Hawaij spice blend. Set aside.
- When the butter is cooled, add sugar, and brown sugar to the mixing bowl. Beat with paddle attachment for about 1 minute, until all of the sugar is coated and the mixture has the consistency of wet sand. With the mixer on low speed, stream in olive oil and continue mixing until combined and homogenized.
- Add the egg, vanilla, and molasses, and mix until combined, then gradually add dry ingredients, mixing until just incorporated and no dry streaks remain. The dough will be very wet, that’s ok!
- Cover the bowl with plastic wrap and transfer to the refrigerator. Chill for at least 30 minutes. When the dough is chilled, scoop onto a parchment lined baking sheet. At this time, you can bake the cookies or transfer them to the freezer and bake them off a few at a time.
- When you’re ready to bake, preheat the oven to 375° F and line a sheet pan with parchment paper. In a small bowl, combine sugar, demerara sugar, and Hawaij spice blend. Roll each cookie ball in the Hawaij sugar and place on a baking sheet, spaced 1-2” inches apart. Bake for 8-10 minutes, until the tops are dry and cookies are set. Let cool on the pan for 5 minutes, then enjoy!