Buttermilk Beignets with Vino Cotto
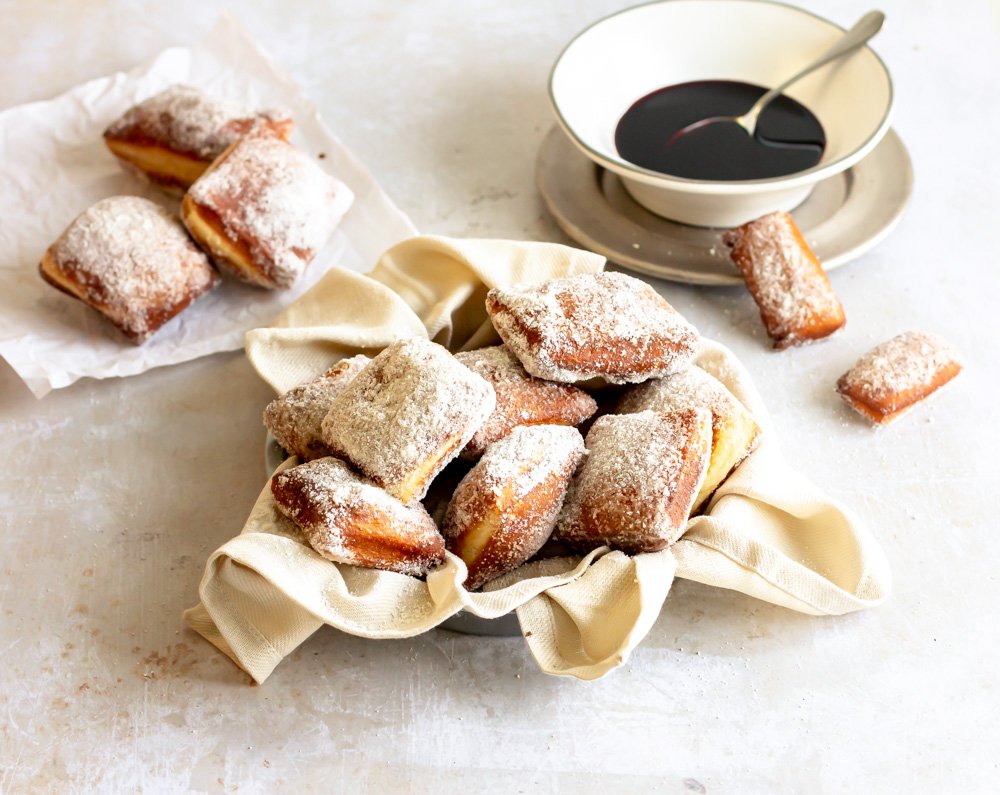
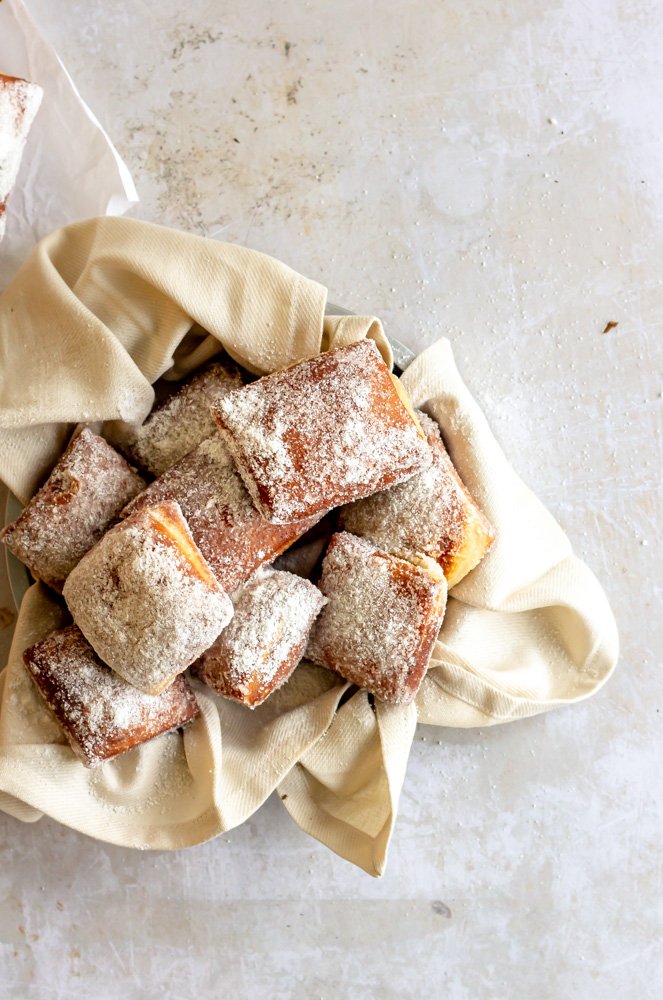
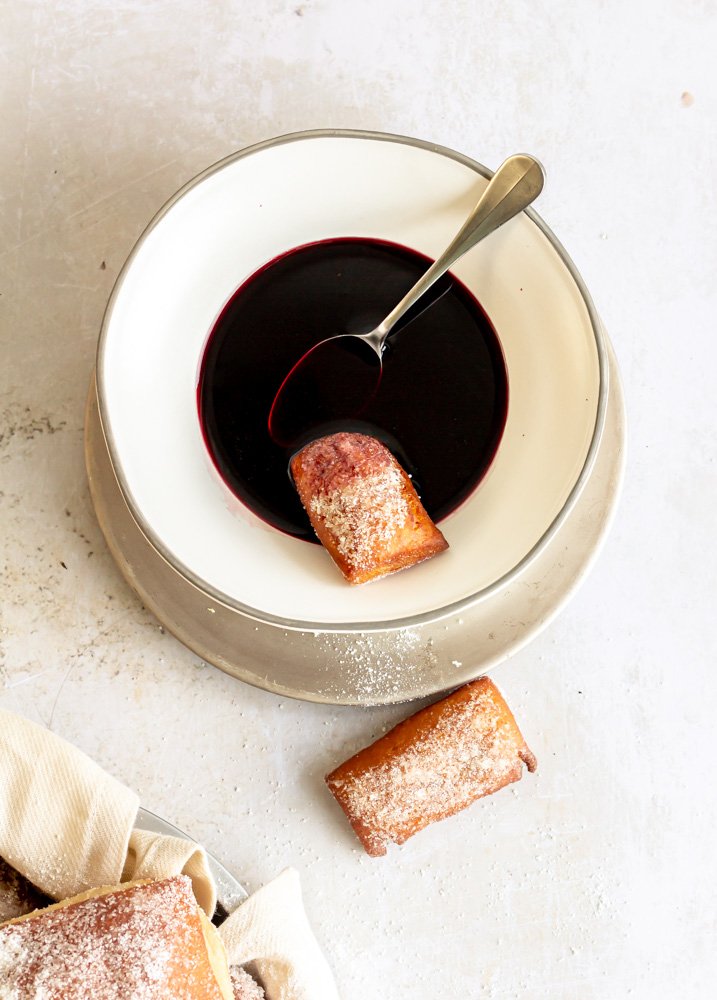
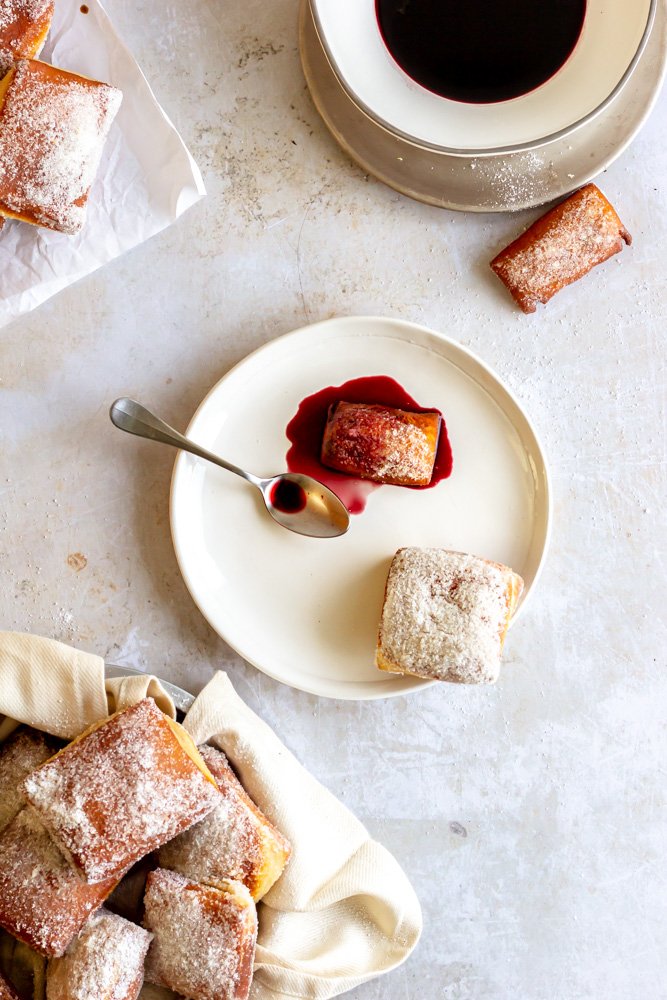
/Soft, fluffy buttermilk beignets filled with browned butter and cardamom are fried and tossed in sugar. They are served with vino cotto, a reduced, spiced red wine. The only thing better than dipping donuts in coffee is dipping them in wine.
My grandpa and I are BFFs and have been since the day I was born. Immediately after I was born, the doctors cleaned me off and handed me straight to my grandpa, sparking a special connection that’s going on 31 years. As I was growing up, every Monday night, Papa and I would go to the mall just the two of us. We’d split a plate of red beans and rice in the food court, and a handful of pirouette cookies at Gloria Jean Coffee, and saunter through every store in the mall together.
He’s a sweet man, who is always moving. Even well into retirement, that man does more in a day than I could do in a week. He puts everyone else first, goes out of his way to take care of those around him, and tells great stories. A lot of those stories take place during his childhood growing up in the French Quarter, of course, eating beignets (or bye-yays if you want to pronounce it the way a cute little old Cajun man does).
In an effort to smush all of my heritages together, I paired these soft, pillowy beignets with a Sicilian reduced wine called vino cotto. Eating beignets this way is like dunking an old fashioned donut in a cup of coffee, but better, because you’re actually dunking sugared beignets in wine.
how to make buttermilk beignets
Beignets are made with a yeasted, enriched dough in a process very similar to making donuts. Yeast is proofed in liquid and then butter and eggs are added before the dry ingredients. For this recipe, we’re incorporating buttermilk for a little extra tenderness, nutty browned butter and floral cardamom for a spiced holiday vibe.
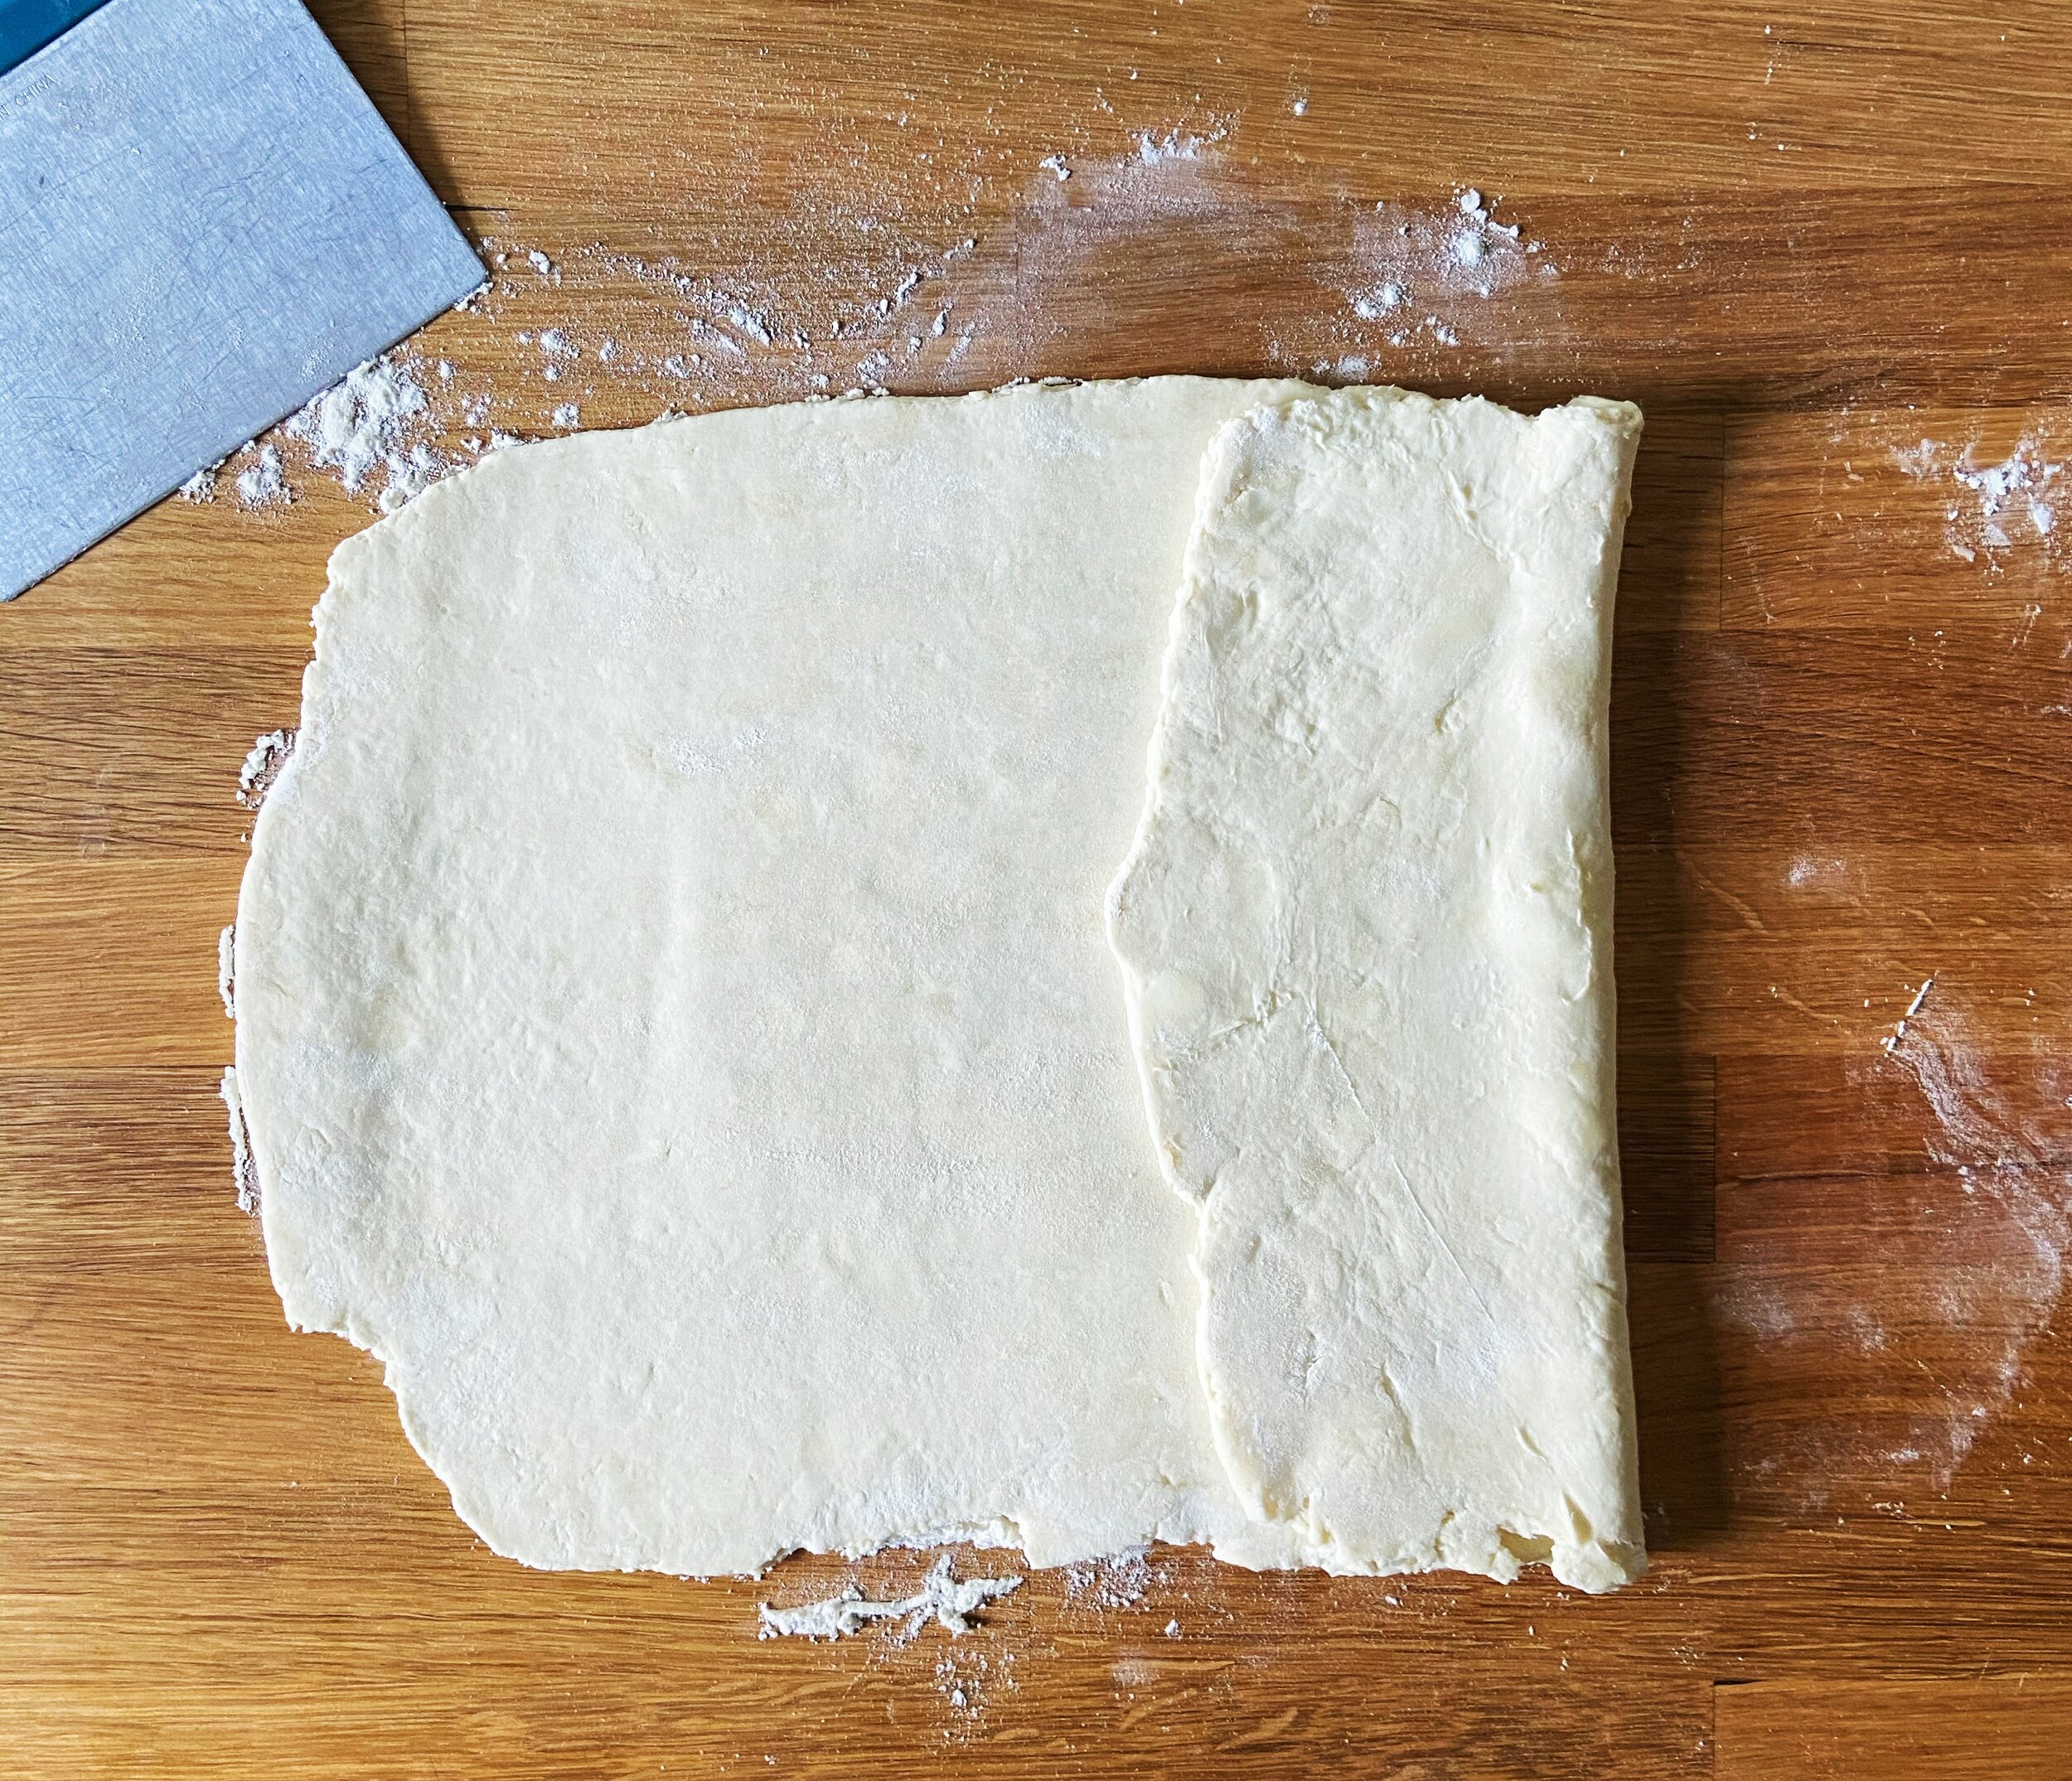
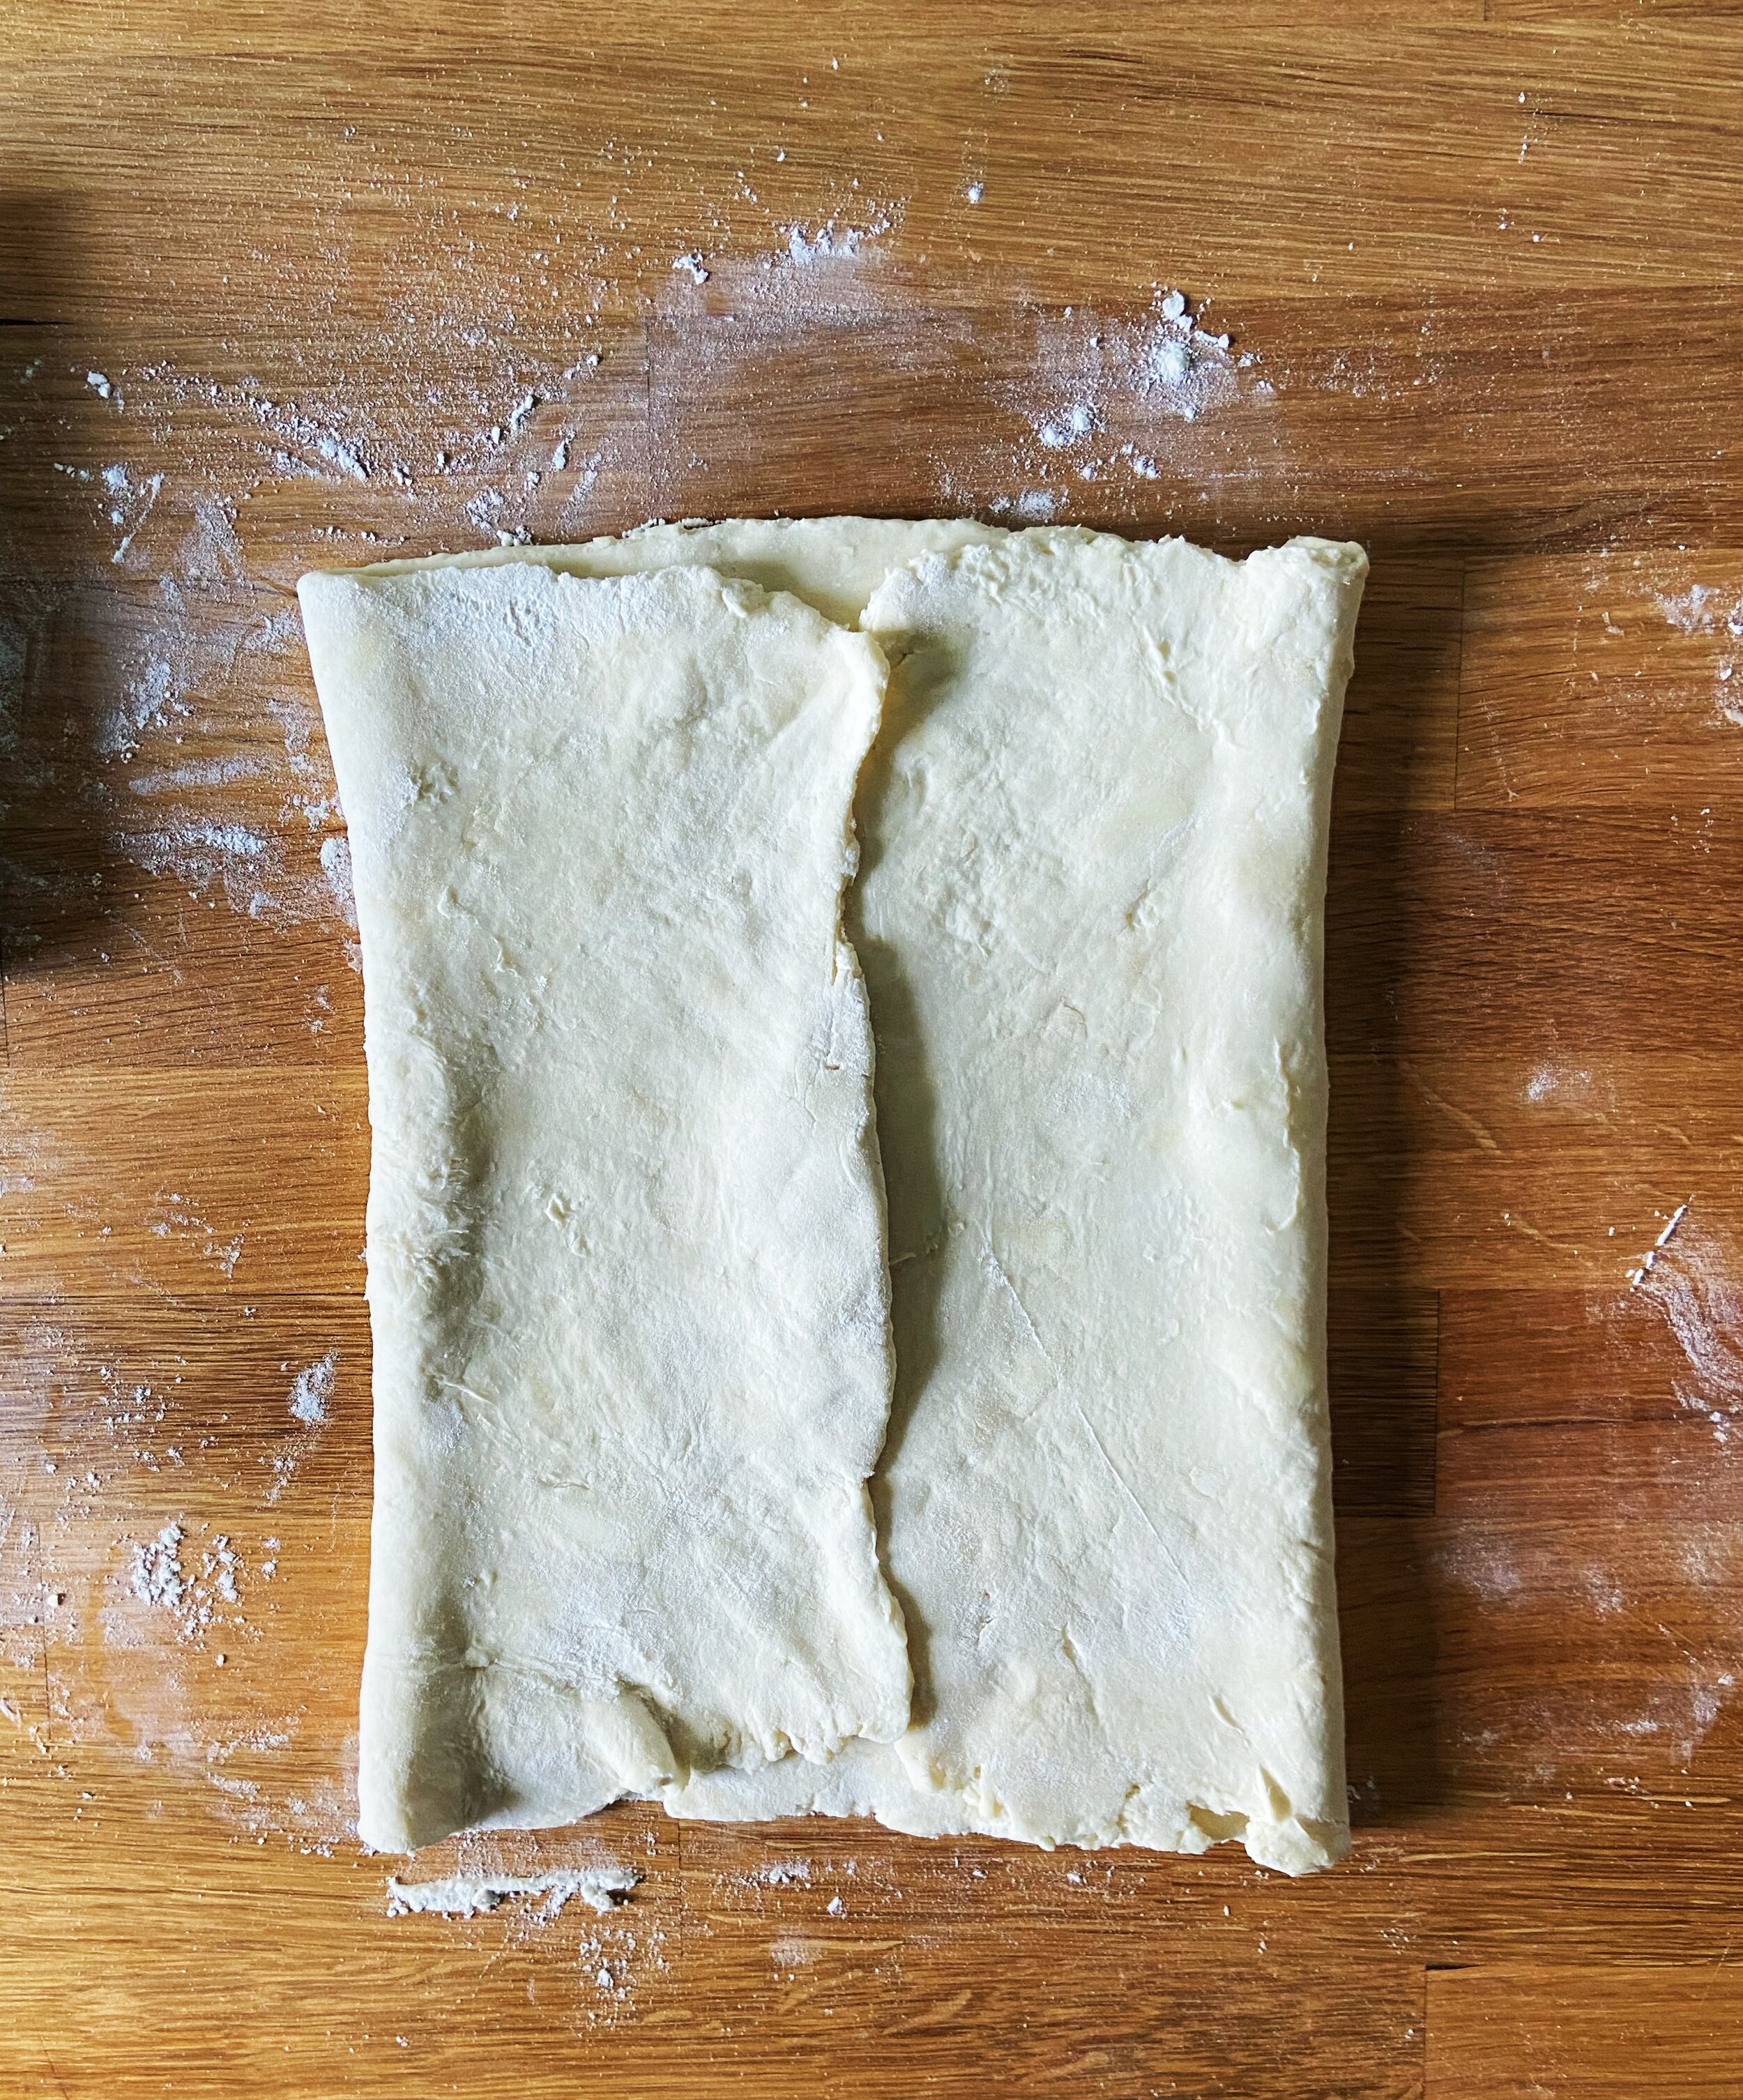
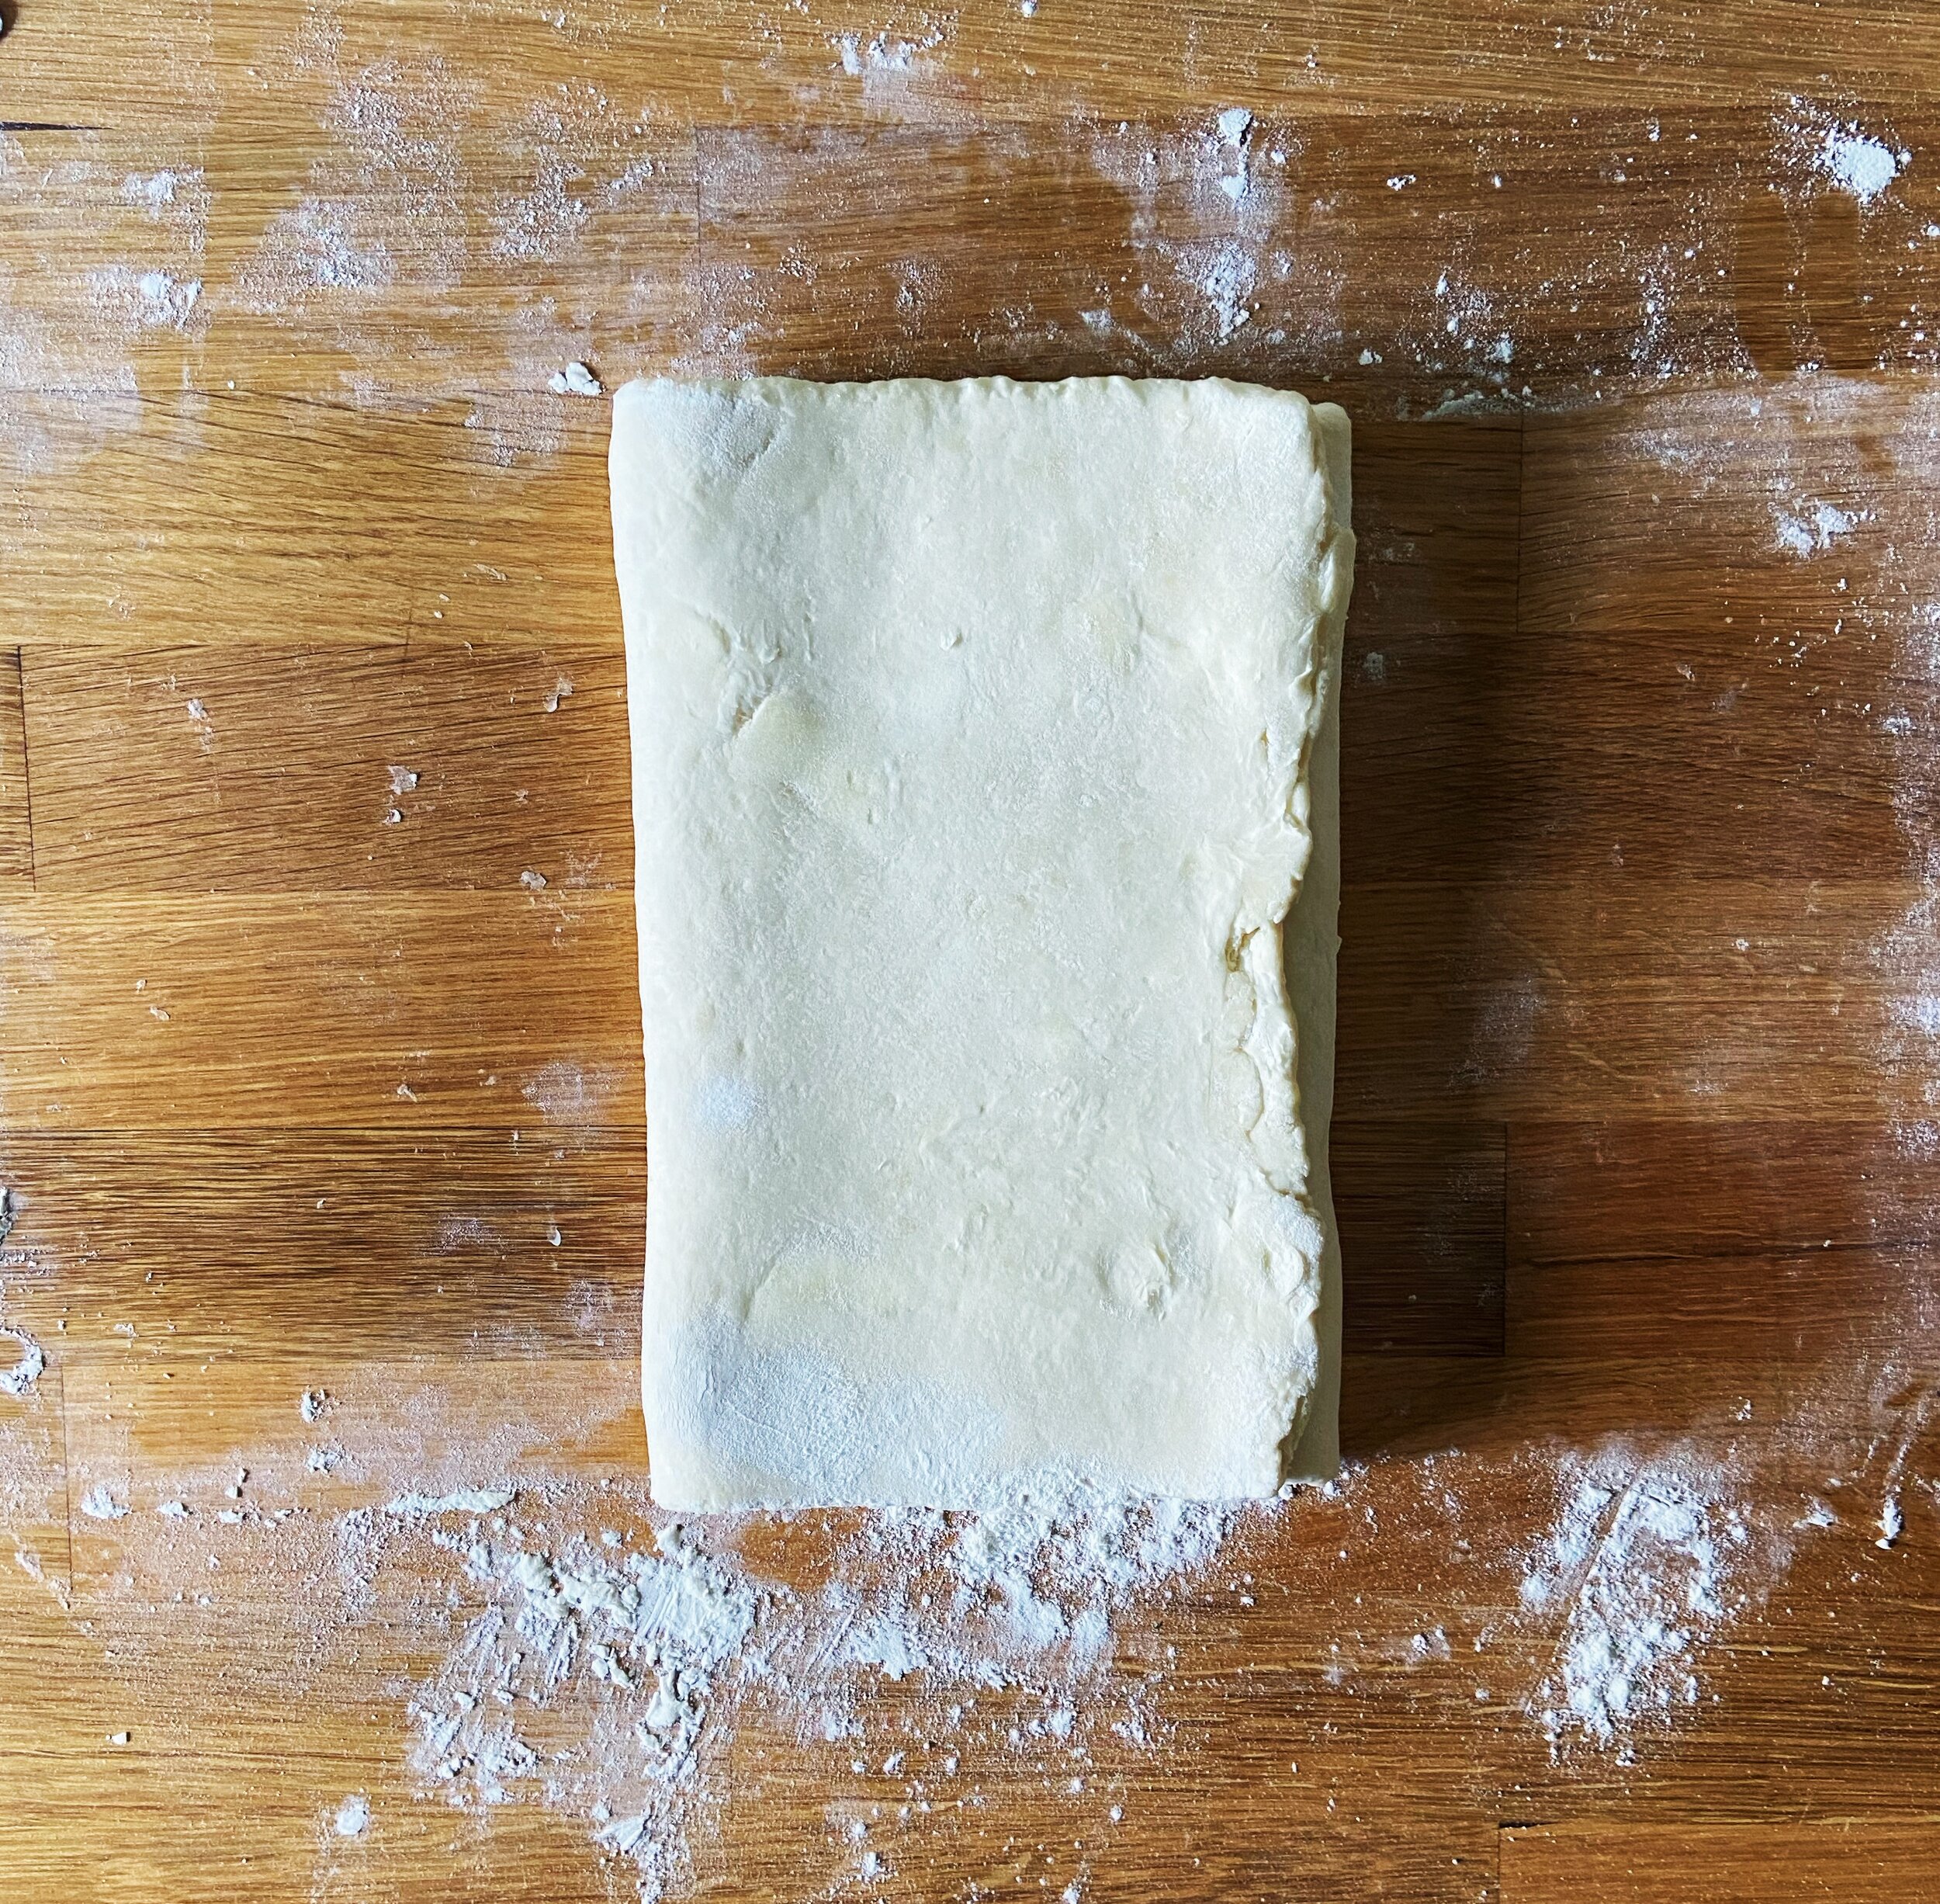
The dough will undergo a pretty vigorous kneading (a standing mixer is your bff) to create the necessary gluten structure in spite of all of the inhibitors (fat, eggs, and sugar) that will make the finished dough so lush.
After kneading, there’s one bulk proof, shaping, and one more quick rest before frying. Like most doughs, this beignet dough can be cold-proofed to develop flavor and help fit into your schedule a bit better. If you choose to cold proof the dough, simply punch it down after it’s bulk proof and transfer it to the fridge for an overnight rest. In the morning, pull the dough out and let it rest on the counter for about 30 minutes before rolling and shaping and then give the cut beignets another 30-45 minutes rest, until they are puffy, before frying.
Whether you embrace a cold proof or make the beignets all in one go, don’t forget to toss them in sugar right after frying…that’s the very best part. I used a mix of powdered sugar and granulated sugar because I wanted a little bit of crunch from the sugar crystals. As soon as you finish your sugar tossing, eat the beignets warm, dunked in vino cotto for a little Cafe Du Monde-with-a-twist vibe.

what is vino cotto
Present in many traditional Italian desserts, vino cotto is a syrup made by cooking down grape must. Before sugar cane was widely accessible, this reduced grape must was used in many Sicilian desserts and recipes as a sweetener similar to the way maple syrup or honey is used in baking. Now, you can buy vino cotto or wine that has been cooked down very slowly over a long period of time, but I decided to make a version that would complement these beignets perfectly.
My rendition of vino cotto falls somewhere between a mulled wine and a wine reduction. To make it, simply bring a bottle of red wine to a simmer along with a handful of mulling spices (cinnamon sticks, cardamom pods, and whole cloves). Cook the wine over medium-low heat, stirring frequently, for an hour to an hour and a half until the wine has reduced by 3/4 and has slightly thickened. It should taste sweeter than a bottle of wine, but not quite syrupy. Dunk the beignets in the vino cotto and store any leftovers in a sealed jar for a later day.

Buttermilk Beignets with Vino Cotto
Ingredients
- 1/2 cup unsalted butter
- 2 tbsp warm water
- 2 1/4 tsp active dry yeast
- 2 tbsp granulated sugar
- 2 tbsp brown sugar
- 1 cup buttermilk, slightly warmed
- 1 egg, at room temperature
- 3- 3 1/2 cups all purpose flour,
- 1 tsp kosher salt
- 1/2 tsp baking powder
- 1 tsp ground cardamom
- Vegetable oil, for frying
- 1/4 cup powdered sugar
- 1/4 cup granulated sugar
- 1 bottle red wine (90% merlot, 10% cab franc)
- 2 cinnamon sticks
- 4 cardamom pods
- 1/4 tsp whole cloves
- 2 tbsp honey
Instructions
- Place butter in a small saucepan set over medium heat. Cook, swirling occasionally, for 6-7 minutes, until butter is melted, foamy, and little brown specks have begun to form on the bottom of the pot. Transfer to a bowl and let cool to room temperature.
- In a small bowl, combine warm water and yeast. Stir and let sit for 5 minutes, until yeast is very foamy.
- In the bowl of a stand mixer, combine yeast/water, cooled butter, sugar, brown sugar, buttermilk, and the egg. Whisk until smooth.
- Place the bowl on the stand mixer fitted with the dough hook attachment. Add 3 cups of flour, salt, baking powder, and cardamom, and begin mixing on low speed until all of the dry ingredients have been incorporated. Increase the speed on the mixer to medium and knead for 4-5 minutes, adding a bit more flour one tablespoon at a time, if the dough seems very sticky. After kneading, your dough should be smooth and soft.
- Transfer the dough to a clean bowl, cover with plastic wrap and let proof at room temperature for an hour to an hour and half, or until the dough has doubled in size.
- Turn the dough onto a lightly-floured work surface and roll it into a rectangle about 12”x16” in size. Use a sharp knife or pizza cutter to cut the dough into 24 equal squares. Cover them with plastic wrap.
- Fill a large, heavy-bottomed pot with vegetable oil (about 3” deep) and heat to 375° F.
- Working in batches, fry 4-5 beignets at a time. Fry for 1-2 minutes on each side, until deeply golden browned. Use a slotted spoon to remove the beignets from the oil and transfer them to a paper-towel lined tray. Repeat until you have fried all of the beignets.
- In a large bowl, whisk together powdered sugar and granulated sugar. Toss beignets in the sugar mixture to coat and serve with vino cotto.
- In a large saucepan, stir together wine, cinnamon sticks, cardamom pods, cloves, and honey.
- Bring the mixture to a simmer and cook for about an hour and half, stirring every 10 minutes or so, until the wine has reduced by 3/4 and has slightly thickened. Let cool and then strain out the spices.
- You should have about 1 cup of vino cotto.
Notes:
This beignet recipe was lightly adapted from the beignet queen Joy Wilson of Joy the Baker.
You can store any leftover vino cotto in a jar in a cool dark pantry or in the refrigerator for up to two weeks.