Spring Greens Tart
/
Even though I spend all day, everyday thinking about cakes, pies, tarts, cookies, and other sweet treats, there’s nothing that gets me more excited than kale. My palette (and those of most other pastry chefs I’ve met) craves anything salty, briny, or savory. I would eat French fries every single day of my life, I only ever want savory breakfast foods, and spring veggie season is the most delightful time of the year for me. Since pots of beans and piles of greens are not exactly “on brand” for the blog, I stick mostly to the sweeter side of things, but decided to take a little savory detour today for our last little puff pastry recipe. *shhh, don’t tell the Instagram algorithm!
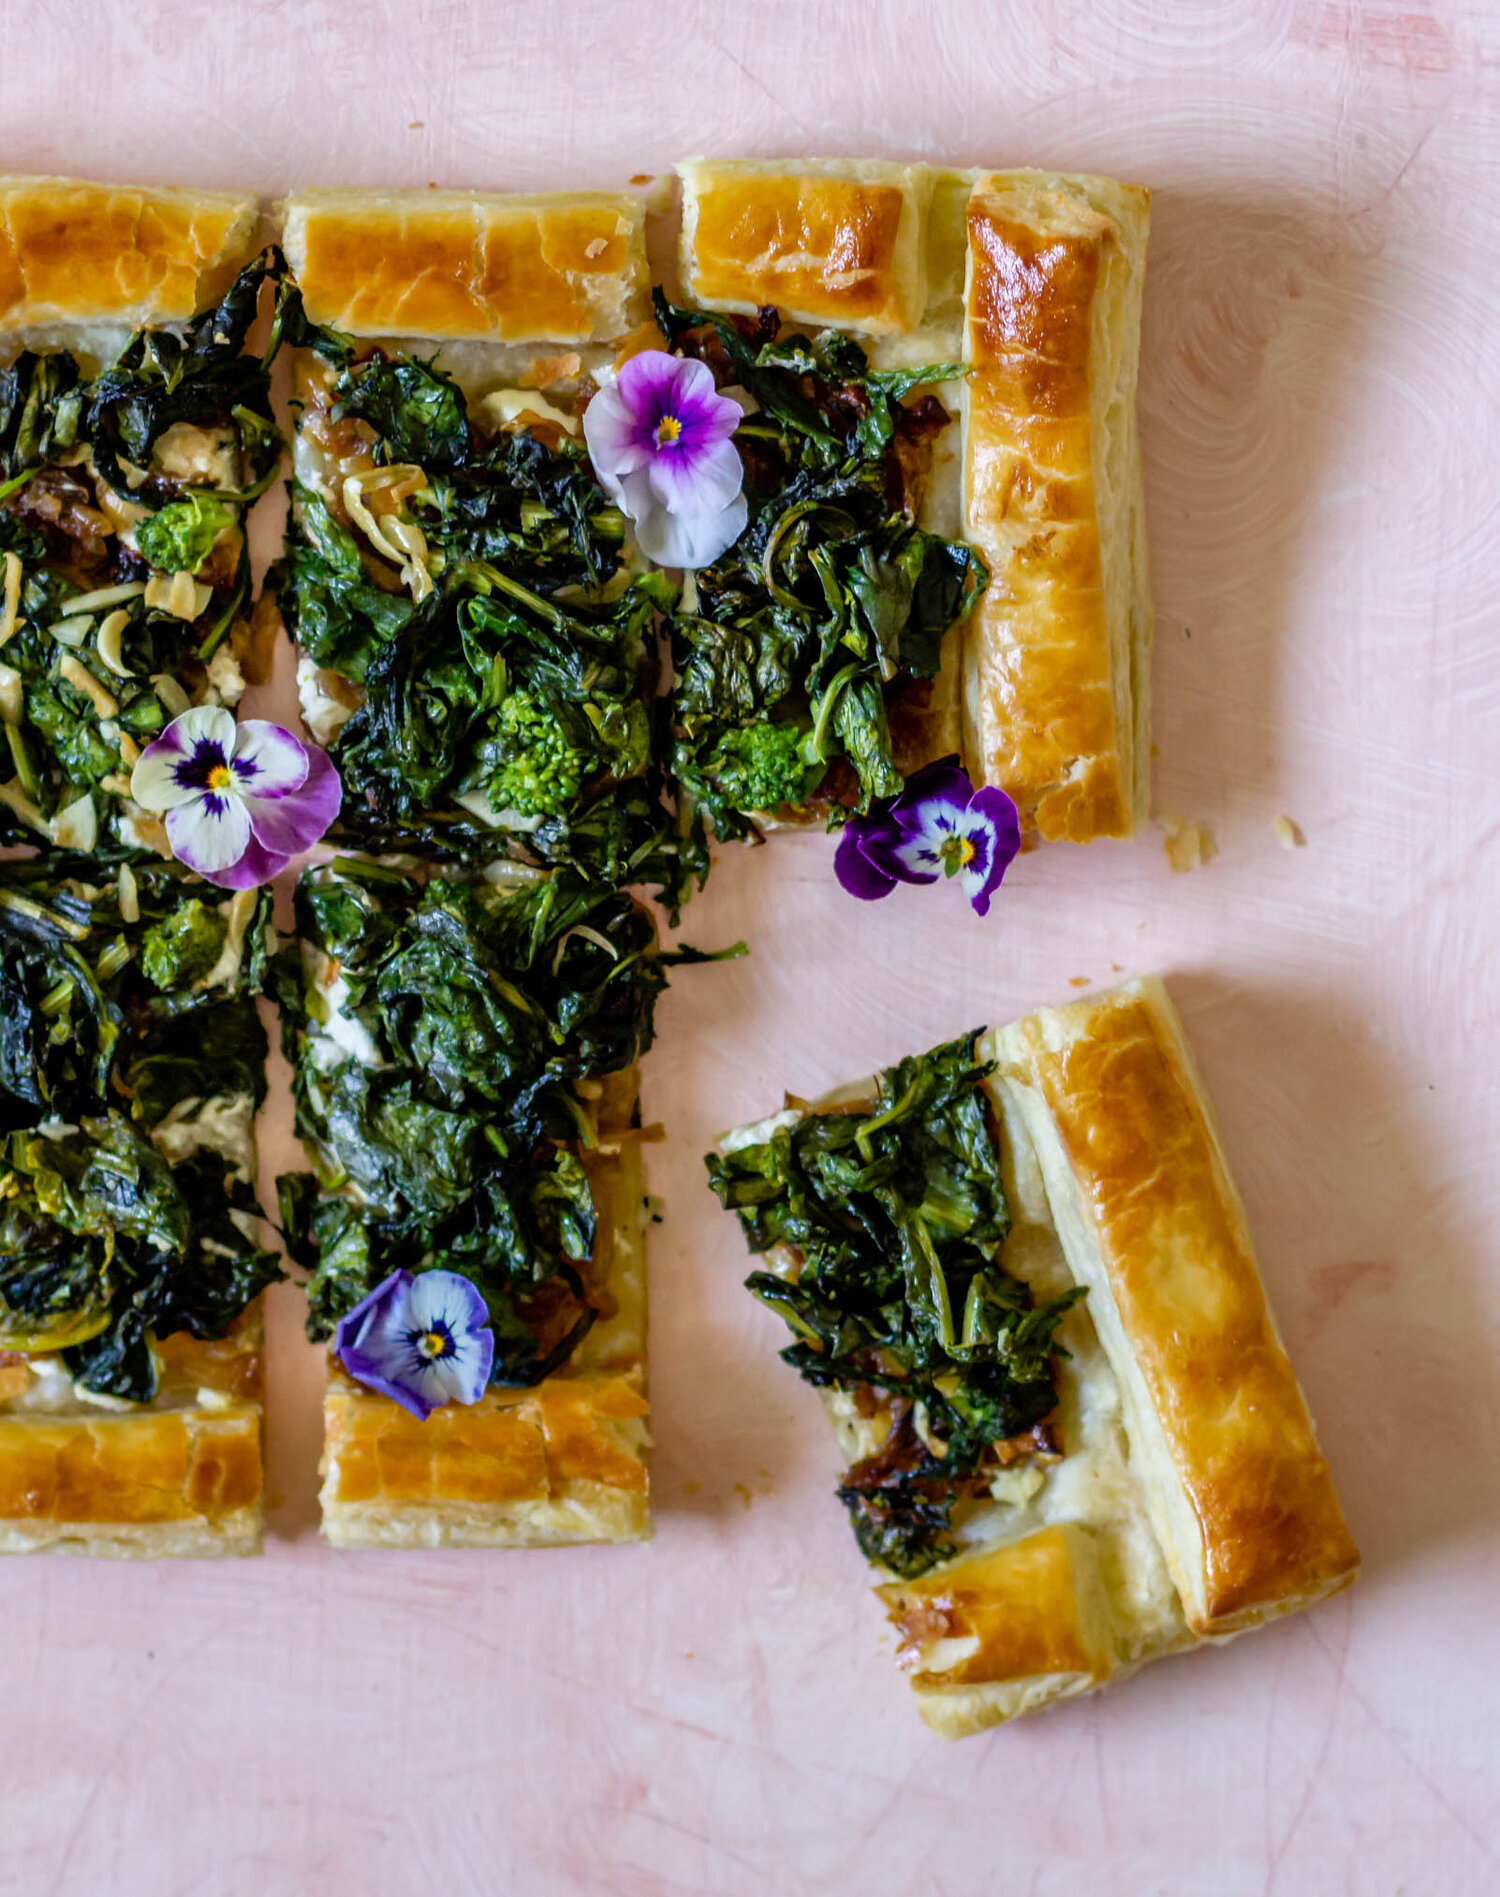
This spring greens tart is a great, slightly inventive weeknight dinner option and if you already have a pound of puff pastry in your freezer or decide to use a store bought pastry, it comes together pretty quickly. The pastry is rolled out, filled with tangles of caramelized onions, creamy goat cheese, and lots of garlicky sautéed greens then baked until golden brown. It’s great with whatever spring green you have blossoming in your neck of the woods and pairs nicely with a bright green salad.

Spring Greens Tart
Yield: 1 medium-sized tart (serves 2-3)
Ingredients:
1 lb puff pastry, homemade or store bought
2 small onions, sliced thinly
3 T olive oil, divided
1 T butter
1 large bunch hearty greens (kale, chard, spinach), de-stemmed and roughly chopped
1 clove garlic, minced
2-3 oz goat cheese
salt and pepper
egg wash
Procedure:
Heat a medium-sized skillet over medium-high heat. Add two tablespoons of olive oil and the butter, followed by sliced onions. sauté, stirring every few minutes, until the onions begin to take on a bit of color and brown along the edges. Turn the heat down to low and add one-two large pinches of salt. Continue to cook for 30-40 minutes, stirring occasionally, until onions are deeply caramelized. Cool and transfer to a bowl.
Reheat the skillet over medium heat. Add the remaining tablespoon of olive oil, followed by the garlic. Sauté for 1-2 minutes, until garlic is fragrant, but not browned. Add the chopped greens and sauté for another 4-5 minutes, until greens are wilted. Add salt and pepper to taste and let cool.
Preheat the oven to 350° F and line a sheet pan with parchment paper.
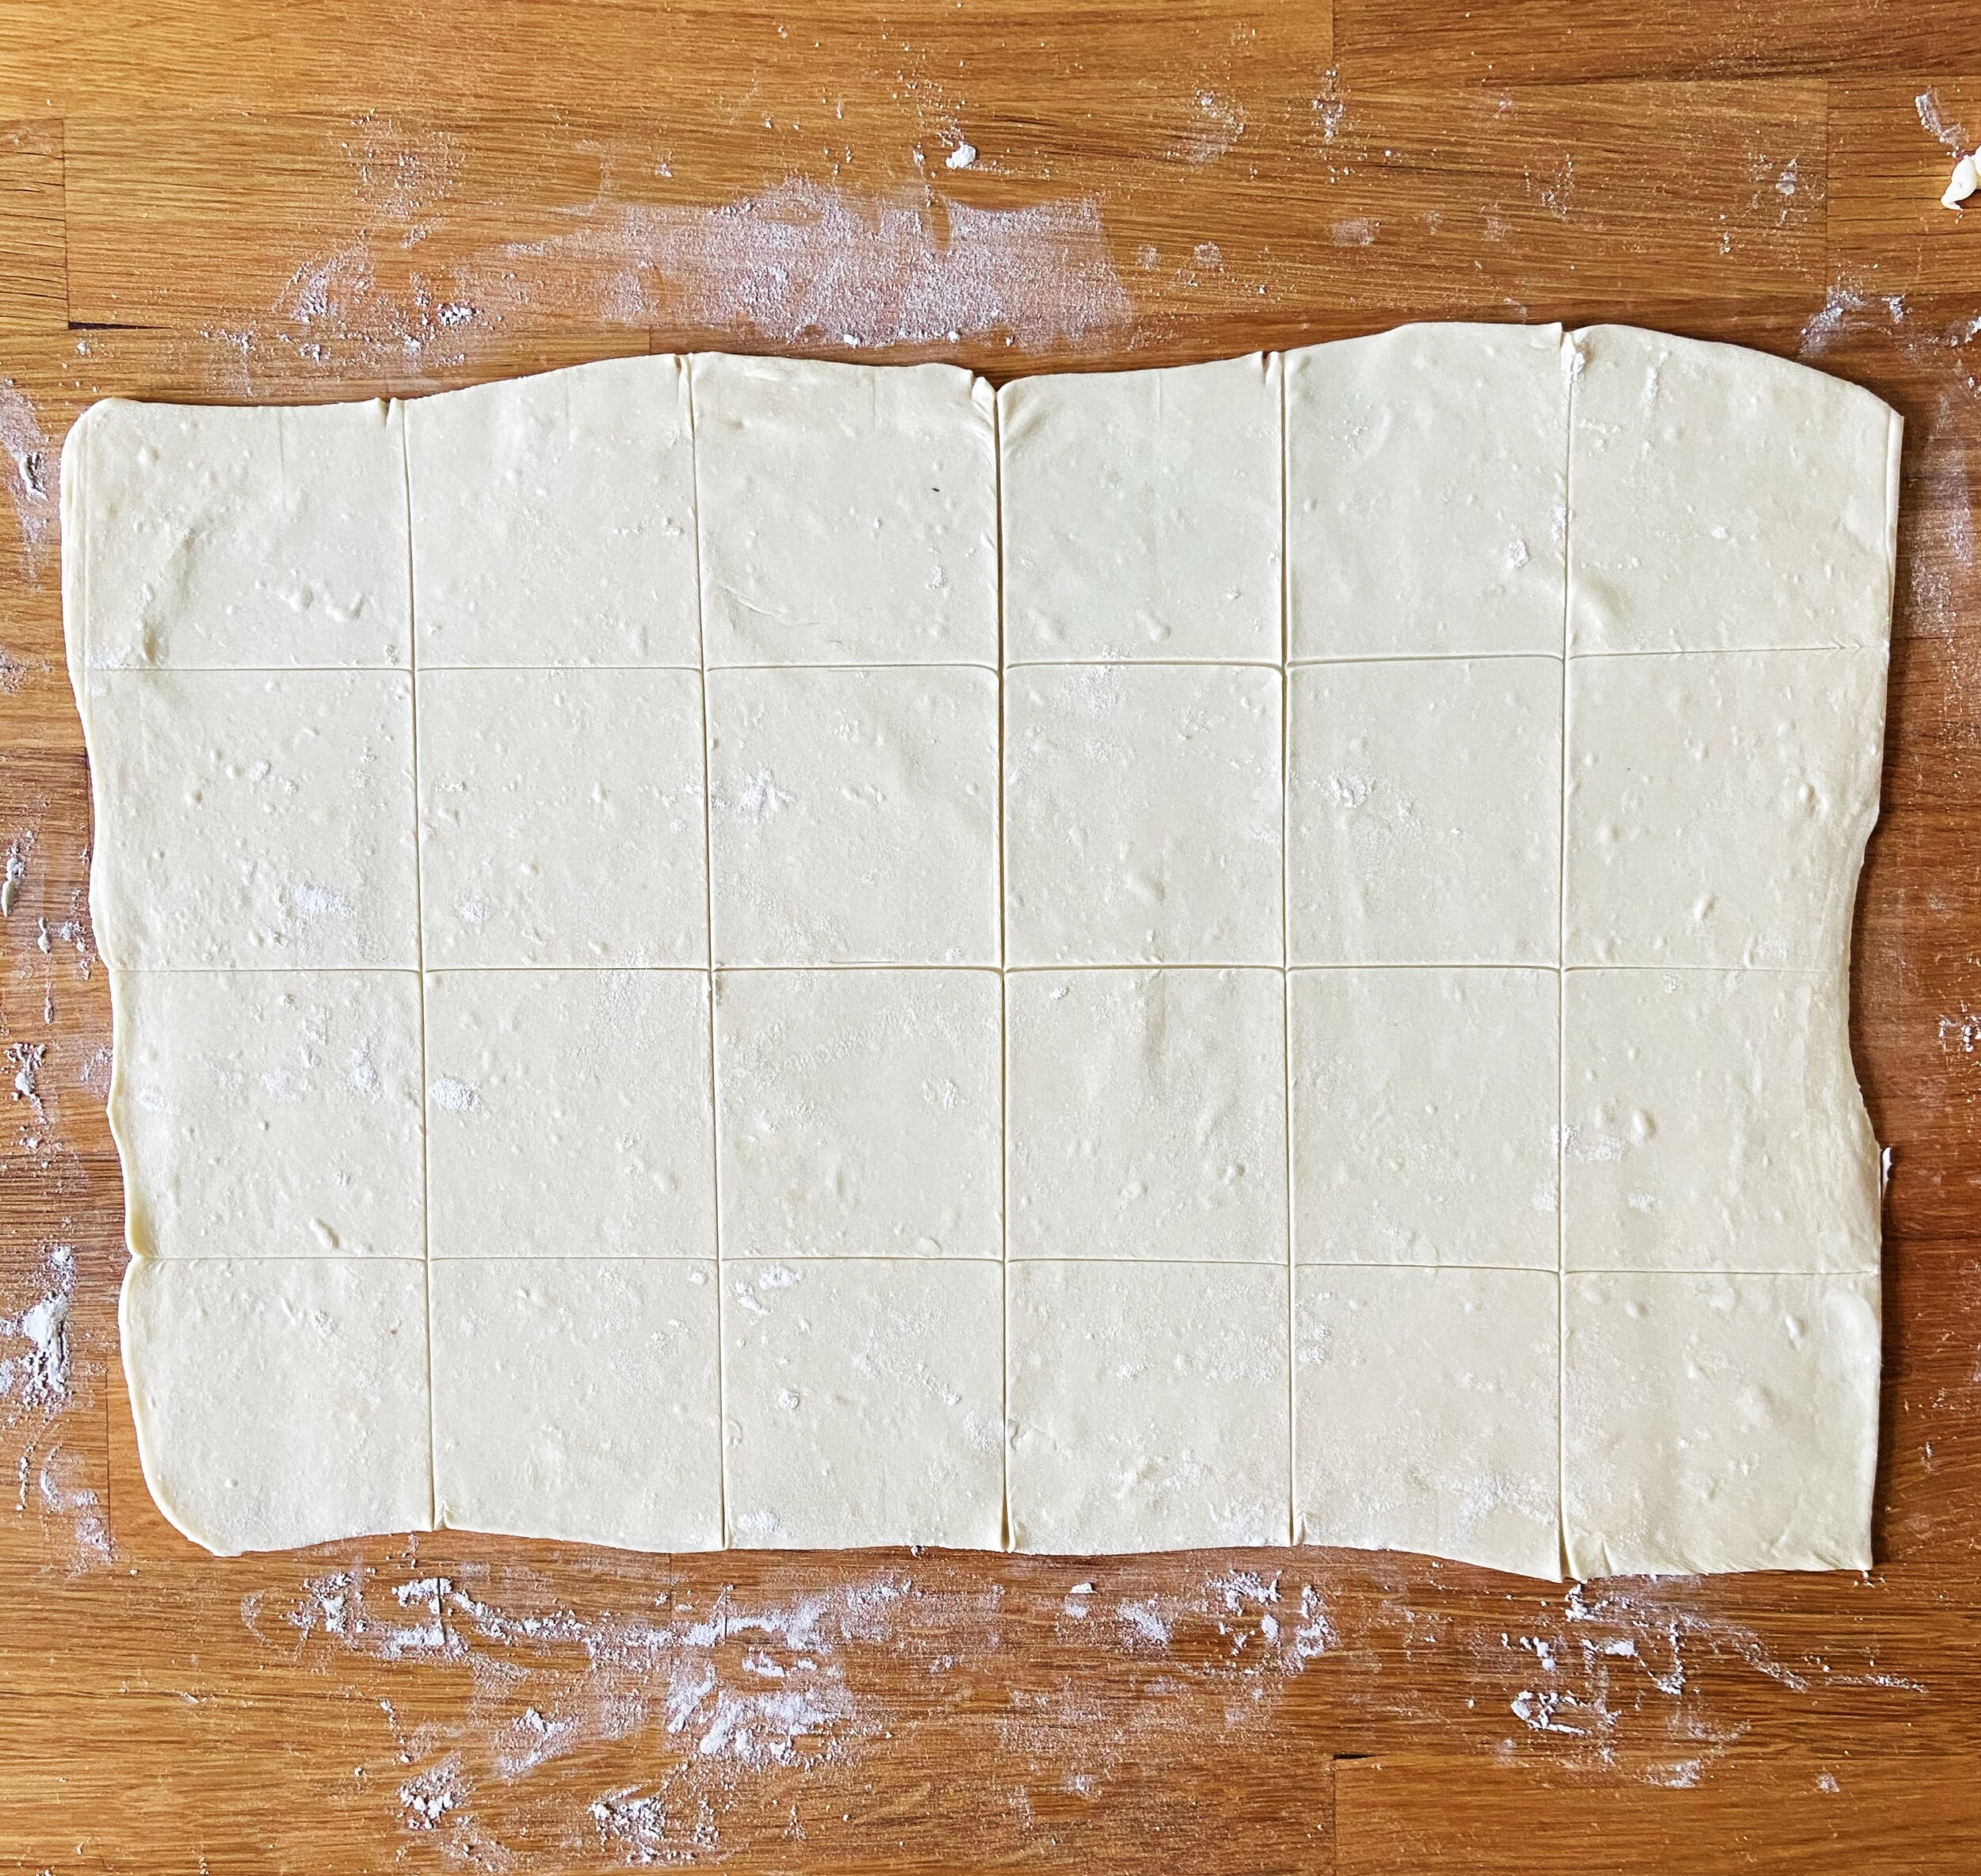
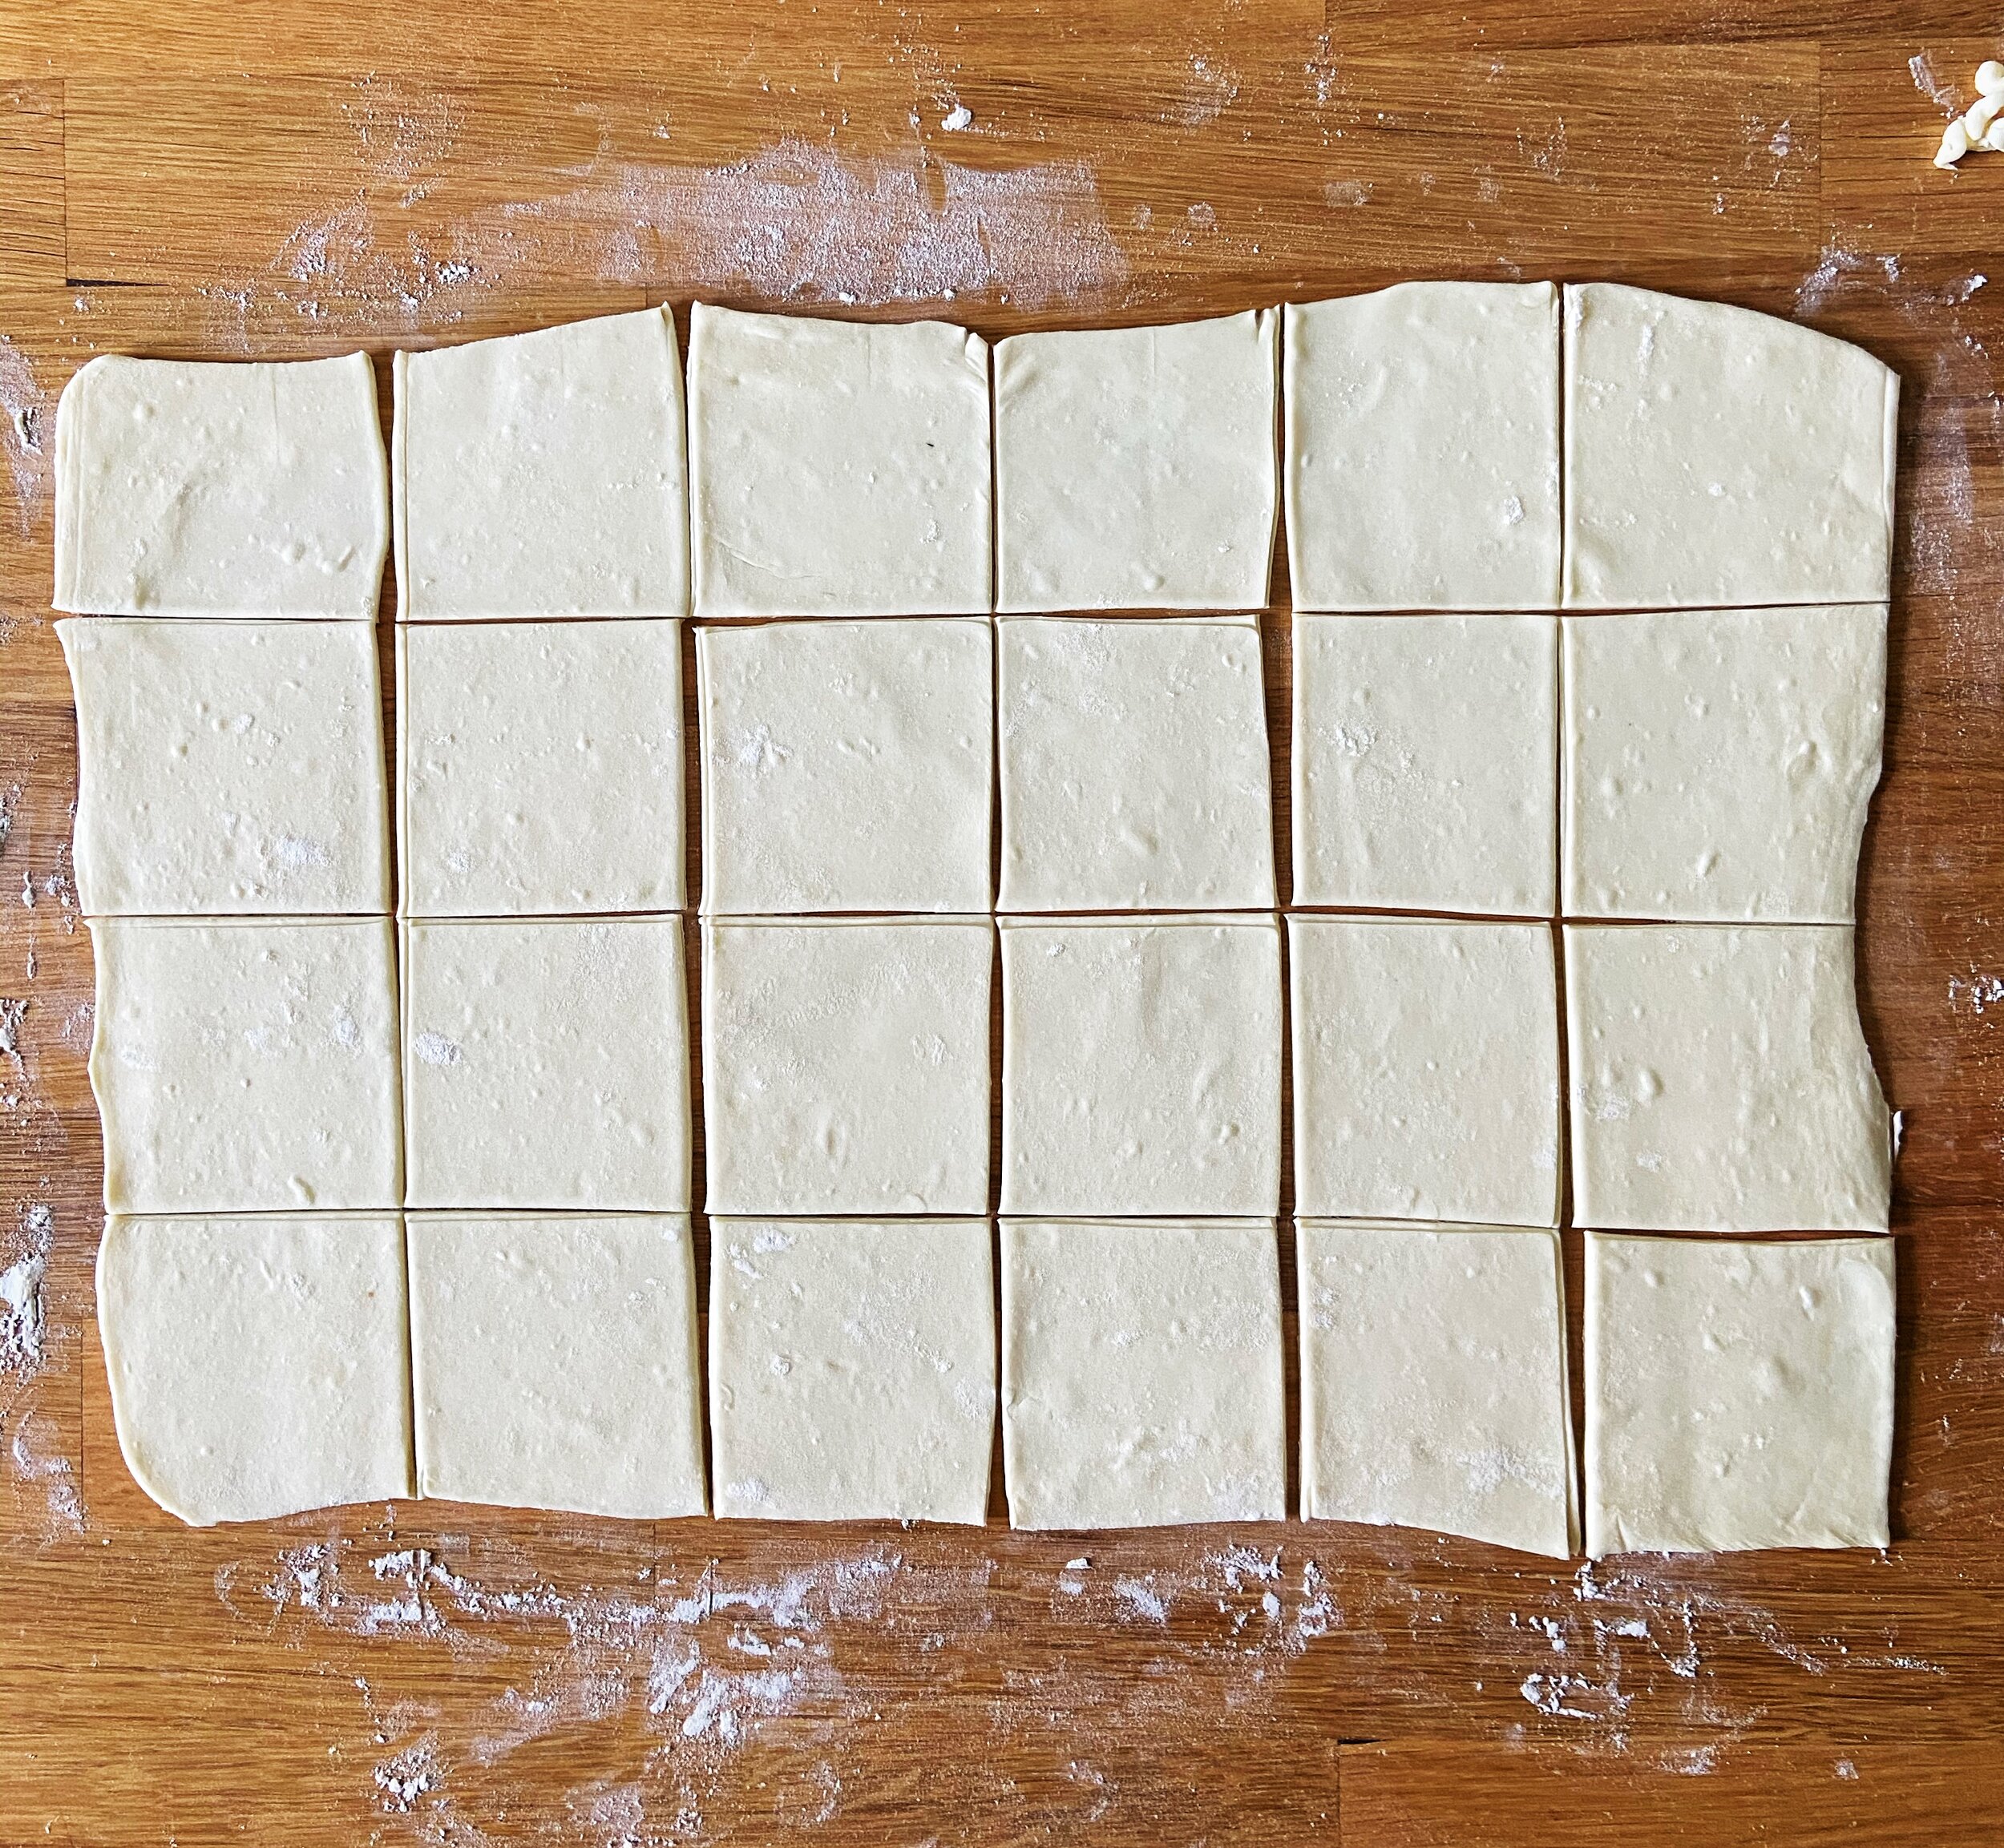
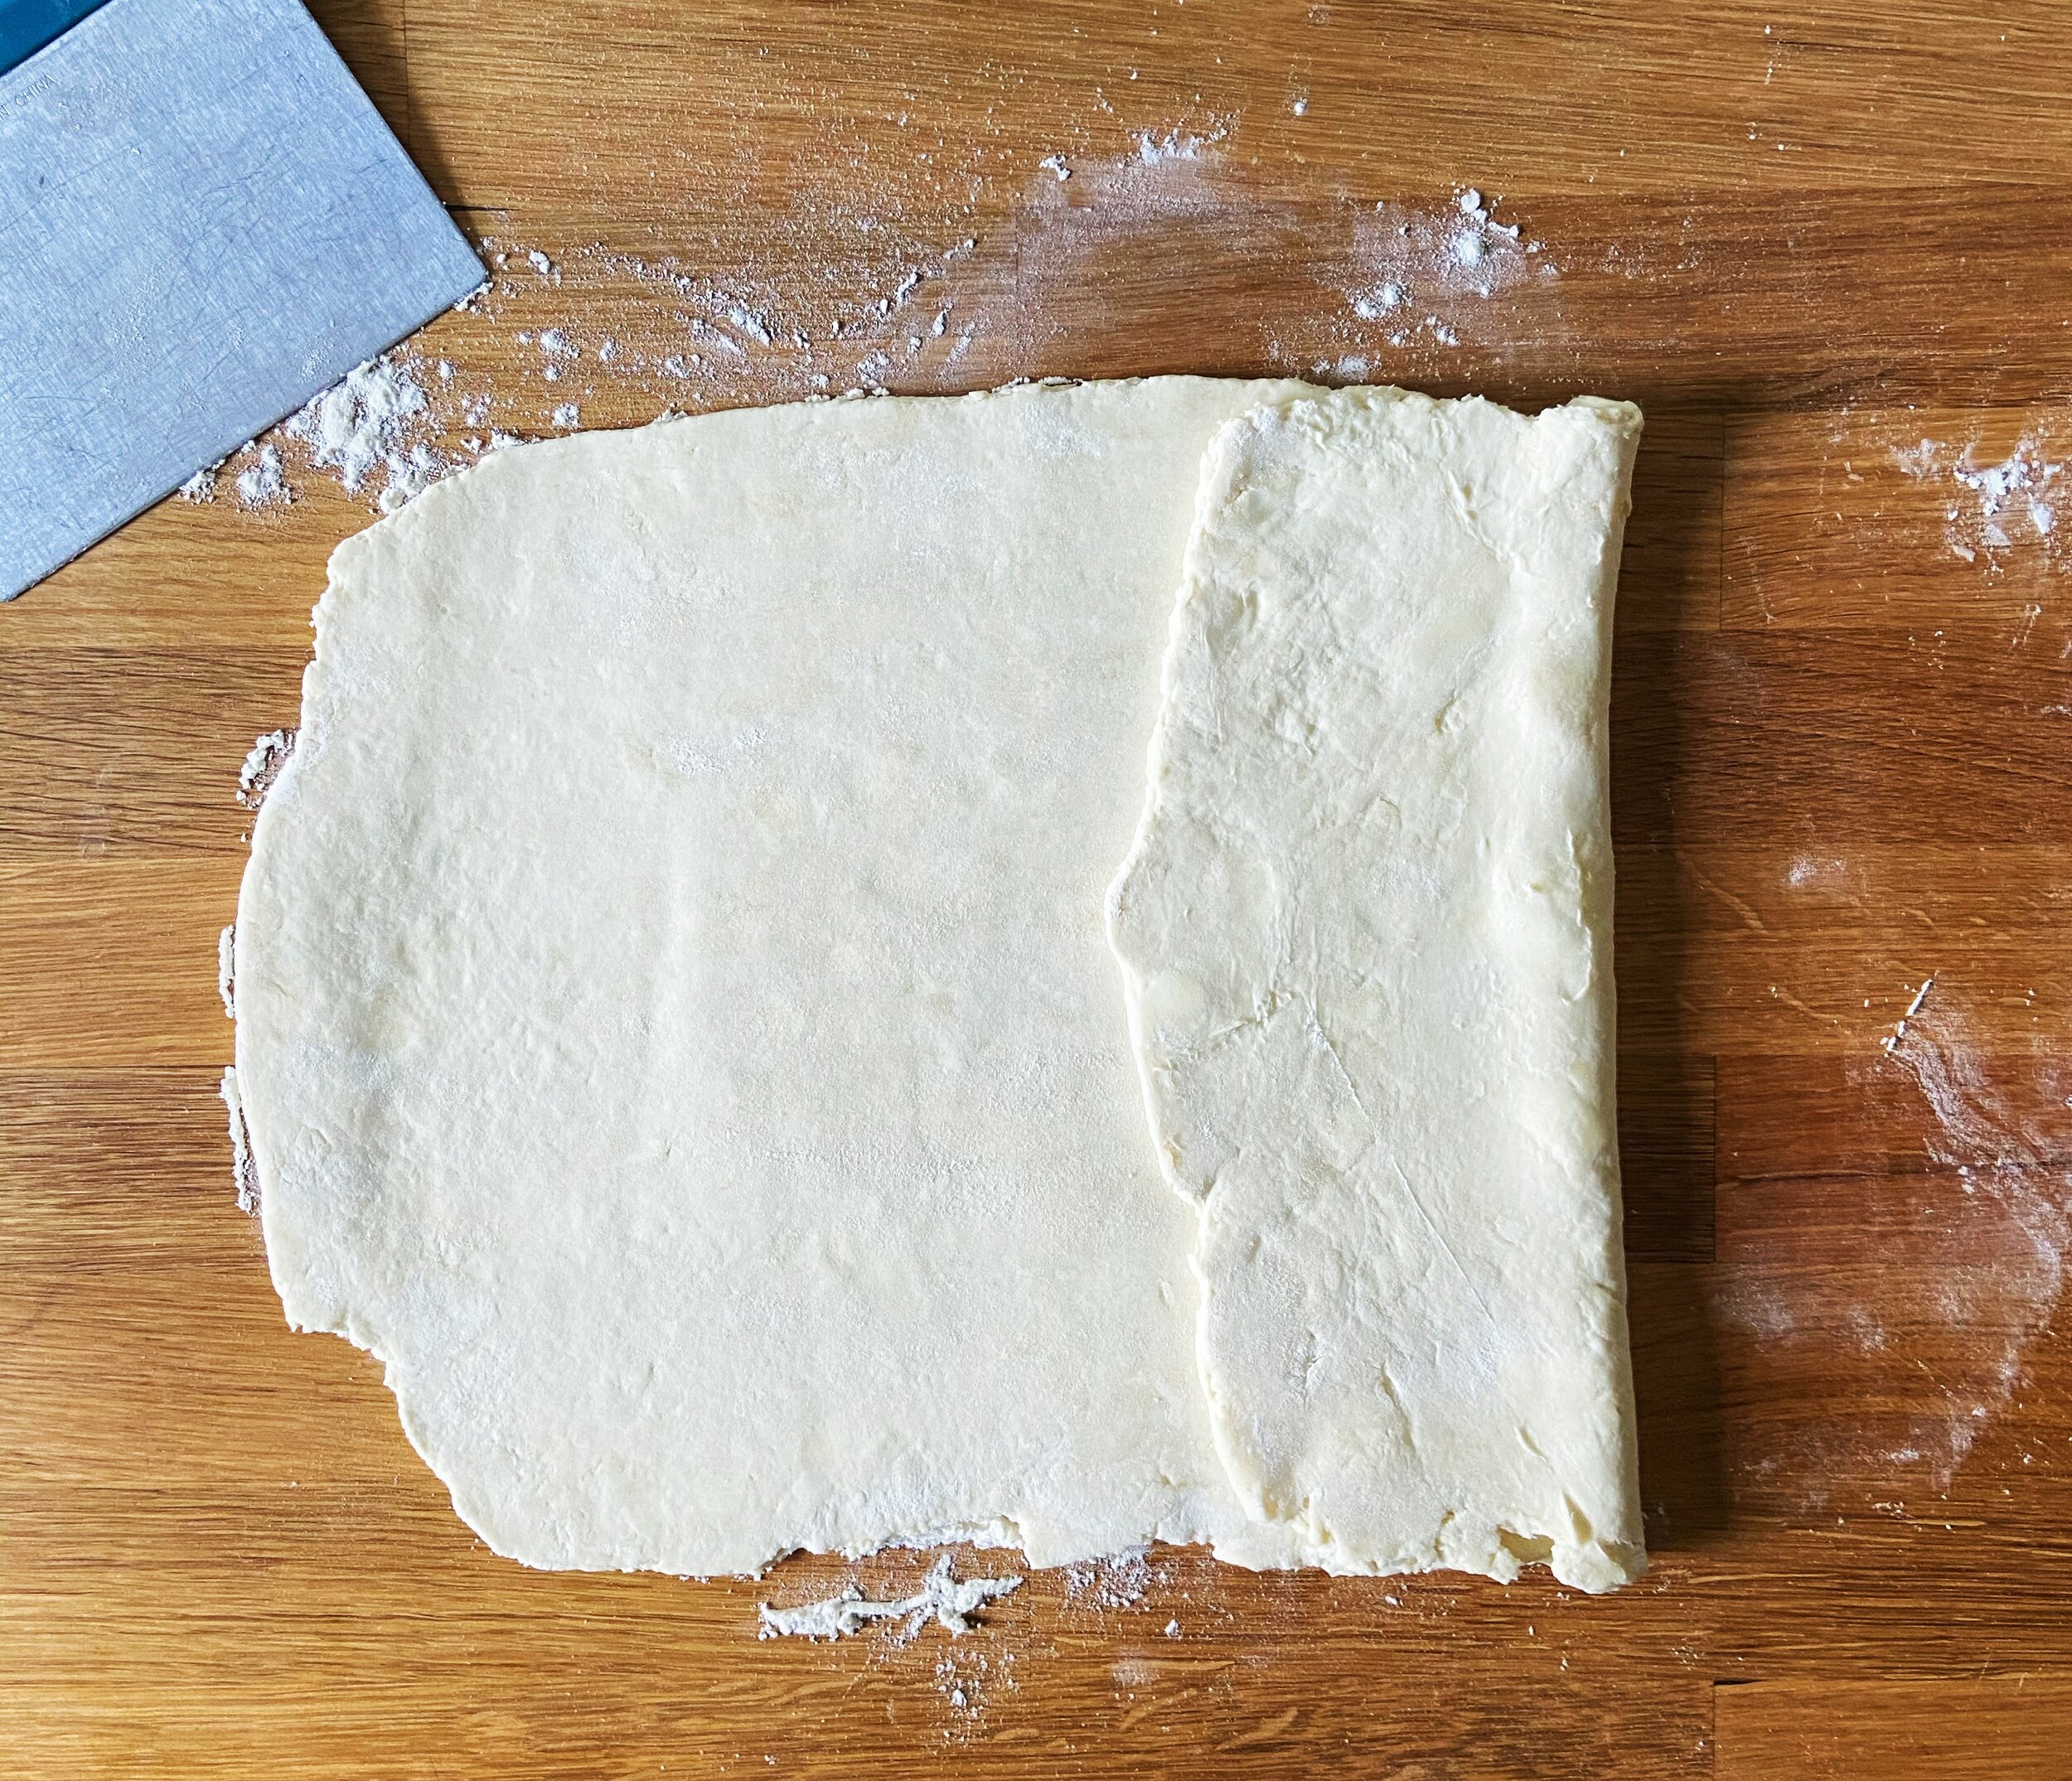
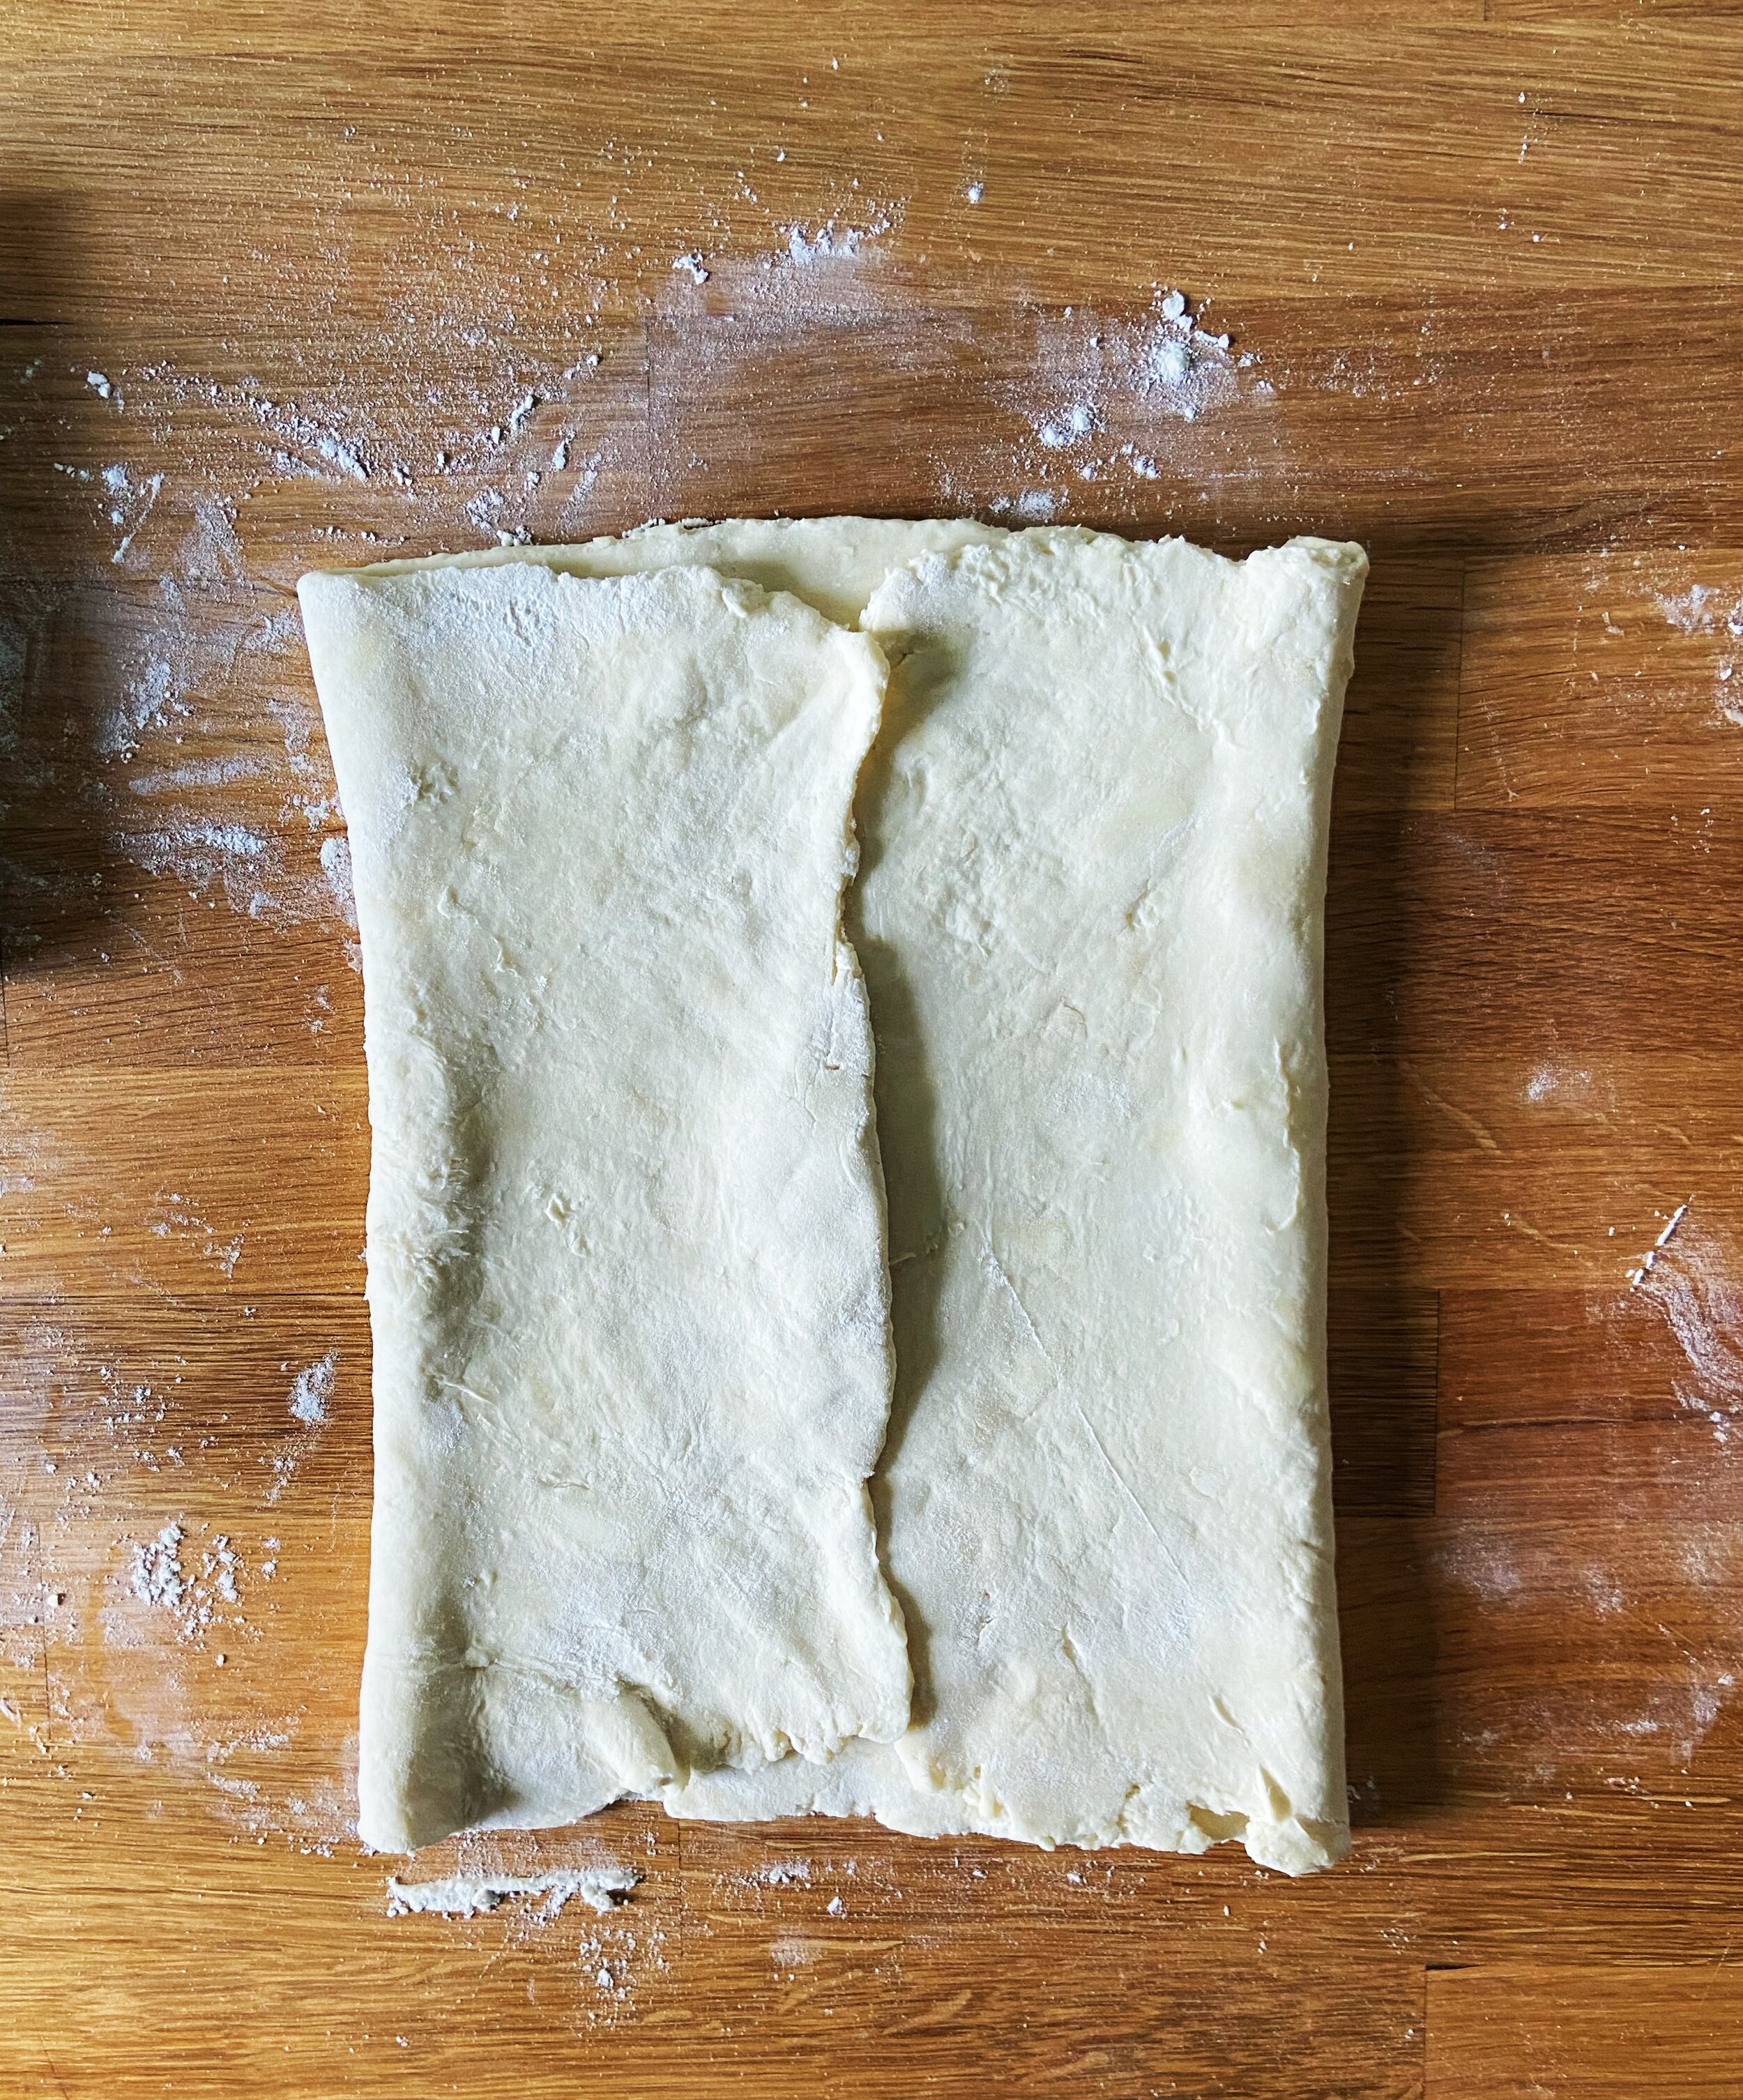
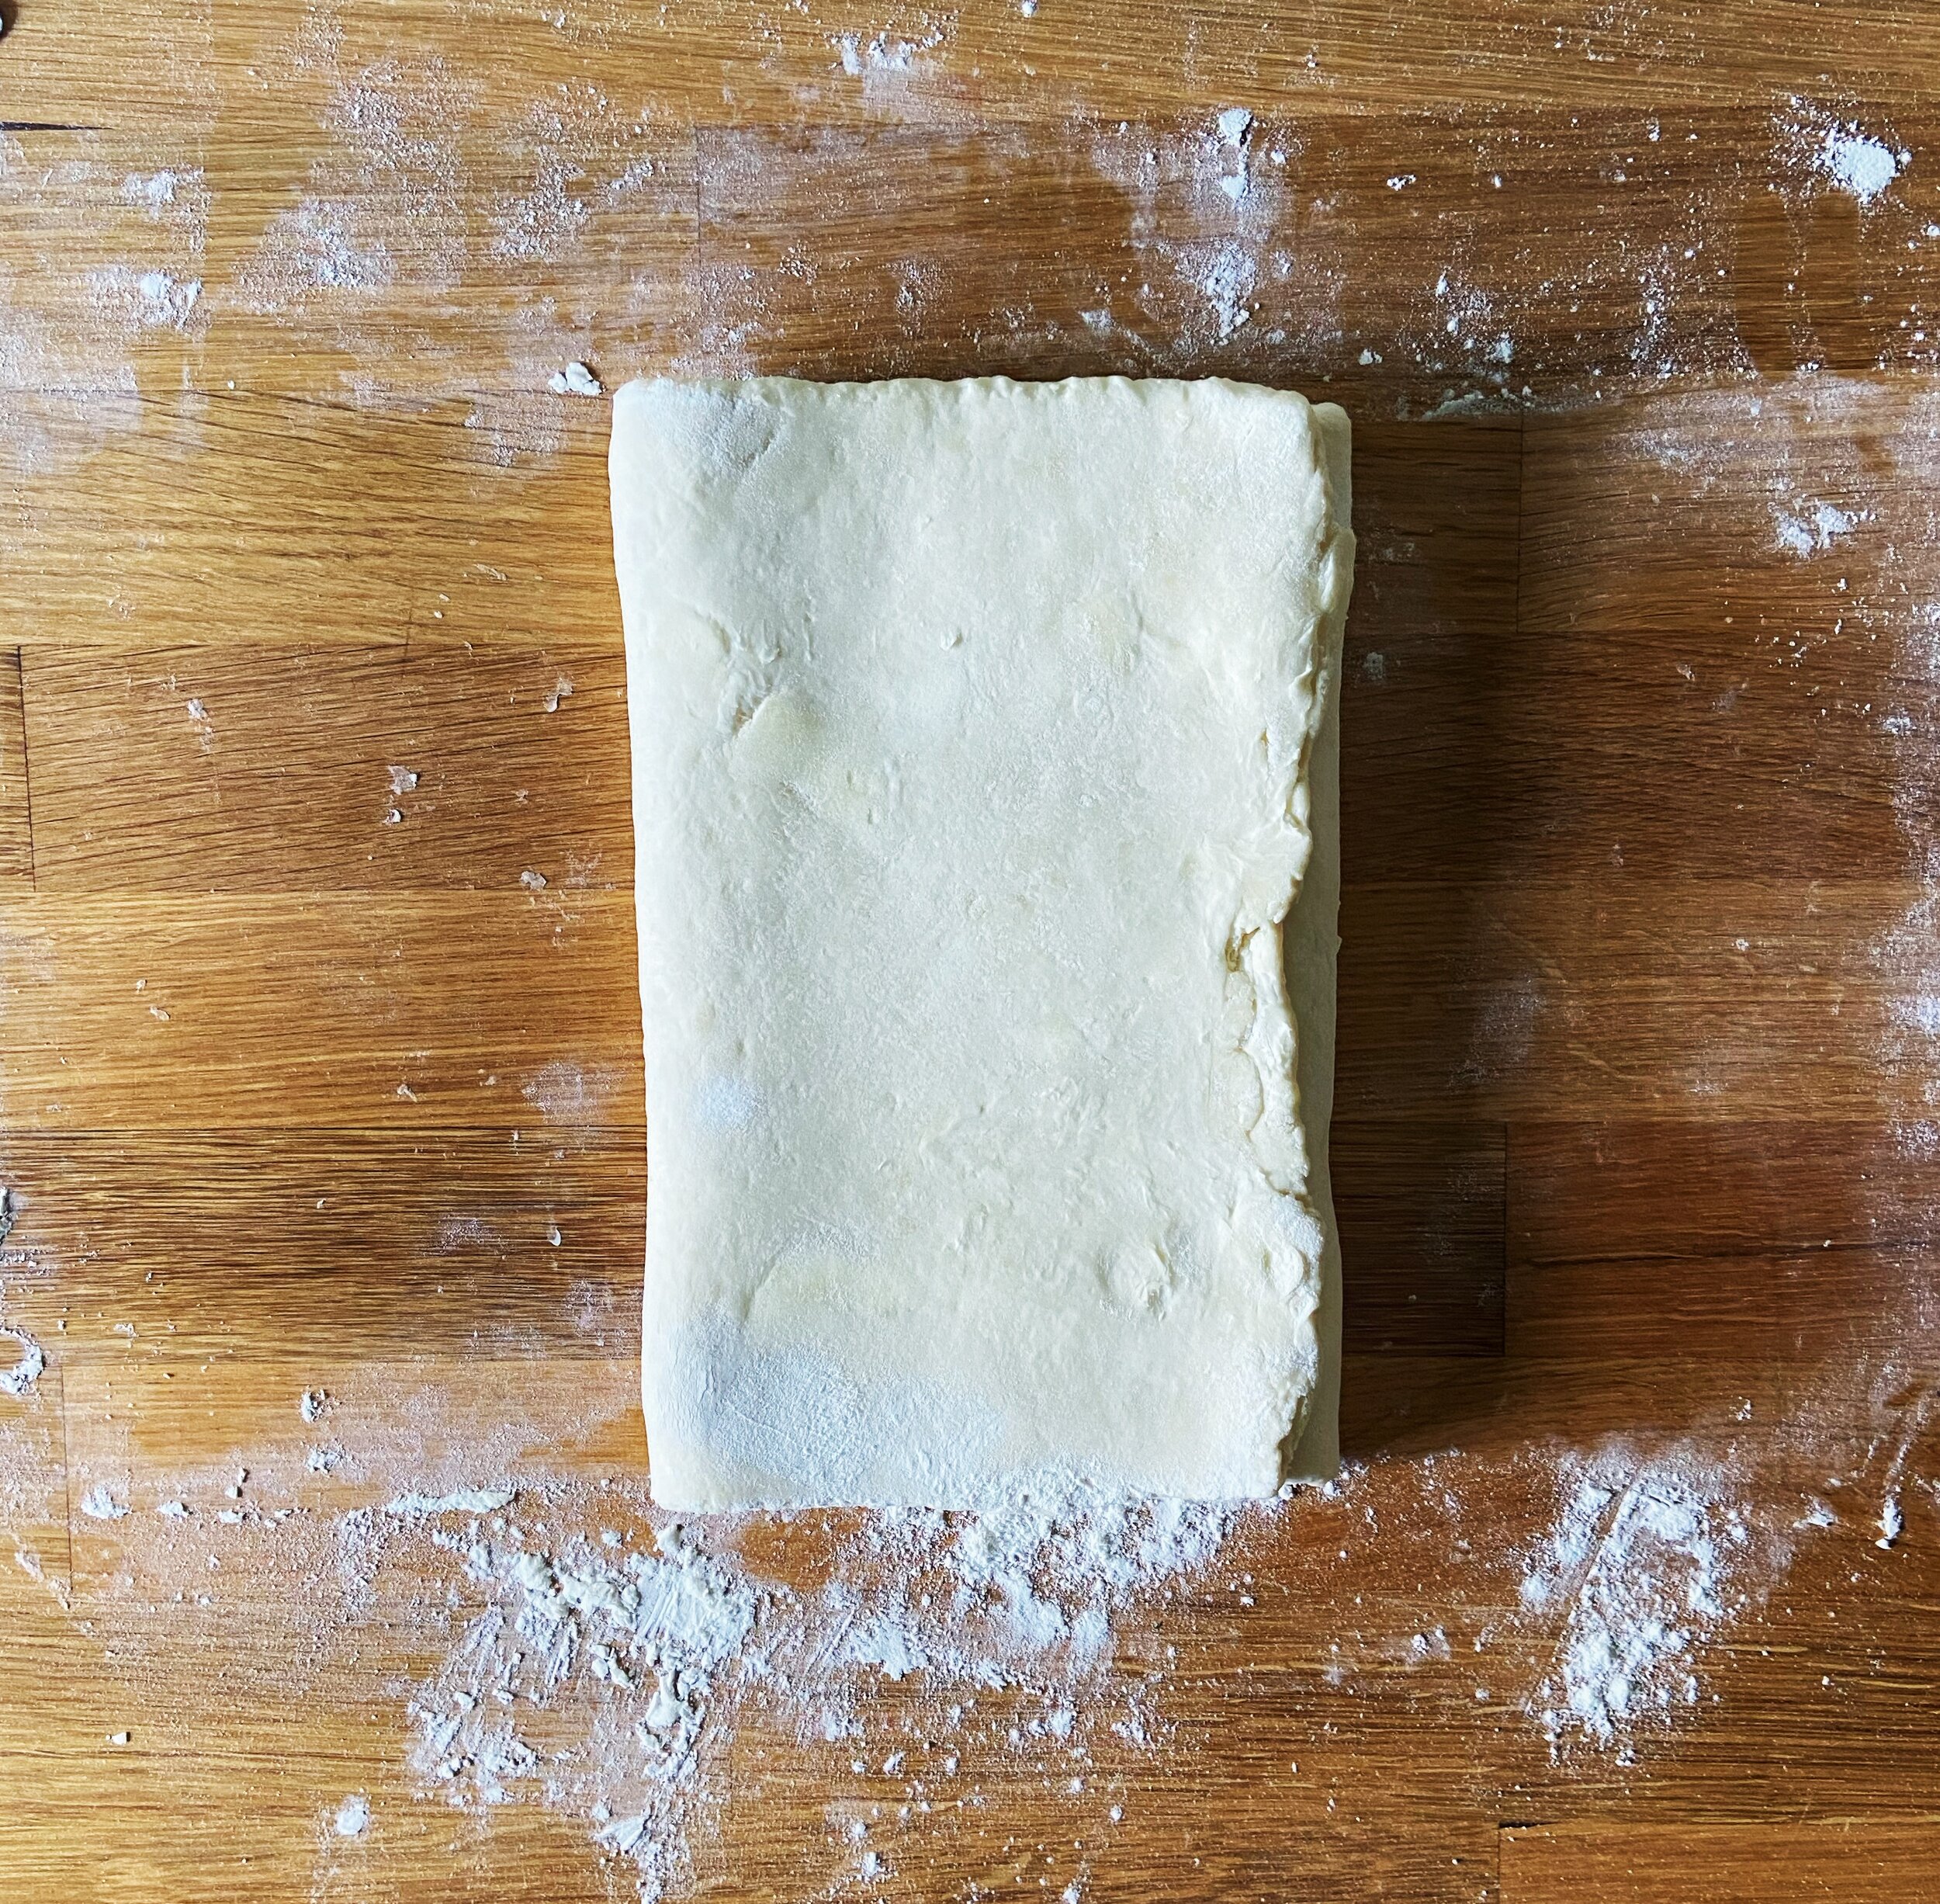
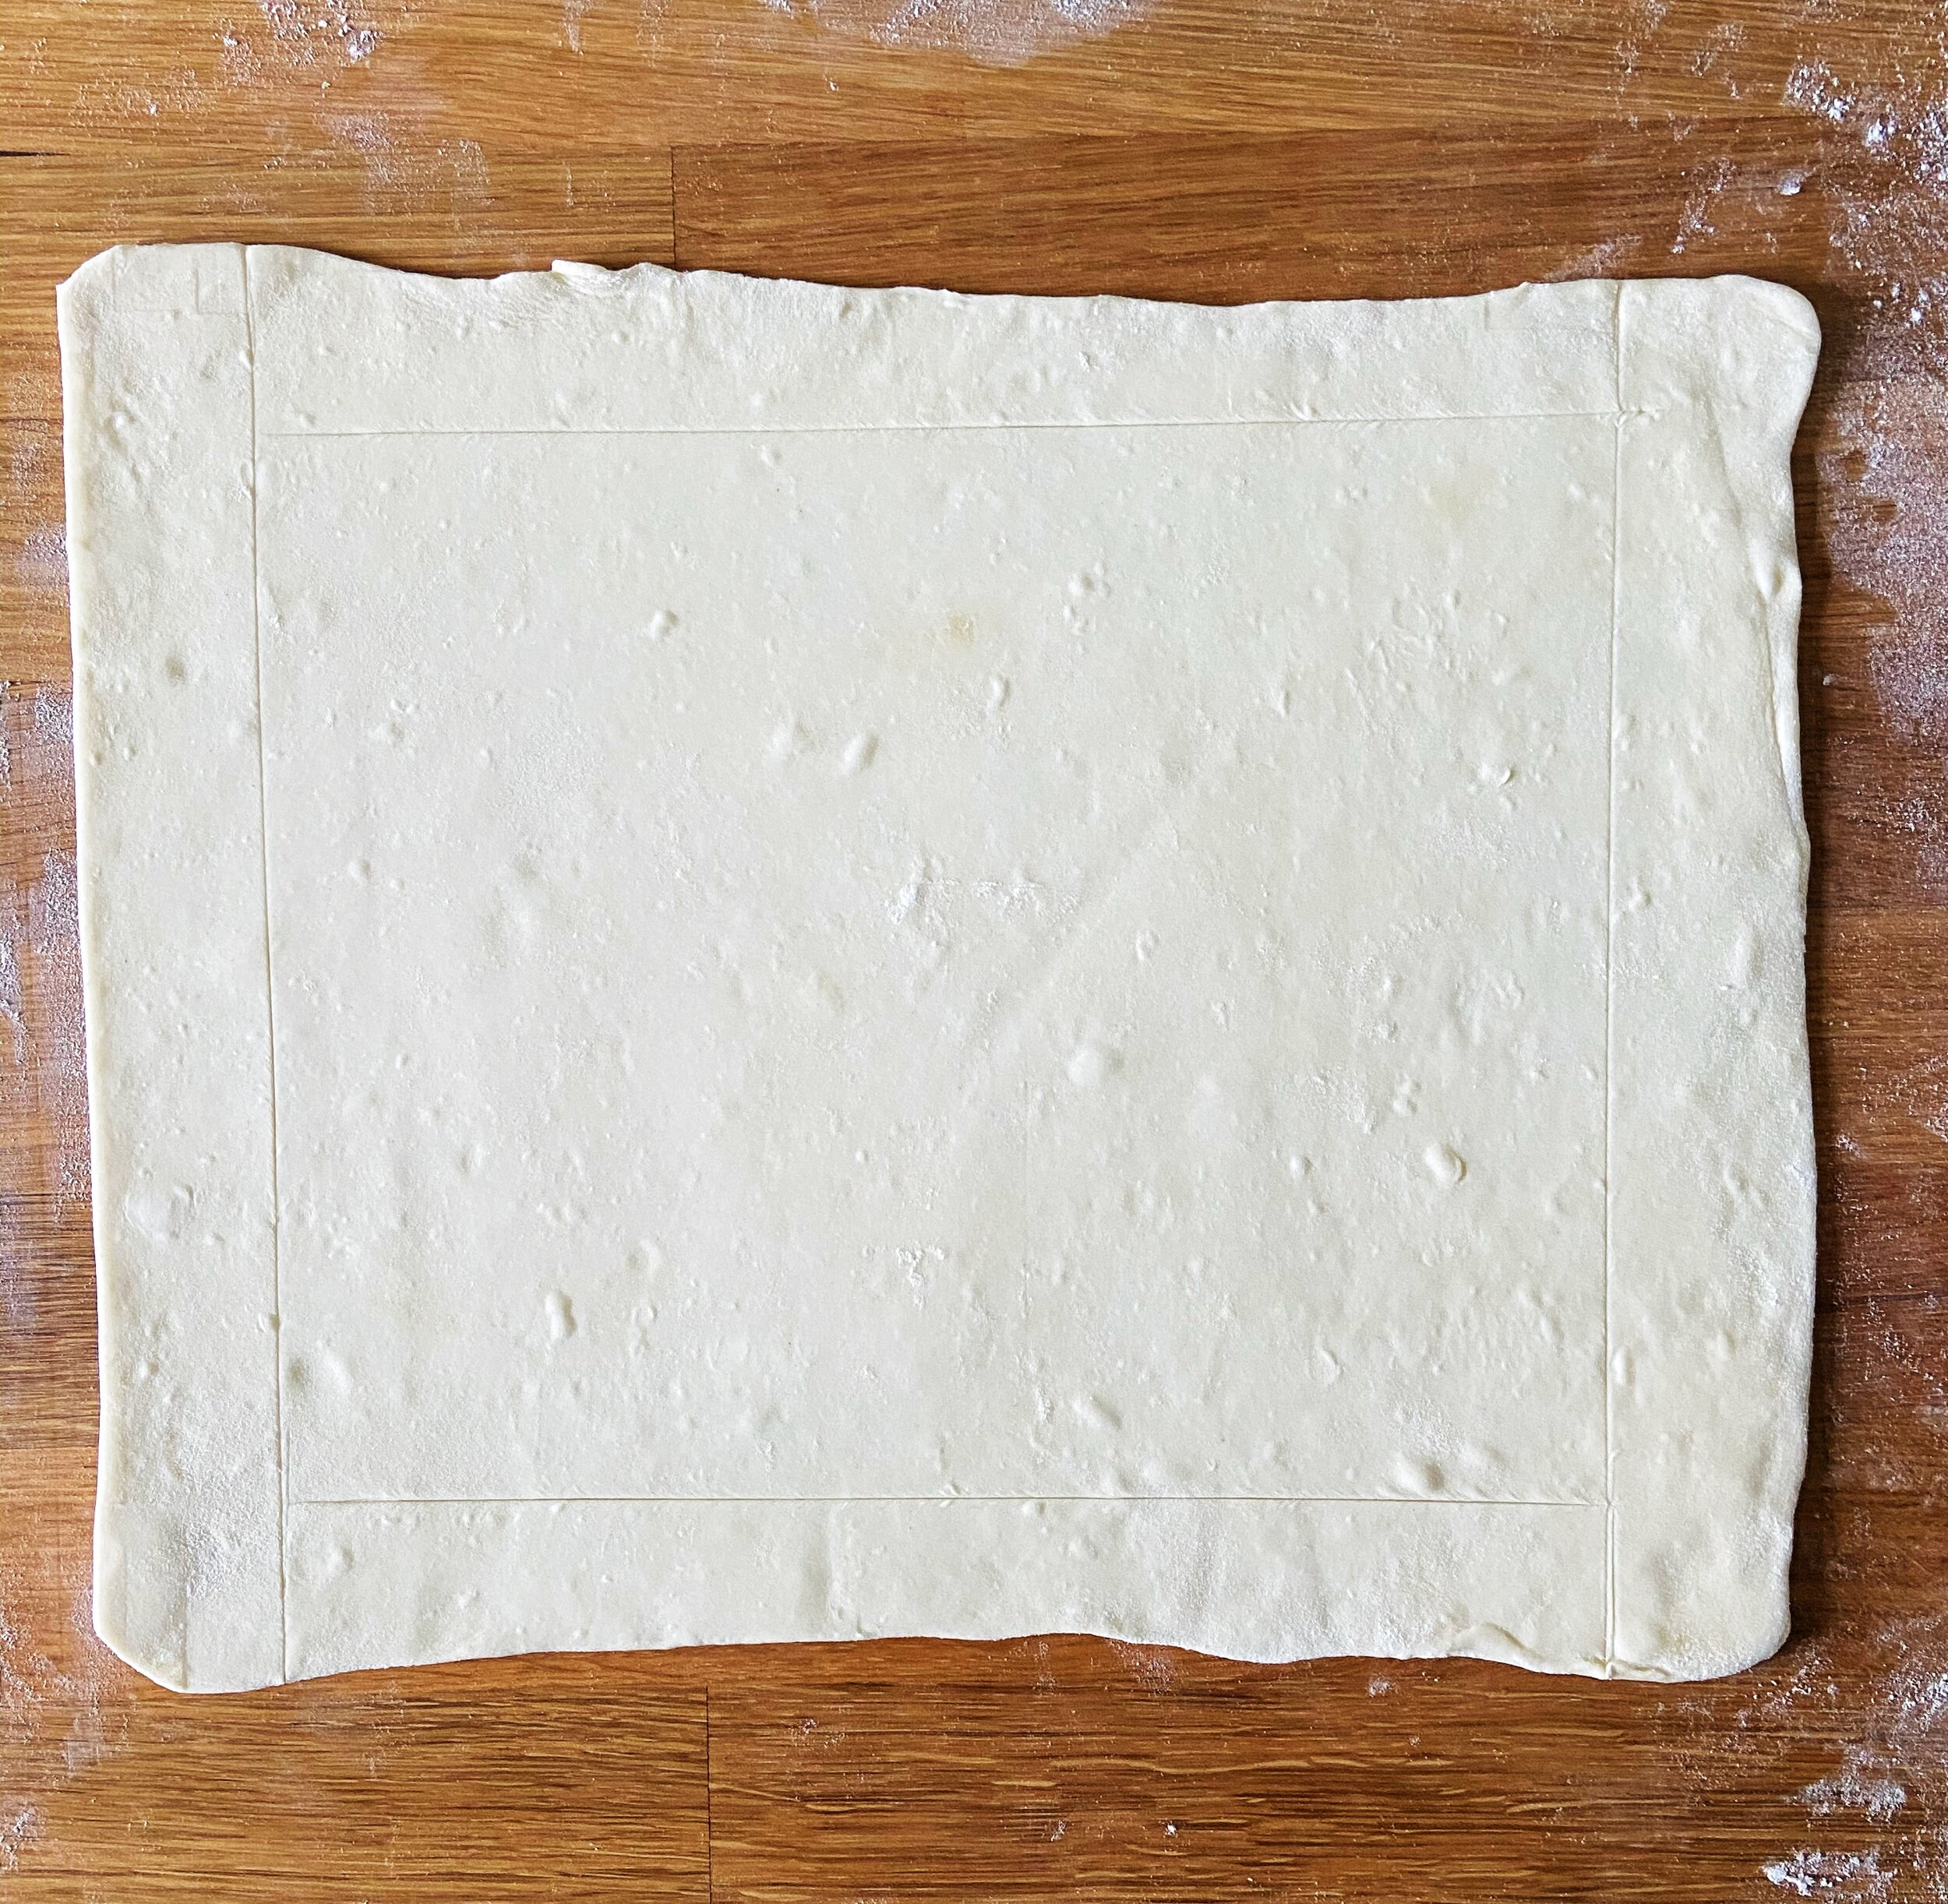
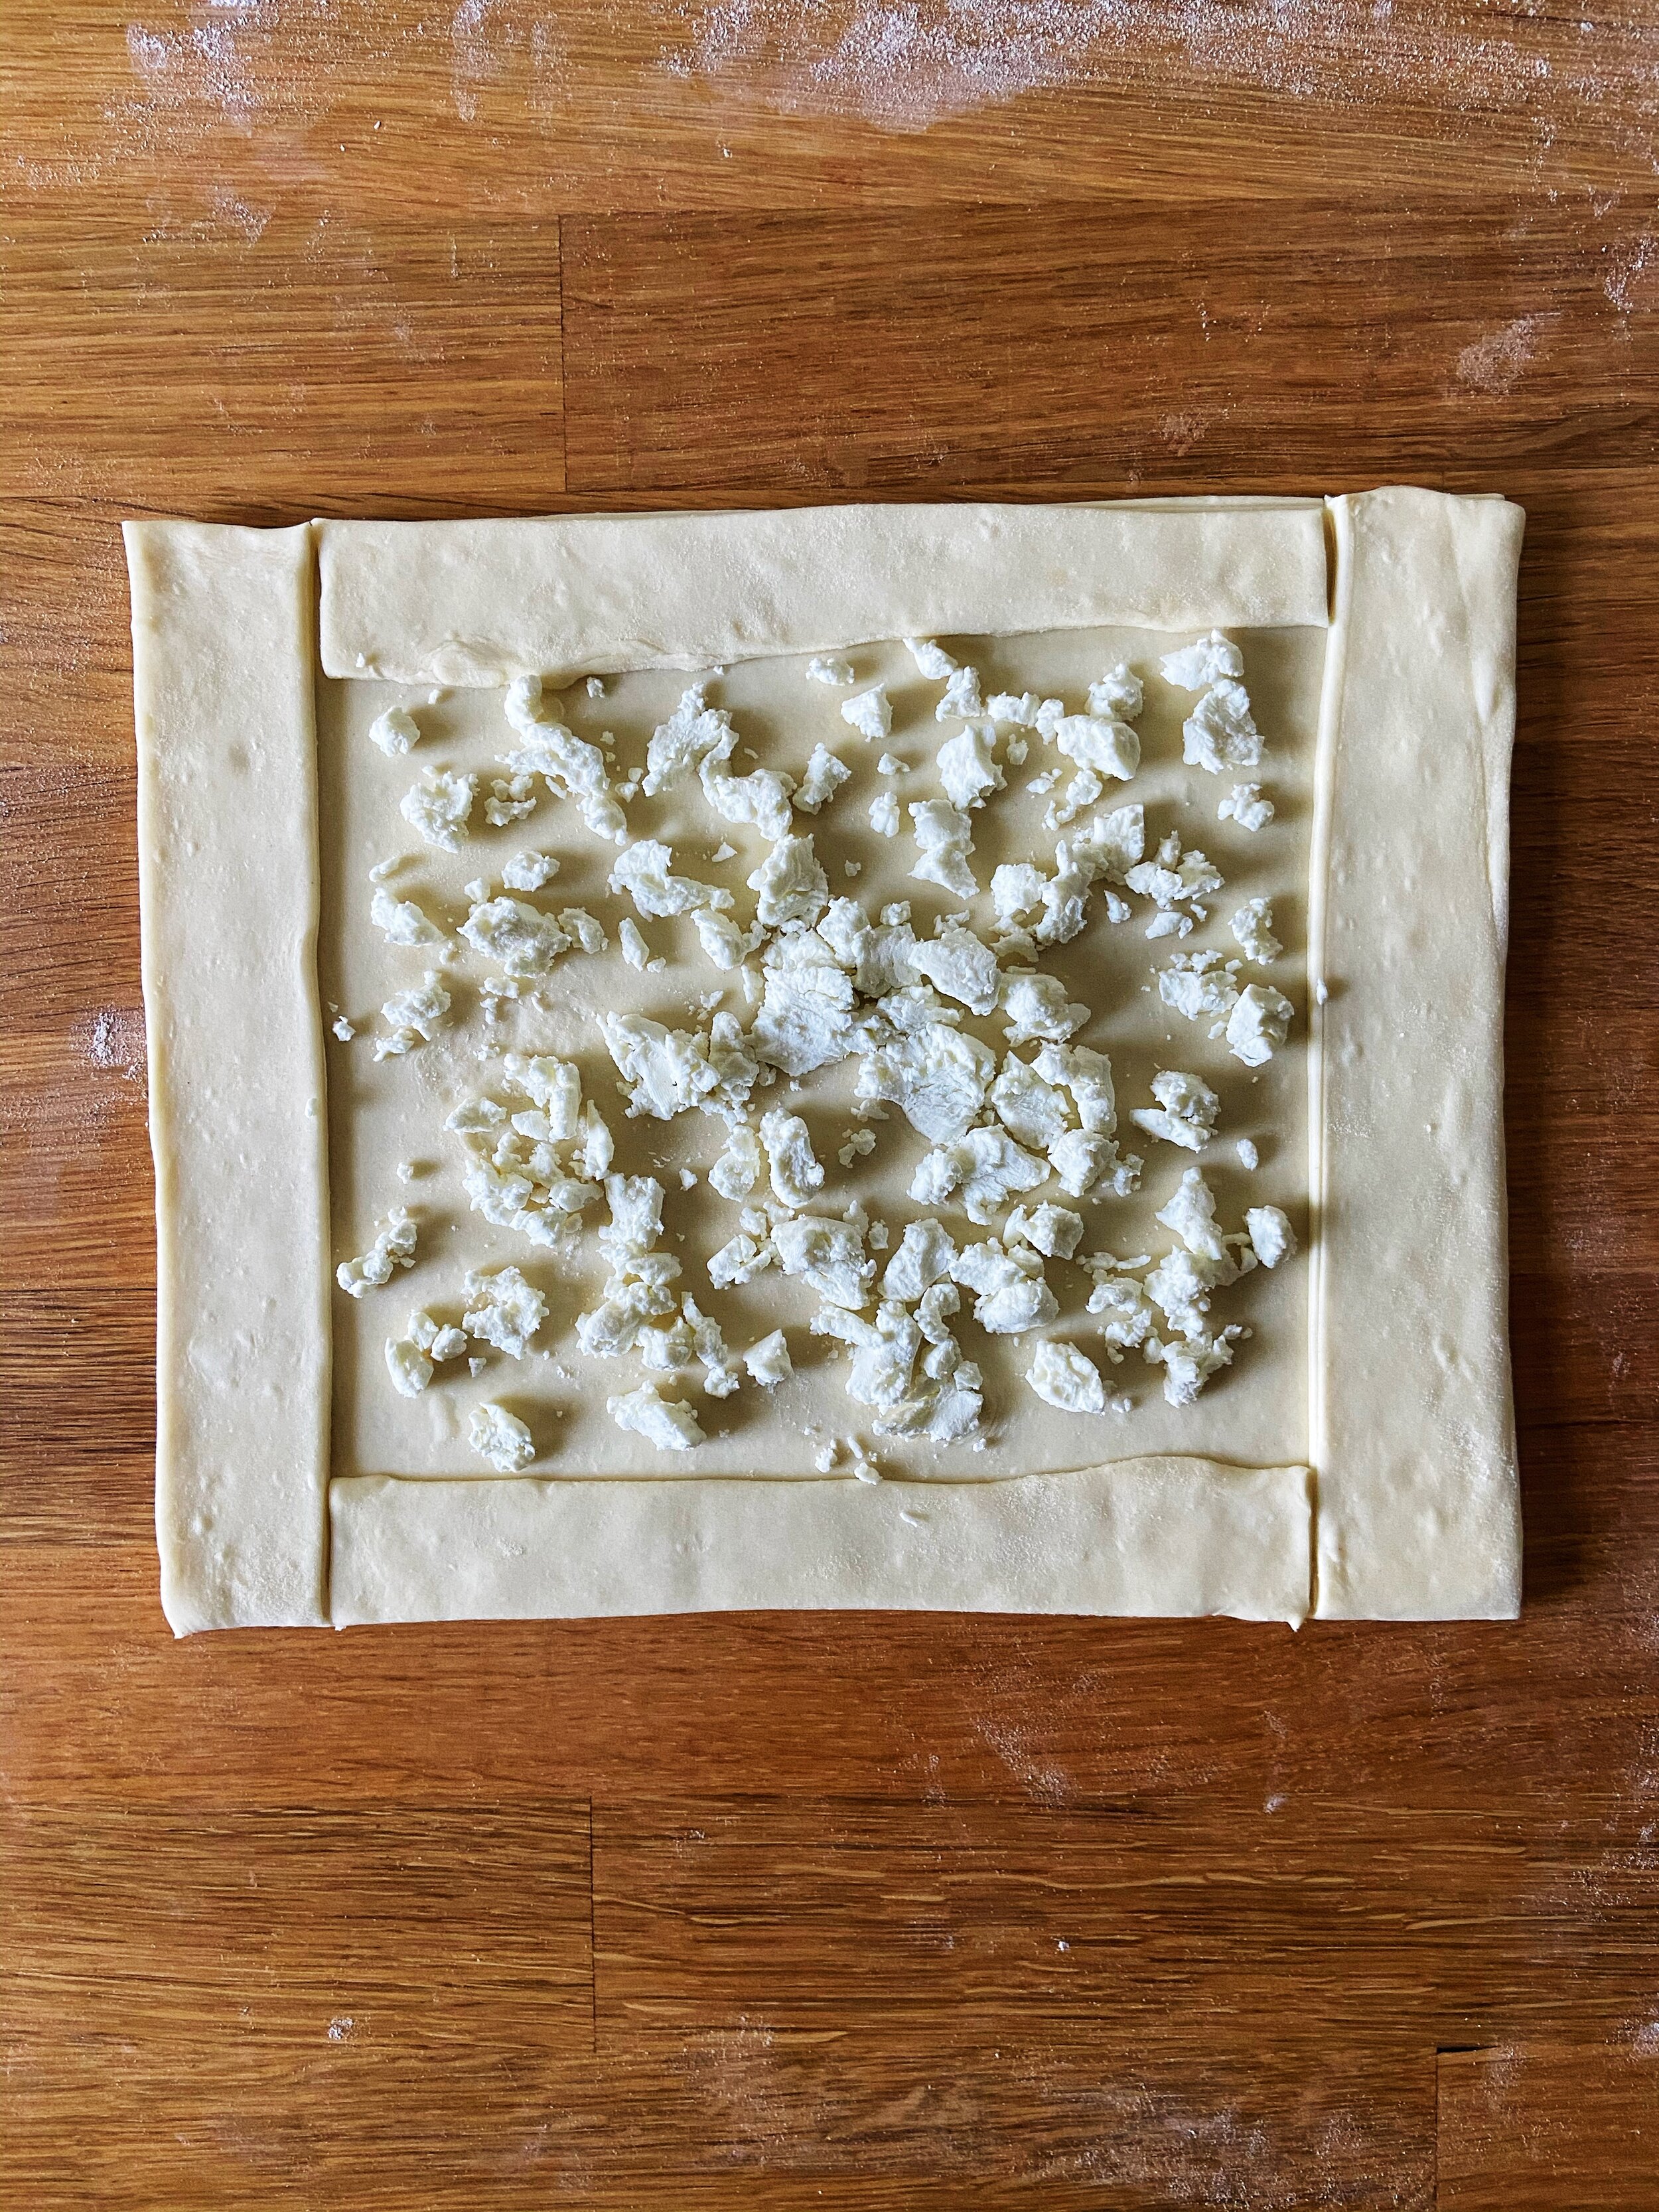
On a lightly-floured work surface, roll puff pastry to a 15x12” rectangle. Using a ruler and a sharp knife, cut 1 1-2” strips around the edges of the pastry. (see photos above for reference)
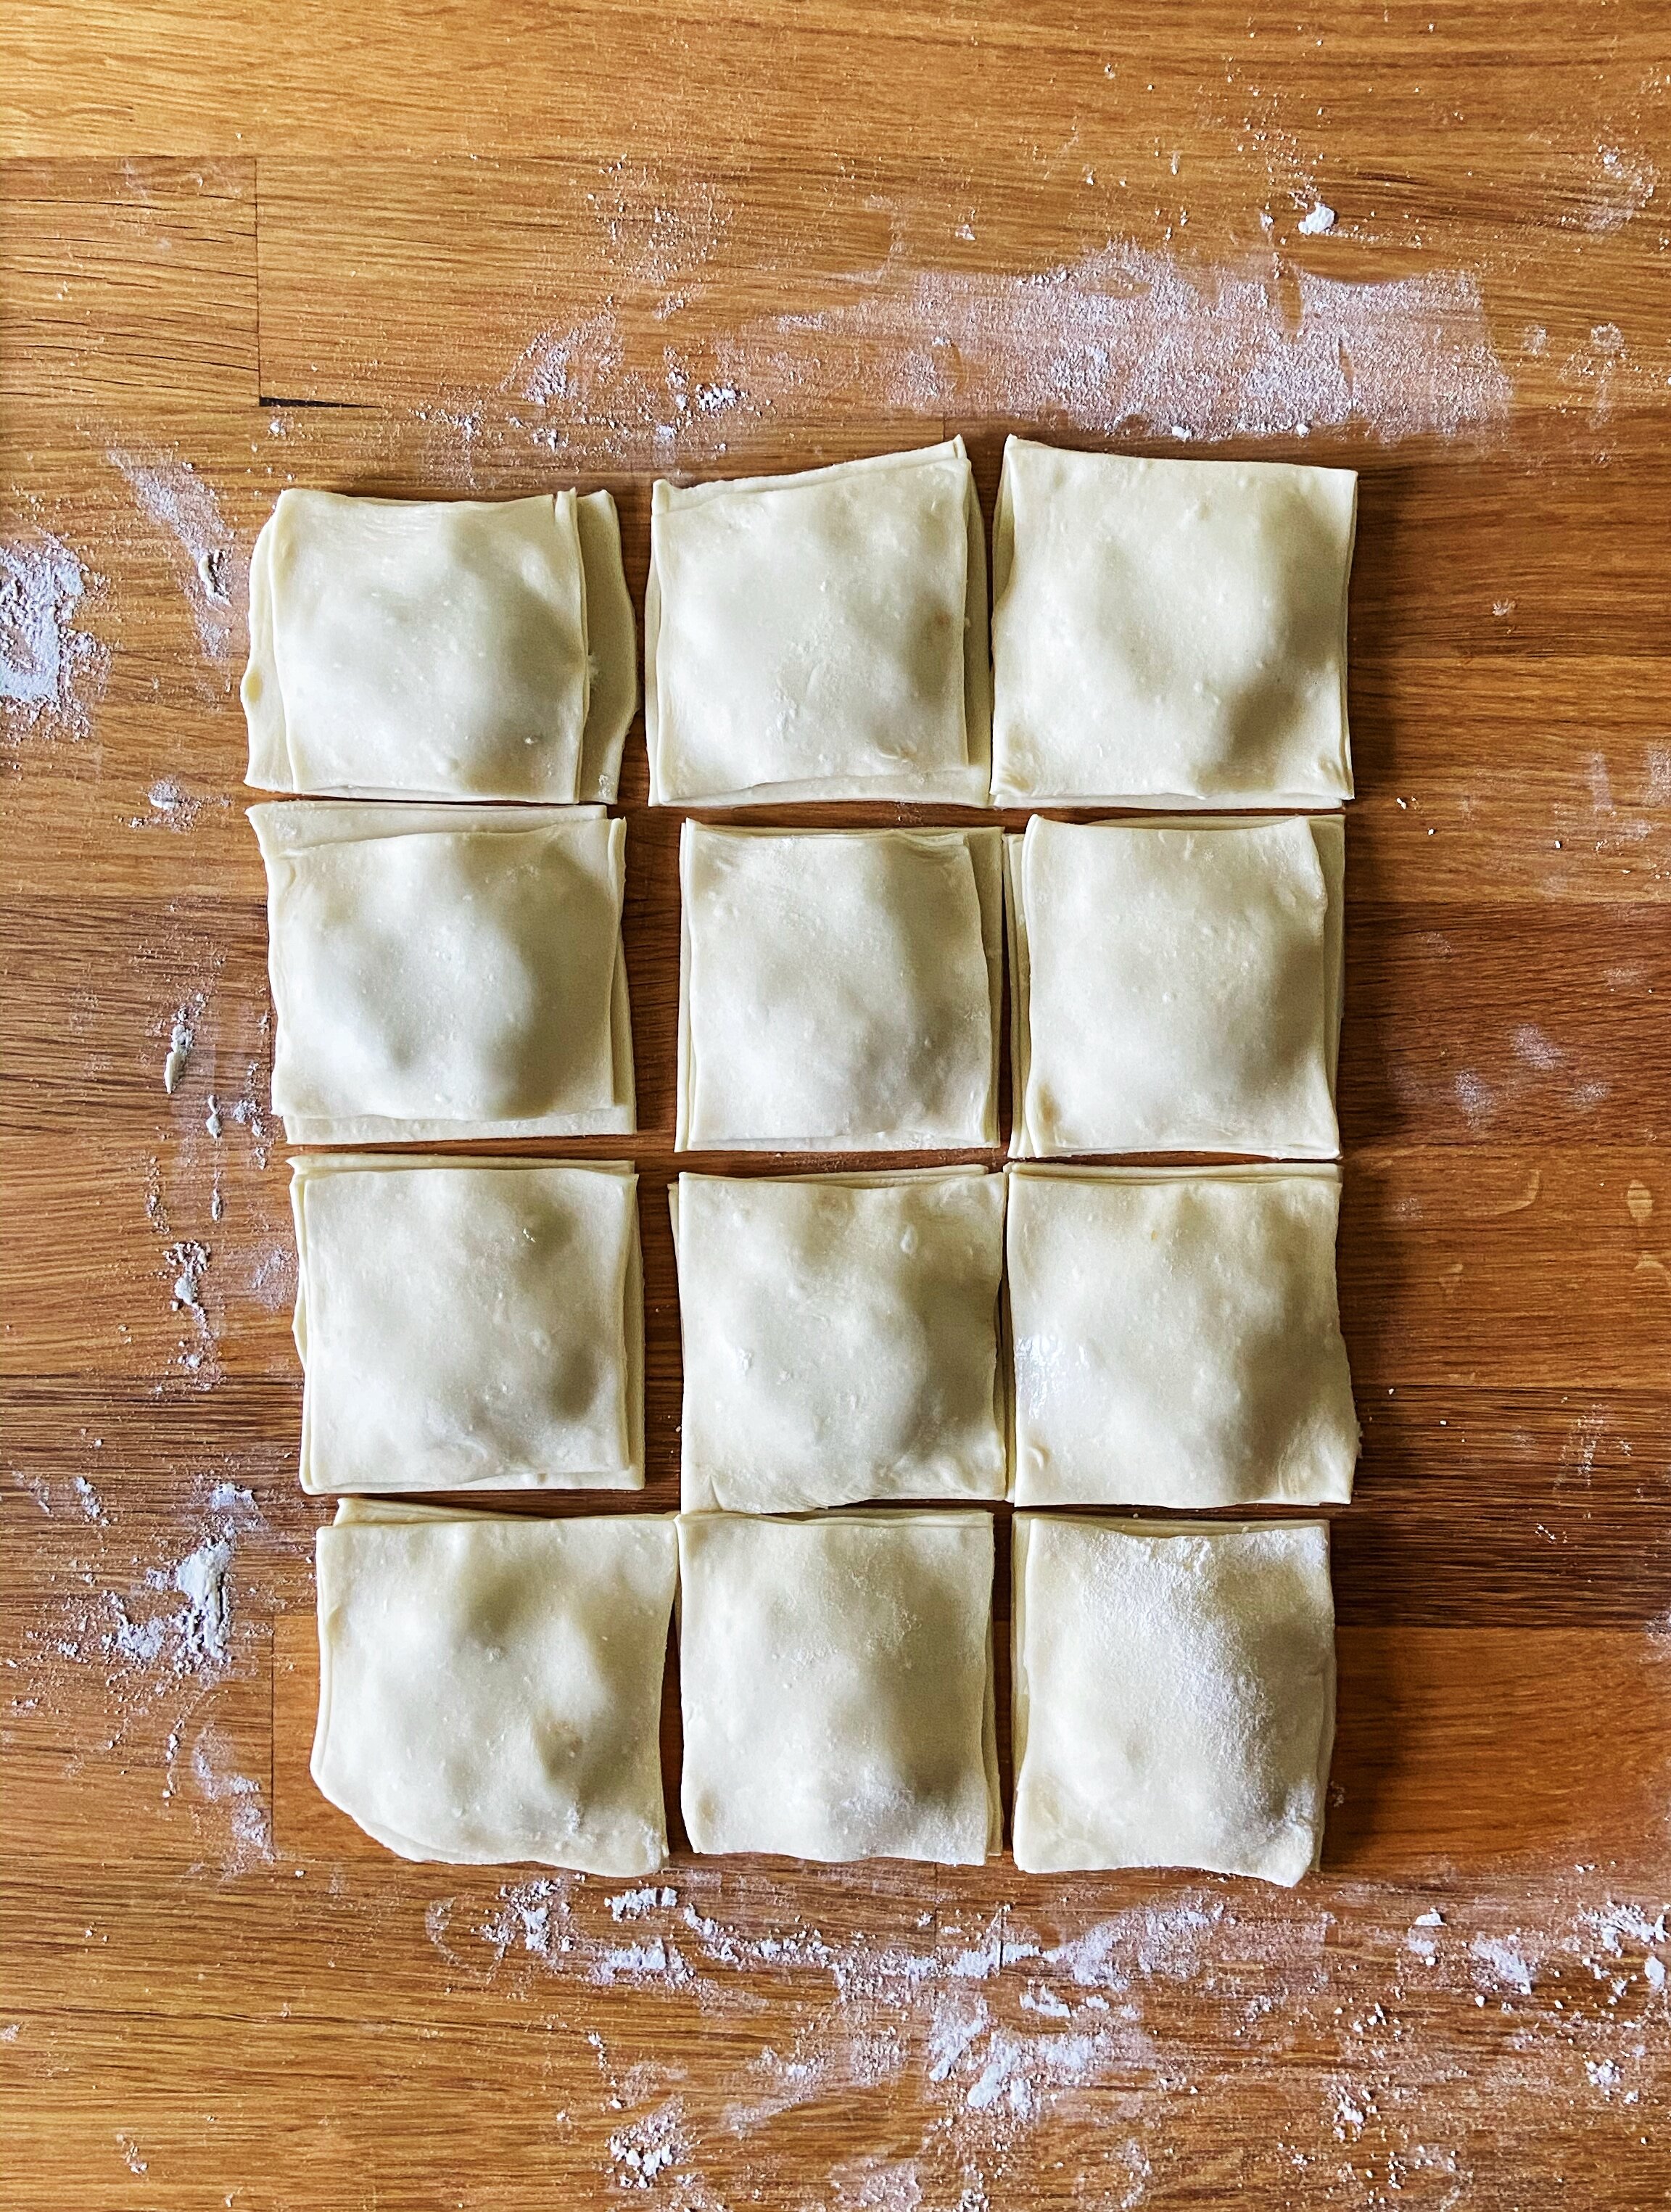
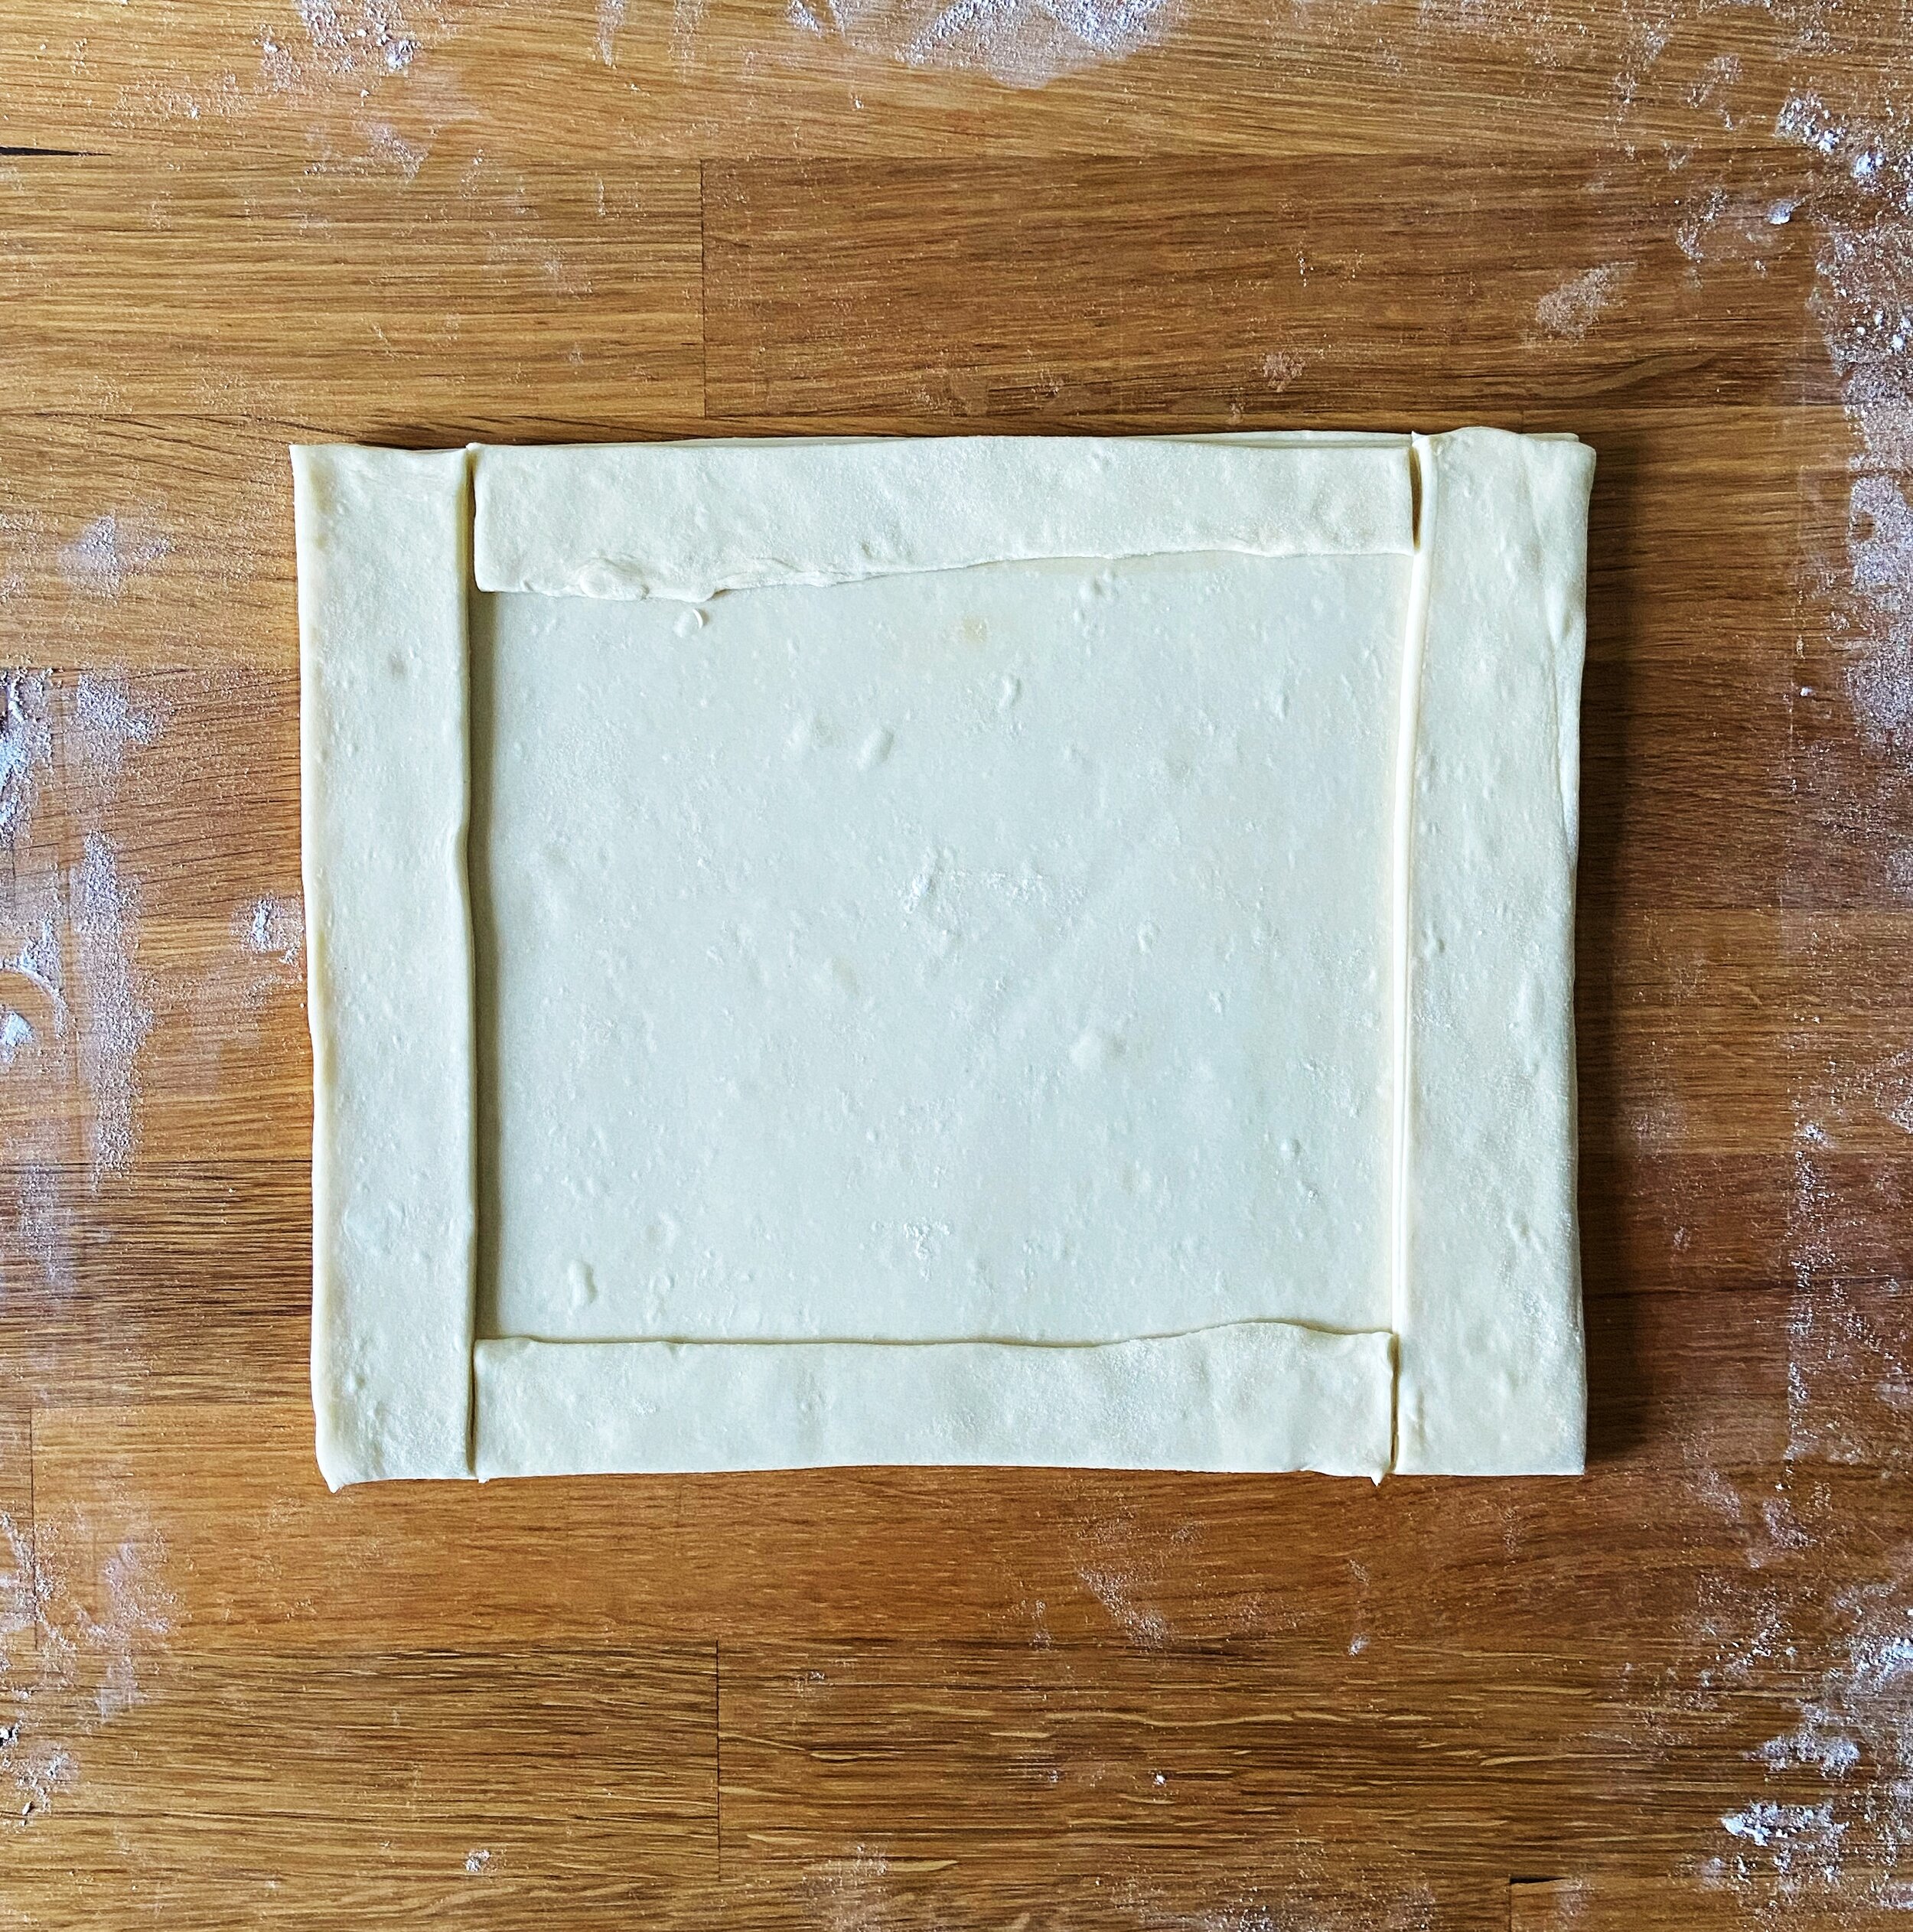
Brush the edges of the rectangle with a bit of egg wash, and lay the strips on top of the puff pastry rectangle, creating a raised border around the edge of the rectangle. Trim the edges a bit if needed.
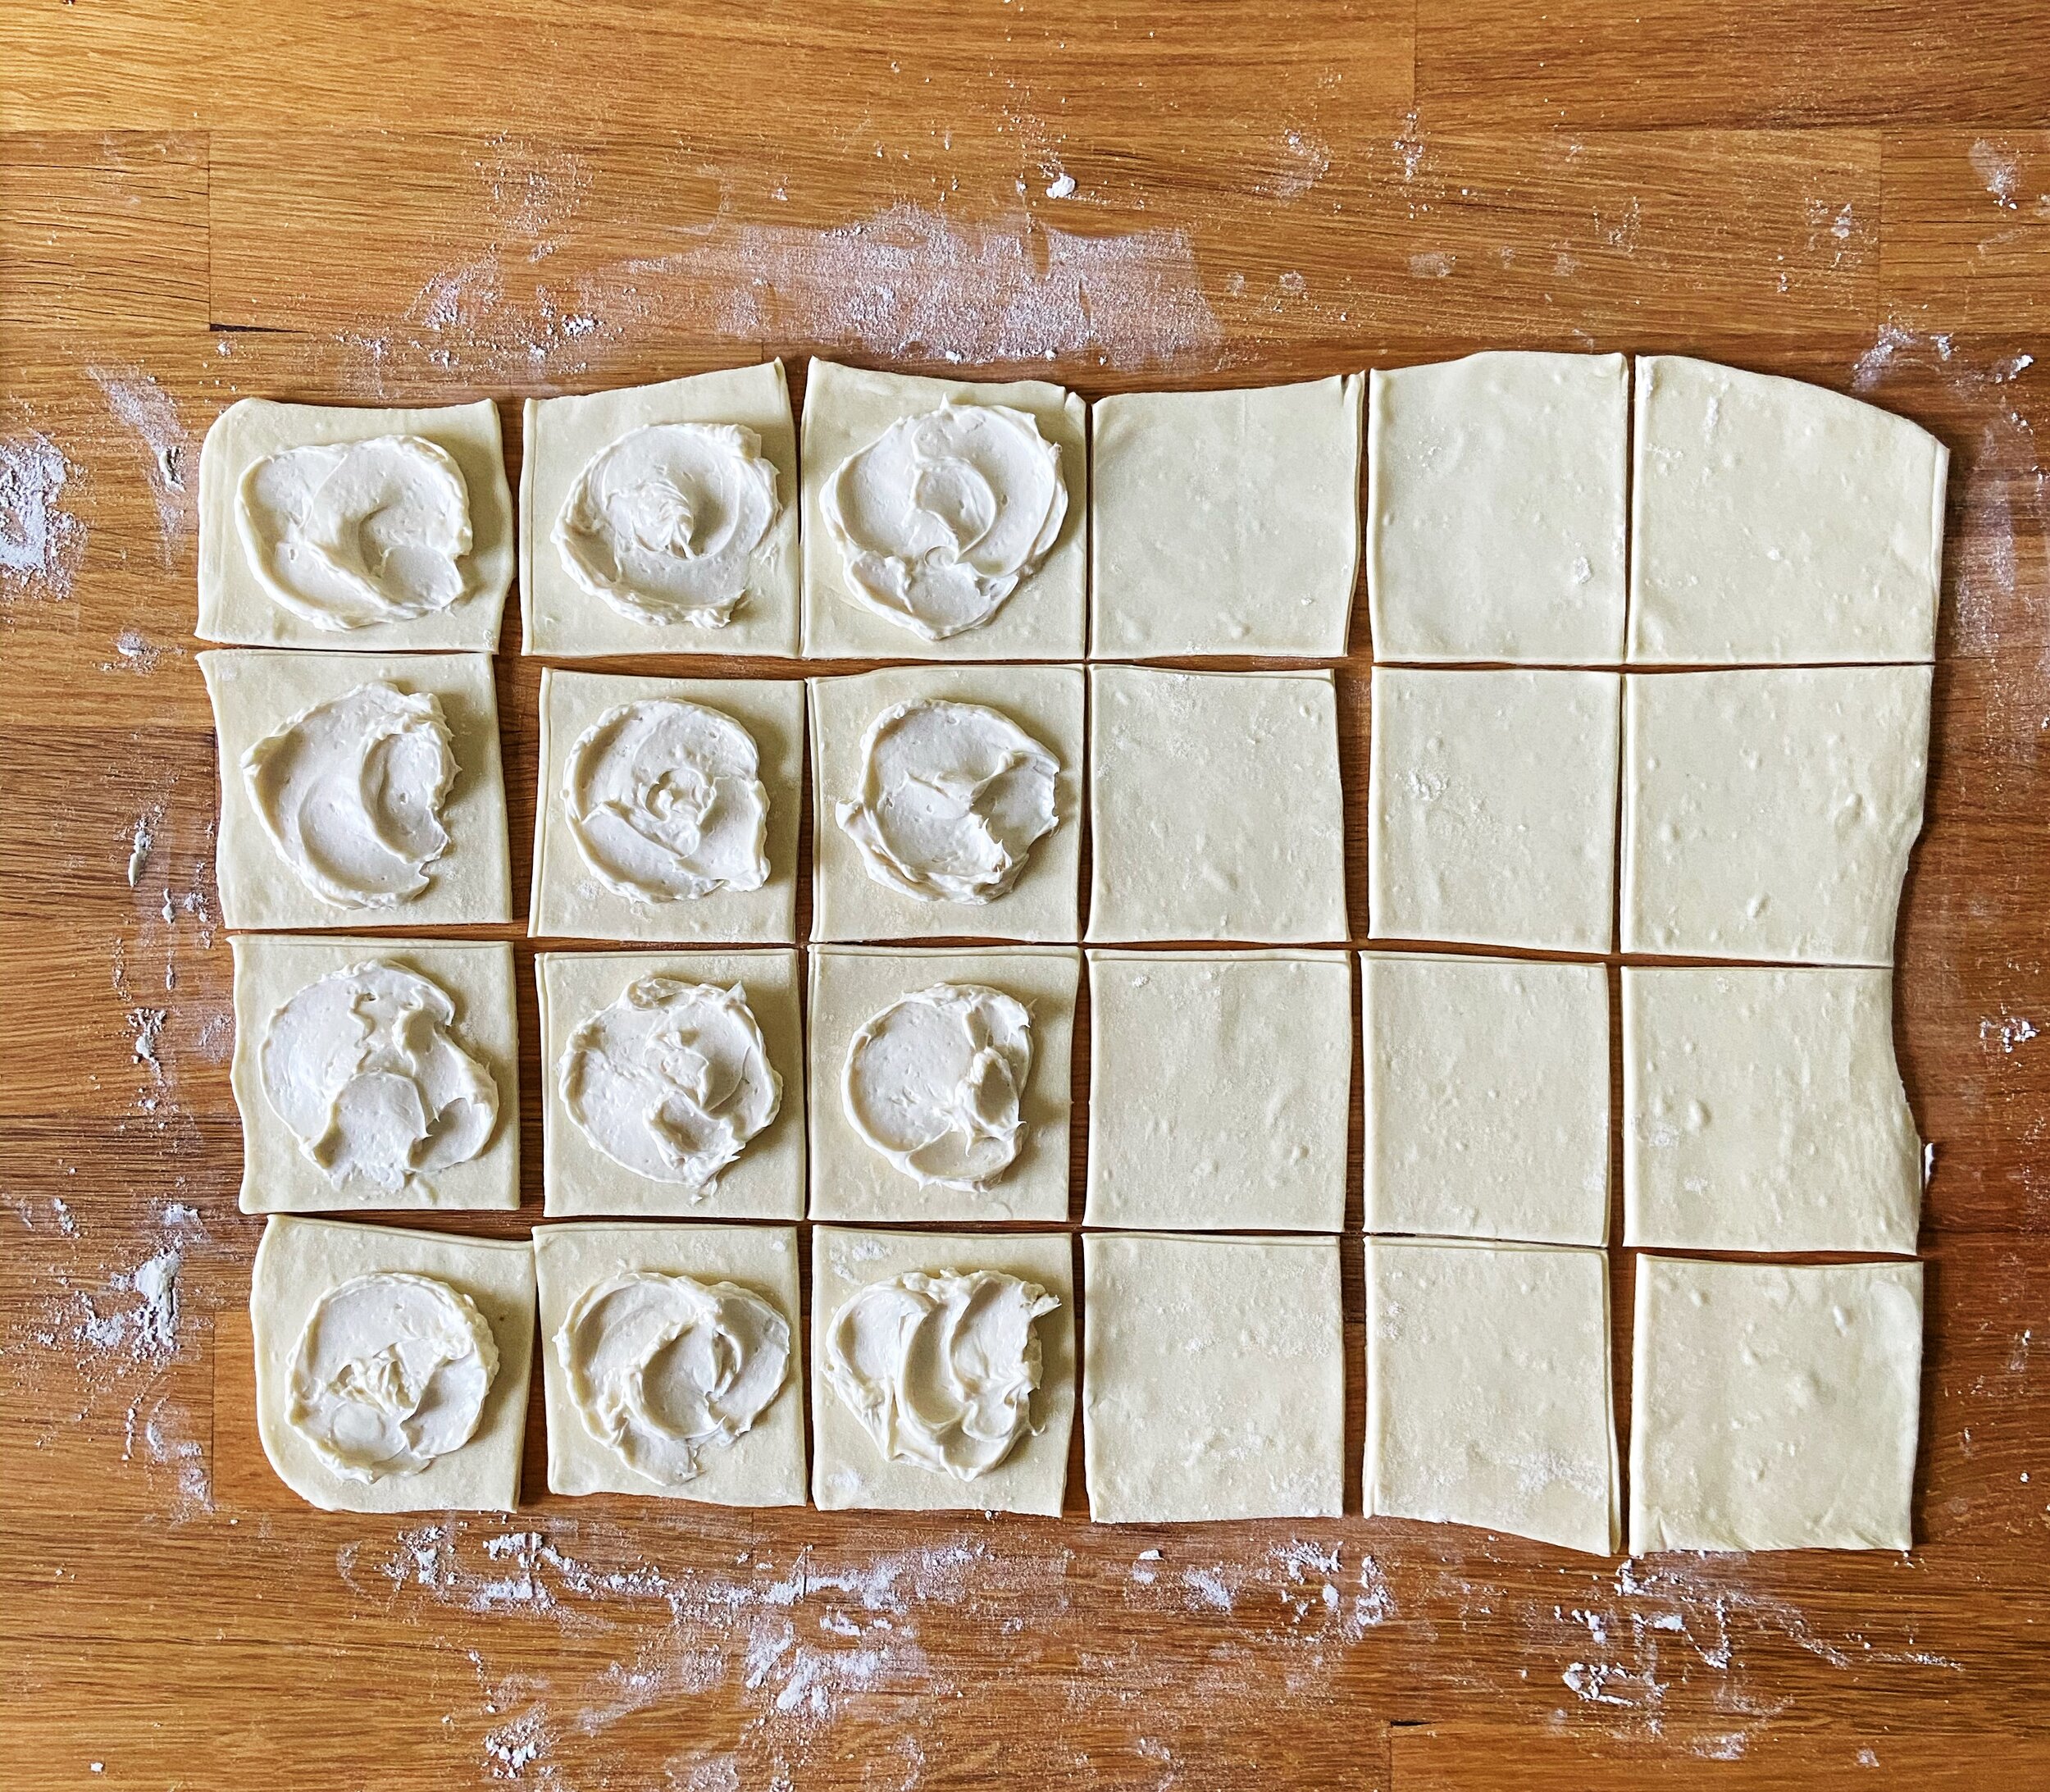
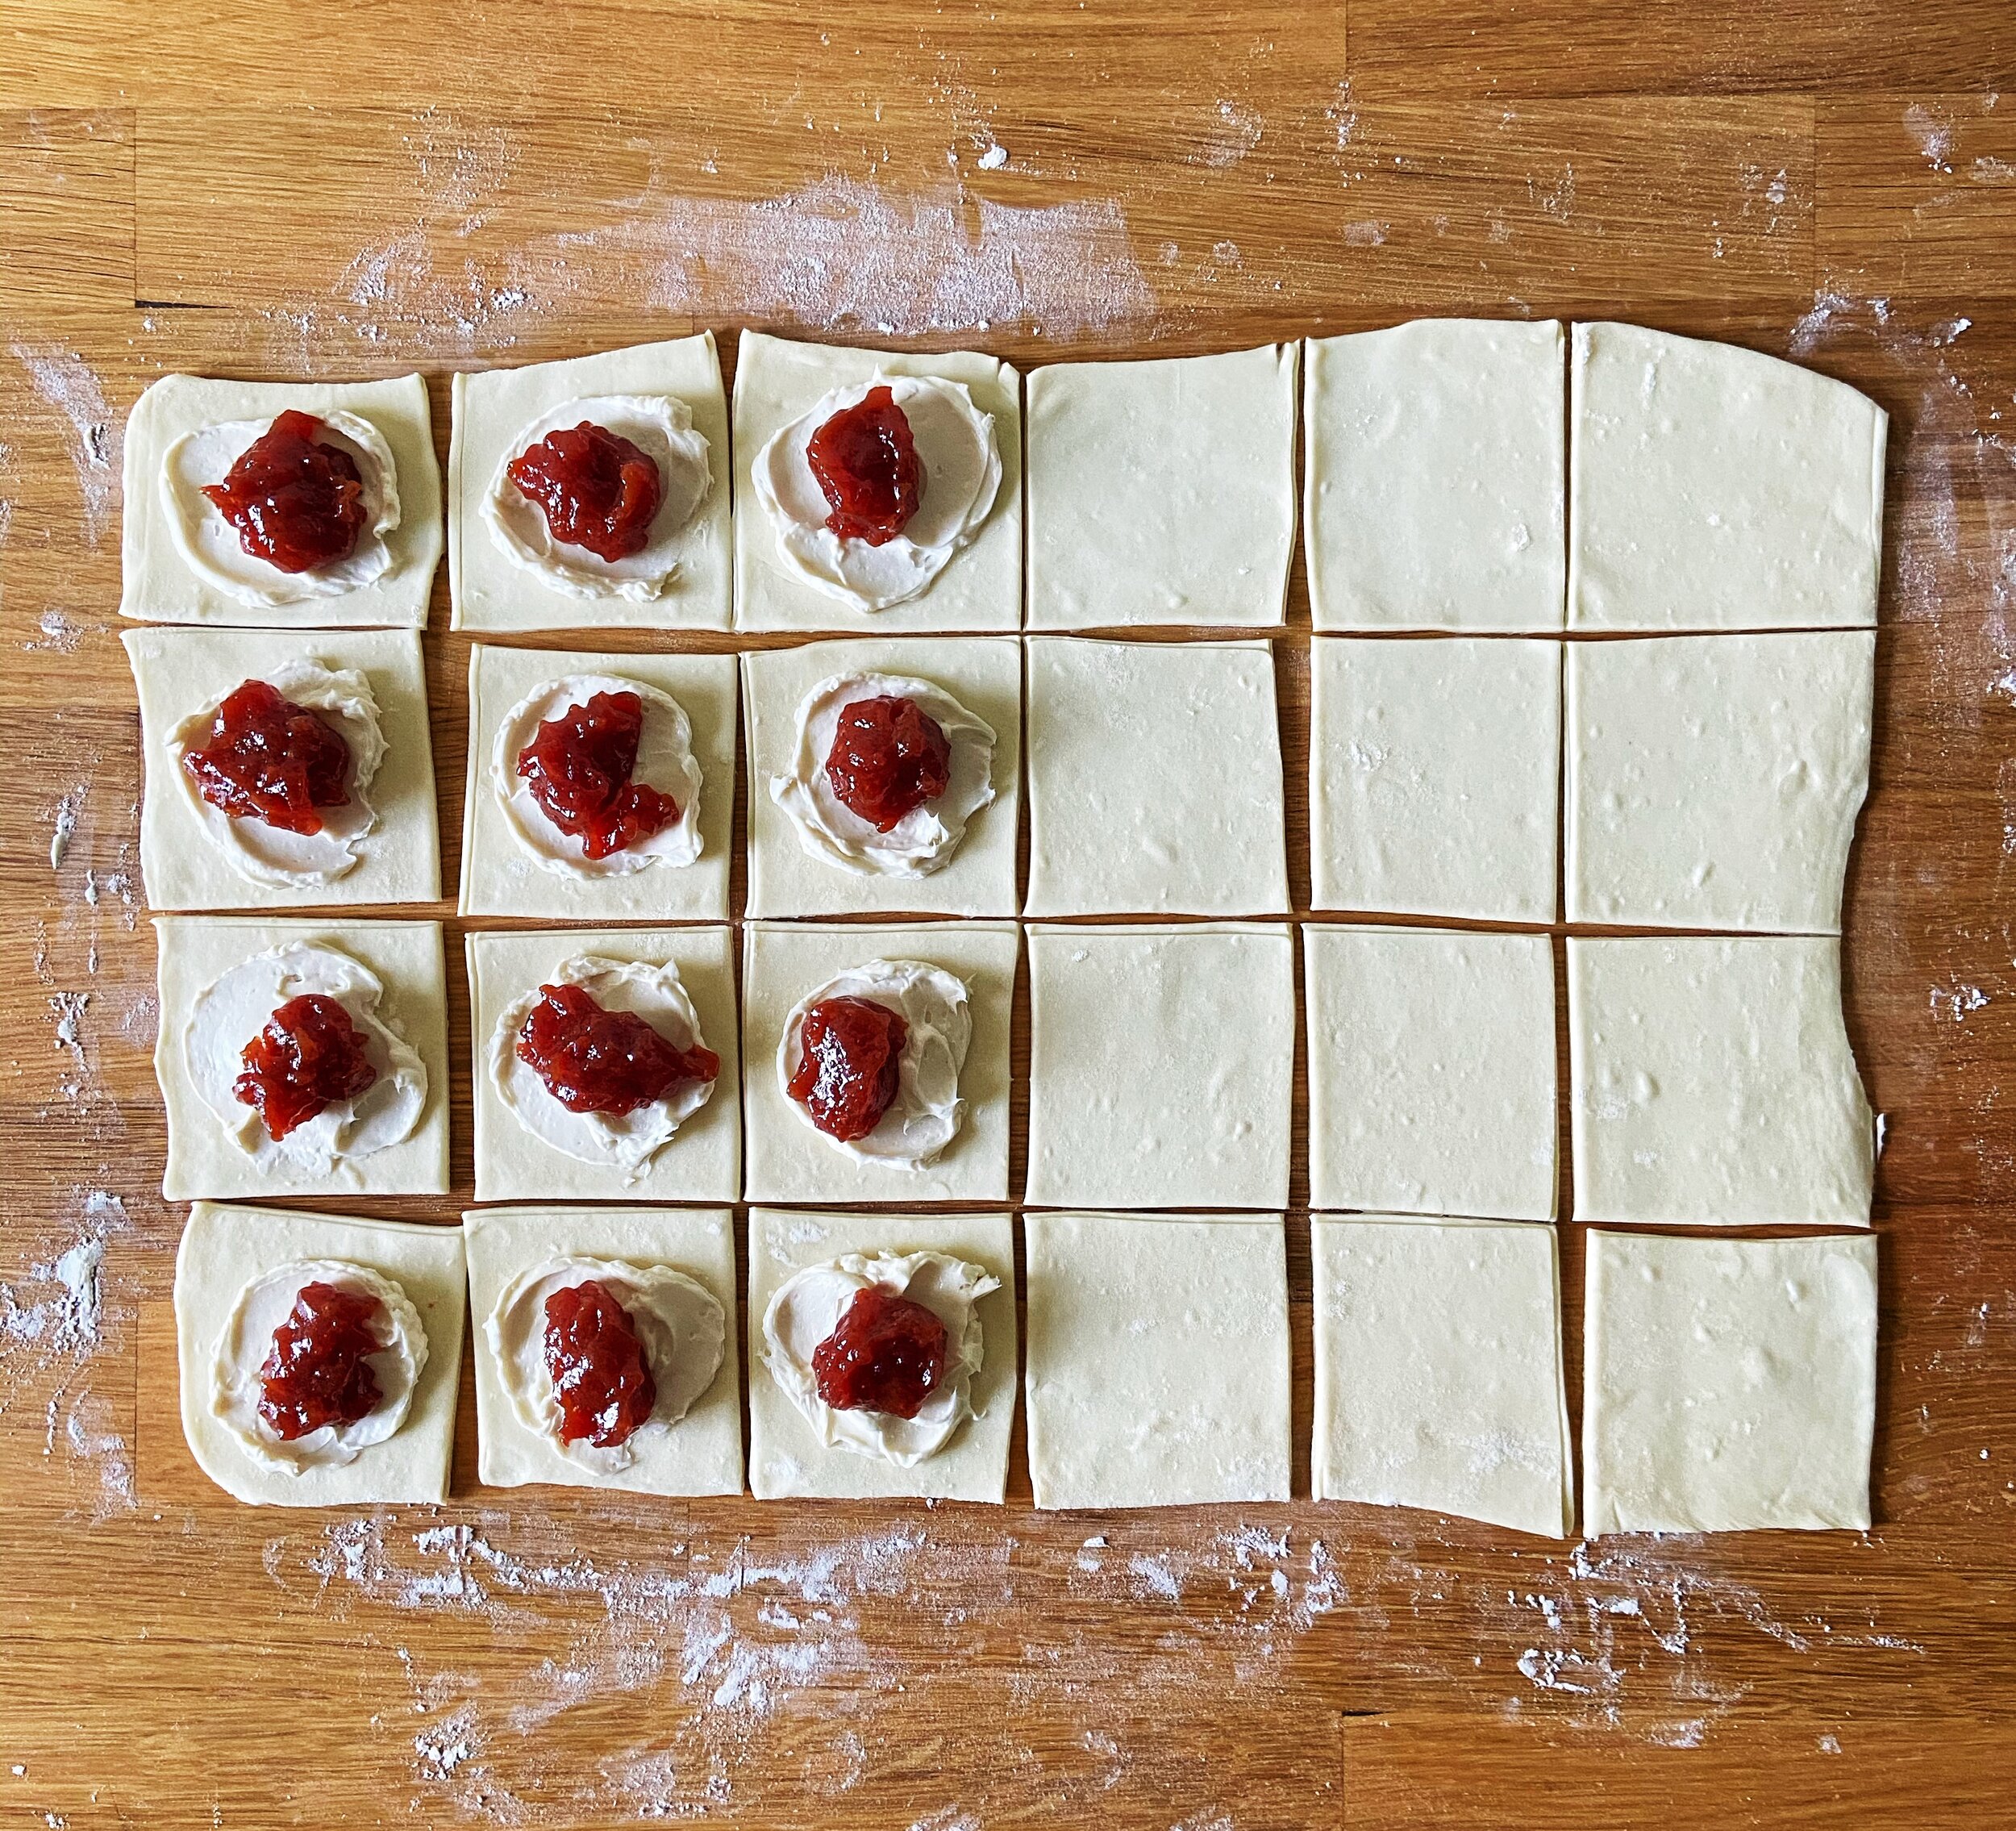
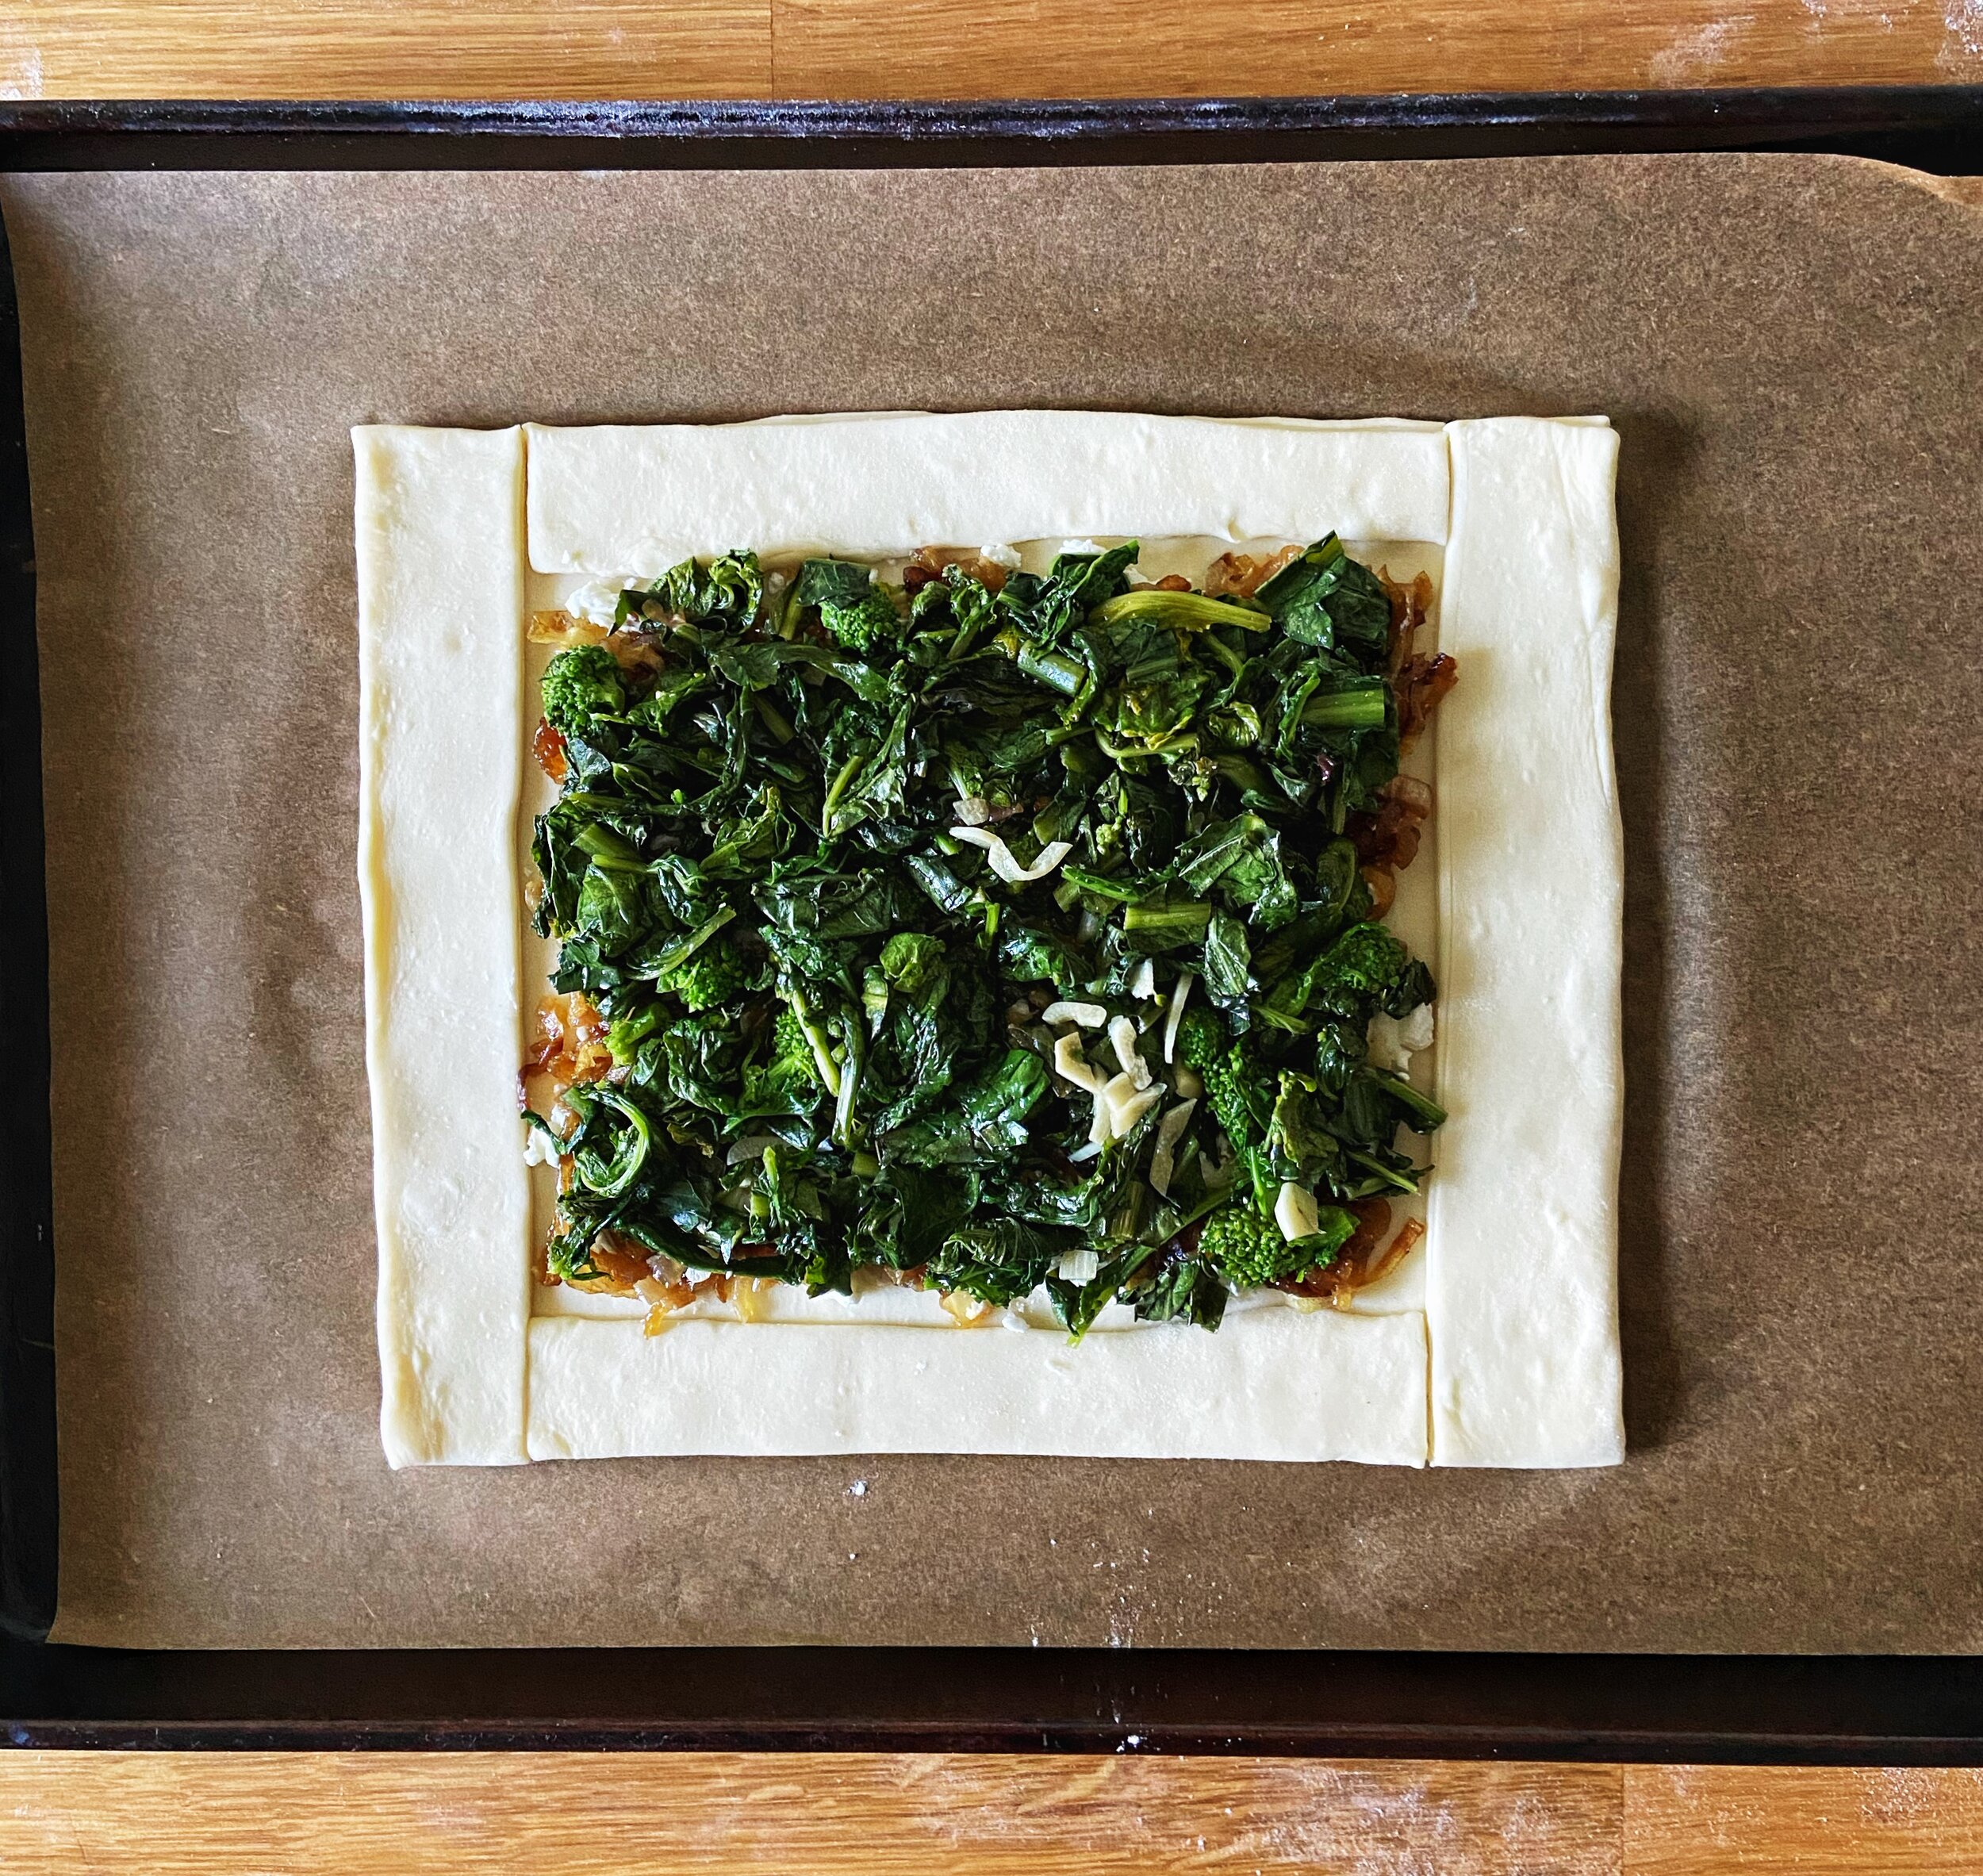
Sprinkle with goat cheese on the bottom of the pastry, and then spread on the caramelized onions followed by the sautéed greens.
Brush egg wash along the edges of the pastry, and bake for 20-25 minutes, rotating halfway through the baking time, until the edges and bottom of the pastry are golden brown. Cool slightly before cutting.

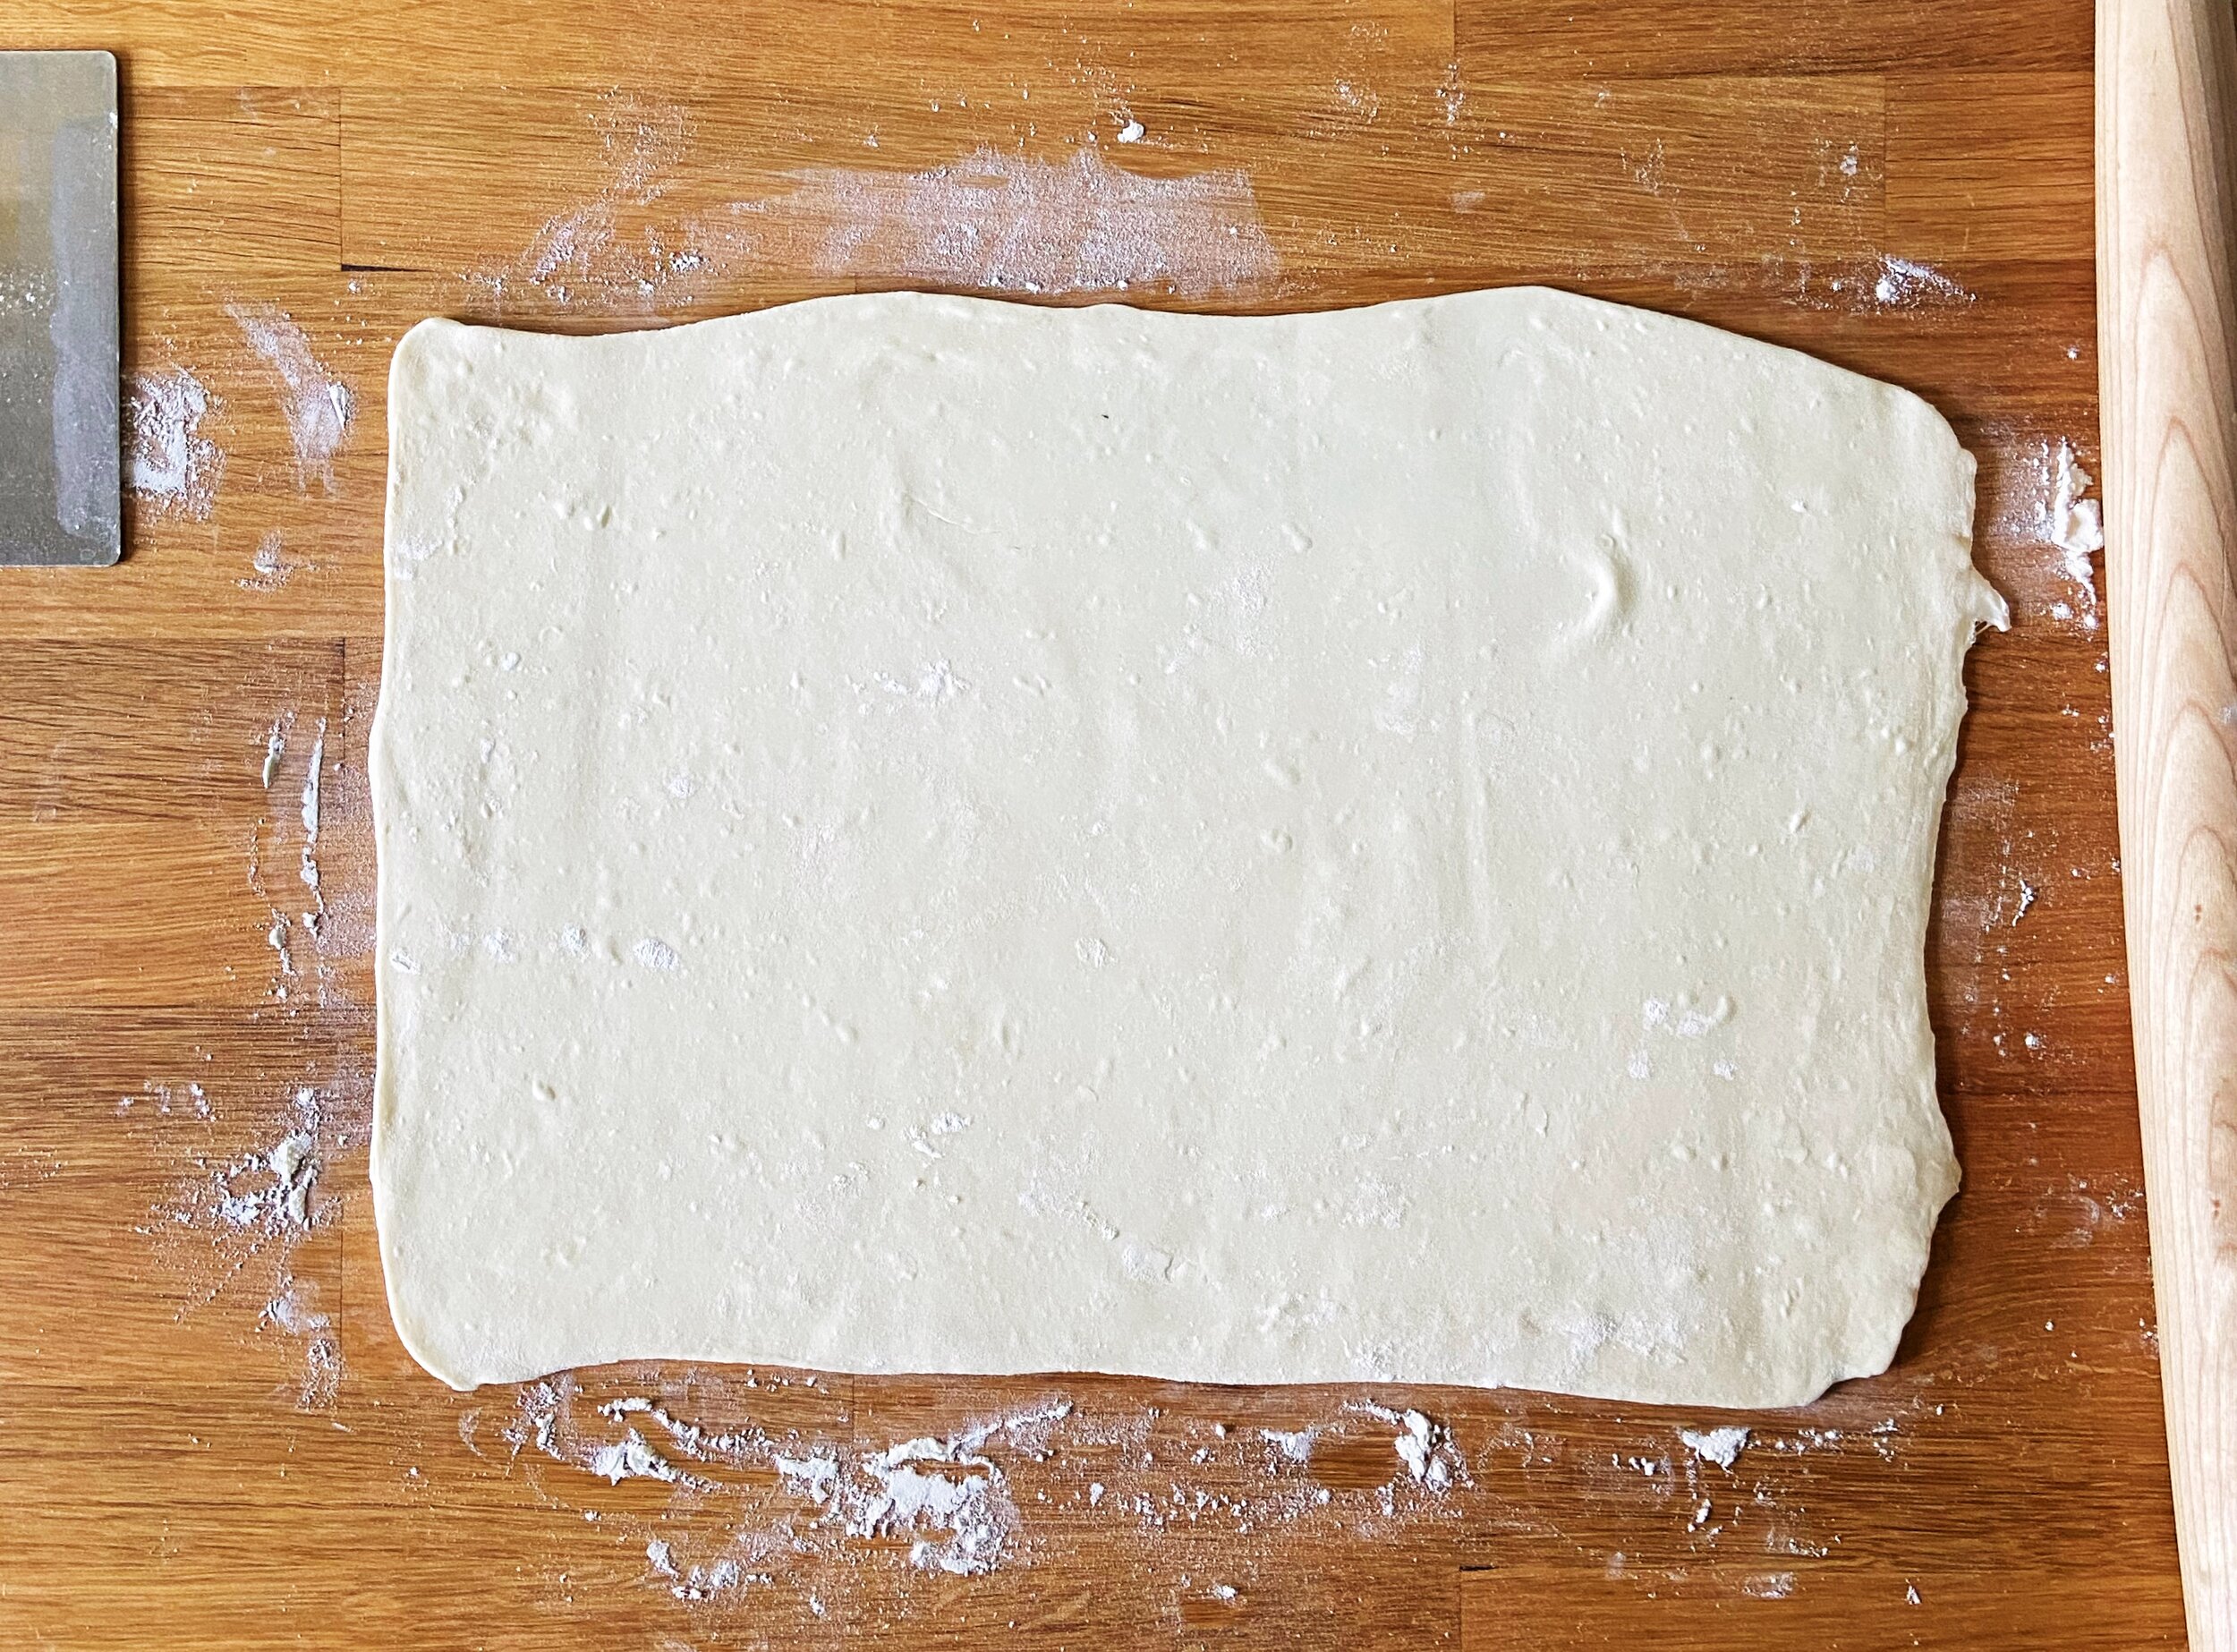
puff pastry how-to

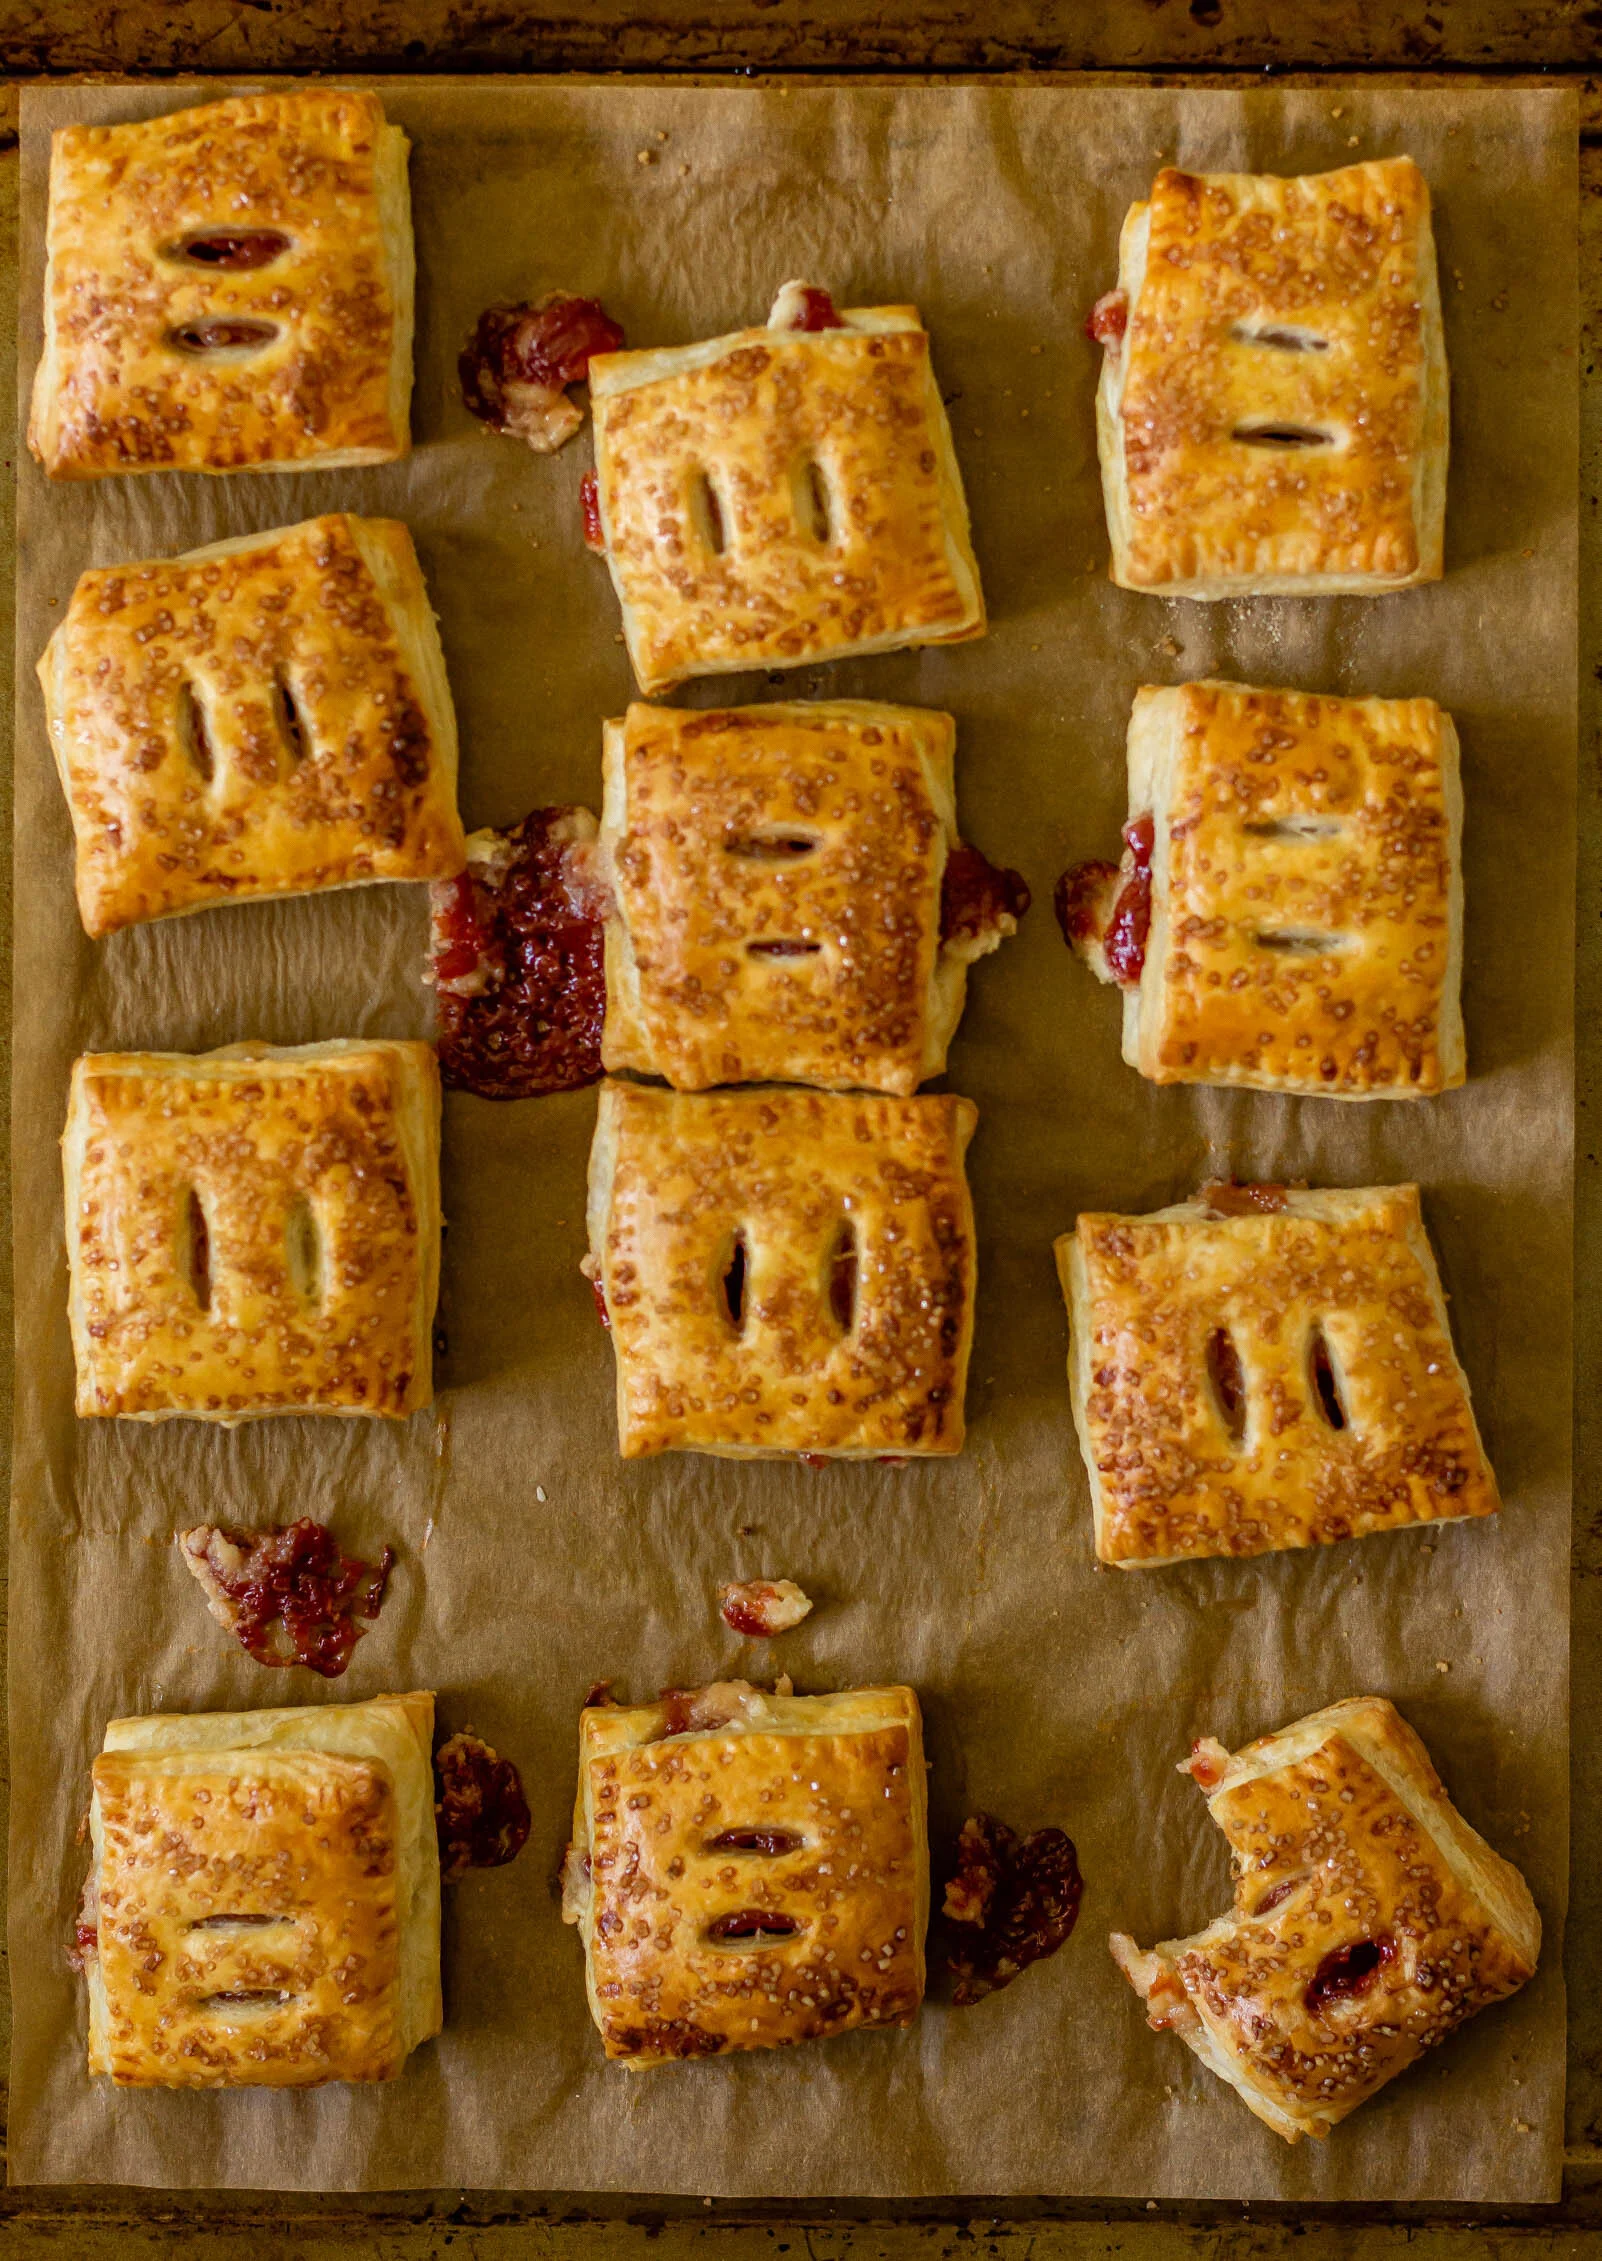
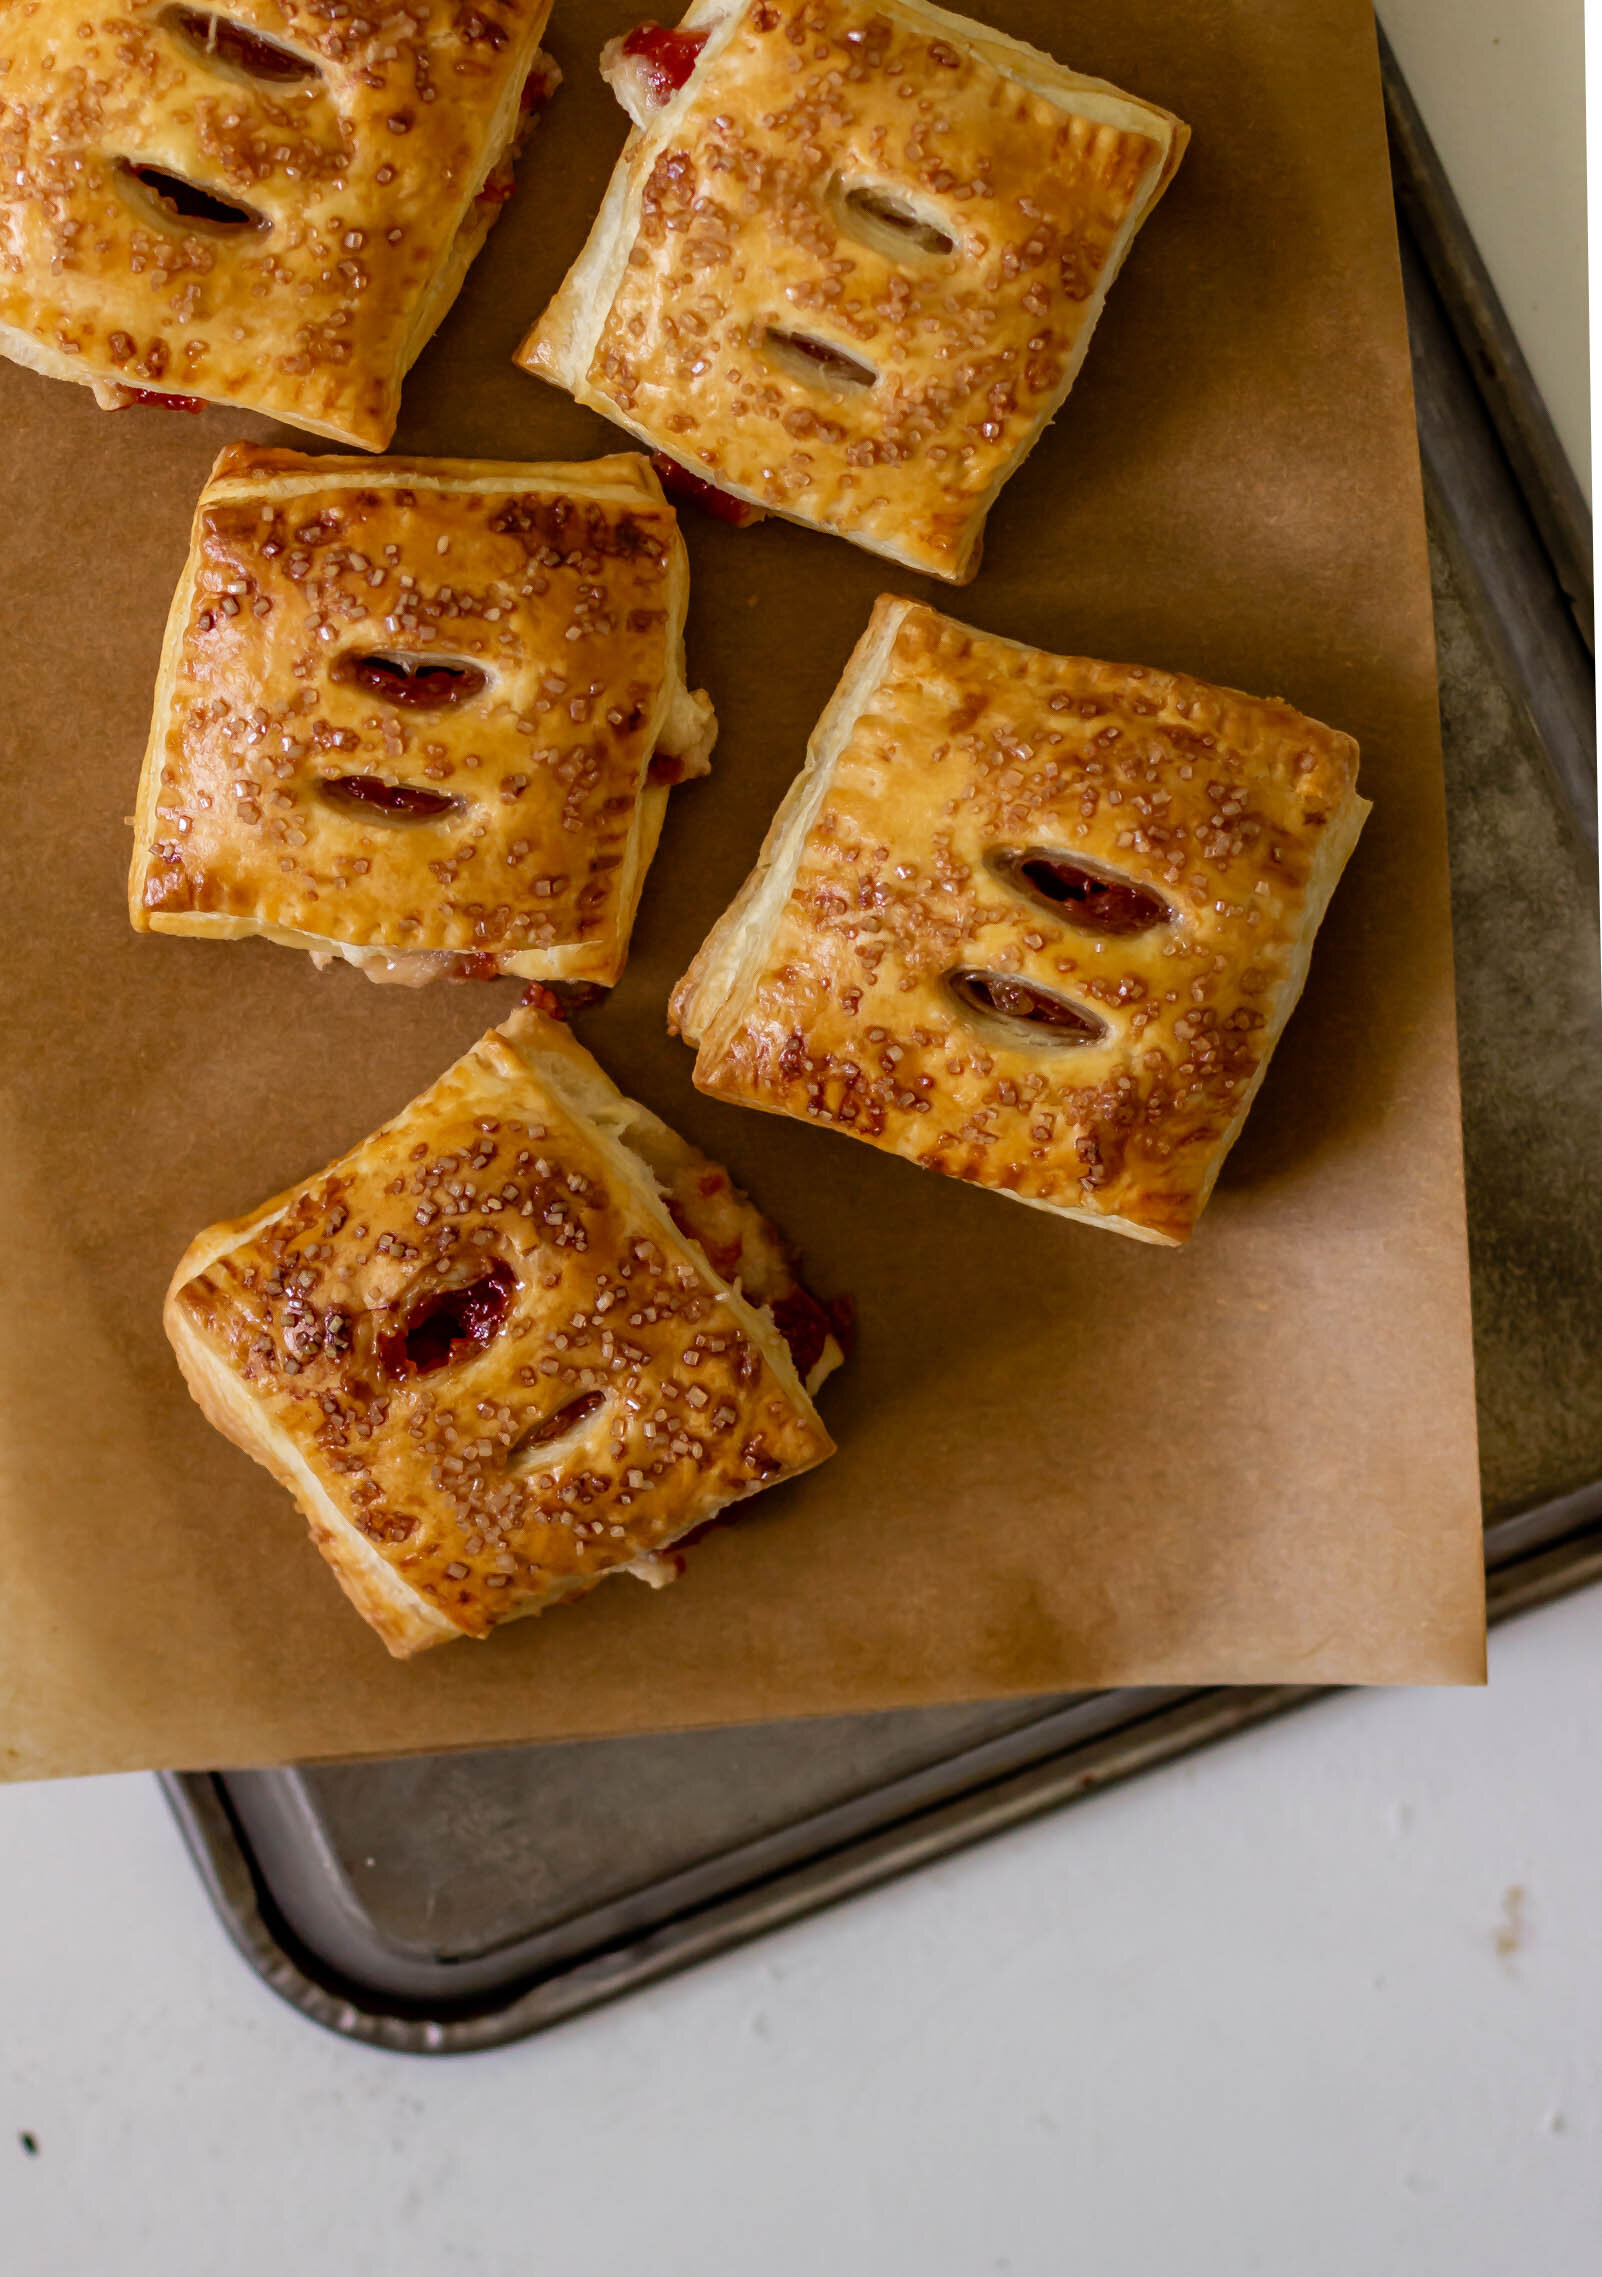
guava and cheese pastelitos
parmesan and herb popovers